A timelapse camera in a Tic Tac box.
Among my more questionable life choices is my regular participation (as part of The B-Team) in the 24 Hours of LeMons endurance racing series. We take old cars (many of which weren’t good when they were new), kit them out with roll cages and such, and race them all weekend. Good times are had by all. A friend of mine is half of the LeMons Supreme Court, and their job is to assign penalties to drivers/teams who do stupid things during the race. This generally involves public humiliation, and is pretty darn entertaining for everyone else. Anyway, one of the other things this chap does is attach timelapse cameras to competitors’ cars. He gets some pretty exciting on-track shots this way. He asked me to make something more disposable to help with this. The fact is, in a race this long and with this many cars (over one hundred is common), some swapping of paint is inevitable. Sooner or later, the camera will be in the wrong place at the wrong time. Why not try making something really cheap that, if crushed under the paws of a V8 e30, is no big loss?
He suggested the infamous “808” camera as a starting point, and after a little research, I was inclined to agree. The 808 is a keychain camera that is cranked out by the fu shipload in China, and they are ridiculously cheap. They can be found on eBay, and other places as well. The quality on them is awful (as you might imagine for that price) but they are quite hackable, and a subculture has developed around them. In actual fact, “the 808” is a series of around twenty cameras that are all quite different internally, and you don’t really know what you’re going to get when you order one. Each variation has its own quirks, but they all have fun “features” like unprotected battery charging and high lead content in the plastic. Good times.
Around the same time as this idea came about, the fine folks at Newark sent over some some signal relays for me to test. I love these things, because they make it really easy (and cheap) to hack a microcontroller on to any existing device in order to automate it. This would turn out to be very serendipitous timing, as we’ll see.
My thought was to take one of these 808 cameras, hack an ATtiny microcontroller on to it to make it into a timelapse, and shove the whole thing in a magnetic box that can be slapped on the side of a race car. Here’s how I went about doing precisely that.
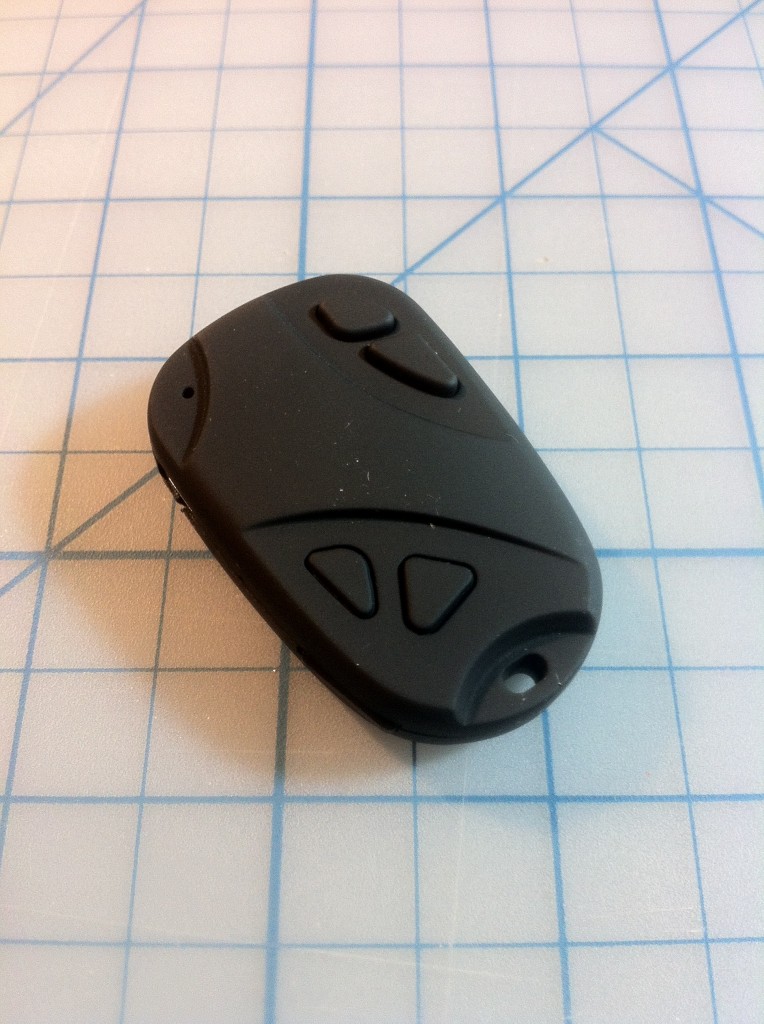
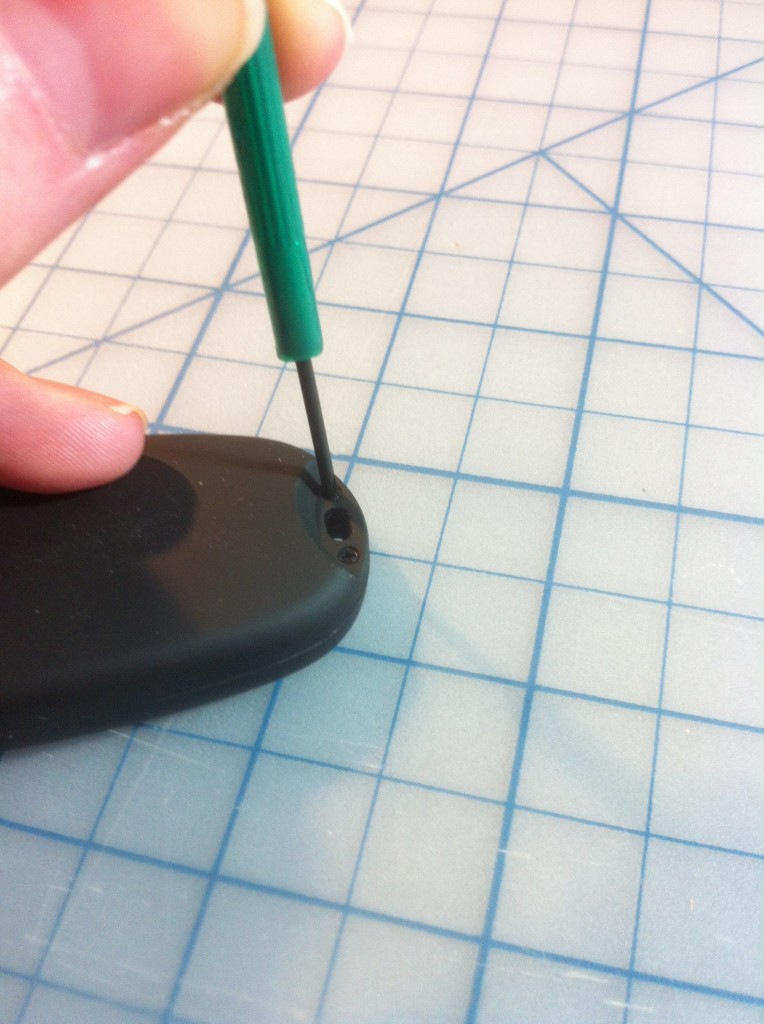
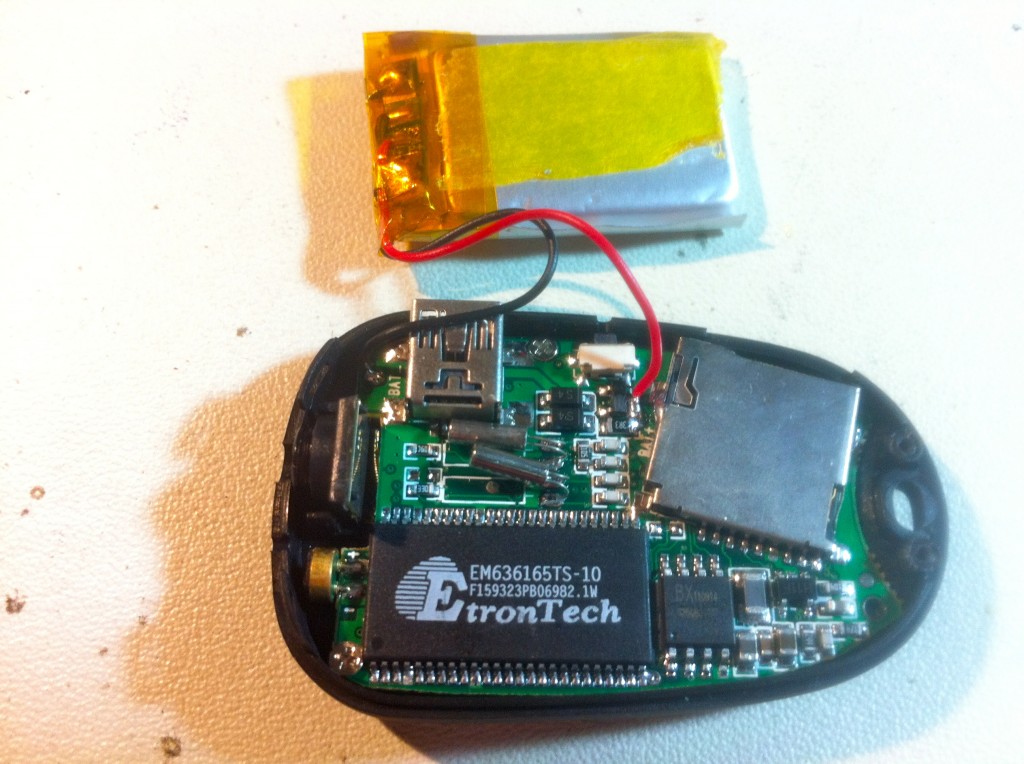
With the guts ripped out, I set about trying to figure out how to control this thing. The instructions are translated so poorly that they make for some delicious word salad . Here’s an unedited sample:
Enter the camera mode in turned off status long time press til yellow light on click the yellow light flash one time then take one photo. The product video recording same time with time display function canadjust the time according to their own
So… um… yeah. Your guess is as good as mine. Luckily, this website is a virtual encyclopedia of the 808 and it has a much better explanation. Without that information, it might have been quite difficult to figure out. All you have are two unmarked buttons, and a yellow light that blinks furiously at you in inscrutable patterns. It’s pretty tough to automate something when you can’t even figure out how a human is supposed to use it. The camera has a surprising number of special modes and features, so knowing exactly how to get the right behaviour is important.
With that sorted, it was time to try controlling it digitally. The aforementioned website has an article on using a microcontroller to drive this camera, but no part of those instructions worked for me. As I mentioned, the 808 is really a whole series of cameras, and while they appear identical on the outside, they seem to vary wildly on the inside.
I poked around at mine with some jumpers, and found that I could turn on the power by applying 5V to a particular pin on the power button. That’s great, because it saves a relay. The shutter button was not so cooperative, and refused to behave in any way except when bridged with a jumper. Clearly a signal relay would be needed here. Luckily, as mentioned earlier, Newark had just sent me some! Huzzah!
The lithium battery had to go. The stock 808 has really poor battery life (under two hours) even for light usage. I’m going to be driving it hard and putting it away wet, so that won’t do. I need it to last for an entire 24 hour endurance race, and it should use batteries that you can find at a small-town convenience store. That’s frequently the only source of supplies at racetracks. I measured a peak of 180mA when the camera is writing to the SD card following a photo, so that means quite a bit of maH capacity will be needed. The SD card I’ll be using is 4GB, and the photos are quite low resolution, so storage isn’t a concern. The limiting factor is how quickly the camera will allow the shutter to be pressed. In my testing, that proved to be about four seconds. So, with the camera snapping a photo every four seconds for twenty four hours straight, we’ll need some serious juice.
With those details figured out, it’s off to the breadboard.
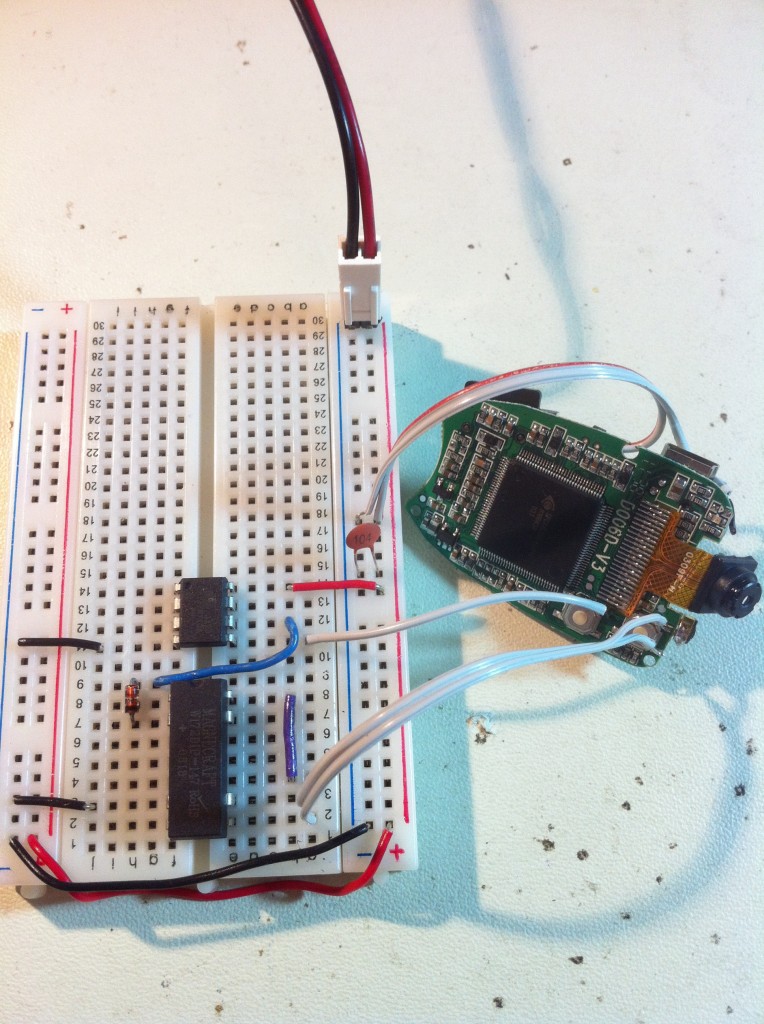
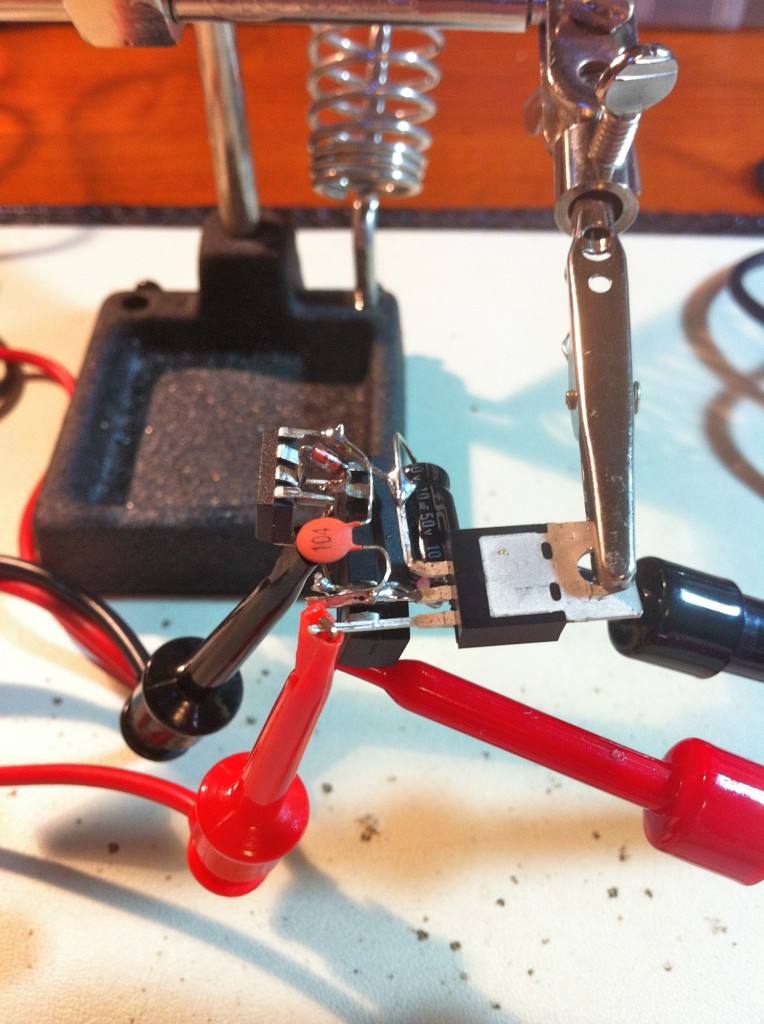
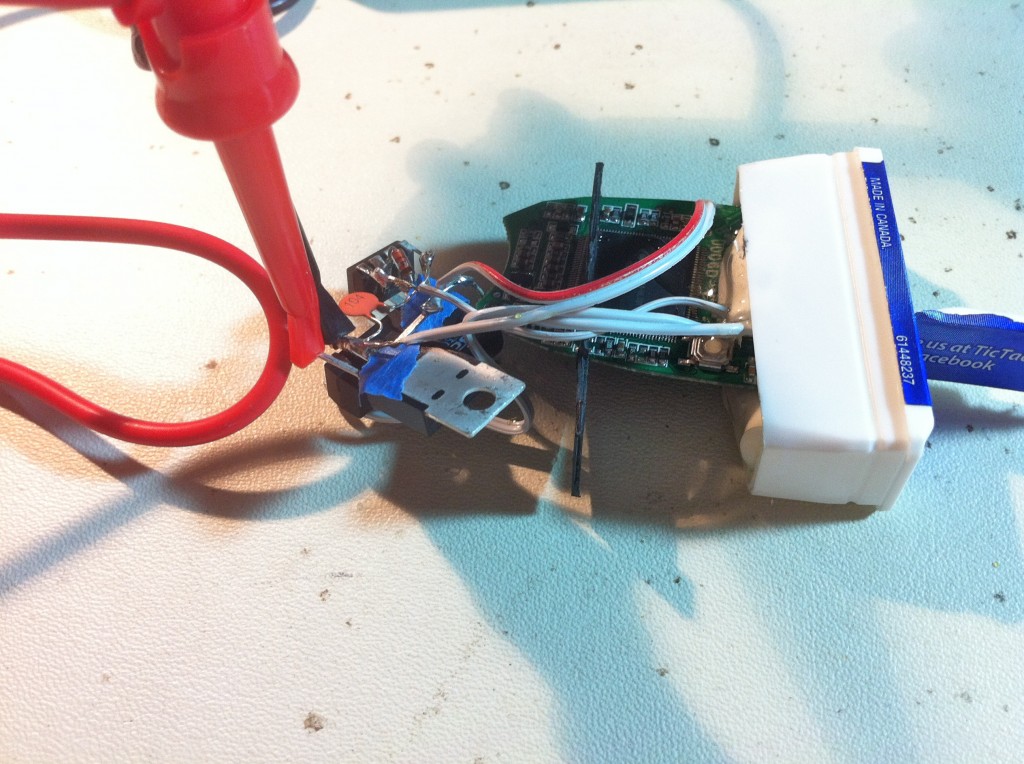
The circuit I ended up with is very simple:
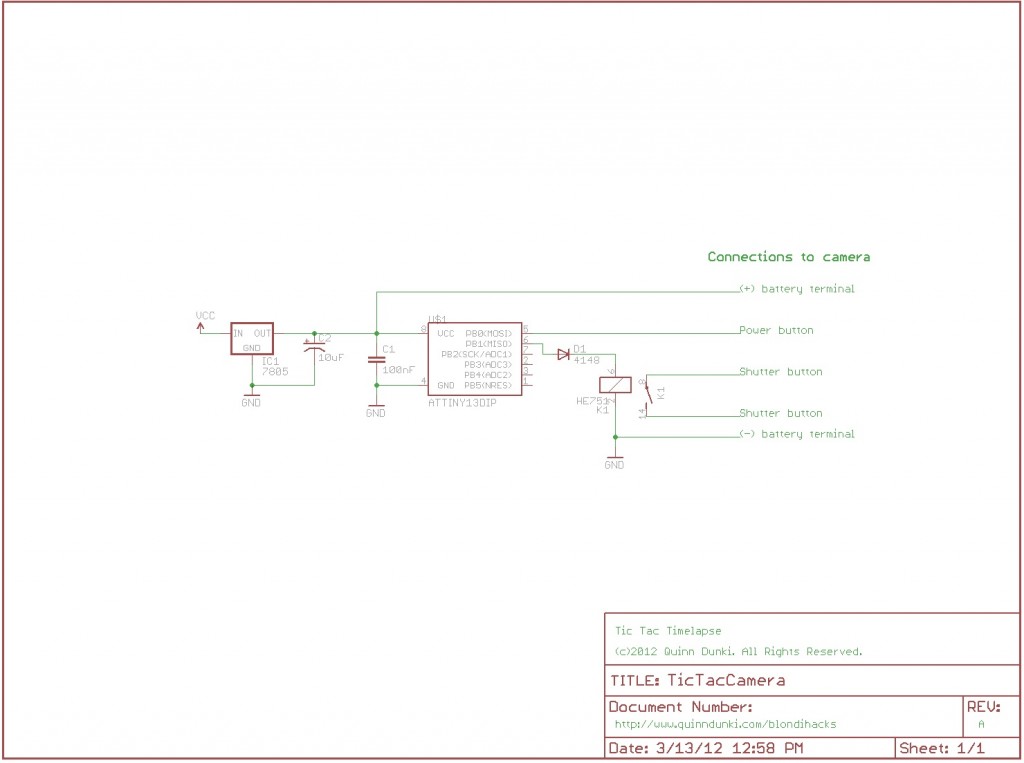
The code is equally trivial. The only tricks were figuring out the delay needed for the camera to start up, the delay between photos, and how long to push the shutter button. Here’s the code I ended up with to do that:
[iframe_loader src=”http://pastebin.com/embed_iframe.php?i=cGkPvP1y” height=”600″ scrolling=”yes” marginheight=”50″]
With that settled, I needed an enclosure. I decided to use a Tic Tac box for this. It’s a good size, and should be easy to modify.

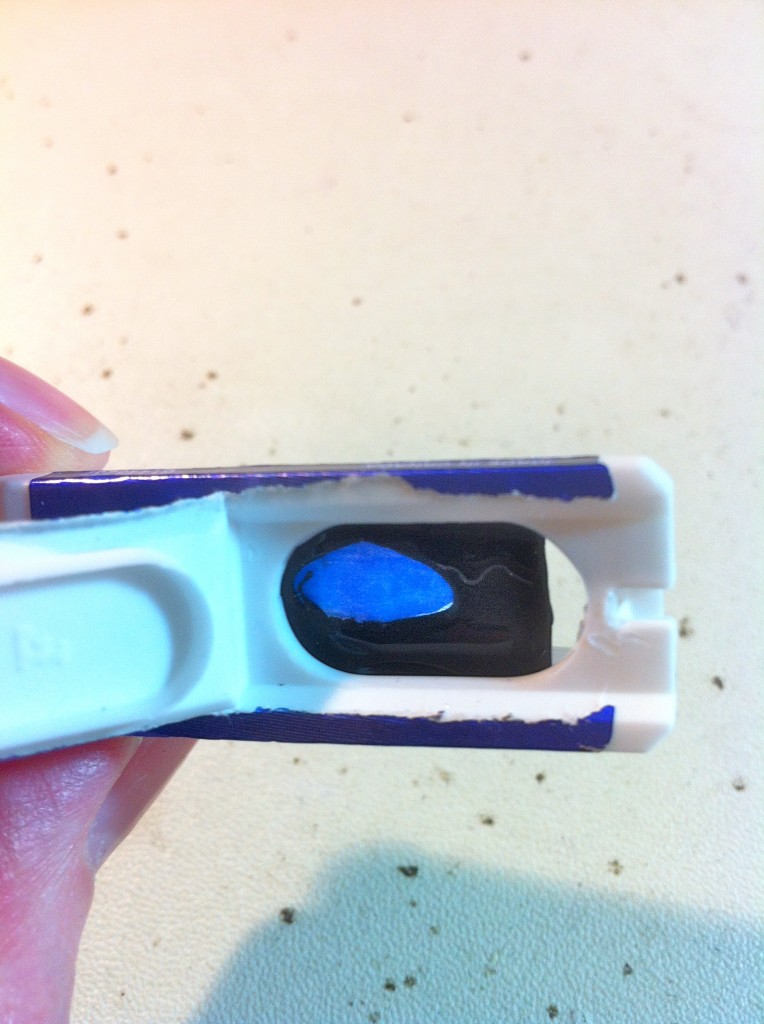
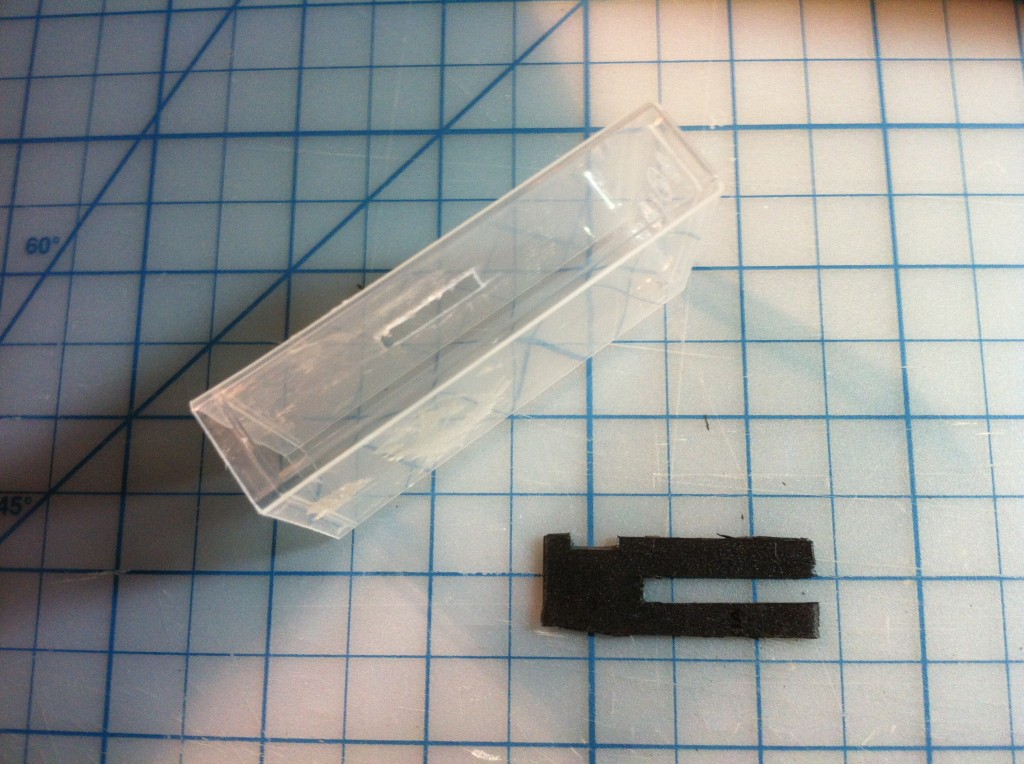
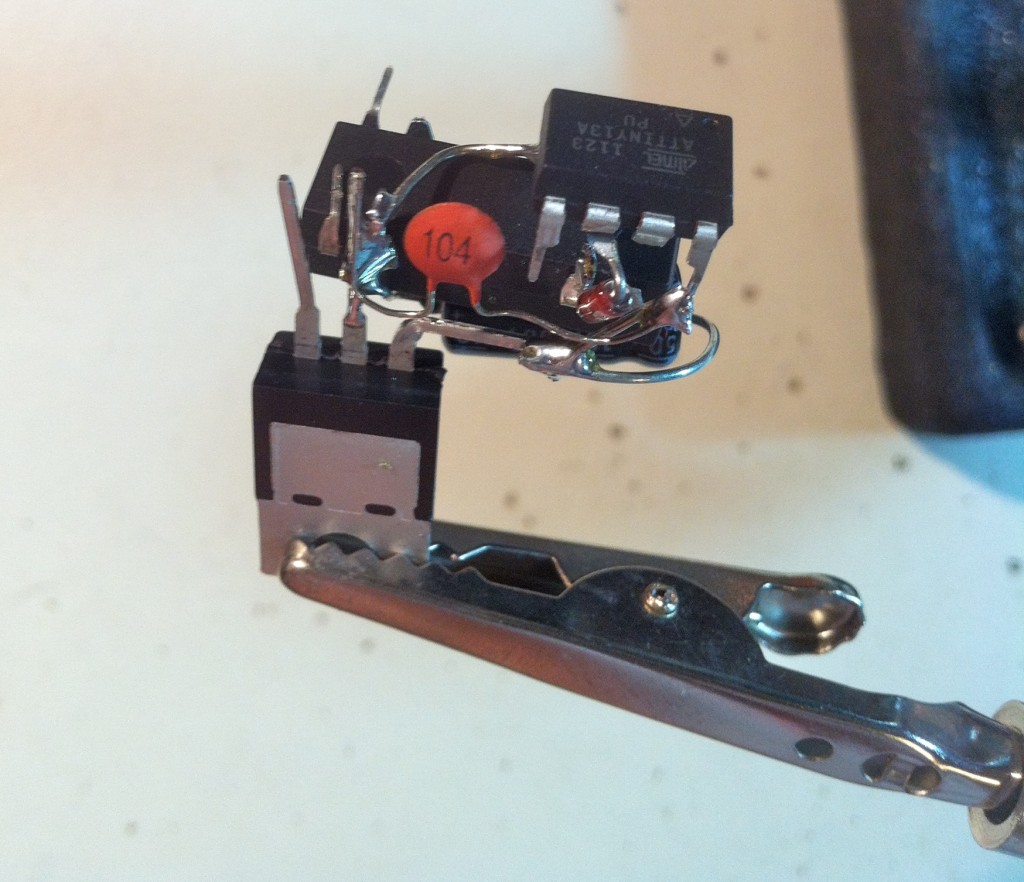
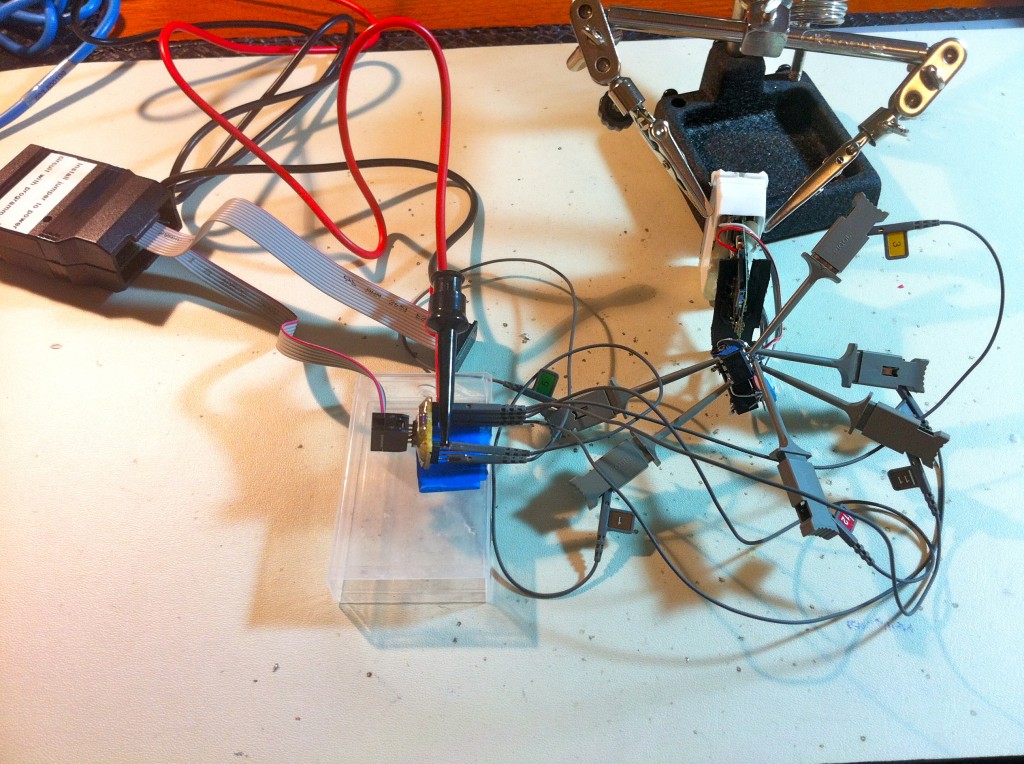
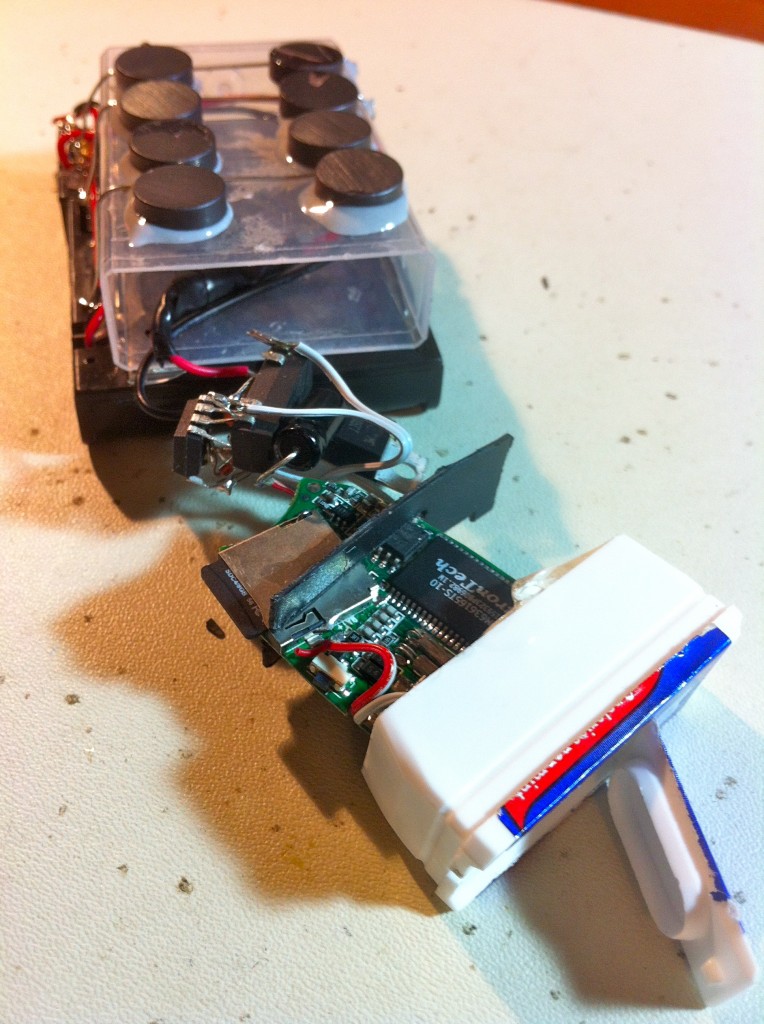
It seems like every project has that one little “gotcha”. Sometimes it can be a real killer, like the counterfeit chips in my EEPROM burner. Other times, it just makes you laugh. The camera behaved strangely when fully assembled. The power would come on, but instead of going into photo mode, the 808 was doing something I didn’t understand. The status light was flashing one of its wacky enigma patterns, and I couldn’t tell what was wrong. I pulled the case apart again to check for problems, and it started it working again. So… it works when outside the case, but not when inside. What’s different about being inside the case?
MAGNETS! (how do they work?)
Yes, in my infinite subgenius, I neglected to consider that perhaps a magnetic relay wouldn’t like living right next to eight strong magnets. Luckily, this problem was pretty easy to figure out, and I laughed out loud when the cause dawned on me. It’s just as well, because I was underwhelmed by the strength of the magnets. A race car is a very difficult environment, and they were not likely strong enough to hold anyway. It will need to be zip-tied in place.
It also occurred to me that the batteries are projectiles waiting to happen (not good on a racetrack), so the camera should be mounted with the battery pack face-down against the surface of the car. In light of all this, I opted to affix a lanyard to the new top of the camera to pass a zip-tie through. It’s made of more scrap plastic from that old cellphone. I secured it with JB Weld, and made sure it’s at the balance point of the whole device (with batteries installed), in case the user wants to hang it from something (like say, in the pit area).
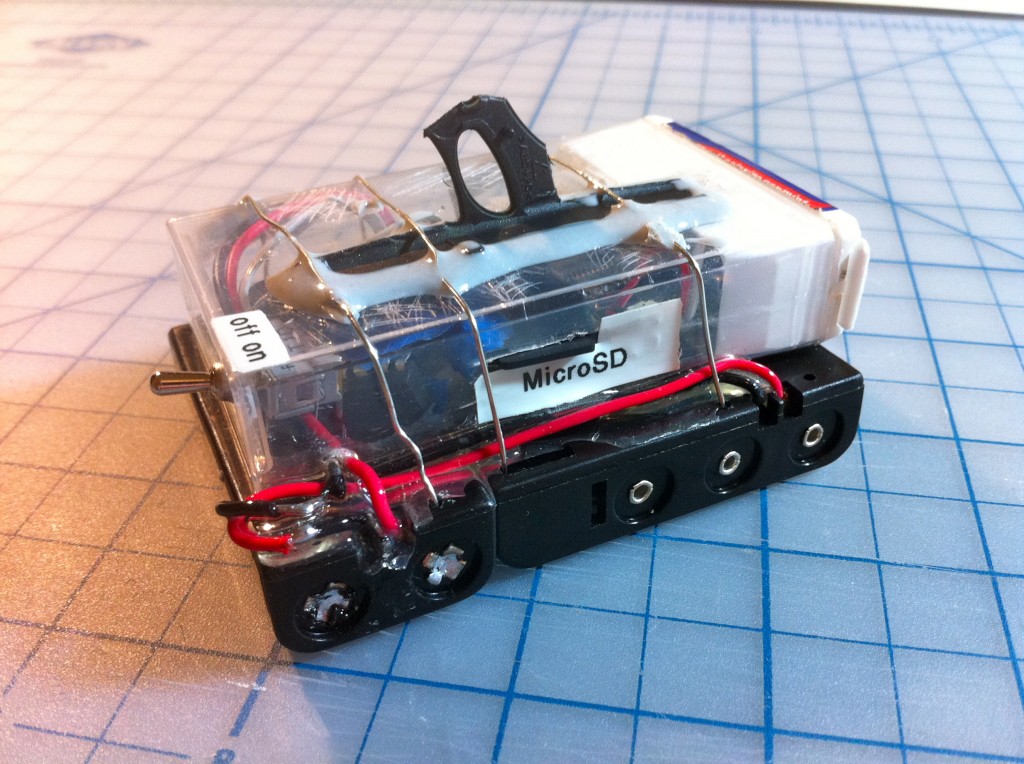
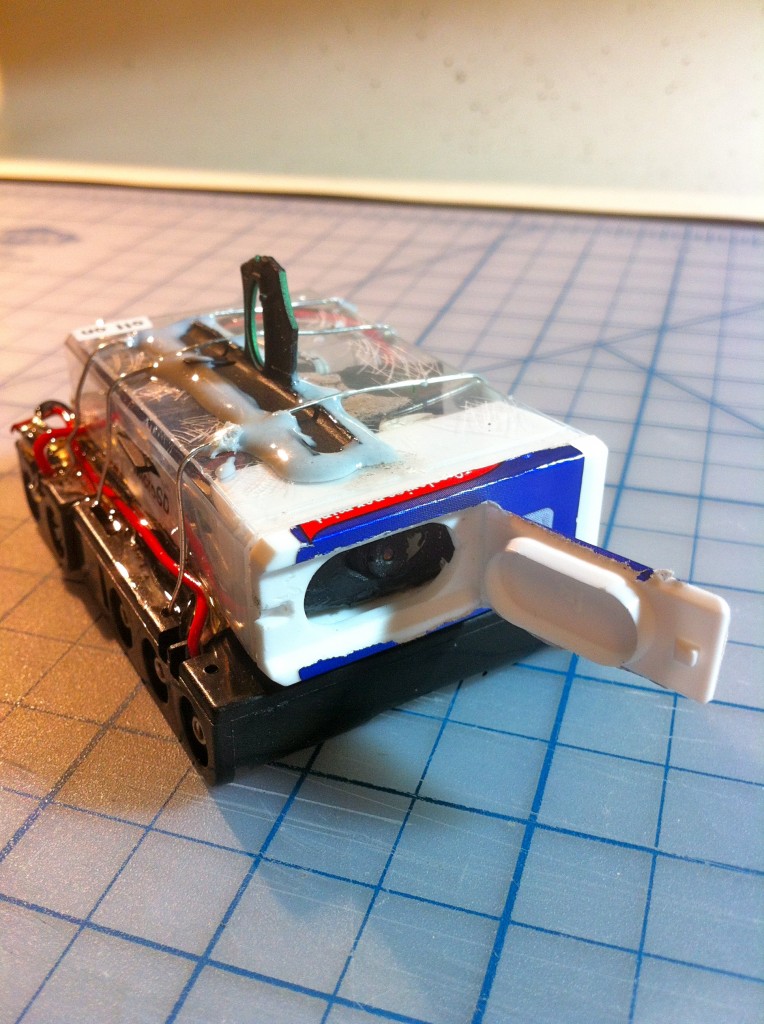
That wraps up the Tic Tac Timelapse. If my LeMons Supreme Court Justice friend ends up taking some nice shots with it, I’ll post them here!
Nice build! What did it end up costing per camera?
Even if there aren’t any particulary good shots, let us know how they hold up.
I would say the parts cost was around $10. There was a fair amount of labour involved though, so you’ll have to be the judge of what your time is worth. 🙂
This is a nice find! I did not know of the ‘808’ camera till I read this. Now I wonder if I can cram the electronics into the front of my HO scale model subway cars to make a video view from out the front of the car as the train runs though the station. I’ve built an HO scale model of the Culver EL (IND “F” line in Brooklyn), model railroading is a latent hobby of mine. Really need to dig the EL layout out of the shed.
Have you considered that the lens cap might flap into the picture field of view during use?
You might want to add some kind of restraining clip.
Yah, that’s certainly possible, and a good point. Maybe some velcro on the back side of the flap to hold it in the open position would work. The hinge is pretty stiff, but if it is windy or something that could be a problem.
Yeah, seeing the video with flap going flap-flap-flap-flap and so on……
Is that copper wire you used to strap the tic-tac box to the battery pack? If so, I recommend replacing those with something stronger (like zipties). Copper is very soft and probably gets fatigued pretty quickly in the high-vibration world of racing. Which also makes me wonder how well that camera will do…
Also, if you mount that thing on the outside of a racing car, aren’t you going to get bugs, dust, dirt and debris on the lens? I know Formula 1 cameras-on-cars have a roll of transparent foil in front of the camera that catches the dirt. Sometimes you can see that a camera is cleared, apparently by rolling up the transparent foil.
Nevertheless: an awesome article as usual! I’ve been thinking of mounting cameras in my car so that if I get in an accident I can show the insurance that it wasn’t me who caused it. This article is giving me some ideas 🙂
===Jac
It is copper wire. I tried zip ties first, but the problem was I couldn’t thread them through the battery compartment without occupying so much space that the batteries wouldn’t fit. The wire is thin enough that it can lie between the batteries. Maybe some nylon string or something?
The lens getting dirty is a minor issue, but not a serious one. On our race car, we have a video system with three cameras, two of which are mounted low in the chassis. They do get dirty, but it’s not too serious. The exception is if it’s raining. They first muddy patch we hit on track, and they go opaque instantly. The smaller the lens, the less of a problem it is, though. I guess we’ll find out!
If you’re looking for something for insurance purposes, you might look at my street/practice car’s video system (link is near the bottom under Hacks on the left). I’m using standard digital recorders, but you can get ones that record a continuous loop of a few minutes in length. So if you have an accident, you always have the last few minutes recorded. Check out ChaseCam.com for systems like this.
I saw this on Hackaday, and when they mentioned racing, I immediately knew 24 hours of LeMons was what this would be used for. I hope it lasts a race.
Ah, a fellow LeMons racer in our midst? Welcome! We are a rare and foolish breed.
I have over 1000 empty TicTac boxes at home (I don’t actively collect them, I just don’t ever throw them out) waiting for me to find things to do with them. Here’s 1 thing! Hmmm, 999 more things to go…..
If you want thin wire that won’t break get some of the stainless steel locking wire used for wiring down fasteners on real (no offense!) race cars and aircraft.
Nice writeup
I’ve done the same thing with an 808 and an arduino barebone. I used an optocoupler for the shutter button, which wouldn’t be affected by the magnets if you chose to replace the relay.
Have you considered replacing the shunt regulator with a simple switcher? You could really increase the batterylife, as the sunt regulator just burns of the excess voltage (6*1.5V) – 5 = 3V, 3V*180mA= 540mW waste), and does not do a good job of depleting the batteries.
Great project 🙂
I haven’t used a switcher before- do you have a link, or a schematic I could check out? It sounds interesting.
Here is a couple of links about switching regulators. all the icky things that made people stay away from them such as winding inductors, are no longer problems.
http://www.siongboon.com/projects/2005-08-07_lm2576_dc-dc_converter/ Mr Boon’s work makes for a great tutorial on using switching regulators, but remember ready made inductors are readily available these days
Also
http://ww1.microchip.com/downloads/en/AppNotes/00793a.pdf
and last but not least.
http://www.ti.com/lit/ds/symlink/lm1575.pdf
Thanks for sharing your projects! Its great to relive the days when 6502’s ruled the world!
It’s really nice that you’re able to operate your camera to take the photos that you actually want! So many “hack-bloggers” have no idea what macro is, or how to use it.. They end up zooming in when 2cm away from the subject, and wonder why the video continues to be blurry….. Ugh!
So anyway, I really appreciate the time and care you put into it!
Thank you very much! I think photos are a big part of enjoying other peoples’ work, so I try to take good ones.
Good build for a good cause 😉
Couple of questions:
1) Why not just trigger the camera from the micro pin or with a transistor/FET, why use a relay that burns power?
2) Why the (wasteful) shunt regulator, can everything not live off normal battery voltage, or if not, a smaller and more efficient regulator?
…and if you use sleep mode in the micro you would save even more power than running round a delay loop constantly.
Hope these help!
Yah, I know the code is brute force, but I was in a hurry, and most of the power goes to the camera writing the SD card anyway.
Good questions!
1) I tried that, but the camera refused to cooperate. The shutter wouldn’t respond to any configuration of transistor or voltage that I tried. The relay was a “make it work” moment.
2) That’s what I had in the parts bin. 🙂 If you have links to better parts, send them on over. It does need regulation- in my tests I found the camera is very sensitive to supply voltage. It only has about a 0.05 volt window where it behaves correctly.
Cool, I brought 3 of these a while ago. want to make one for making something similar to this, to mount on a post for when I build my house! Be interested to make it power efficient so it could run for months, will probably use a lead acid battery that used to belong to an electric lawn mower 🙂
There’s some good tips in this thread for making it less power hungry. You could probably get it to run a very long time off a 6V lantern battery. Especially if your interval was longer than 4 seconds.
Seems our friends at Sparkfun have this already hacked and ready to go.
http://www.sparkfun.com/products/11171
That’s a pretty nifty looking product, and not a bad price, either! I wonder what the battery life is, though. Tic Tac Timelapse needed to last 24 hours straight, hence the slab of dry cells.
Nice use of the 808 camera. I bought one of these last year and played around with it until I couldn’t find a use for it. After sitting on my parts shelf for a couple of months I noticed the case had fallen off because the battery grew to about 3 times the normal size!!
I have a launchpad sitting around unused (couldn’t think of a good project)
maybe I should try and duplicate this one but with a launchpad.
One last thing.. Lets see some footage man! I would live to see a time lapse video from your 808!!!
Here’s the first trial run of the Tic Tac Timelapse prototype Quinn gave me. I just left it in my van overnight, so the resulting film is a bit light on plot and characterization. I think it should work well when ziptied to a LeMons car.
Such drama! When the stop sign appears out of the sunlight, and then vanishes into the gloom — pure movie magic!
How come the time stamp is mirror imaged?
That would be because, in a moment of Fail, I mounted the camera upside down. That required Murilee to flip the video in post-production.
Here’s a few new shots from the camera:
https://www.facebook.com/media/set/?set=a.10150864209929586.429880.68033379585&type=1