Building Adafruit’s AVR Programmer kit
I needed a quick and dirty ISP programmer for a project that was on a very tight deadline. Adafruit’s USBtinyISP unit seemed like just the thing. It’s very reasonably priced, and can be thrown together in about 30 minutes.
This device turned out to be quite a bit nicer than I expected. It’s an in-circuit programmer, it can optionally power your circuit directly from USB, has both types of AVR programming header, and is supported by the latest version of avrdude. This will likely become my go-to programmer, because it’s small, easy, and does almost everything. For projects with a lot of code, it would be nice to have support for Atmel’s new JTAG ICE on-chip debugging. The USBtinyISP is driven by an AVR MCU itself though, so a future software upgrade for JTAG and OCD is possible.
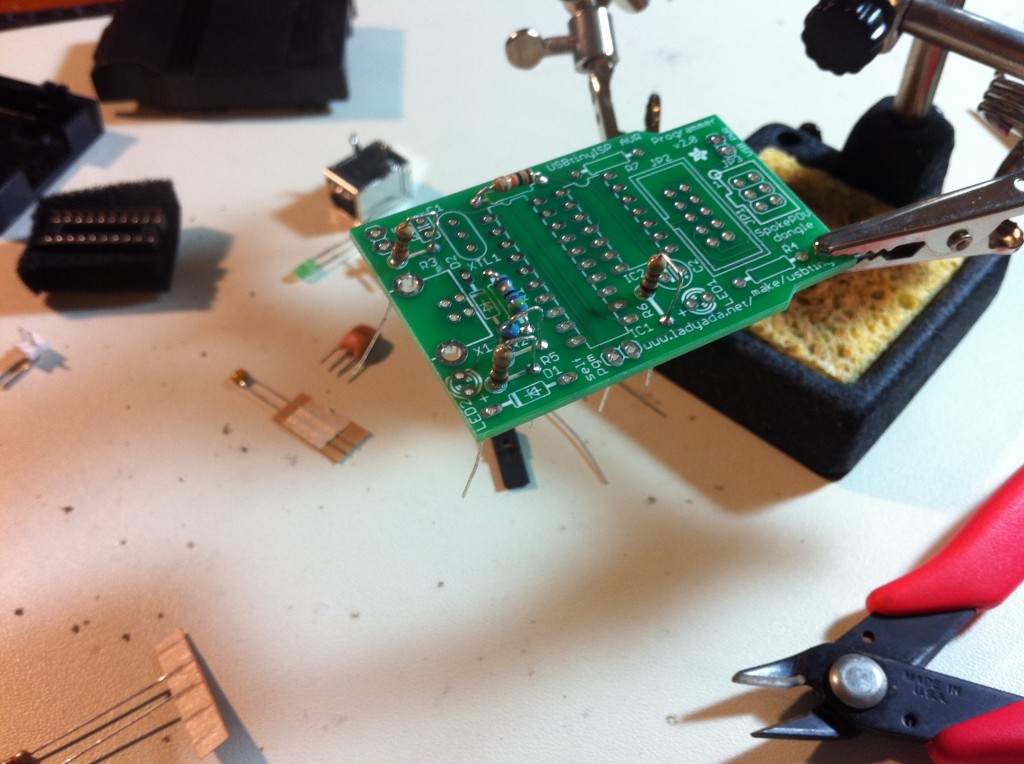
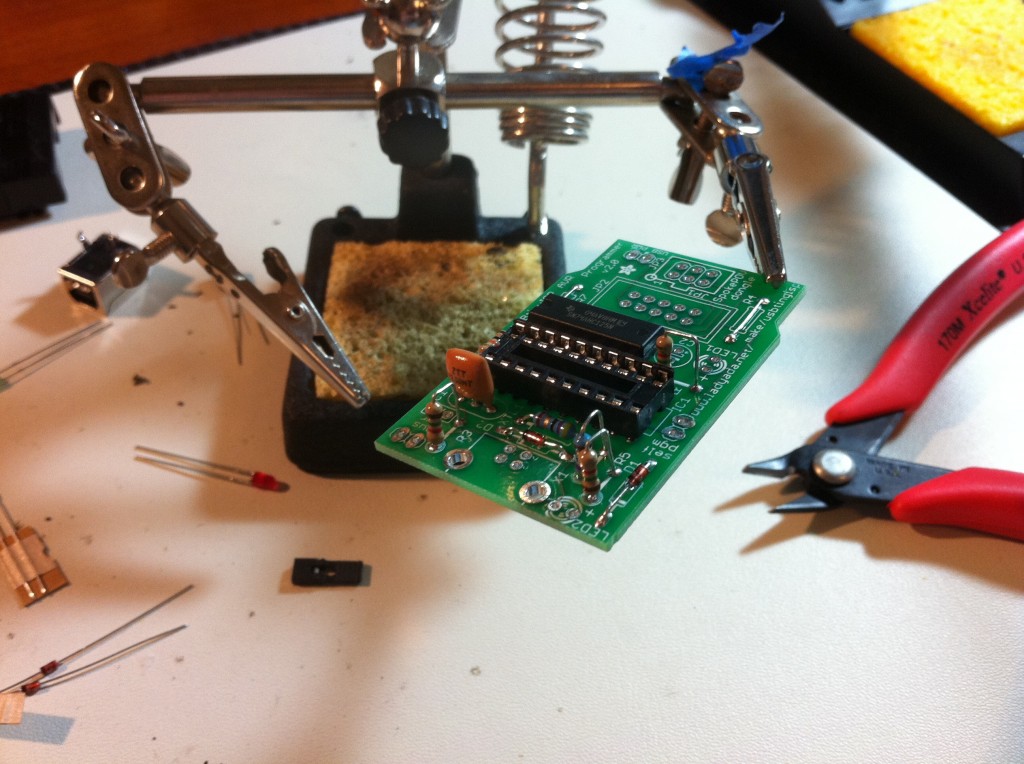
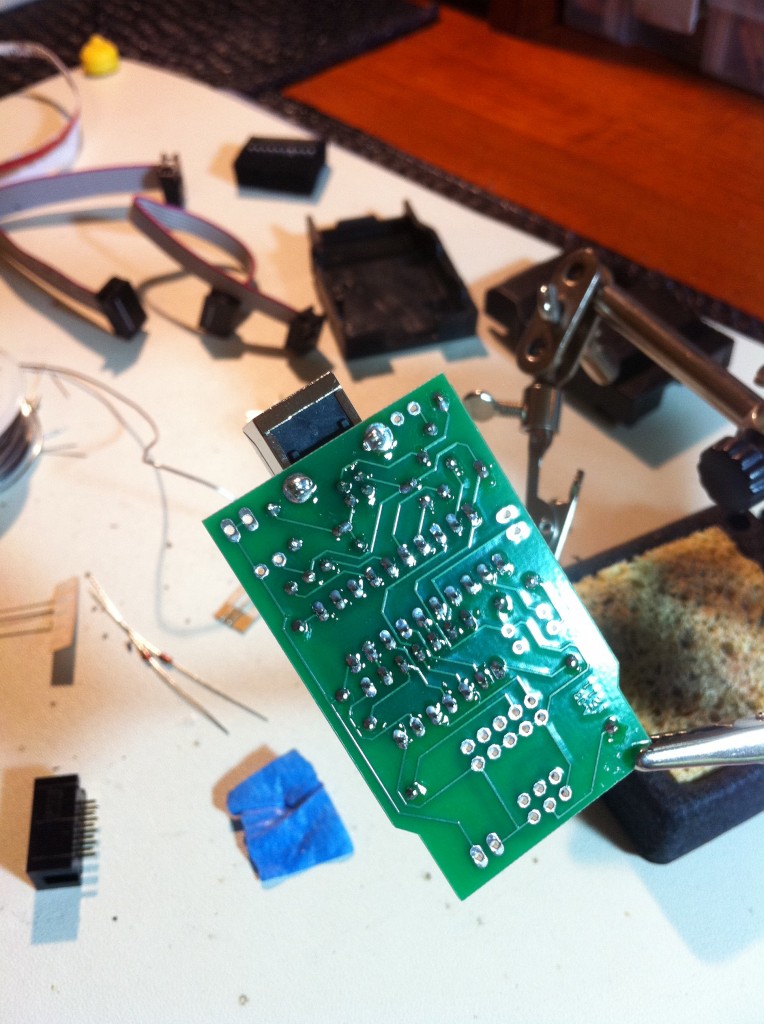
Here’s a quick run-down on the construction of the programmer, in case you’re thinking about building it yourself. I apologize for the soft focus in some of these pictures. As mentioned, I was in a big hurry on this project, and didn’t have time to set up better shots.
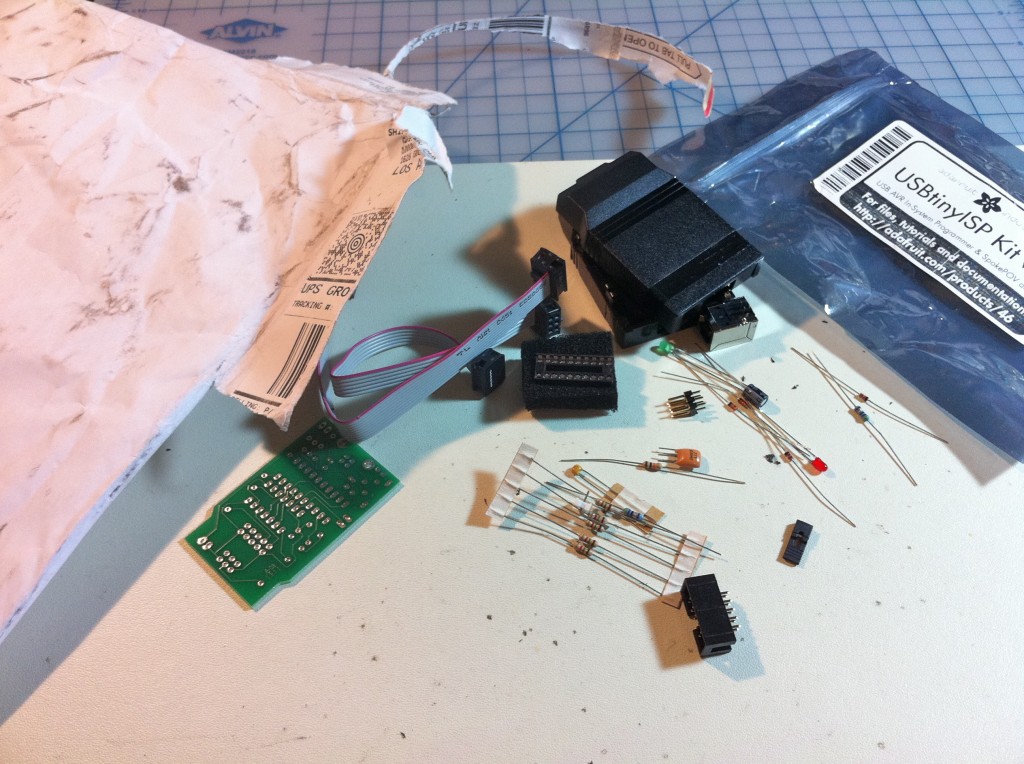
The instructions are very thorough. They are fortunately also easy to skim, since they are targeted at a novice audience.
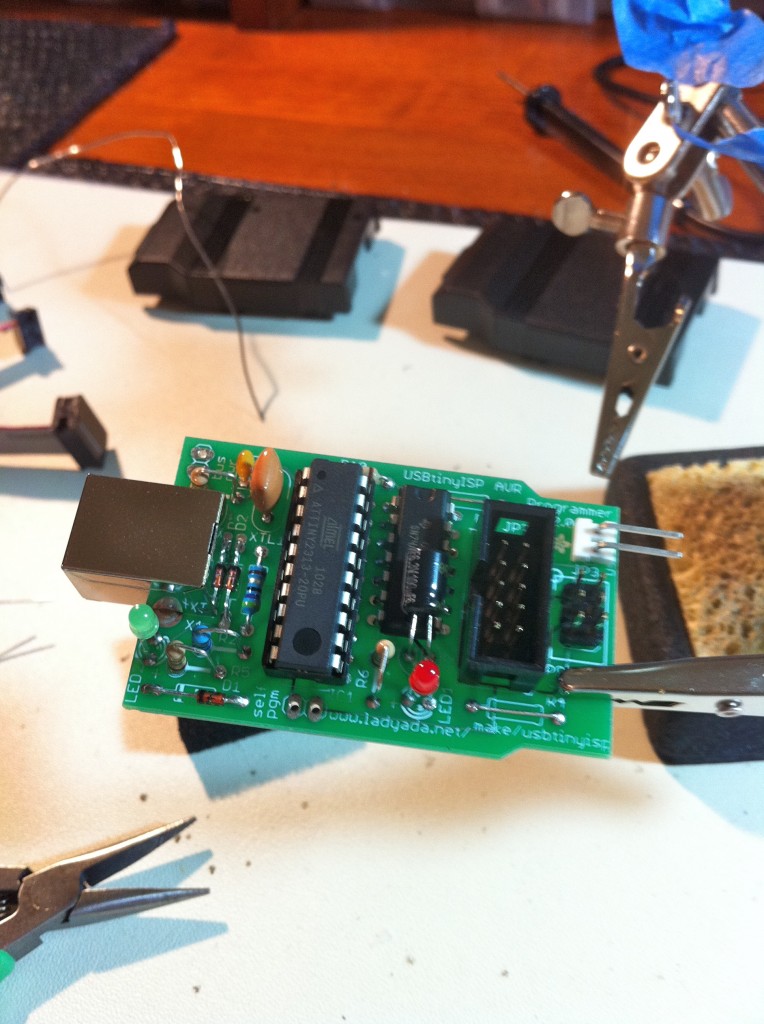
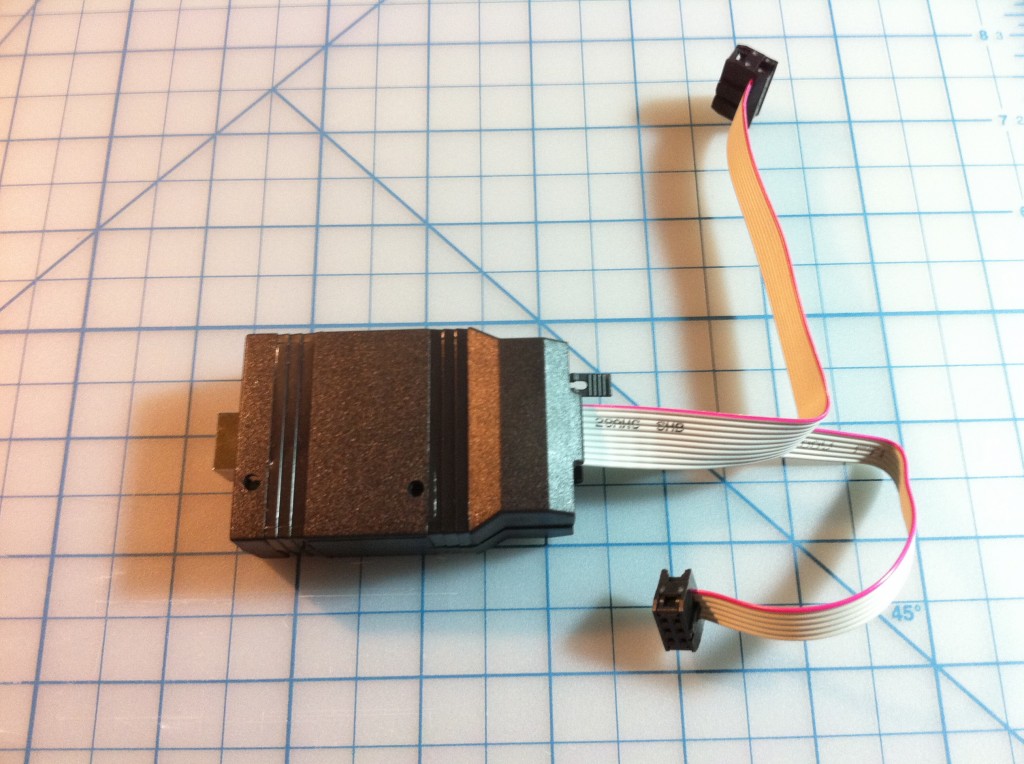
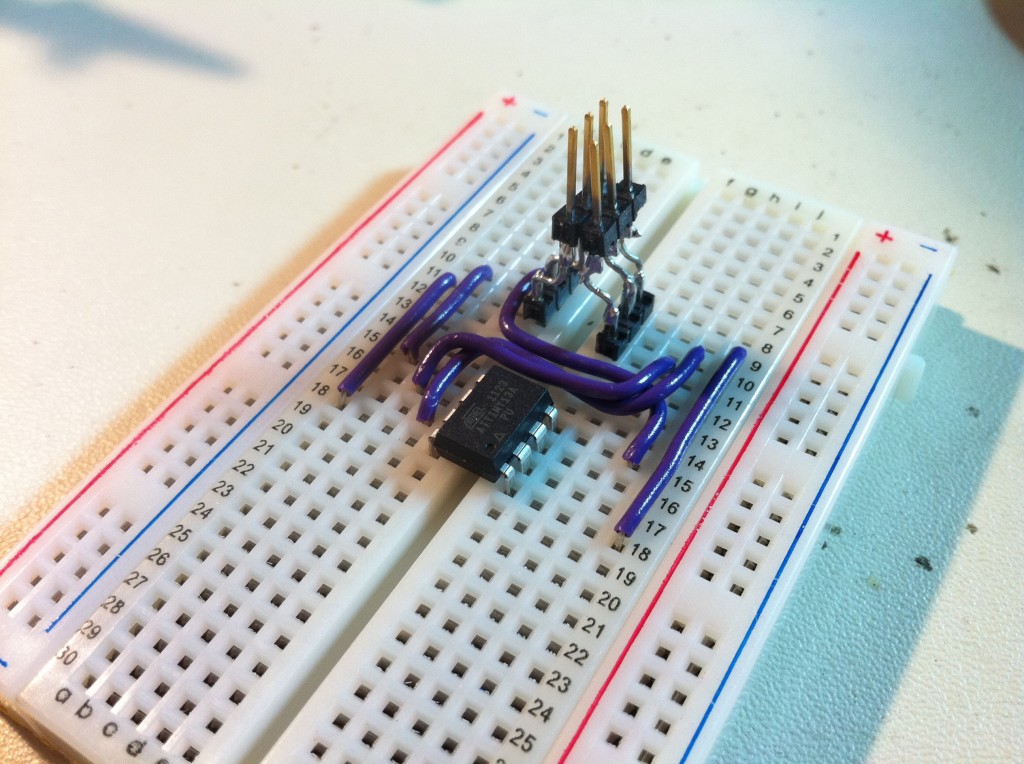
I had some trouble getting the programmer to work the first time. There turned out to be two things tripping me up. First, the six-pin ribbon connector had a loose connection in it. Second, the ribbon was connected backwards from what I had seen elsewhere (here, for example), so the pin order wasn’t what I expected. Not that there’s a “right” way for the ribbon cable to be oriented relative to the connector, I just assumed wrong. Anyways, the point of all this is that the Adafruit forums were quite helpful in tracking down the problem. I found plenty of information on there for diagnosing common problems, and I ultimately got it working.
One final note on setting up avrdude for this programmer. It’s important to have the latest version, and if you’re on a Mac, there’s a lot of conflicting information on the web about installation. There are a couple of different distributions out there, and some are out of date. Adafruit has extensive installation and build instructions on their site, but I would honestly just skip all that and install CrossPack. I would have saved myself a lot of grief if I had started there.
In case you skimmed that, to get avrdude running on a Mac, install CrossPack, and nothing else. It’s free and will just work. Done and done.
Here’s a simple command line to test the programmer (assuming you’re using an ATtiny13A, like me):
avrdude -p attiny13 -c usbtiny -n
If something is wrong with your programmer, you’ll likely see this:

99.999% of the time, that error message means the programming header is not correctly wired to the pins on the chip being programmed. Check and recheck, as it can get confusing. If you’re not sure which pin is which on the chip, check the summary data sheet from Atmel. For the header connections, here’s a nice summary of the possibilities. If your wiring is correct, check the Adafruit forums for more help.
If everything worked, you’ll see this:

So now you might ask, what was I building in such a hurry with an ATtiny13A? More on that later!
I have one of those too. One small gotcha, they can’t program devices over 32K (or is that 64K?) I know they DON’T work with the atmega64, 128, 1280, 1281, 2560, and 2561 devices. I think there is a patch for avrdude to allow that, but what the patch REALLY does is to ignore errors during the verify cycle. SO since I do use those 64k and up devices I’m glad I repaired a broken AVR JTAGmkII that I was given. (Ugly Frankenstein type repair to replace a missing probe cable and jumper out a blown fuse and burned board traces).
Will this work with programming the Arduino bootloader?
I imagine so- it’s capable of flashing the entire program memory and EEPROM of the AVR chip that is in the Arduino, so you should be able to put any code you want in there, including a new bootloader. I don’t have much Arduino experience myself, though, so I can’t say for certain.