Adapting the old to the new
Sometimes the simplest hacks are the most useful.
My beloved ten-year-old Pioneer 502MX plasma television died recently. It was not repairable this time, so away it went. On the plus side, it was an opportunity to pick up a shiny new Samsung 55″ LED TV. It’s an amazing piece of kit, and cost less than one fifth of what my Pioneer did when new. Of course, I didn’t pay retail for the Pioneer (if I could afford that, I wouldn’t need to hack the wall mount to save a few bucks), but that’s another story.
Anyways, when it arrived, it was time to get it mounted on the wall. Many years ago, I had gone to great lengths to wall-mount my Pioneer, and it was no small amount of trouble. That panel was 6″ thick and weighed 132 lbs. The wall mount for it is a serious slab of steel, with 6″ lag bolts that go into the wall studs. It was a non-trivial project to mount it, and I really didn’t want to undo it all just because it wasn’t compatible with the new panel.
The official Samsung mount is $200(!!), and it’s amazing how… unsubstantial it is. It’s literally two bolts with a cable between them that they say you can hang from drywall anchors. Wha??!
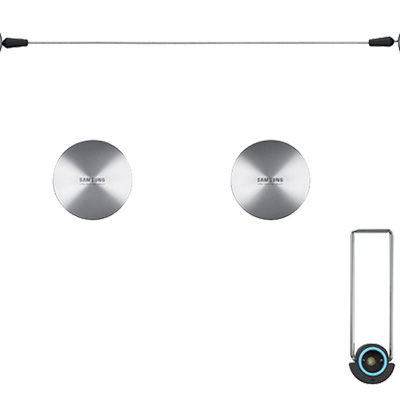
How can they get away with that flimsy contraption? Well, this new TV, despite being considerably larger than the old one, is only 1″ thick and weighs a scant 39lbs! It’s really quite amazing. It weighs less than the mount for the Pioneer did. The svelt mass is what will make this hack so easy.
The Pioneer mount was two pieces of boxed 3/8″ steel plate. The first piece mounts to the wall:
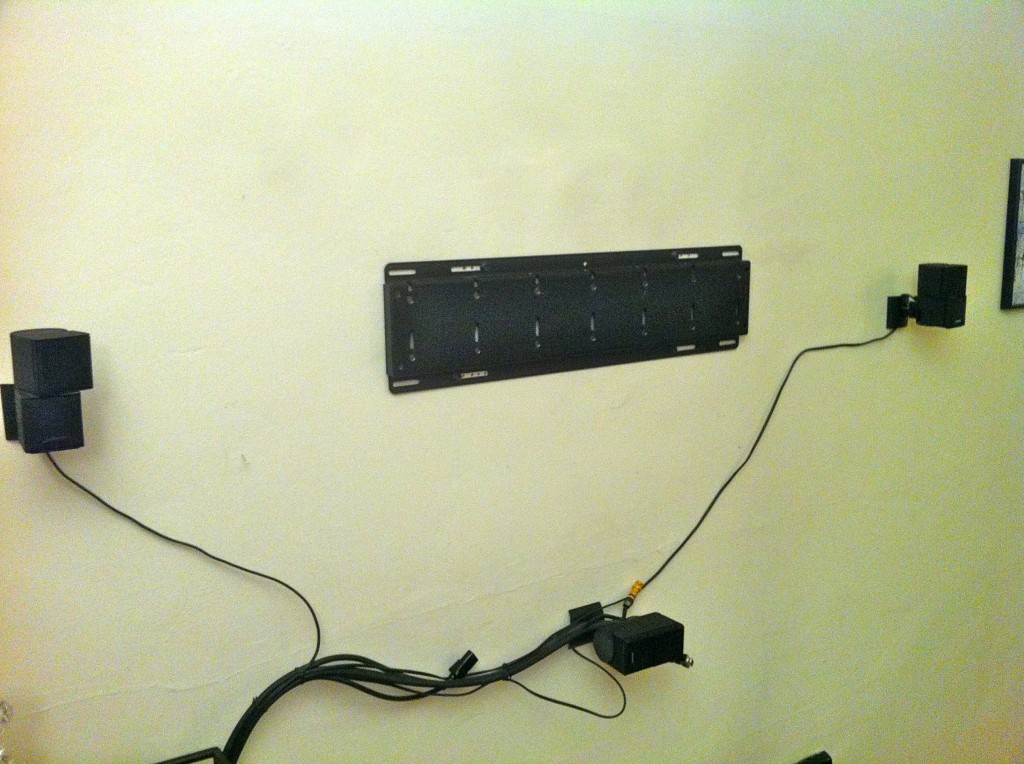
The second piece is a plate that mounts to the back of the TV, and it has hooks on it that engage with the wall bracket shown above.
The Samsung has a standard VESA 400 bolt pattern on the back for mounting. The old Pioneer, unfortunately, had an arbitrary bolt pattern of its own. Luckily though, that pattern was wider than VESA 400. That means I could just drill some holes in the backing plate, thread in some M8 bolts, and presto! Instant Samsung-to-Pioneer conversion plate.
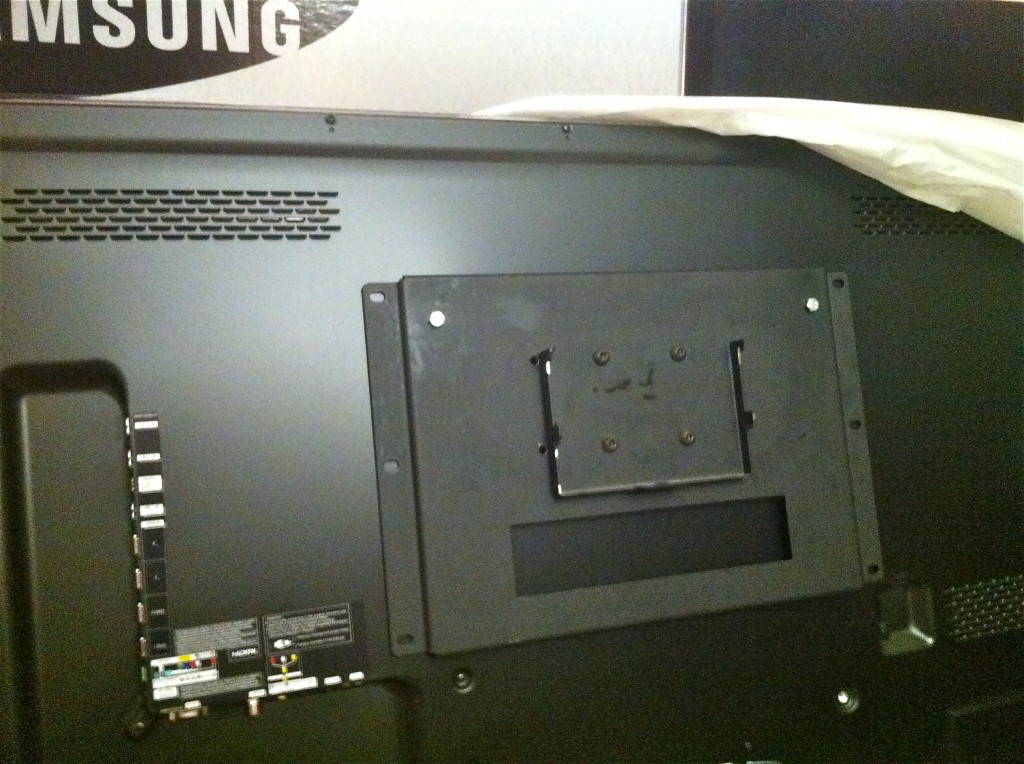
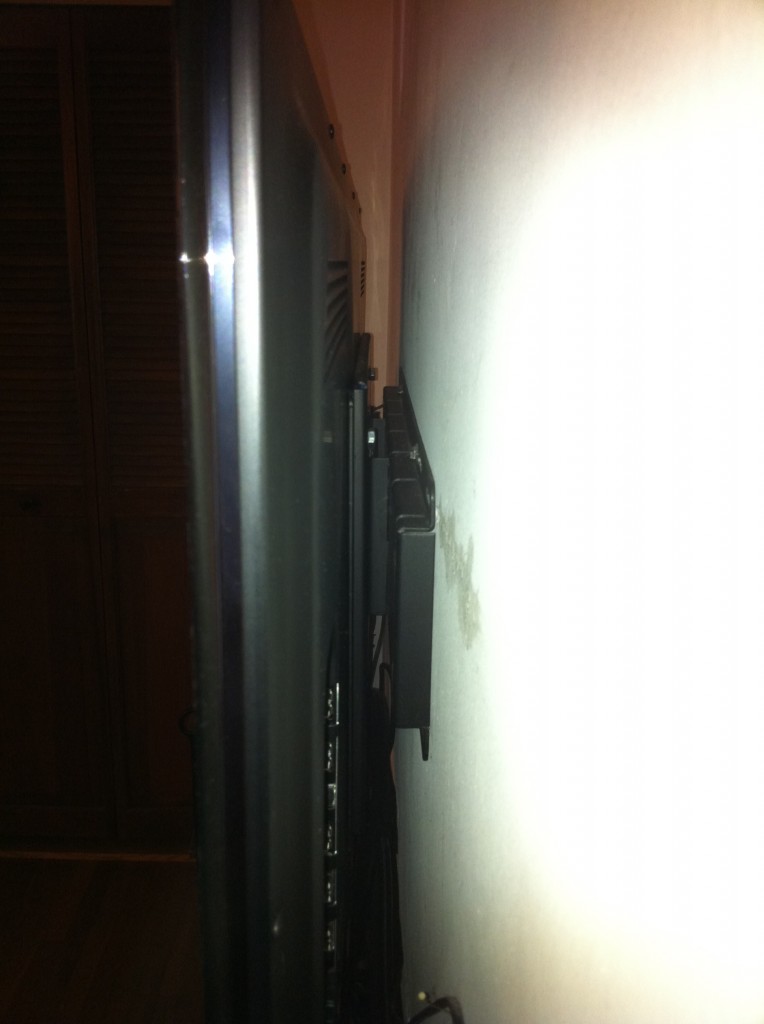
There you go. A simple hack that solved a problem and saved a bunch of money. What more could you ask for? Well, an electric unicorn that farts rainbows would be nice, but we can’t always get what we want.
The bits are not disposable, but they are sharpen-able. You’ve got multiple inches of flutes left, and you can re-sharpen almost till the flutes are gone.
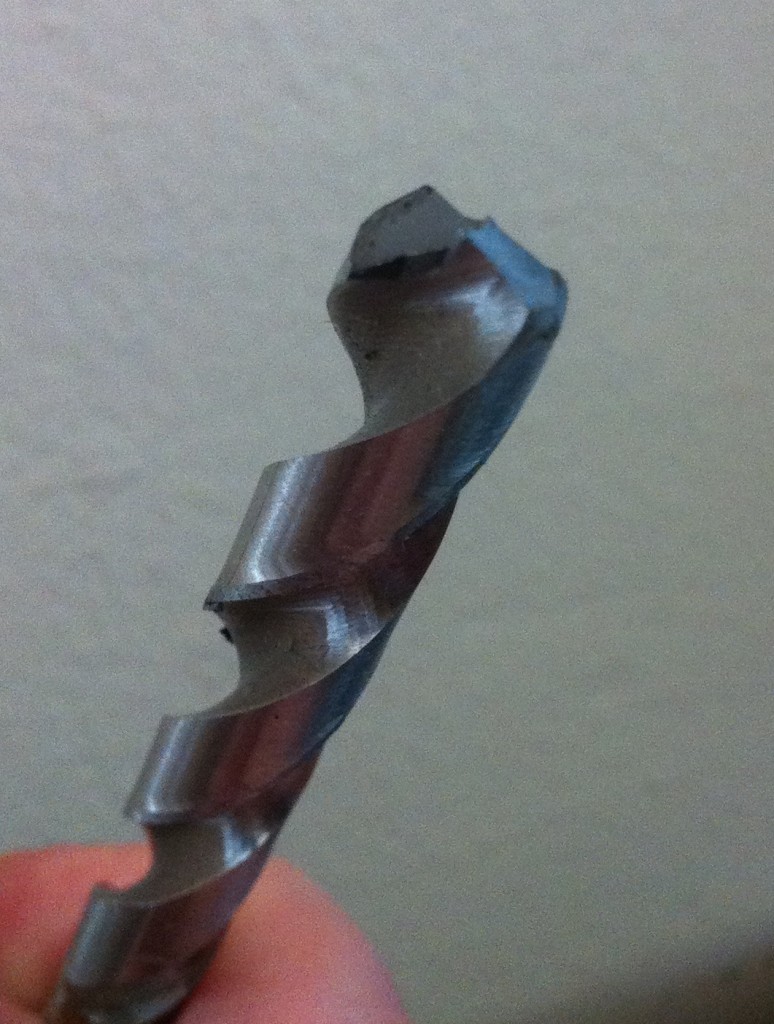
From the picture, it looks like you hit something (nail, metal tab, etc…). If you really only drilled 2 holes, you definitely hit something. If you hit something even with a bit coated with some sort of Titanium, or a carbide tip, you will break it. Then you have an expensive, useless, dull bit.
I have the same set of drill bits (index) that I bought about 15-20 years ago. And I use bits out of it every couple of weeks (wood and some metal). They are not special (they have just a black oxide coating), but I sharpen them when they get dull. I started trying to sharpen them by hand, but that’s just nuts. Now I use a Drill Doctor. I guess you can get them now at the BigBox stores (cheaper on Amazon). The tip might not be as perfect as when brand-new or if an expert sharpened it, but it’s quick, and it works.
You probably drill phenolic and metal. Get a better Drill Doctor (500x-750x).
Also, when you’re drilling a big deep hole like this, don’t just brute force the bit all the way in. Drill in a little and retract the bit to let the flutes clear the junk out of the hole, then drill some more. Make sure you do this a couple of times. It clears the junk (instead of wearing the bit), and lets the bit cool a little. Drilling with a hot bit will dull it faster. I may be preaching to the choir, but I’m just saying this because it looks like the bit in the picture has been through hell.
If nothing else send me that bit in the picture. I’ll use it for the next 20 years.
Michael
That’s interesting stuff, Michael- thanks! The frustrating thing is, I was very very careful with this bit. I was backing it out periodically, as you say, using oil, and there was plenty of empty space under the work. It shattered half-way down the length of the bit on the second hole. The material was 3/8″ steel plate. It was fairly soft, and the bit was cutting it well. Then boom, away it went. I suspect this brand (local hardware store obscure something-or-other), because every one I’ve bought there has broken very quickly, no matter how careful I am.
The quality of drill bits differ a lot! I don’t waste my time with the crappy ones. I is true that a broken bit easily can be re-sharpened if you have the right tools. (at work we use a special jig, but if you have some experience doing it you can even do it by hand). However when a drill bit is re-sharpened is may start to drill a little inaccurately if the point is not properly centered. I am no tool freak, but i like my tools to be of reasonable quality. Anyways great hack! I like when alternative solutions to otherwise expensive problems are found. And yes the new Samsung wall mount is NOT worth 200$!
I have the same question about quality bits, it seems to be pretty random.
The drill doctor is pretty sweet if you are drilling in metal. It won’t make your broken bit any higher quality but you will be able to get more half depth holes from it until it is gone. 🙂 It definitely beats having to run to the store to finish a hole.
I’m not a perfectionist by any means but I haven’t been able to detect that any of the bits I have sharpened have been off center.
I enjoy your projects, thanks for taking the time to put them up.
I get my drill bits (and just about everything else) from McMaster-Carr. They carry drill bits from 0.002″ up to frickin’-huge. http://www.mcmaster.com/#drill-bits/=eu2cc5
I recommend getting a set of brad-point bits for wood and a separate set of 135 deg. bits for metal. Countersink and counterbore bits are a nice touch as well. If you need to tap (put threads in stuff) get the correct wire and letter size bits for the threads you’re tapping. Or even better, get a set of taps with matching drills.
There are tons of combinations of drill bit coatings and compositions. Black oxide coated high speed steel is pretty much your entry level (there are cheaper options, but I wouldn’t consider them), TiN coated HSS is middle of the road, and TiN coated cobalt steel can be considered the high-end for anyone who doesn’t make their living drilling holes.
So, check out McMaster-Carr. Order some bits. You can’t go wrong. I promise you, they’ll be better than what you can get at the local hardware store.
Hi Quinn,
Busted a 3/8″ drill bit…. that’s impressive… and potentially dangerous.
If you’re drilling large holes in 3/8″ plate (or pretty much any steel or other metals), you want to start off with a pilot hole first, probably 1/8″, then use progressively larger bits until you’ve drilled the 3/8″ hole. When drilling, take notice of your drill speed. Use a higher speed on the small bits (about 3,000rpm), and a progressively slower speed when using the 3/8″ (about 1,000rpm) and larger bits . And of course, use the oil to cool and lubricate the bit.
And most important of all, make sure you are using safety glasses while drilling, and a hair net or something else to keep your hair away from the spinning drill chuck and bit. There’s been some nasty accidents when loose sleeves or hair become mixed in with high speed machinery, even if it might be a hand tool. And you really don’t want metal swarf in your eye.
Keep up the good work.
Regards
David
Thanks for the tips, David! I am meticulous about eye protection when drilling/grinding, and I concur on pilot holes, bit speed, and oil. This bit actually broke despite all those efforts, which tells you a lot about crappy they are.
Here’s a useful link for drill bit speeds
http://www.ibiblio.org/twa/info/drillSpeedChart.pdf
“an electric unicorn that farts rainbows would be nice”!! HAHAHAHAHA
Nice hack BTW 🙂
I’ve tried all the various drill bits and their coatings and found that the cobalt covered ones last the longest. Another tip is when drilling in metal start with a small hole and step it up from there. This really helps when trying to get a larger hole in metal.
Hello! Thanks for your post! I was wondering – how serious is it, in general, to mount the TV using ONLY the top two mounting holes with the brackets? I’m putting up a new TV and the existing brackets fit into the top holes only…they aren’t long enough to get to the bottom holes. The TV is also about 39 lbs (it’s a 47″ Visio) and i would rather return the TV than re-mount the TV mount (it was SO much work the first time around!) Do you think the washers behind the bottom part of the brackets would work for other TVs, too? Thanks! Much appreciated!
I imagine what I’ve done here would work fine for other TVs as well. As long as the force is distributed fairly evenly around the bolt holes. The goal is to make the stresses as close as possible to the factory mount, since we know the TV was designed to handle that. In this case, the factory mount was two bolts on the top mounts only. All that was really needed was to make sure there was a flush mounting surface, to make sure the backing plate area around the bolt holes doesn’t warp. I don’t know if this was necessary (since I can’t see the internal structure of the TV), it was just a precaution. It’s hard to say what would work for another TV without looking at it. I hope that helps a bit!