Upcycling my own crap for once.
This isn’t a hack per se… more like a hacklet. It’s a quickie, and thus is free for my Patreon Patrons. Speaking of my patrons, thank you very much for being you. I heart each and every one of ya. You’re helping me run this site, and helping procure supplies for these adventures. It makes all the difference, and without you, Blondihacks would be a sad shadow of itself. As for the rest of you, no pressure, but if you want to pitch in, sign up right here!
Now back to our show.
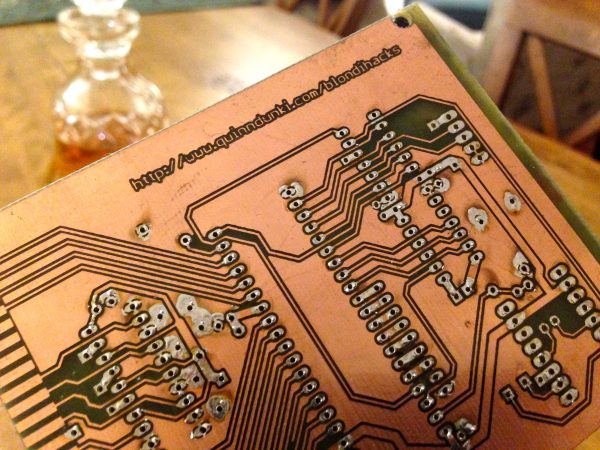
Over the years here on Blondihacks, I’ve left a lot of refuse in my wake. The detritus of failed projects and broken dreams. One day it occurred to me that I have so many failed and broken old PCBs that I could make coasters out of them. So I did.
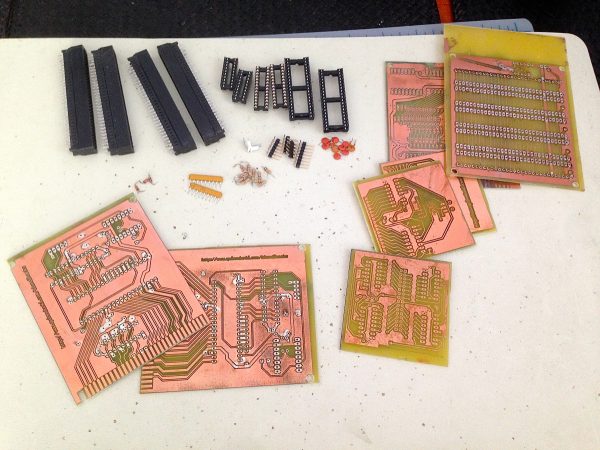
The PCBs have lots of stains and marks and other abuse on them, but I’m not making any attempt to clean them up. They’re far more interesting as they are. The hard-fought battle scars of failure that paved the way to other more successful projects. This is what the hipsters would call “patina”. Pretend you have a handlebar mustache and Buddy Holly glasses while saying “patina”.
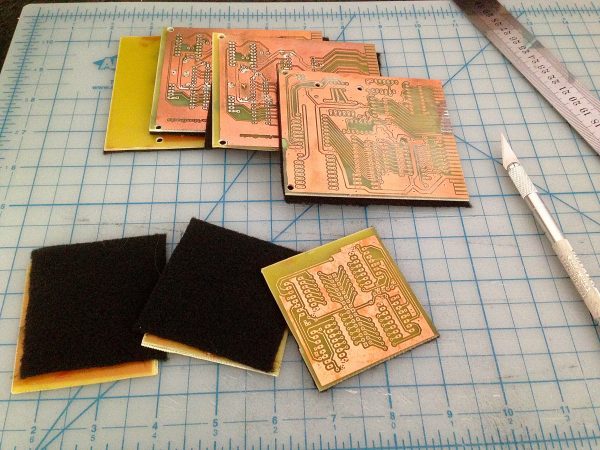
The felt is glued down with 3M Super 77 spray adhesive. This is good stuff, but it’s messy, so wear gloves and work outdoors. The instructions state you should “join pieces while aggressively tacky”. I think that means you have to dress like a Kardashian for this project. I got weird looks from the neighbours, but I’m a stickler for following directions.
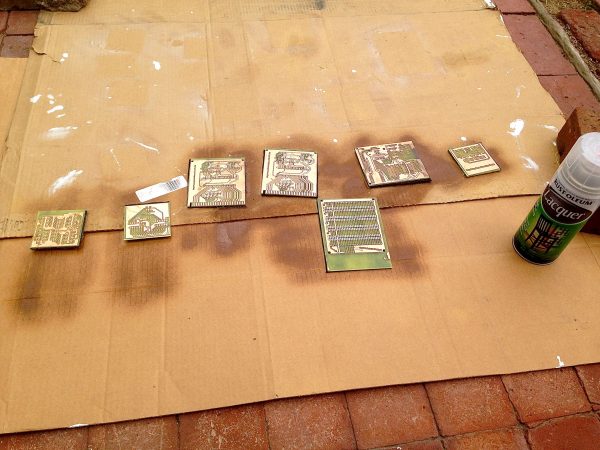
Let these dry thoroughly before handling, so as not to mess up the lacquer. Once dry, the extra felt can be easily trimmed off with a sharp knife.
That’s all there is to it- this whole project took all of 45 minutes, not including waiting for glue and lacquer to dry.
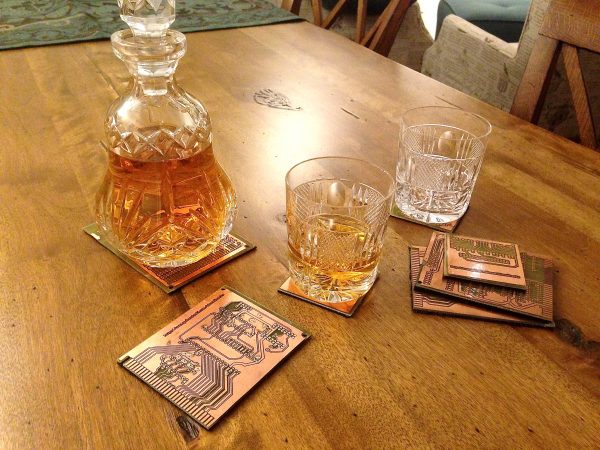
You too can have the nerdiest coasters on the block with these simple steps.
Tune in next time, when I make coasters out of all the burned out components I have lying around. What are these, coasters for ants?!

Those look nice! That’s lead-free solder, I hope, so it can’t dissolve and diffuse through cracks in the lacquer? I’m a worrywart so I’m wondering about lead on factory-tinned component leads too.
A fair question, but I’m comfortable assuming nobody will lick my coasters. 🙂
Oh my, where do I even begin with THAT one? 8-|
That’s awesome, great idea! I have a bunch of PC cards that I’m never ever likely to use again (PCI card with extra USB ports anyone?) that I could turn into nifty looking coasters. I already turned a dual P-II motherboard, CPUs, and a couple cards into a snazzy keyrack: http://imgur.com/HZMz8lk
Great post. More laughs-per-character than usual. 😉 “handlebar mustache and Buddy Holly glasses”, “dress like a Kardashian”, “stickler for following directions”, “coasters for ants”, you’re on fire!
Thanks! I had to make up for the lack of actual content with dumb gags. 🙂