The cracks are starting to show.
My elliptical cardio machine has made so many appearances on this blog so far that it practically deserves its own section at the top of the page. If you’re a long time reader, you’ve seen me convert it to wall power, make new pedal rollers, and make new feet. There have also been couple of other repairs that I didn’t bother blogging. Well, this time around we have genuine structural failure! Things are getting interesting as this machine enters its fifteenth year of hard service. We’re probably ten years past the point where a person could get parts for it, so keeping it going becomes an ever-more-interesting fabrication challenge.
The machine has been running great for quite a while now, ever since I made new feet for it from Furisoa-grade steel. However, I was doing my usual workout the other day, when I looked down and noticed something moderately alarming.

While it would be exciting to keep using the machine until that failed completely (and what a spectacular failure it would be), I decided to go ahead and arrest this damage right now. First things first, we need to get that component out of there.
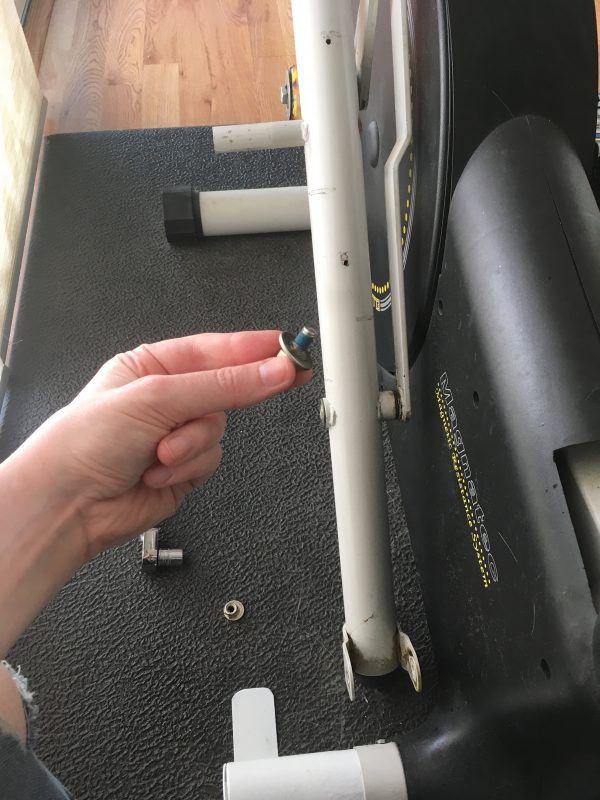
Luckily that component is easy to remove. I don’t fancy dragging the whole machine into the shop and having to work on it that way.
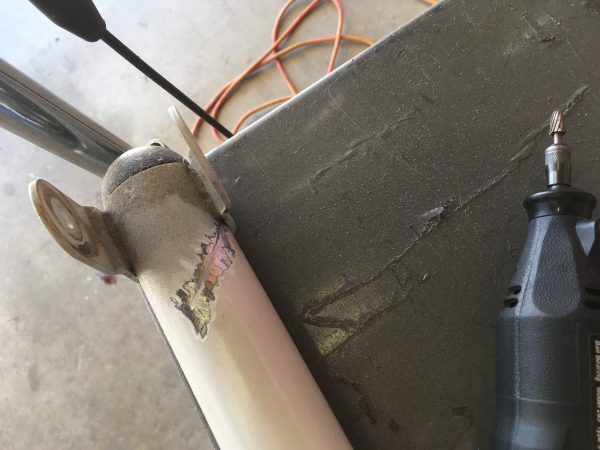
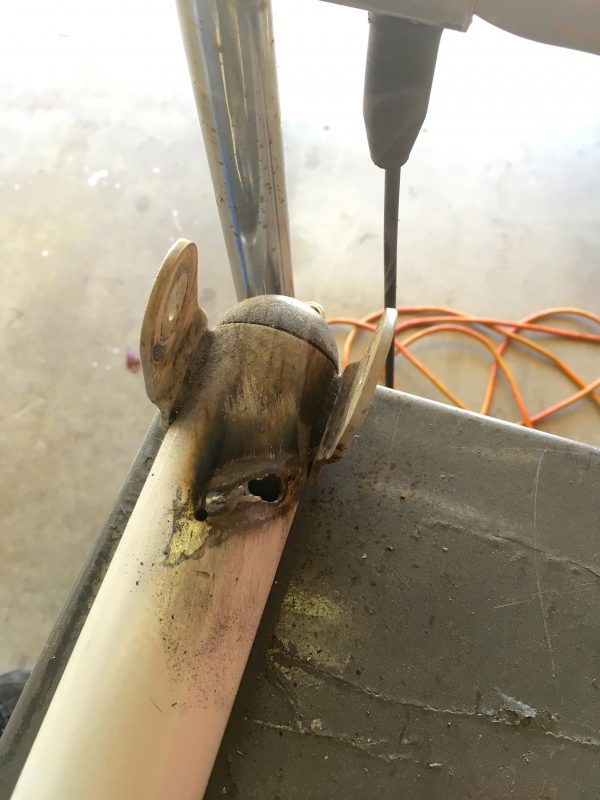
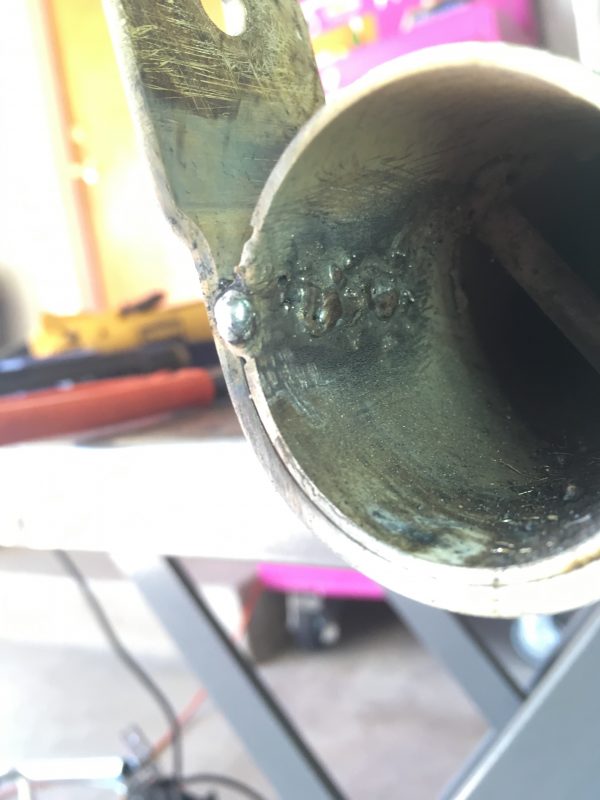
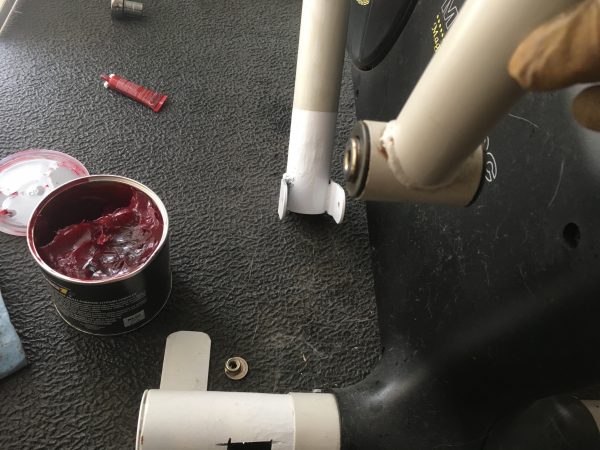
The crack appears to be running from the weld joint of that bracket backwards. That stands to reason- there’s a lot of stress right there as the energy of the arm-levers is transferred to the foot pedals and vice-versa. The bracket is much heavier steel than the tubing, so the tubing is going to flex at that welded joint. Flexing means failure, sooner or later. I used a die-grinder to dig out the crack a bit so we can fill it in with weld and get some strength back in there.
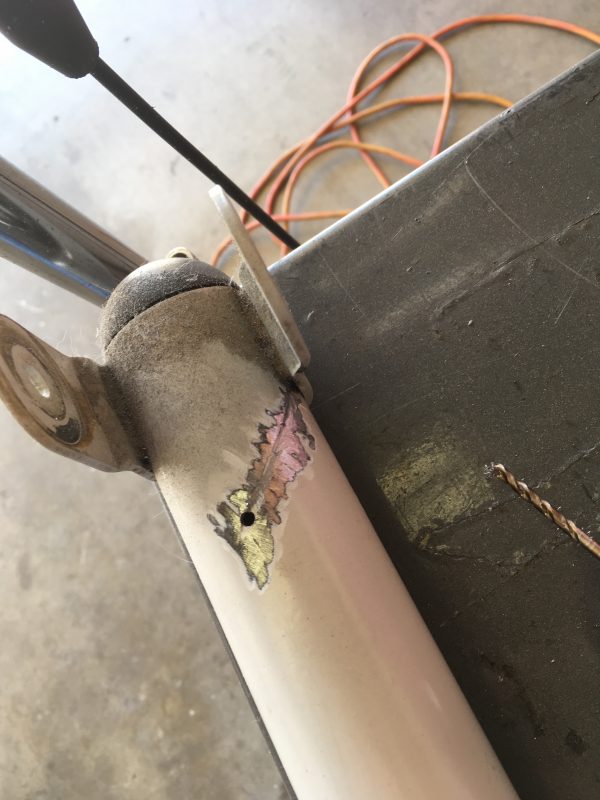
Stress fractures have a very interesting property in that they can be stopped in their tracks by drilling a hole. This effect is easy to visualize. Imagine a sheet of paper with a 2″ hole in the middle of it. Start tearing the paper with two hands, such that the tear moves towards the hole. What’s going to happen with the tear gets to the hole? The tearing stops and now you’re just bending the paper with your hands. The hole creates a relief point by introducing flexibility. The fracture can’t progress past that point as a result. The same effect works in steel.
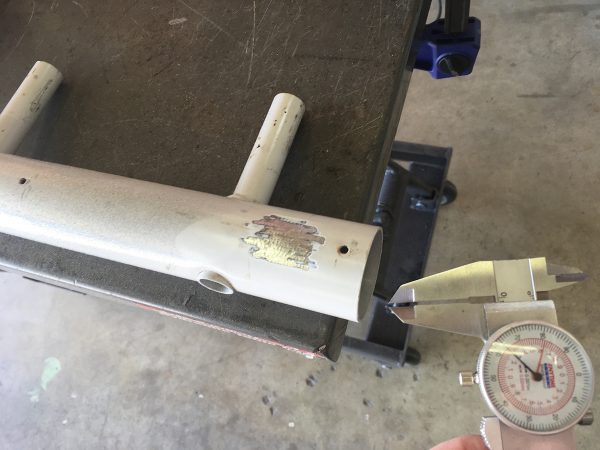
Okay, the site is prepped for welding, now it’s time to set up to do the deed. We need to know what kind of material we’re working with here in order to set up the welder properly. If in doubt, the welder probably has a chart in it with suggested power levels and wire feed rates for different thicknesses of steel, and whether you’re doing flux-core wire or gas-shielded welding with regular wire.
This is a very straightforward welding task, so it should be no problem. “Should” is the operative word there. If everything went well, this wouldn’t be a Blondihacks post, right?
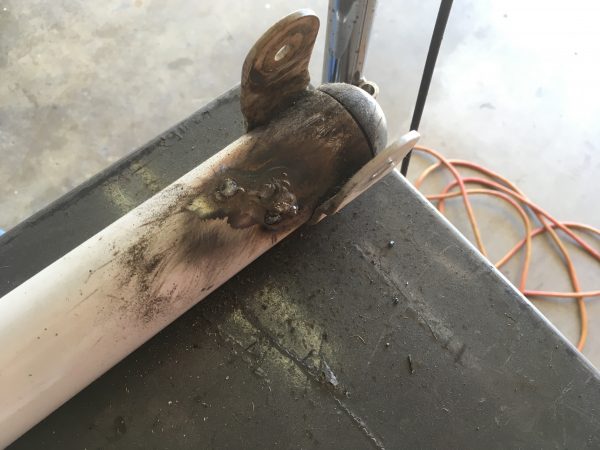
This is much thinner material than I have much experience with, so I consulted the chart on the welder to see what it suggested. They recommended a power setting of 4 (middle of the road) and a very slow wire feed of 12. After a few tests, I decided that was much too slow of a wire feed for my taste. I know what I’m doing and don’t need some chart to tell me how to weld, dammit. So I turned up the wire speed, and immediately blew a giant hole through the piece.
Right. Anyhoo, there’s no need to panic, because with steel all things are fixable. That’s a larger hole than I’m comfortable filling with weld alone (especially on such thin material), so I decided to use some filler stock.

A few layers of welding later, and we have all the cracks and holes filled.
Someone smarter than myself once said that editing is to video as grinding is to welding. The nice thing about being a lousy welder is that I’m damn skilled with a grinder. Funny how that correlates, isn’t it?
While cleaning up that repair, I noticed that I had neglected to remove the plastic cap in the end of the pipe. I should remove that and make sure I didn’t melt it with the welding. Good thing I did, because you won’t believe what happens next. That’s not clickbait because you already clicked to get here and all you need to do is scroll at this point. I guess that makes it scrollbait. Scroll down to find out what I found! Honestly, all this build up really isn’t worth the reveal. You’ve probably already guessed what it is and I’m just ruining the whole situation by continuing to talk about it like this. I’ll stop now. Well, okay now. Now.
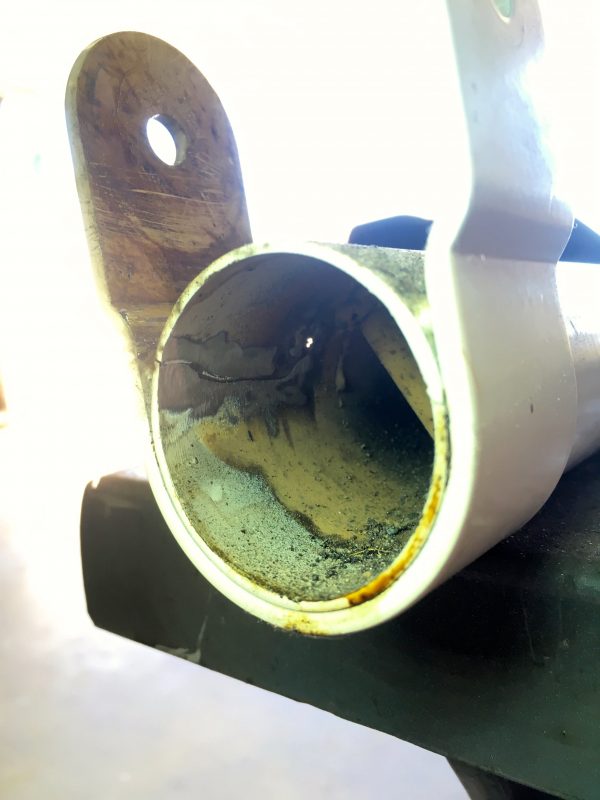
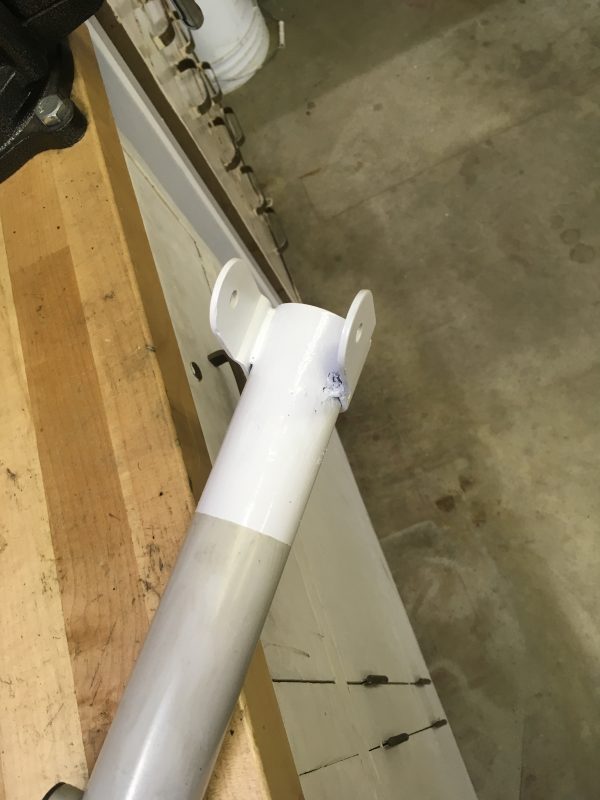
There’s very little room to work here, but with some finagling and violating some best practices of MIG welding, I was able to roughly approximate a “weld” in there.
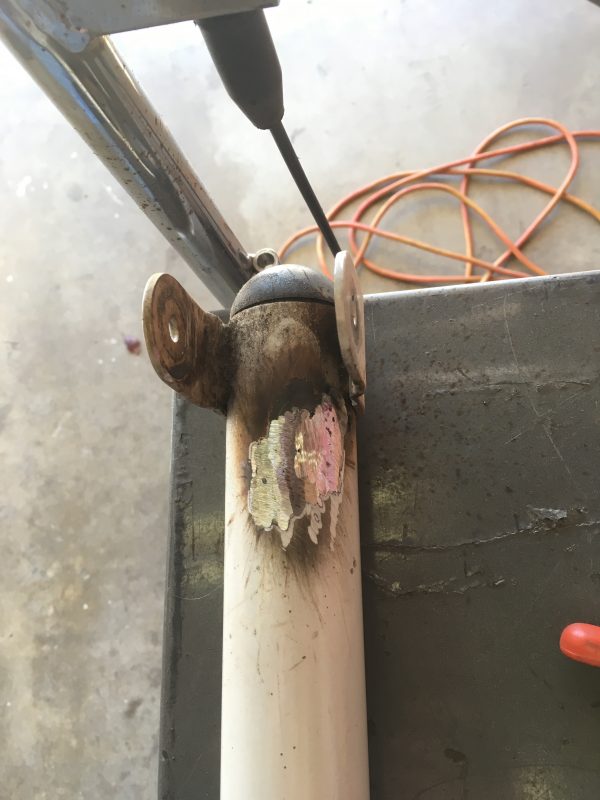
With that crime against welding all finished, it was time to make the repair somewhat presentable.
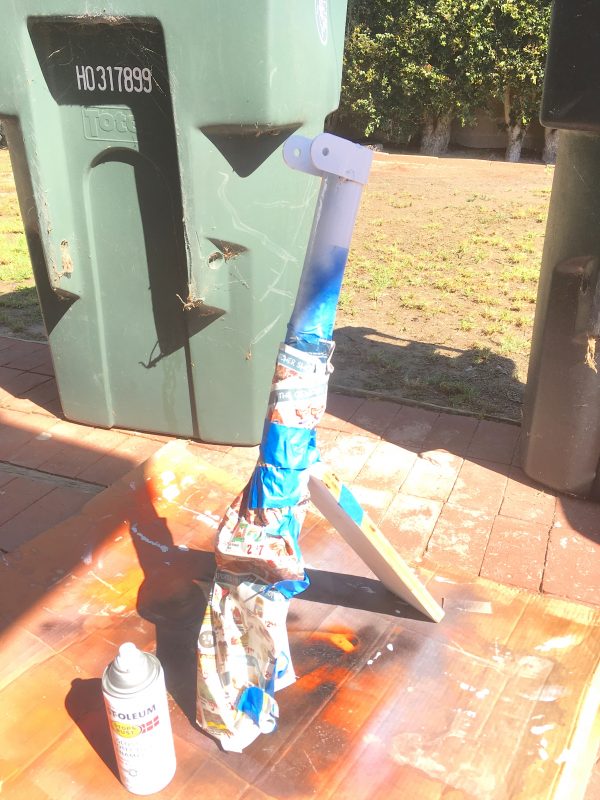
There you go- a grinder and paint make me the welder I ain’t. Okay, reassembly time!
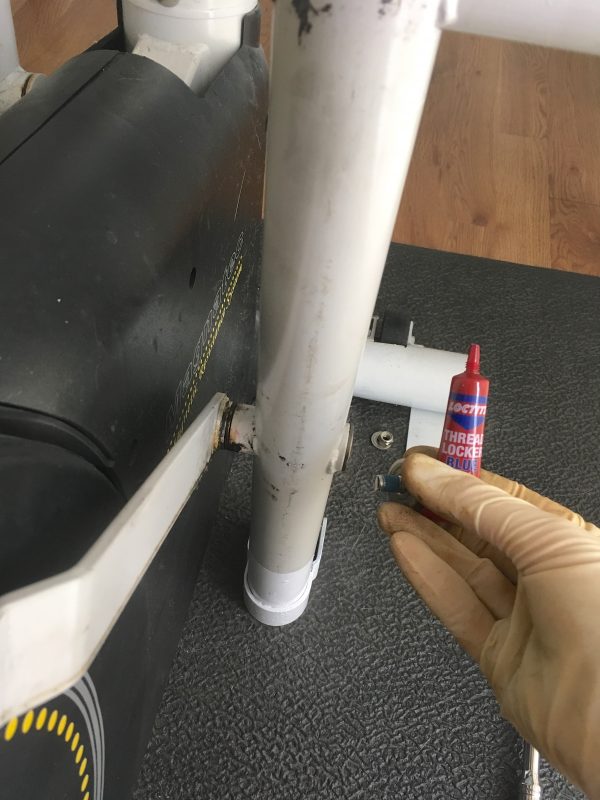
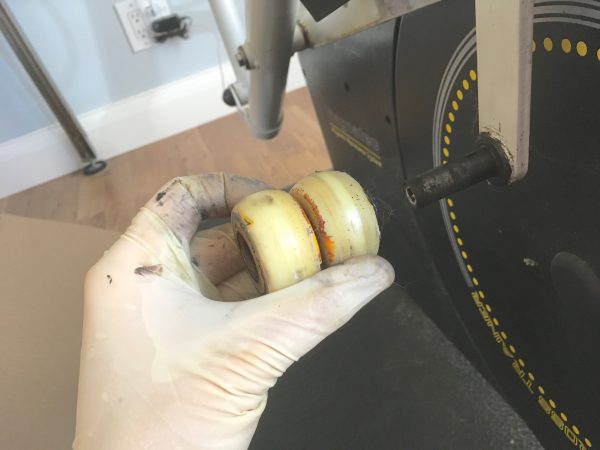
While I’m in here and the tools are all out, I took the opportunity to freshen up the roller bearings as well.
A bit more reassembly, and this job is done!
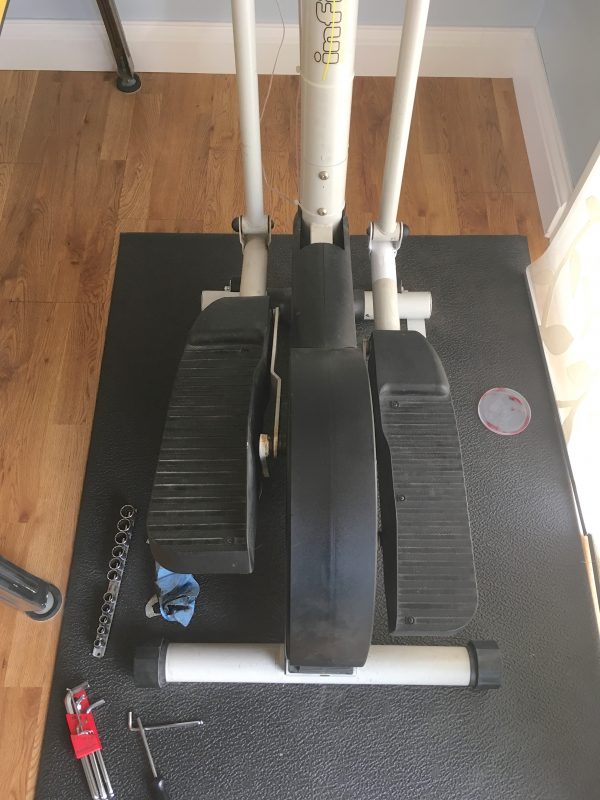
We’ve managed to squeeze a little more life out of this machine yet again! These failures are getting decidedly structural, though, so the writing may be on the wall. I’m actually quite stunned that the structure is failing before the magnetic resistance system, which is presumably full of moving parts and such. I guess the tubing they used for the frame is just a little bit too light for the application. Although to be fair they probably weren’t engineering for a 15+ year lifespan. We may not get another 15 years out of this beast, but it ain’t dead yet!
Did you consider fitting a piece of tubing inside to add strength and a solid backup for the welding. You might not be able to put the plastic end back on,but it’s abscence wouldn’t be noticeable anyway.
Yah, that certainly would have been a stronger repair. We’ll see how this lasts, and that may be plan B!
If a small hole stops the spreading of the crack, surely that great, gaping maw you could drive a submarine through would have been even more effective? I fail to see the problem here.
Heh, yes, clearly the answer is more holes. Holes everywhere!
Couldn’t spot a full pic of the part in question; how difficult would it be to fabricate a whole new replacement part, perhaps of a slightly higher gauge of steel? Looks like some tubing of a couple of diameters, a couple through-holes, a few small tabs made of flat stock, and some welding. Couldn’t tell if there is any bend in the piece, but you’ve been looking for an excuse to make a pipe bender haven’t you? I mean, hasn’t everyone?
Yah, that crossed my mind also and may well be the future of this machine. The structure is all straightforward tubing construction that wouldn’t be too difficult to reproduce in heavier material. We’re into Ship Of Theseus territory at that point, but hey- we’ve already gone to extreme measures to keep a $150 machine running 5x past its designed lifespan. Why stop now?
How about a riveted repair in the same sort of style you sometimes see with aircraft structure?
That’s another good idea! It’s in a tricky spot though- the fracture went down behind the weld on that other bracket. Arresting the spread at both ends might be tricky.
yay! another middle finger to the planned obsolescence crowd.
the way sprocket was eyeballing the problem, makes me think this was an act of sabotage. cats are like that.
Quinn, once again I am truly amazed and inspired by your unbounded energy. Following your lead, tomorrow, I might try leaving the safety of my sofa and venture into the garage just to see what half finished goodness is out there…
Wheel bearing grease is bad, but I daresay gear oil (from manual transmissions) is worse, especially when it’s fresh. Also, everything runs better with cat hair. 🙂
Oh goodness yes, I will concede that point. Sulfured 80W90 gear oil is Satan’s Bile.