A fun little afternoon project.
Recently, the fine folks over at Adafruit Industries asked me to build something with their parts and write about it. Full disclosure, they gave me these parts for free. That said, I’m being perfectly honest when I say the Bluefruit keyboard module is really cool. I was genuinely impressed with how easy it was to use, and how well it actually worked. I’ve worked a lot with Bluetooth in my professional life, and I can tell you it’s a giant pain in the ass. It never “just works”. Just think- have you ever used a Bluetooth accessory that didn’t have some annoying behaviour or other? Anyways, enough rambling- the short version is that I think this Bluefruit EZ Key thing is swell, and I’ll be doing more with it for sure.
One quick and easy project you can do is to make a bluetooth arcade controller. This is a great way to get your feet wet with classic gaming, if you’re not quite ready to dive into the deep end. With Bluetooth, we can even leverage a little of the 21st century to make our 20th century experience wireless. Let’s get started!
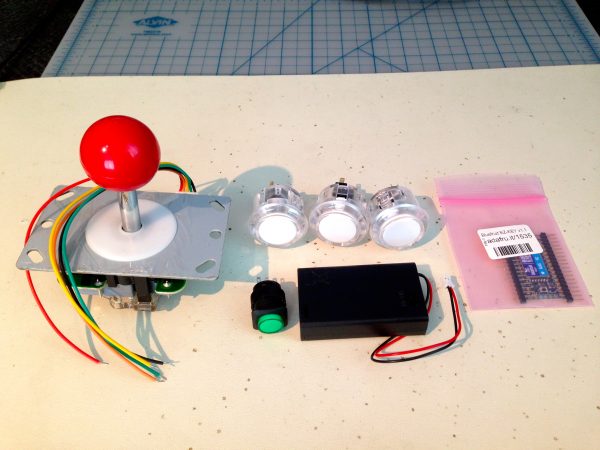
Full disclosure time again- these arcade parts are not as beefy as the Happ or Sanwa components you’ll find on big arcade systems. However, for the casual player, they’re a nice option at a very reasonable price. Note that the joystick is fixed 8-way, so you can play a variety of games with it, but you may have issues with some 4-way games.
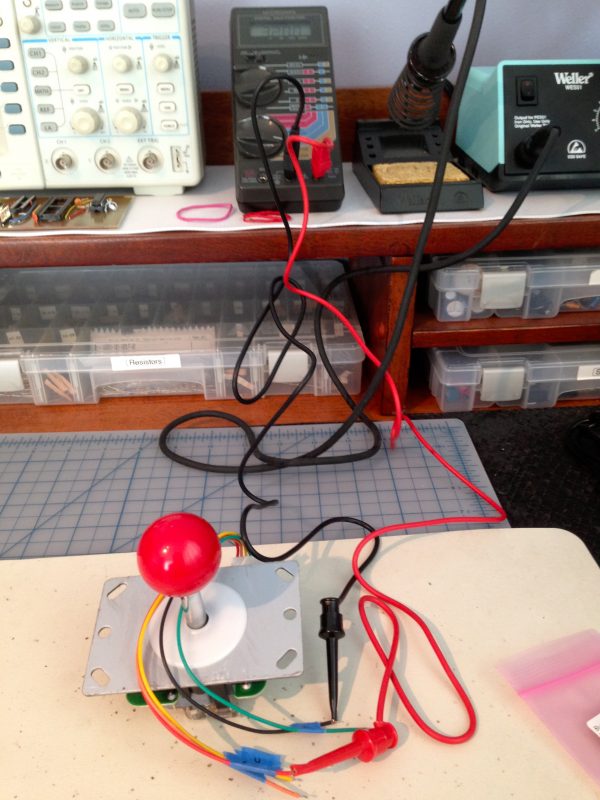
The first order of business is to figure out the connections on the joystick. Luckily, these work exactly as you’d expect. The black wire is common, and the other four are the direction switches. I used the meter to determine which was which when the joystick is sitting in my desired orientation, then labeled them for later.
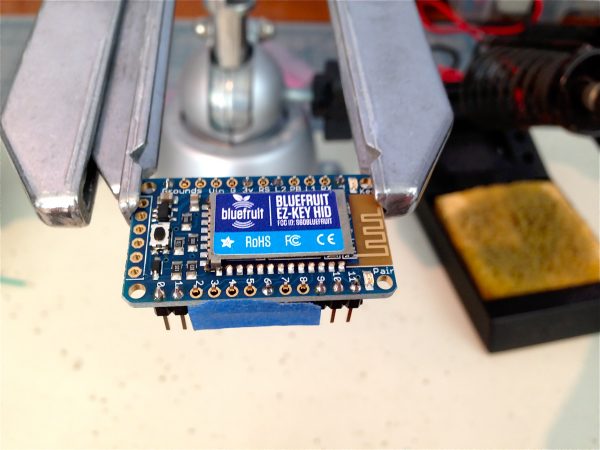
Next, I attached the headers that come with the bluetooth module. I like to solder in a cross-pattern, the way you would tighten bolts on a sealing surface. This keeps the header from getting crooked, and spreads out the heat load as you go.
Now on to the breadboard! I connected the four joystick directions to inputs 0-3 on the bluetooth module. These correspond to Up, Down, Left, Right, respectively. The Bluefruit module has all the information you need silkscreened right onto the PCB. I didn’t need to consult any documentation, and I had it running within a few minutes. Then I pushed the pair button, and my laptop saw the device and immediately connected to it. Then, I fired up a text editor and created a grid of characters. If everything is working, I should be able to move the cursor around in this grid with the joystick.
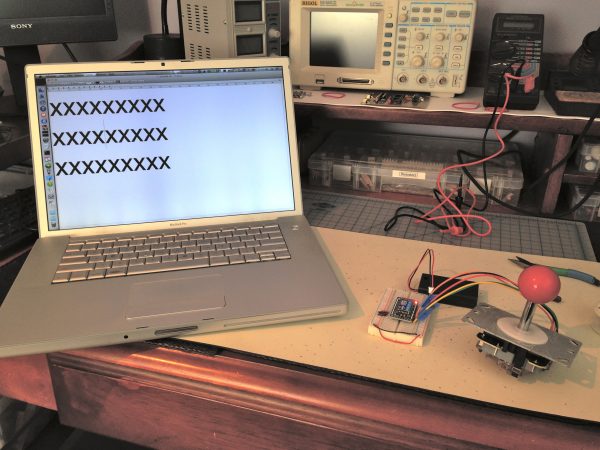
Now we know things are going to work as we expect, we can get serious and build an enclosure for these nifty bits.
Since the Adafruit joystick is the classic Japanese ball-top style (like you’d find on Pac-Man or Frogger), I thought a clean zen look would be appropriate for this stick. A blonde wood enclosure felt right, and should also result in something you won’t be ashamed to leave on the coffee table when guests come over.
There’s a company called Walnut Hollow that sells through Amazon. They make all sorts of raw wood boxes that you can modify and finish yourself. They’re a terrific source of cheap, nice looking project boxes. Here’s what I’ve chosen for the arcade stick:
http://www.amazon.com/gp/product/B00114LPC6/ref=oh_details_o01_s00_i00?ie=UTF8&psc=1
Here’s where things start to go a little pear-shaped. It wouldn’t be a BlondiHacks project otherwise, right? You see, I ordered the Walnut Hollow box, and it was delivered promptly via USPS. The catch is, I wasn’t home when it arrived. That should be no problem, because a while back I made a deal with my mail carrier that he should place packages in a special hidden place if I’m not home. Well, it turns out that special place is exposed to…. the sprinkler system. By the time I realized the package was waiting for me in the secret spot, it was well and thoroughly soaked.
I dried it out as best I could, but the damage was done.
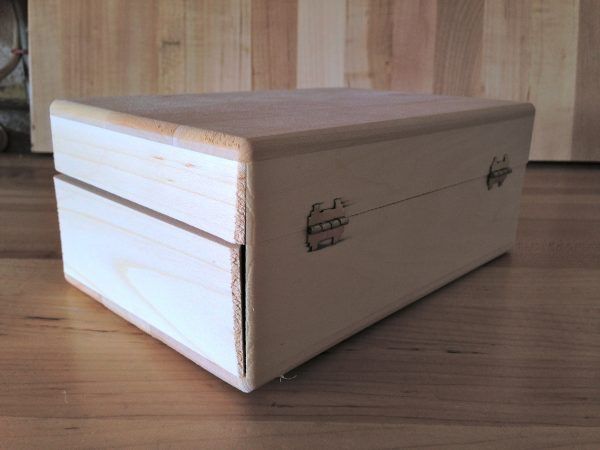
Well, we laugh in the face of adversity here at Blondihacks (unless adversity has sharp teeth or some sort of firearm). I set about making this box work.
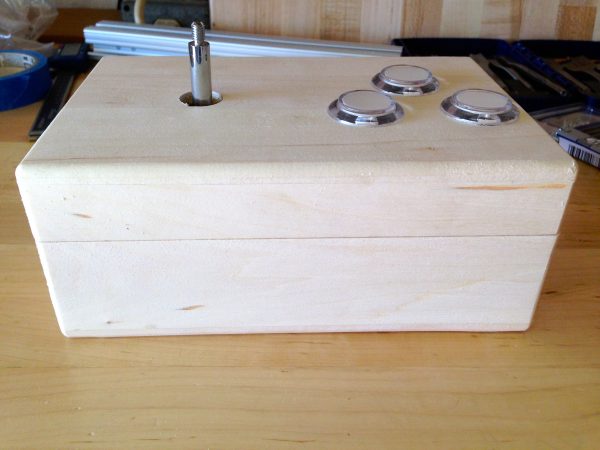
The lid was too warped for the hinges to work correctly, and I wasn’t that interested in making the box easy to open anyway, so they were removed. Instead, I cut some slices of scrap wood to make tabs to screw the two halves together.
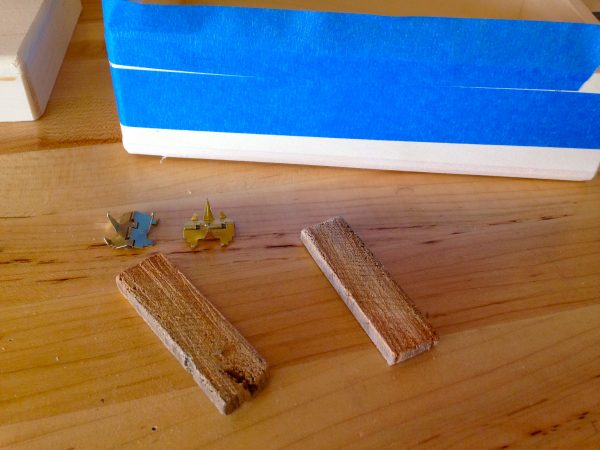
Next, I needed to make the mating surfaces flush again. A stationary disc sander would be a great tool for this, but I don’t have one. So, I taped some 80-grit sandpaper to the bench, and used that to plane the surfaces flat again.
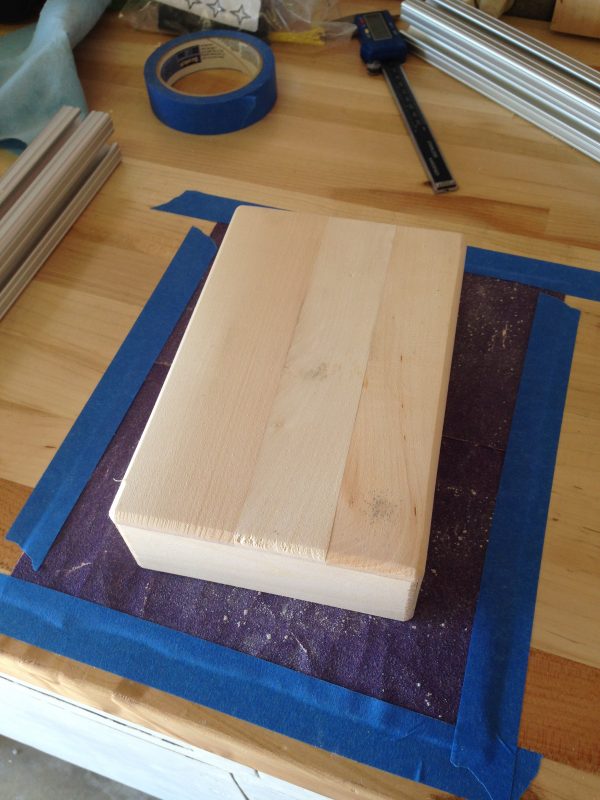
After that, the box was good as new. Now back to the project!
We’re going to mount all the bits in the lid. That will make wiring and later maintenance much easier. So, I started by laying out my holes on the lid.
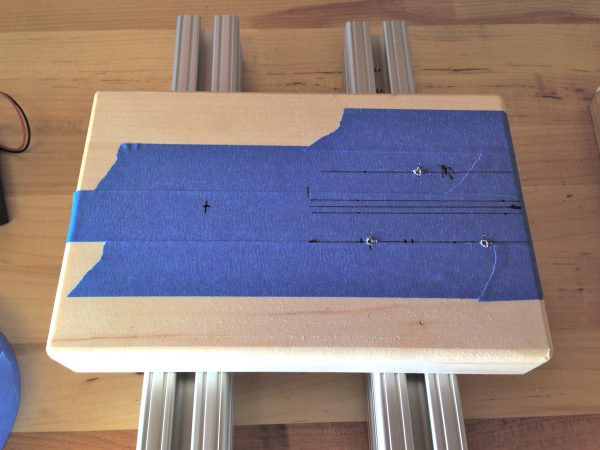
For the Adafruit buttons, drill a 1-1/8″ hole. I drilled pilot holes first, then drilled the final holes using a sharp paddle bit. Paddle bits tend to tear out the bottom of the hole, so drill from the top using light to medium pressure. Alternatively, use the more expensive Forstner bits if you have them.
The resulting hole will be a tiny bit too small for the buttons, but that’s good. We want them to be just large enough for a tight press fit, so we’ll go the rest of the way with a round file.
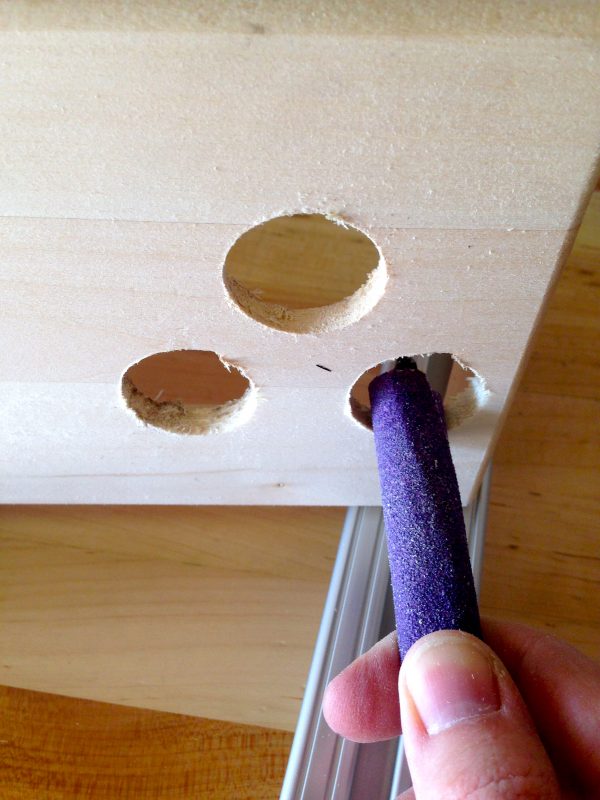
Next, I drilled the hole for the joystick, and marked where the mounting screws needed to be. I’m mounting the joystick using wood screws from underneath. This will be strong enough for casual play.
We need pilot holes for the screws to avoid splitting the wood. The trick here is that the wood isn’t tremendously thick, so we need to be very careful not to drill our pilot holes too deep. Drill carefully. If your bit is sharp (and it should be!), you’ll have good control. Never ever use dull drill bits! Either buy high quality ones and sharpen them as needed, or buy cheap ones and replace them as needed.
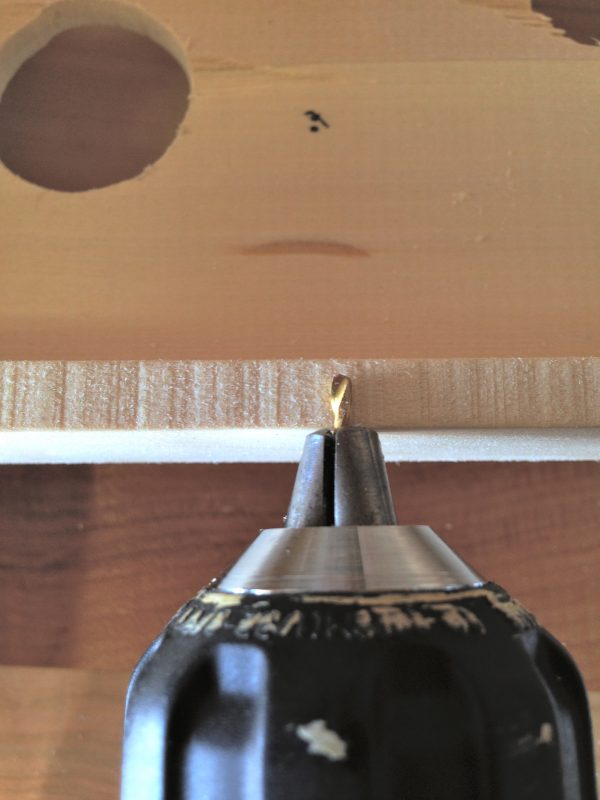
With all the holes drilled, this would be a good time to apply a finish to the box if desired. You could do a varnish or tung oil, for example. I’m opting to leave it raw, since I like how it looks and feels as-is. Your mileage may vary! Note that if you leave it unfinished, it will be a bit susceptible to moisture (like say, sprinklers).
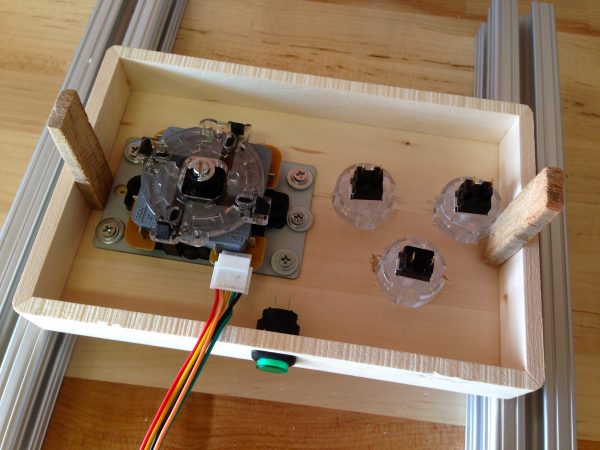
With all the components installed, it’s time to start wiring!
I found a convenient spot for the bluetooth module, then tacked it down with blue tape.
Next, I cut all the wires to length, and stripped the ends. The bluetooth module will actually be held in place by the wiring. It’s very light, and there are 9 solid core wires soldered to it, so that’s really plenty of support.
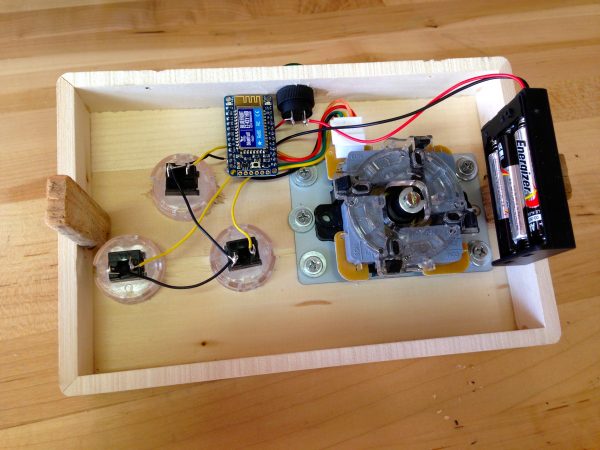
The joystick is wired up the same as in the mockup. One side of each button is daisy-chained to ground. The other side of each button is wired to inputs 4, 5, and 6 on the bluetooth module. This corresponds to the “Return”, “Space”, and “1” keys on the keyboard. These already map to commonly used fire, jump, and start buttons in many games, but you can remap whatever game or emulator you’re using, if needed. Three buttons is plenty to play pretty much every classic game that you’ll ever encounter. Note that it’s also possible to reprogram the mapping of the keyboard controller itself. There are docs on the Adafruit site if you want to attempt that.
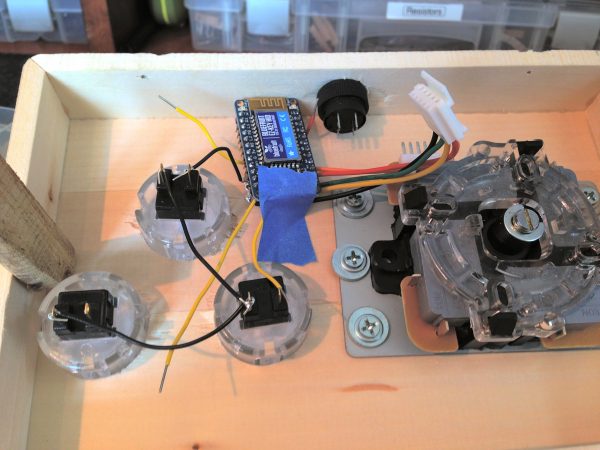
Once all the wires were cut and stripped, they were soldered in place.
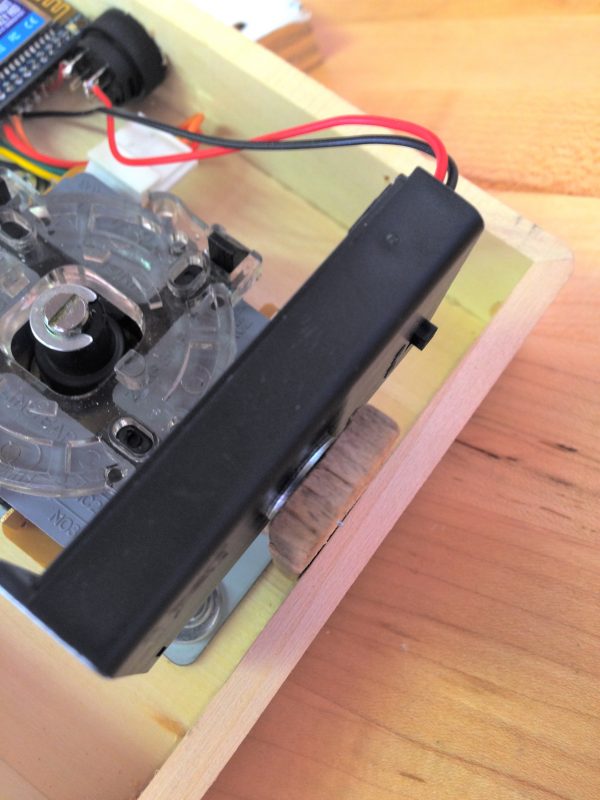
The last order of business is the battery pack. This needs to be accessible so that we can change the batteries. To that end, I screwed the pack to one my extension strips that hold the halves of the case together.
When the lid is on, the pack is “suspended” in the bottom of the enclosure. When the lid is removed as shown in these photos, the pack is held “above” the joystick, so the batteries can be easily changed.
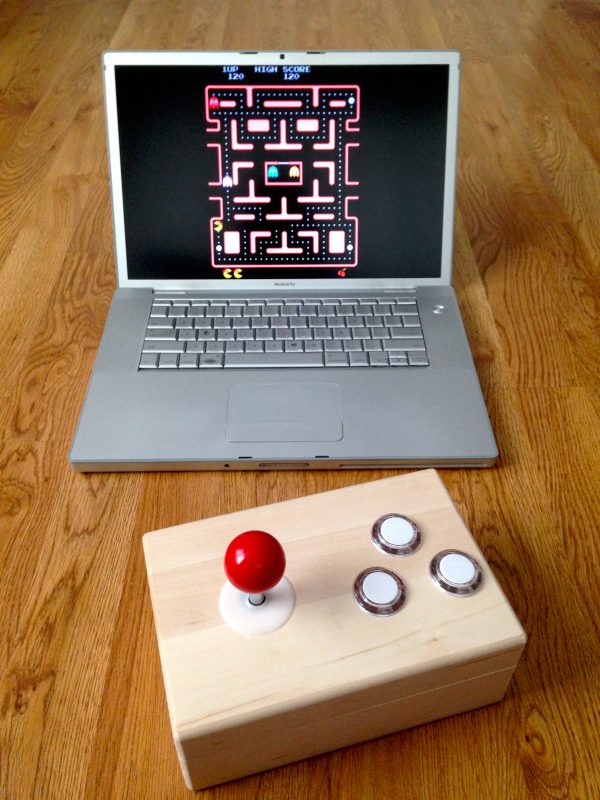
That’s all she (and by “she”, I mean “me”) wrote! All that’s left now is to set some high scores.
If you really want to be picky about paddle bits and tearing out, start from one side and then just before you get through, work from the other side. Sharp, clean edges on both top and bottom!
(Learned by watching episodes of The New Yankee Workshop and Ask This Old House.)