Sometimes a magic bullet ricochets and kills you.
Ever since beginning the Teddy Top project, I’ve had it in my head that I wanted to use it as an excuse to try 3D printing. To my naïve mind, it seemed the perfect tool for this job. I need a complex three-dimensional plastic component designed and built to precise standards. I also only need one. That description sounds perfect for 3D printing, so I was excited to try it. These “additive manufacturing” techniques are all anyone talks about in the Maker and Hacker communities these days, and it seems like a real panacea for problems like mine. Well, my Teddy Top problem, anyway. My other problems are beyond the reach of any technology.
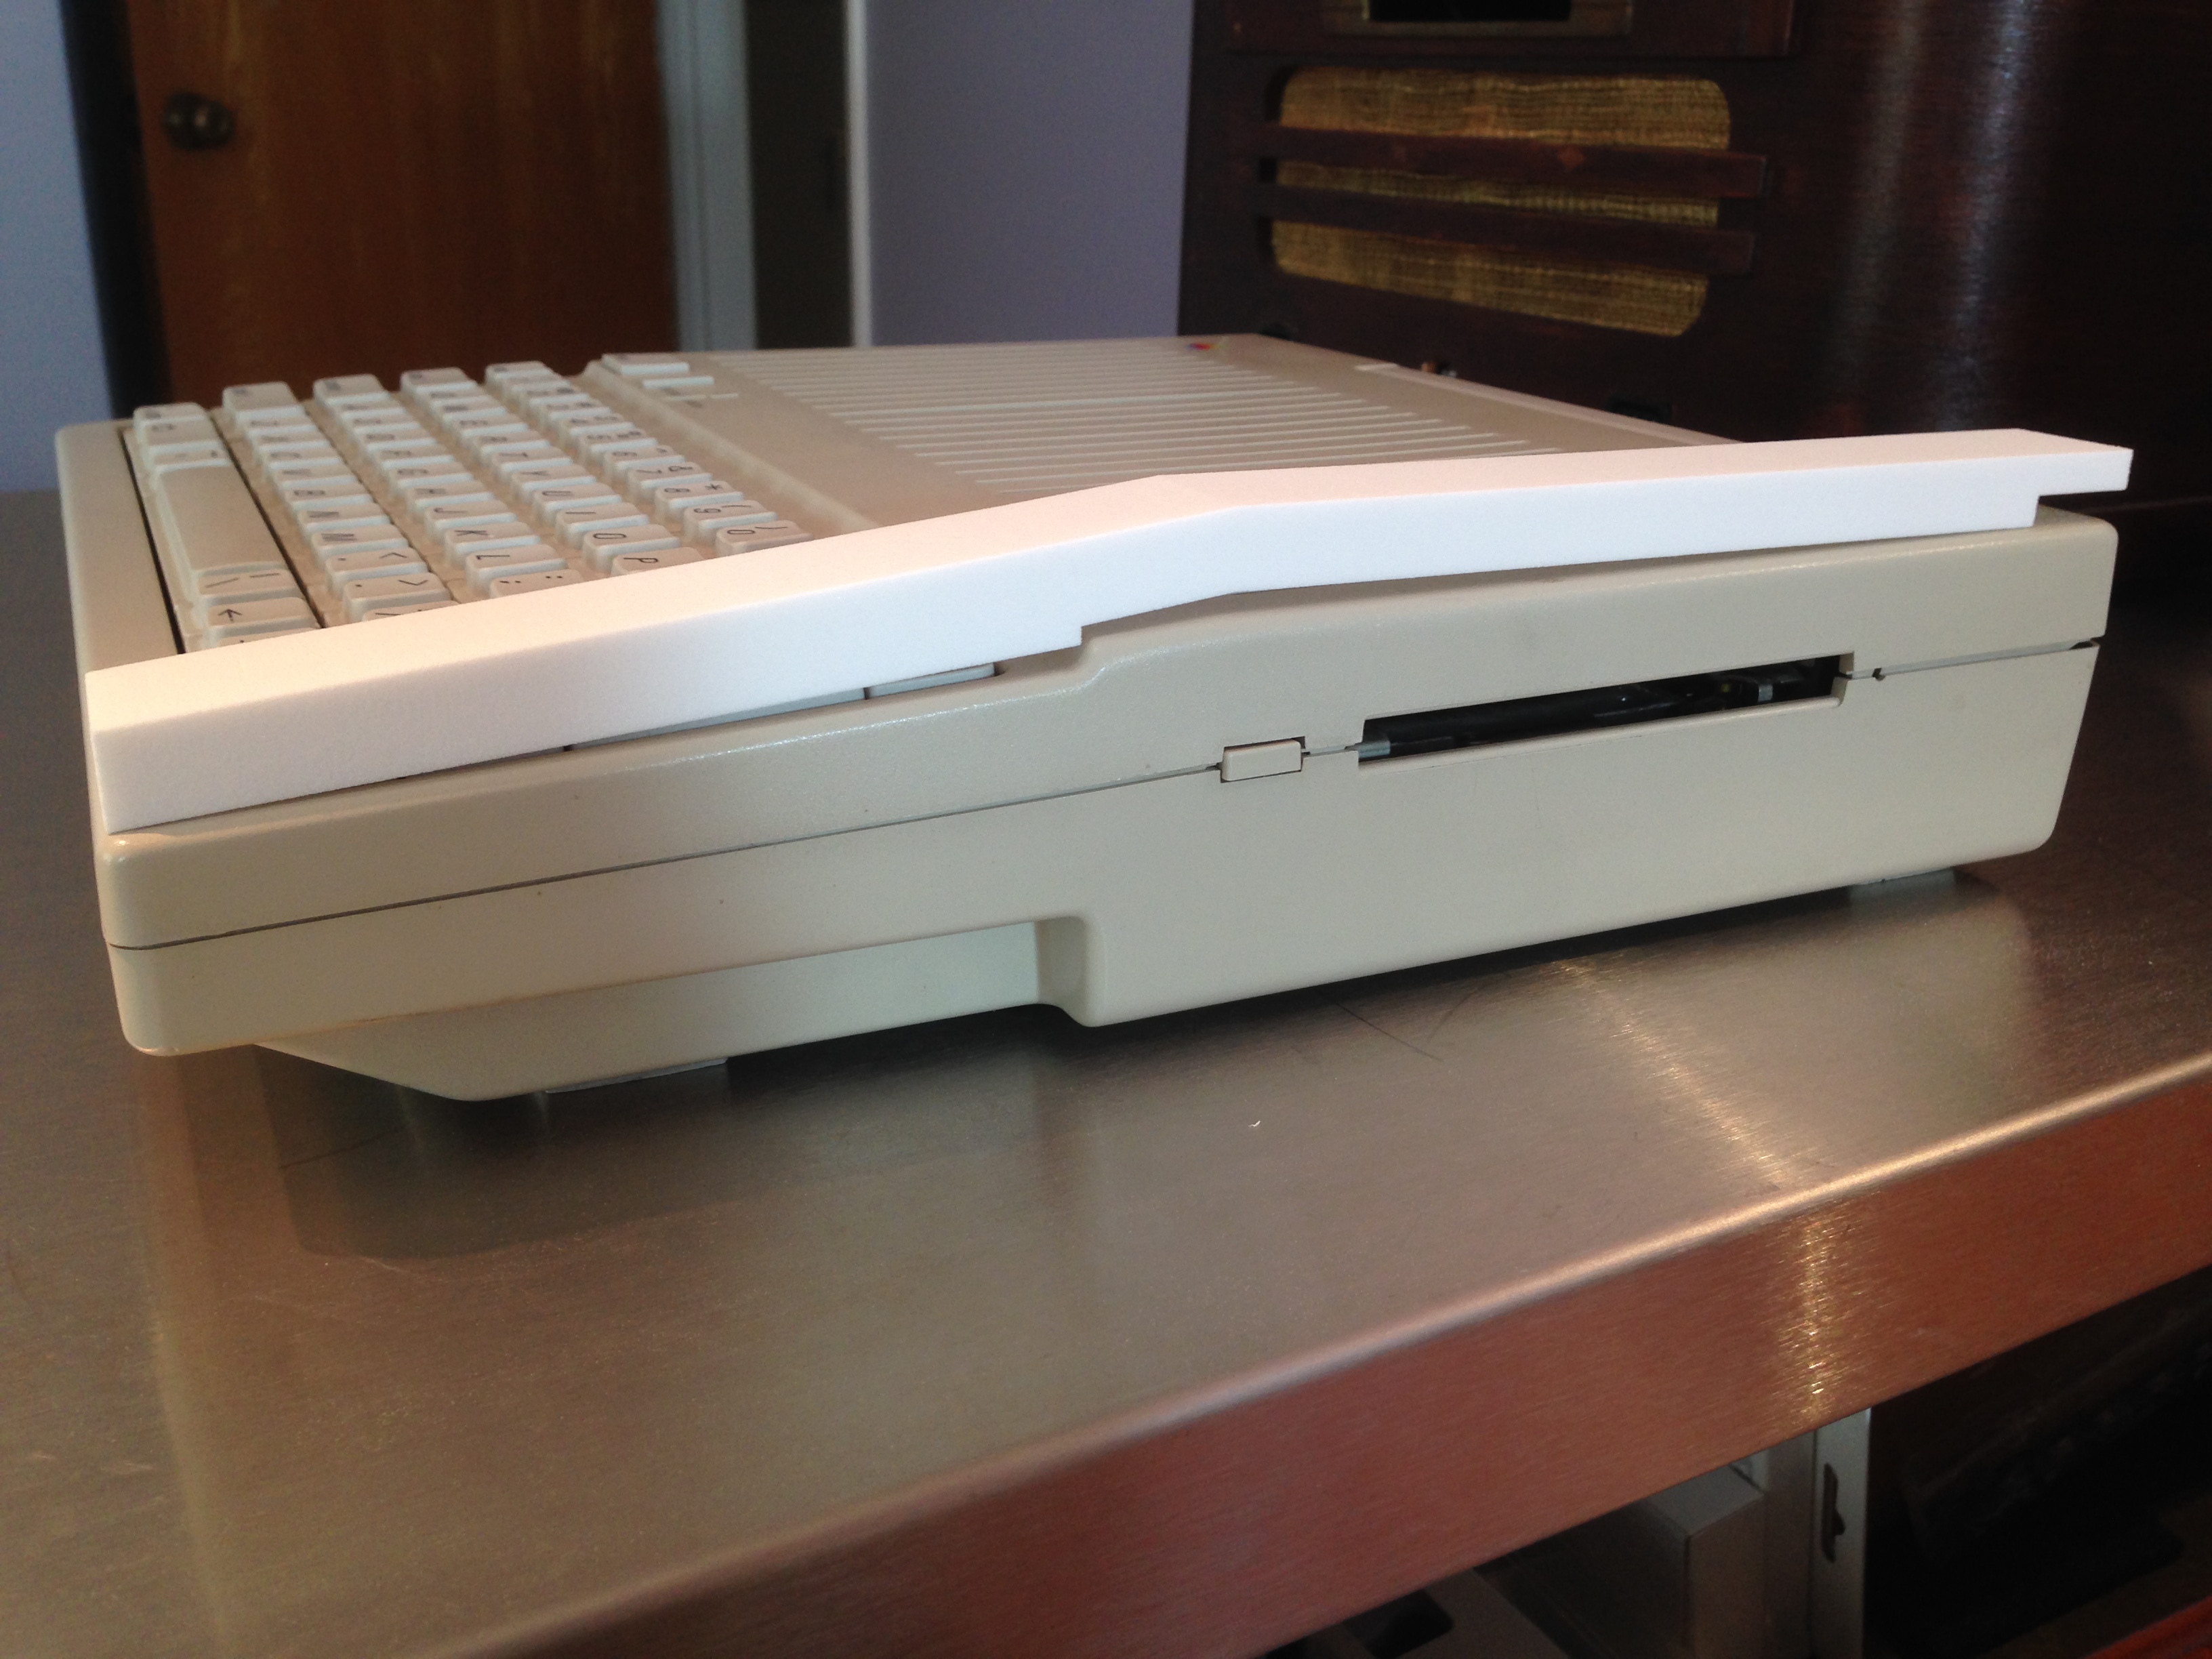
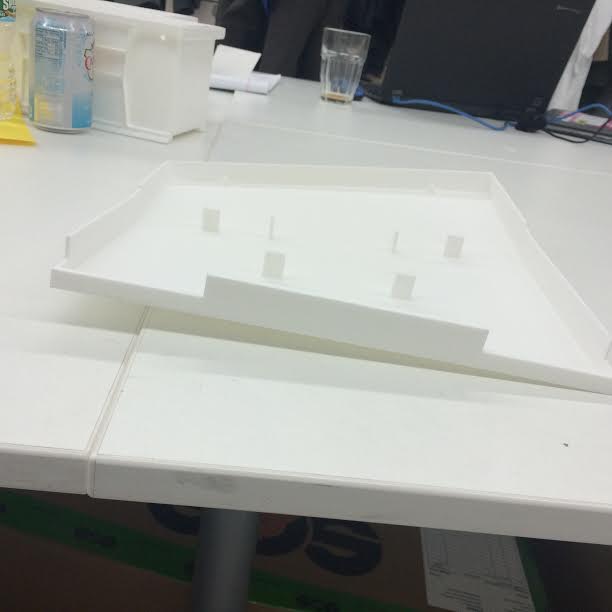
First things first, let’s refresh our memory on where we’re at.
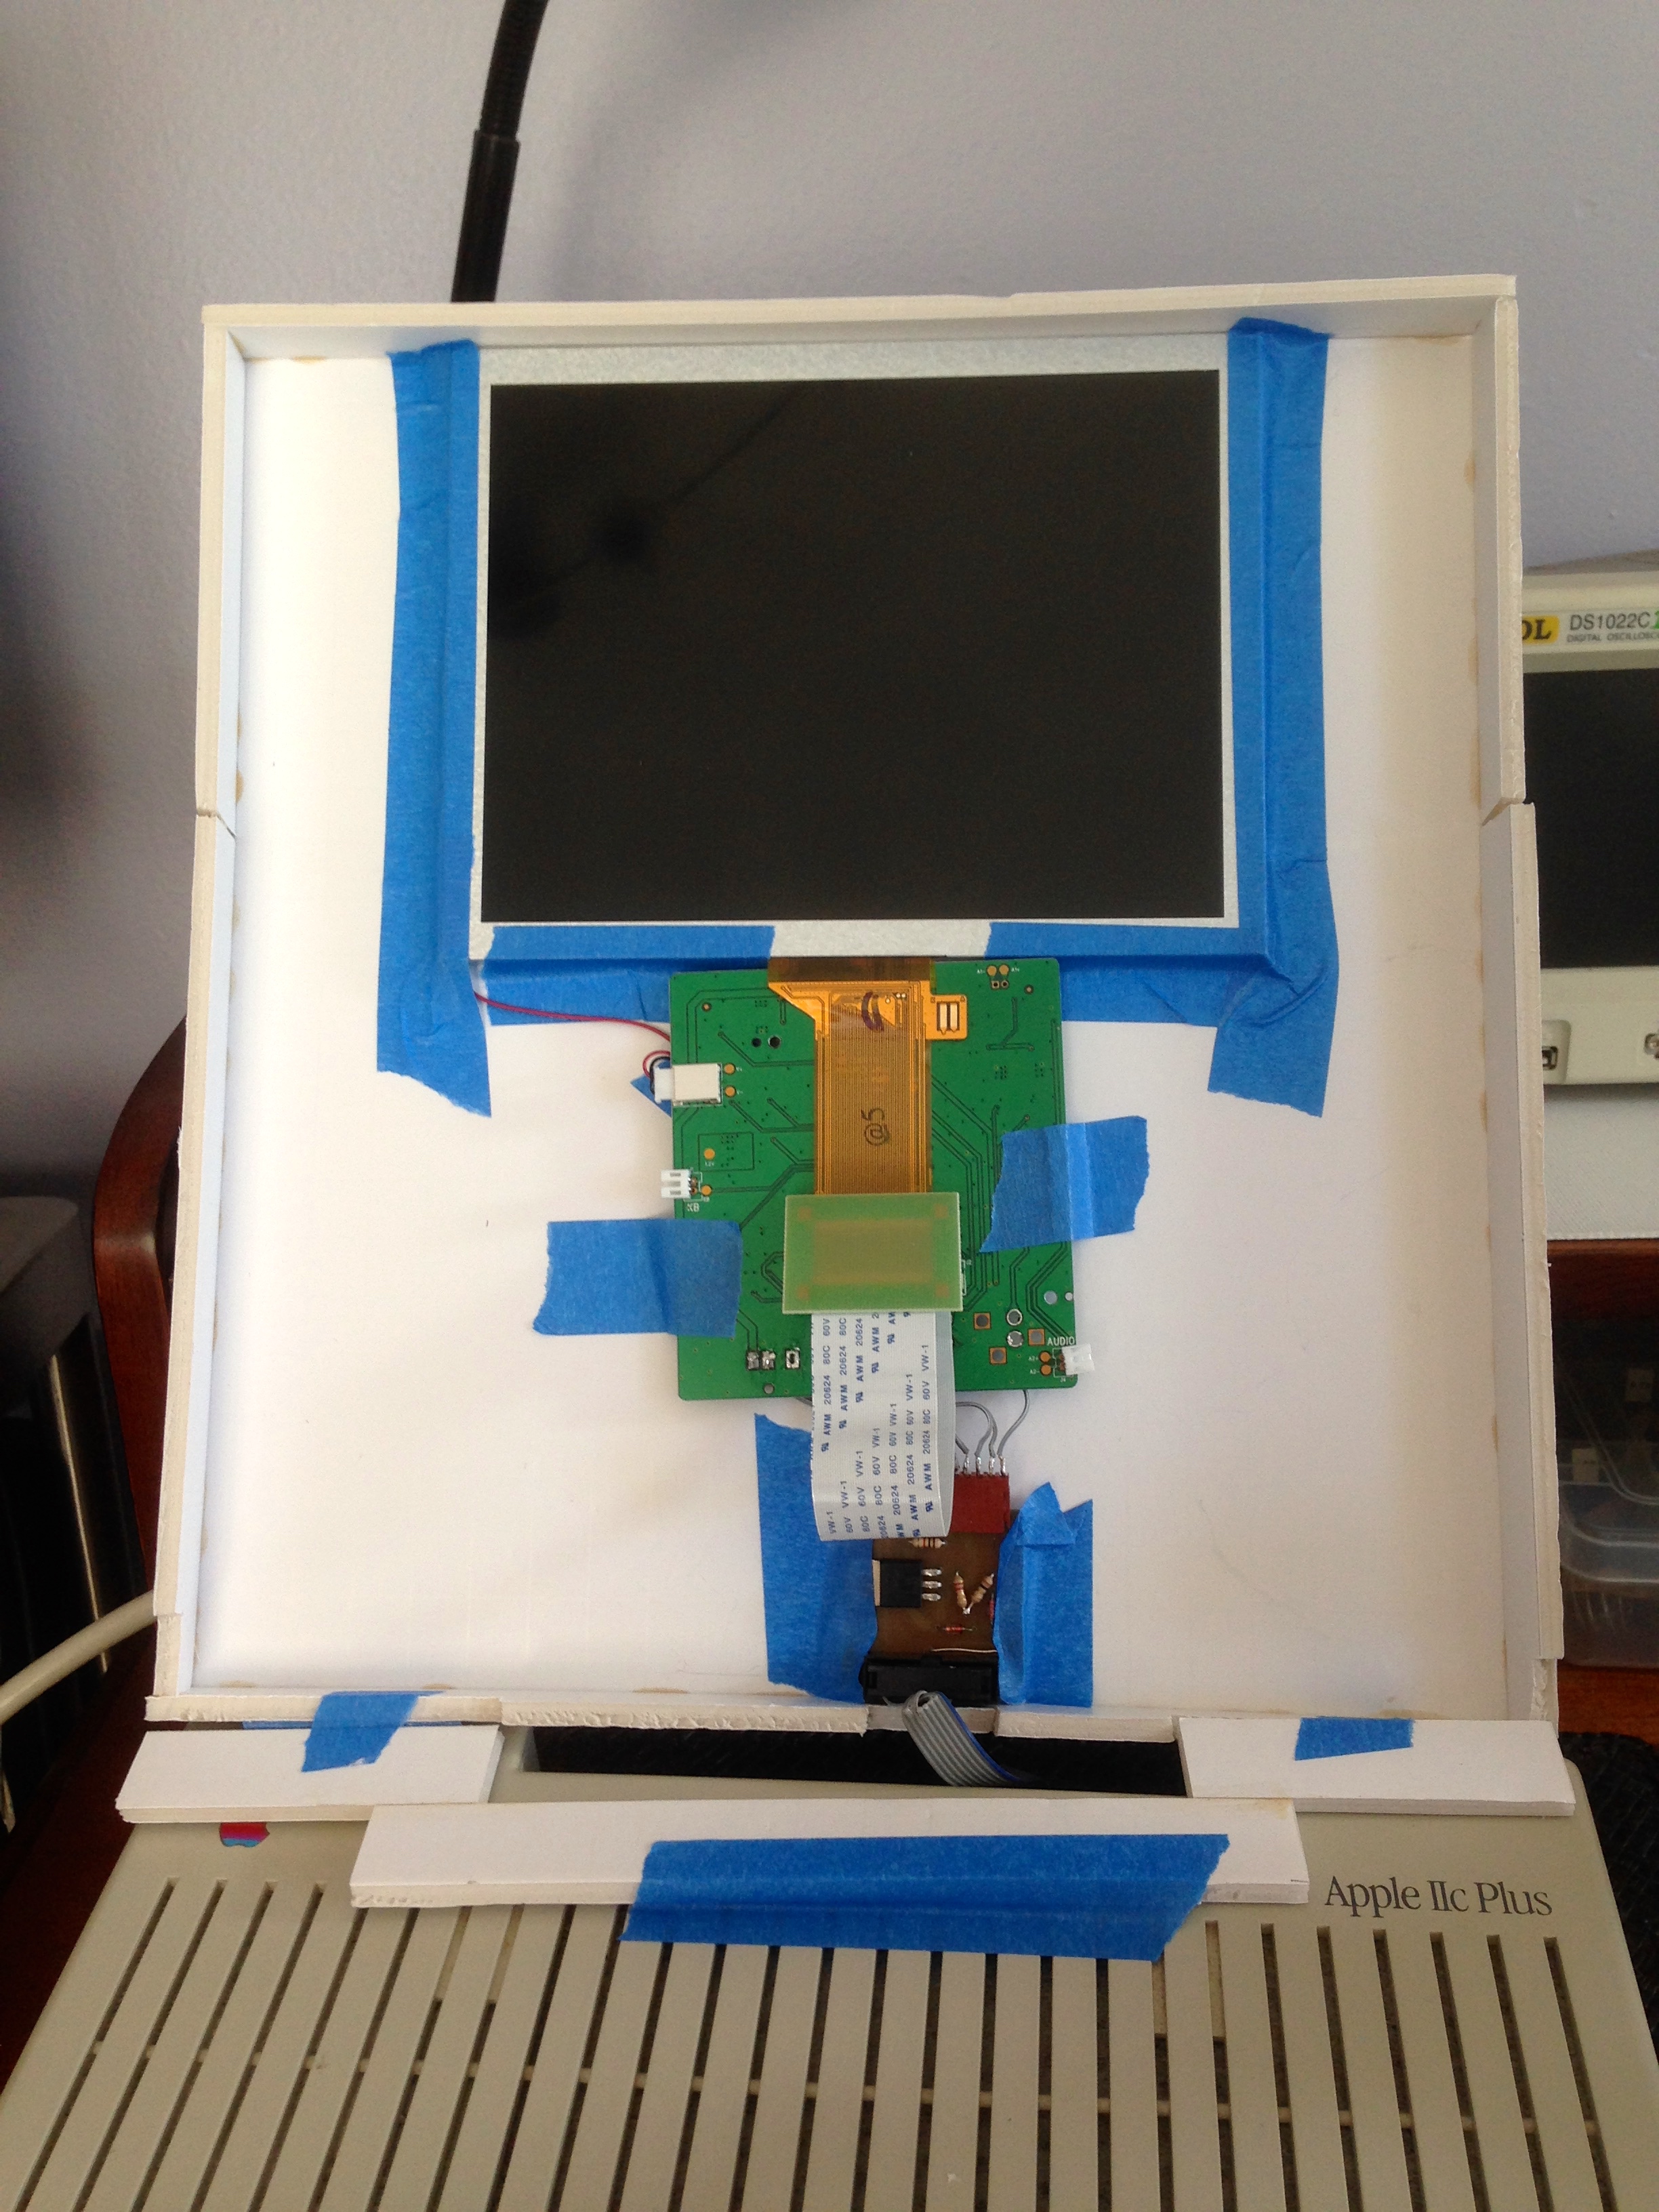
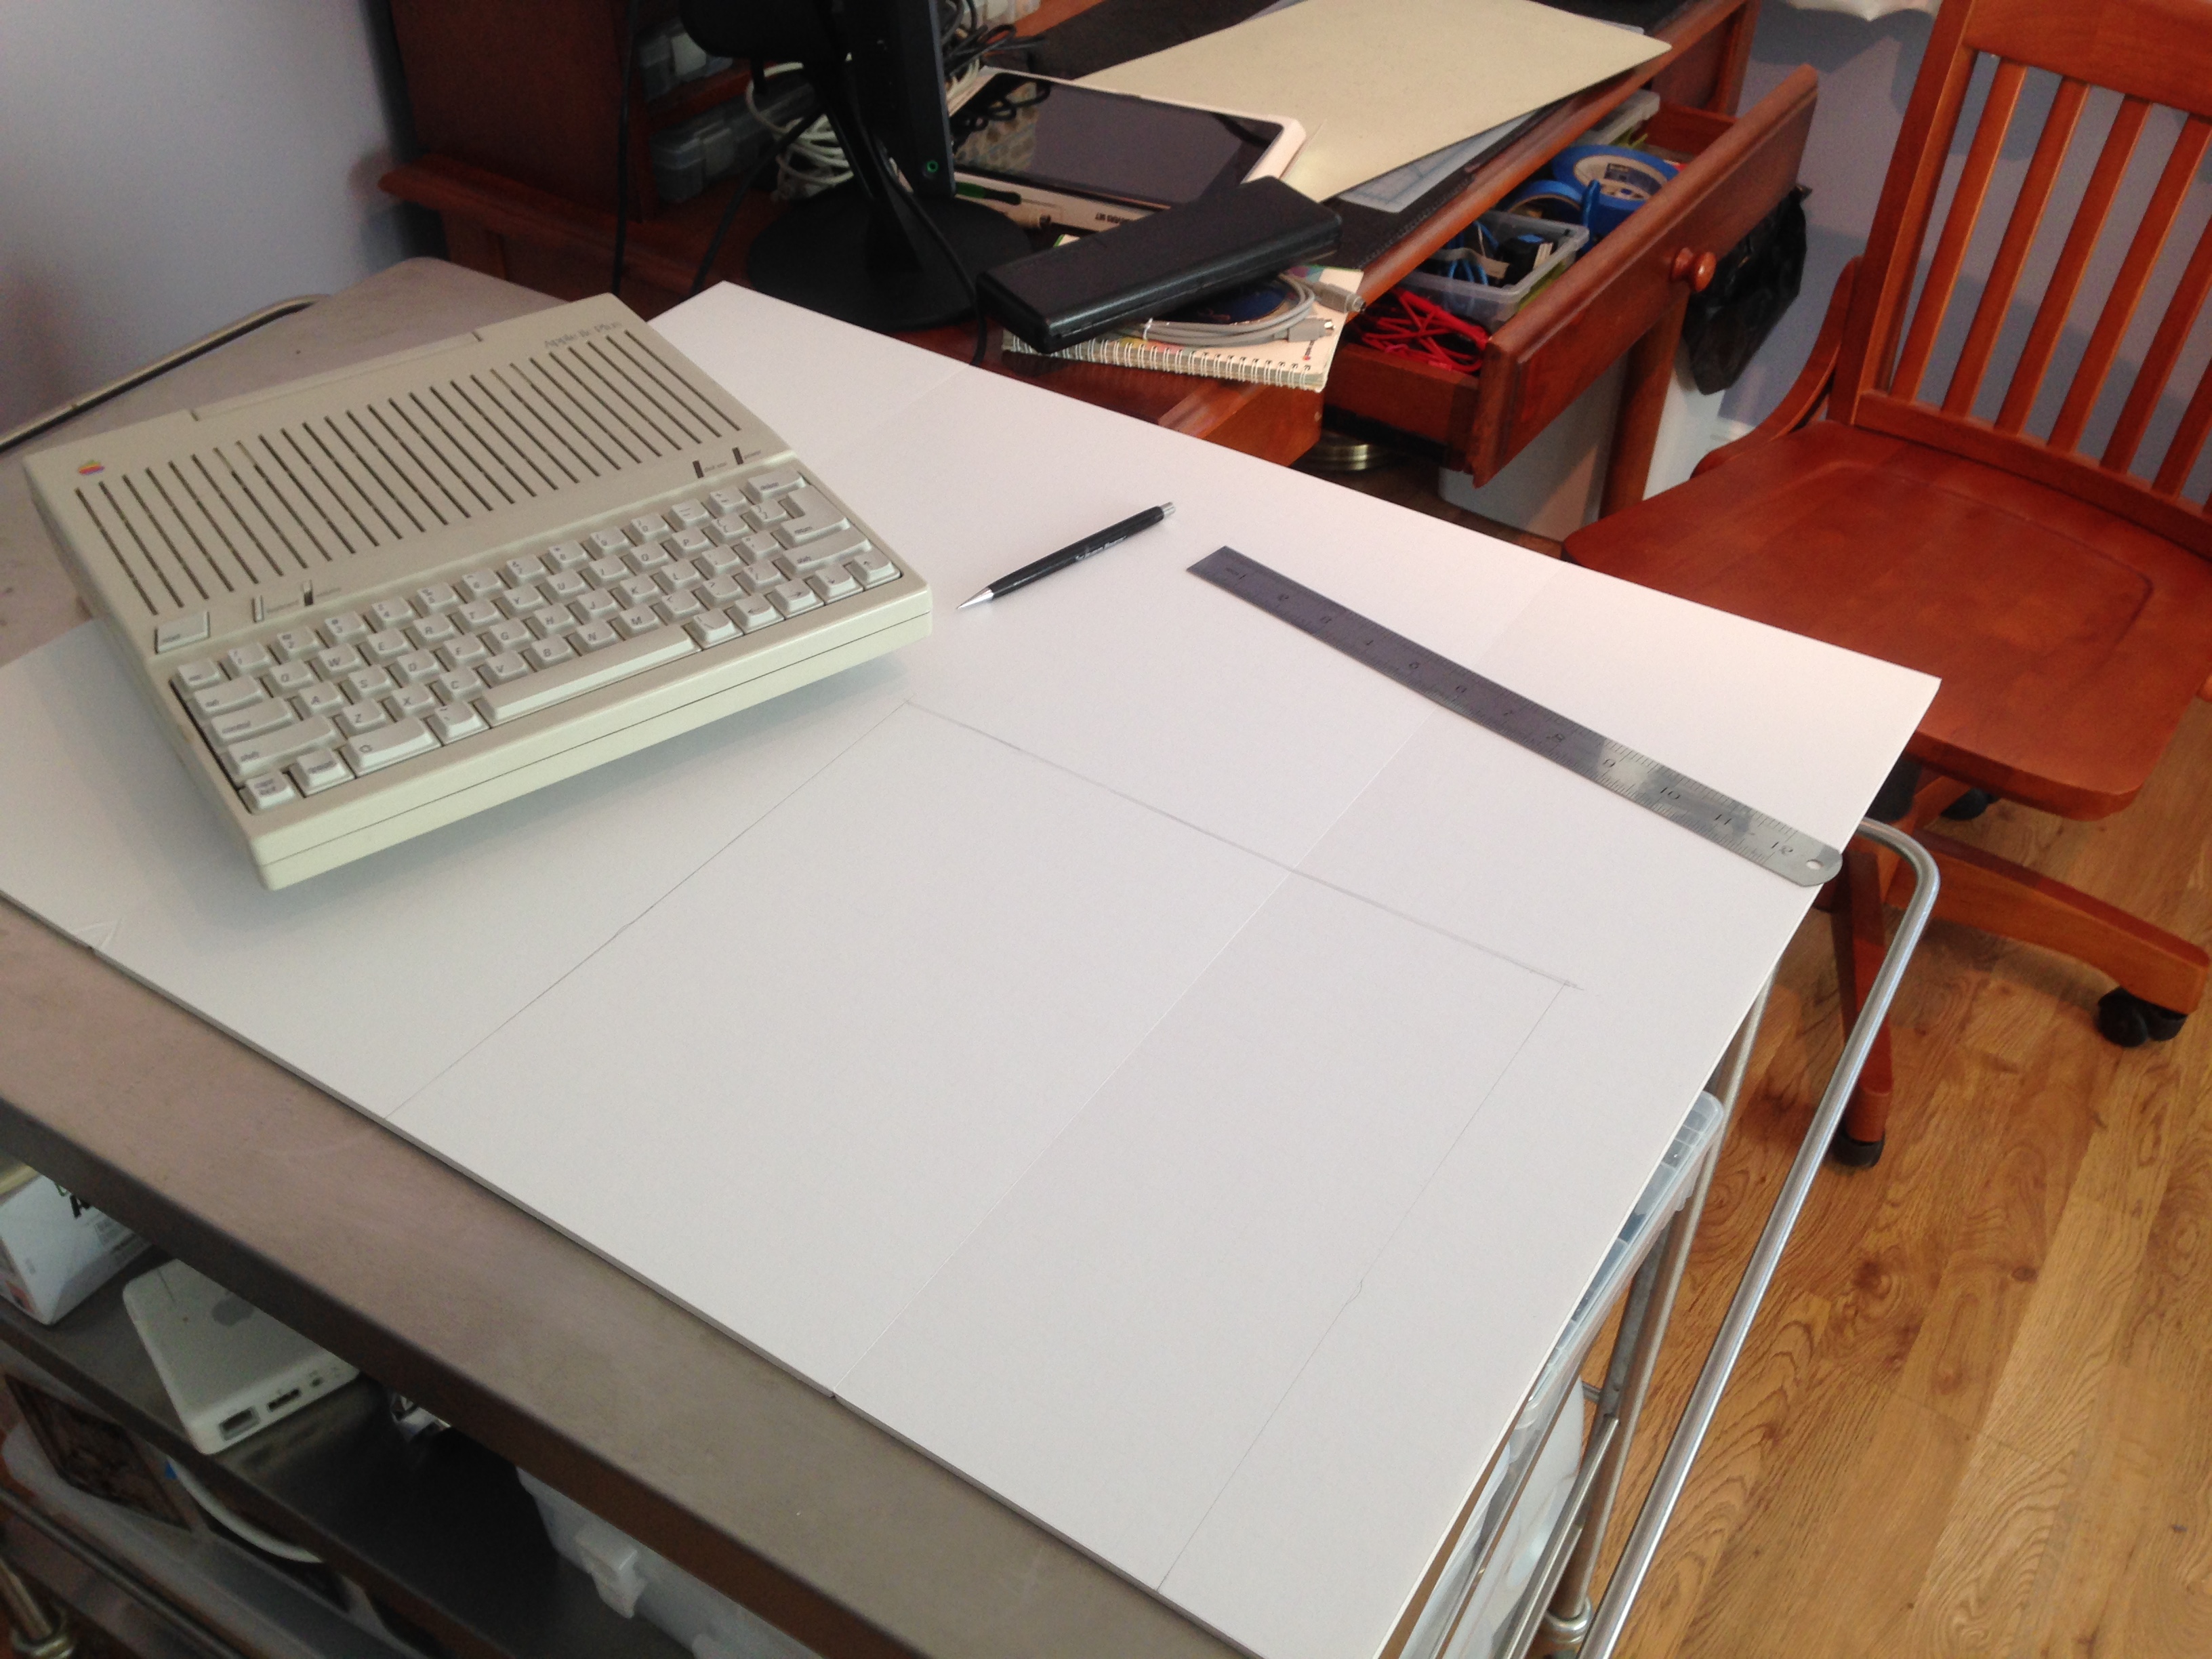
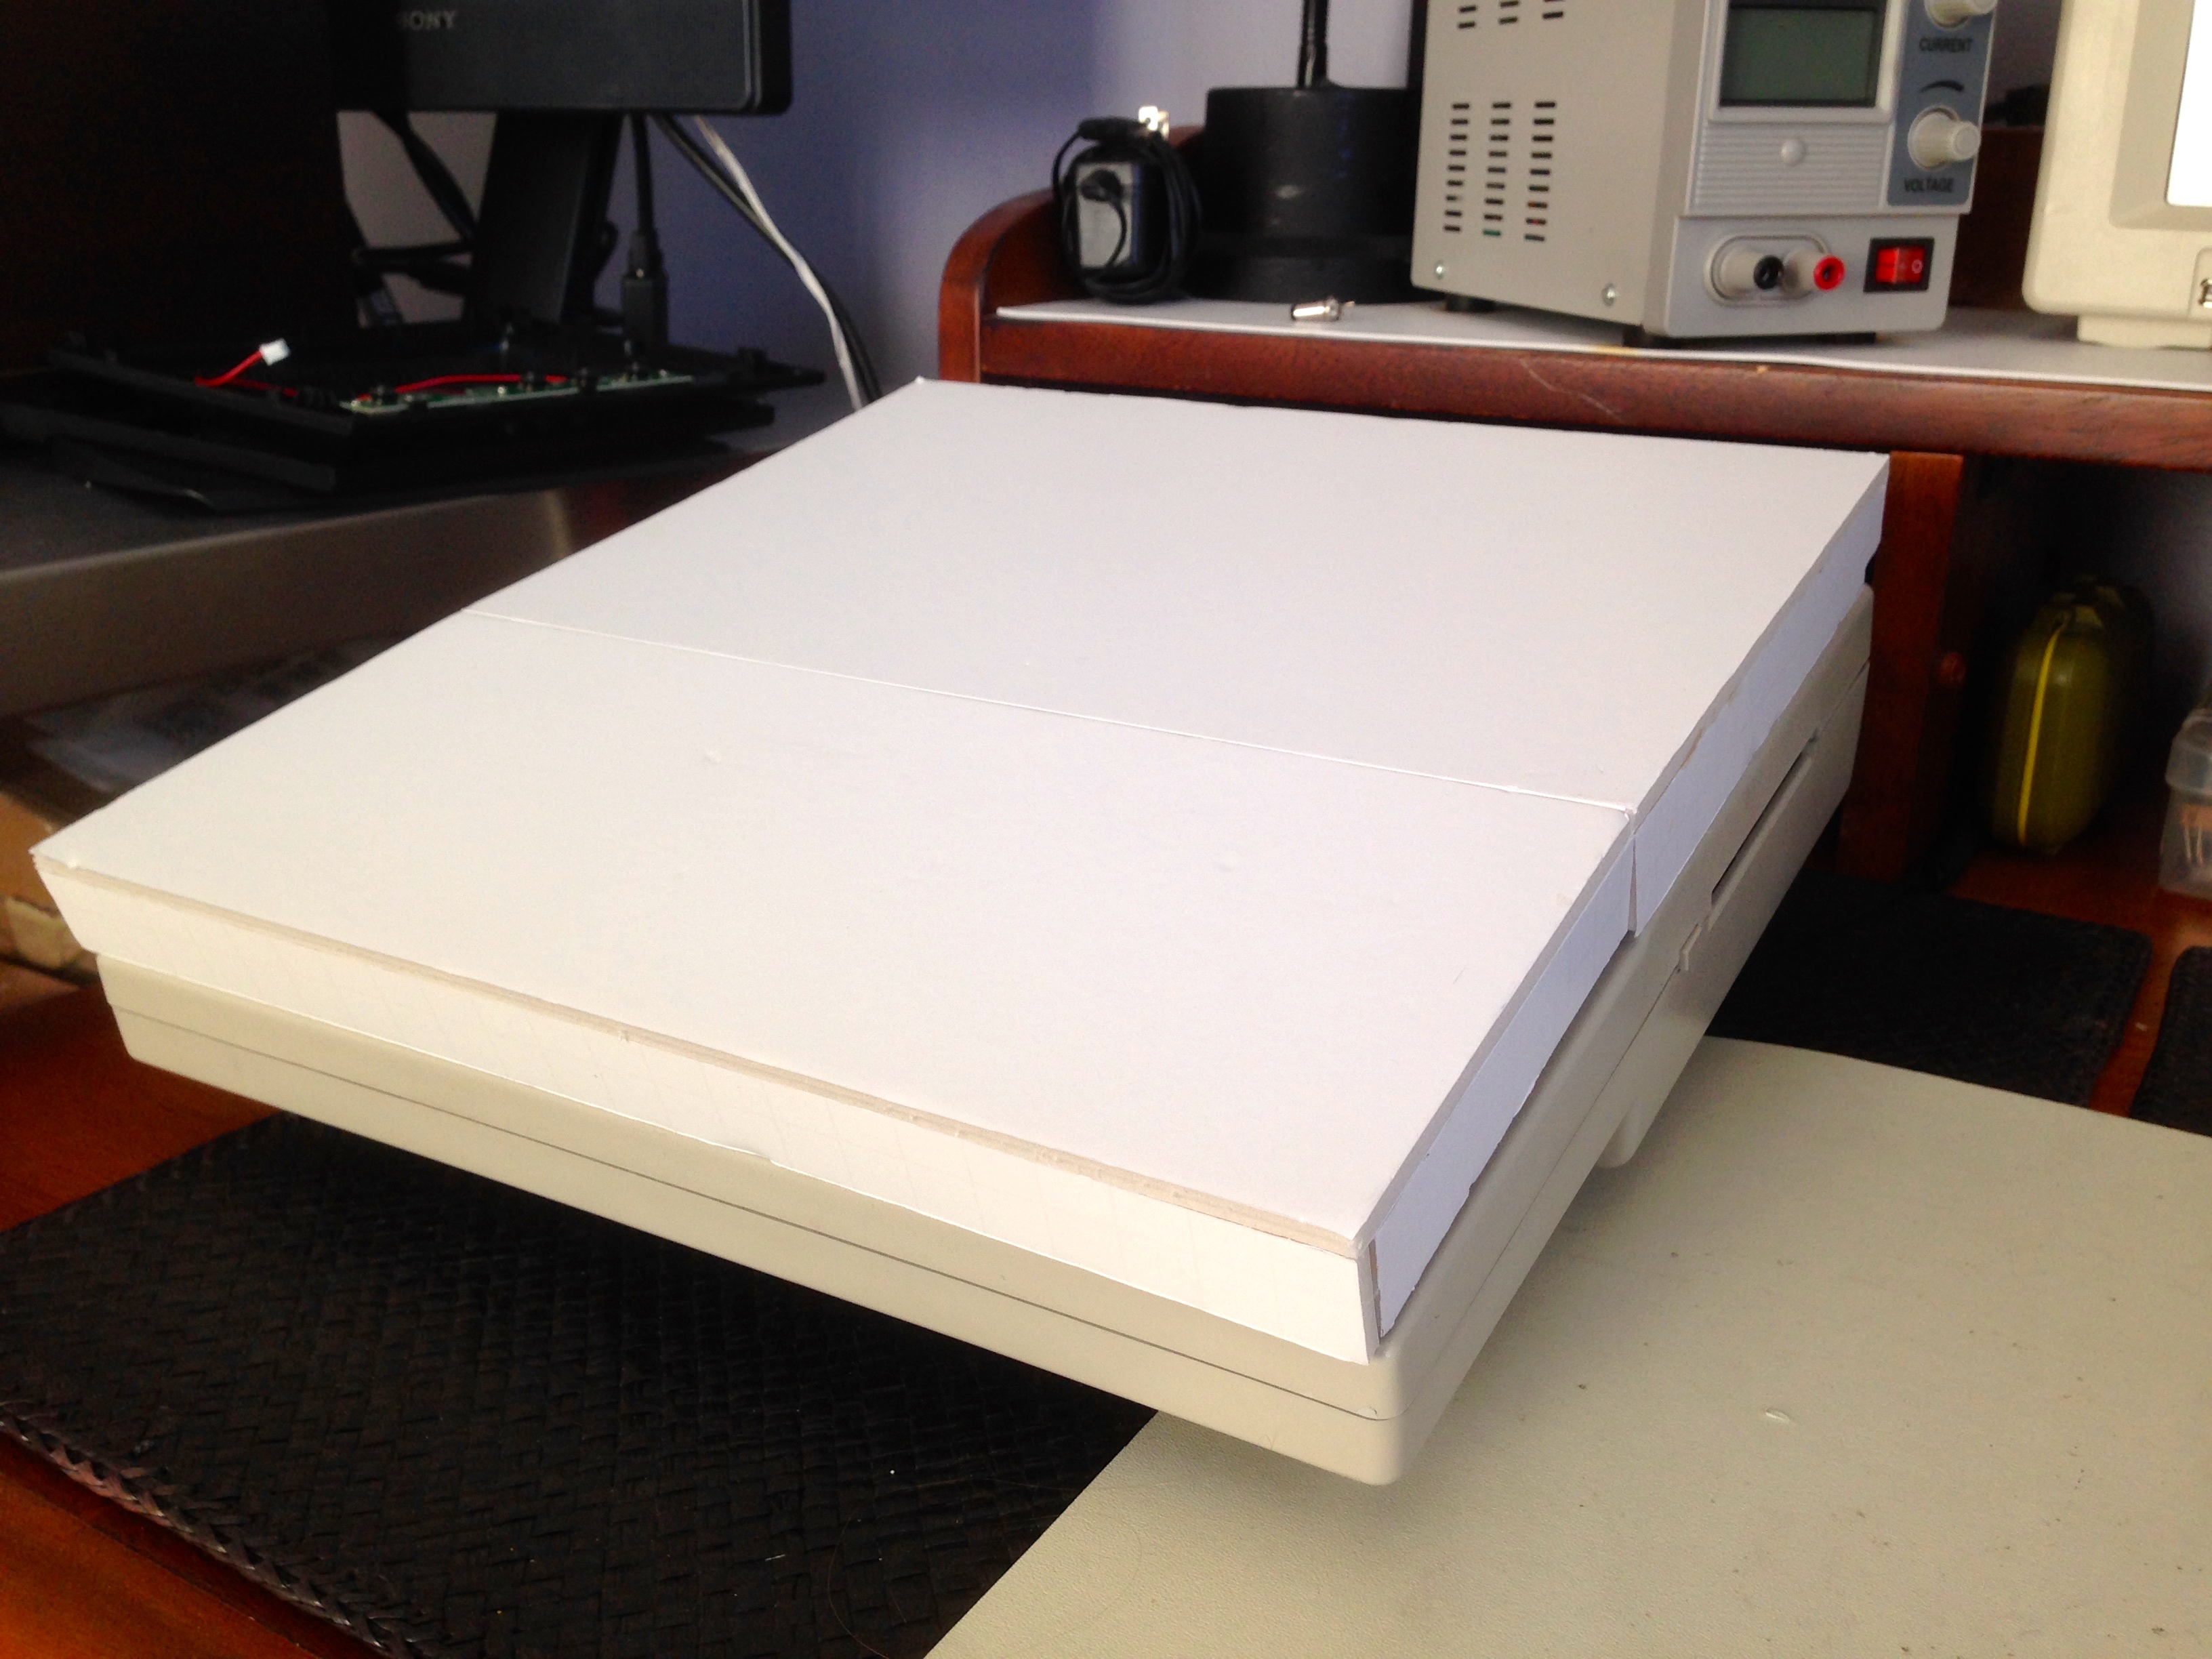
This foam-core mockup was useful to sanity-check things and get a rough idea of the dimensions I need to contain my LCD display (and any other features I’d like the Teddy Top to have).
As I said, the original plan was to 3D print the top, and make the hinges out of aluminum for strength. More on those hinges later. For the top, if it’s going to be 3D-printed, it first needs to be 3D-modeled. Back at KansasFest, I got to meet Charles Mangin, who makes (among other things) awesome 3D models of Apple II-related stuff. He gave a session on getting started with 3D printing, and it was very helpful. I’m an avid reader of every hacking blog on the planet, and they all talk ad nauseum about 3D printing. Yet, when it came time to actually try it myself, I didn’t really have any idea how to start. Charles’ session at KFest was just the ticket.
Turns out, it’s easier than I thought. Sure, you can buy a 3D printer and struggle to learn GCode and figure out what kind of crappy plastic goo to buy for your $1000 cake decorator, and all the rest of it. Or, you can use simple software like 123D Design, and upload it to Shapeways who will print it for you. Easy peasy!
I started by watching the tutorial videos for 123D design, and I’m glad I did. It’s much easier to use than most 3D modeling software, but there’s still a learning curve. I have experience with 3D modeling packages like Maya, 3DStudio, XSI, Cheetah, and Blender from my history in video game development, but this is a bit different. Building a clean stable model for 3D printing is not quite like making a polygon mesh for a video game- there are some different constraints and requirements. 123D Design is a great entry-level tool that is intended for the purpose, and I found it very easy to make correct, printable models right off the bat.
I got another huge leg-up from Mr. Mangin. He had already made a 3D model of the Apple IIc, and it’s so accurate that I could actually use it as a base to design the Teddy Top. This was great for two reasons- it made the Top easier to design, and it helped me insure my design would work with both the IIc and IIc Plus (which have some slight differences due to port changes and disk drive variations).
Charles gave me permission to share his model, so here it is. You should also check out his awesome stuff on Thingiverse. 123D Design allowed me to import this model, then build directly on top of it to make sure my Teddy Top would fit properly.
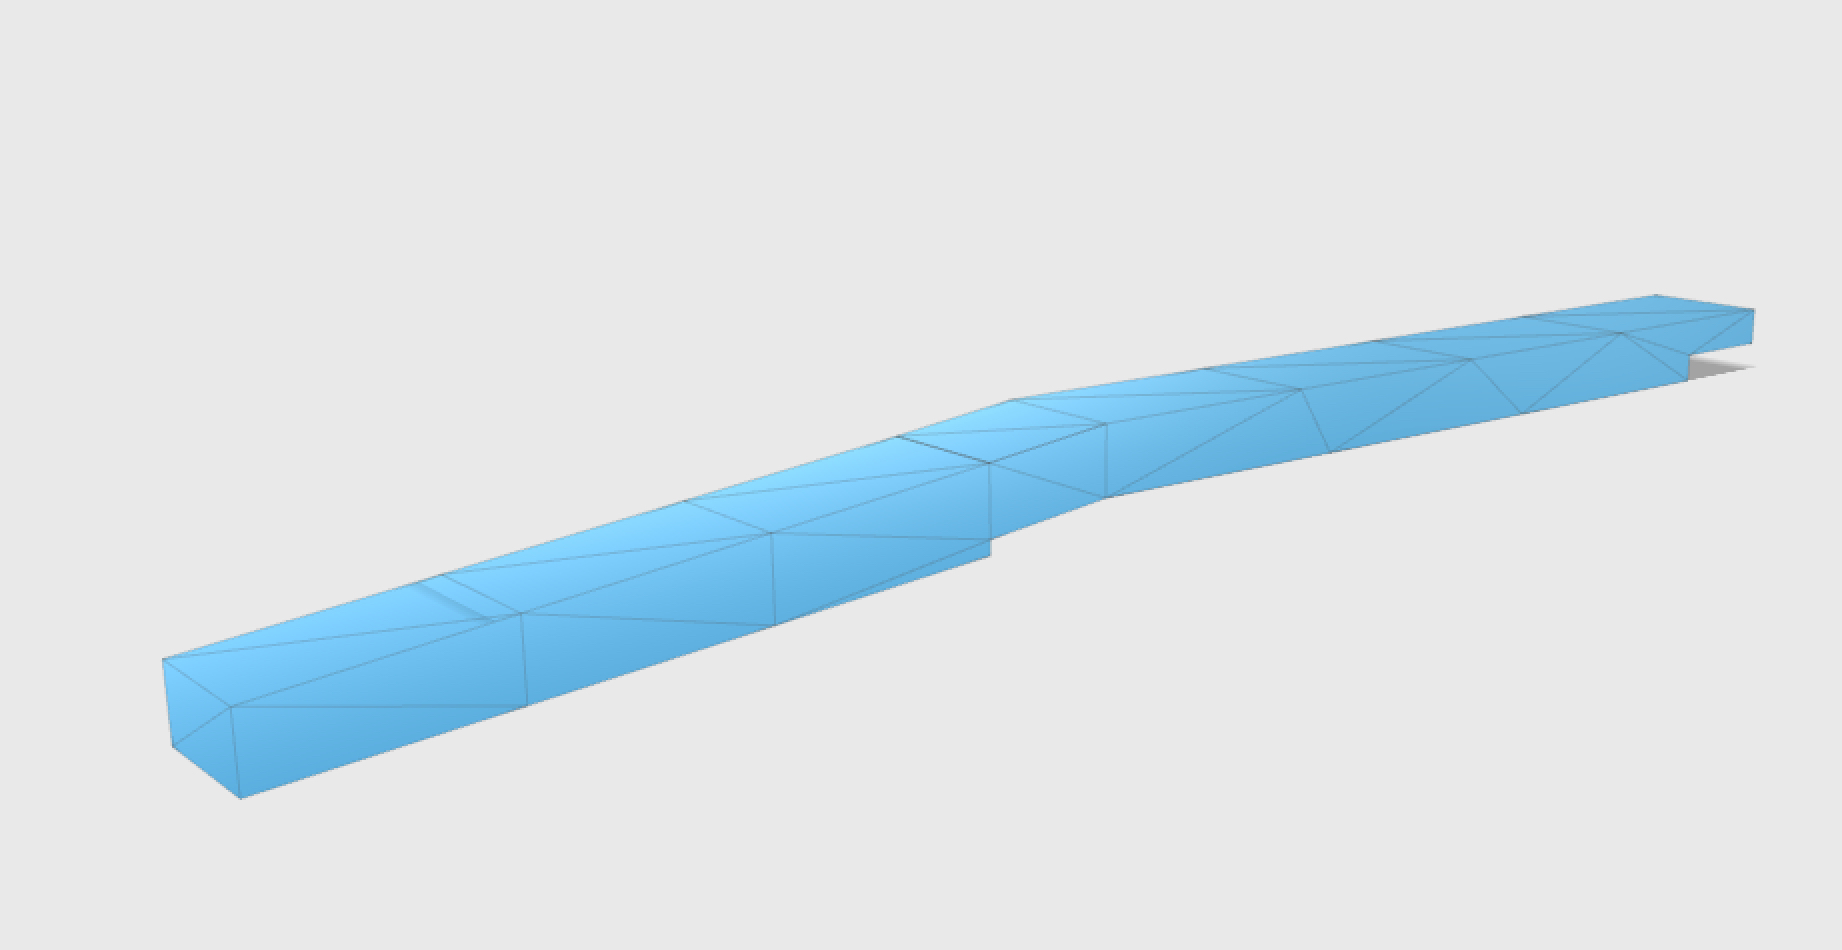
Having said all that, there’s still likelihood of things not being perfect the first time in the real world. The trickiest part of this model is the slight angle and downward step where the keyboard meets the rear part of the case. The IIc may look like a pizza-box slab, but the keyboard is actually angled slightly downward. For the Teddy Top to fit nicely, I was going to need to match this angle really well. The catch in all this is that 3D printing is not cheap. I didn’t want to drop a bunch of money on full prints that weren’t right!
To mitigate this risk, I started by printing a small profile of the Teddy Top, to check my overall dimensions and to verify the fit around the tricky keyboard area. I also wanted to get a sense of what the plastic is like, and how sturdy it is. Never having 3D printed a single thing in my life, I had no idea what to expect.
If, for some weird reason, you’re interested in this file, here it is. Can’t imagine why anyone would want it, but I prefer to err on the side of oversharing (when it comes to project data, anyway. You don’t need to know about that thing I found on my big toe the other day).
With some excitement, I uploaded this file to Shapeways, and got the quote to print it- just over $20US. Ouch. Well, if it works, I’ll only need to incur one more cost for the Top itself, so this seems a worthwhile investment. Consider it tuition for the school of 3D printing.
A couple of weeks later, my 3D print arrived.
This was also educational for learning the nature of the plastic. It’s more flexible than I expected, so it will need some reinforcement over the large area that I need. The end result is quite refined, though. Unlike the “inexpensive” 3D printers you can buy for yourself, which drizzle melted plastic out of a nozzle, Shapeways uses Selective Laser Sintering. You can read the details elsewhere, but the TL;DR is that SLS printing results in smooth, strong, precise pieces that look great. I’m wholly unimpressed by the melted drizzle printers, but this SLS process is very nice, and seems genuinely useful in the real world.
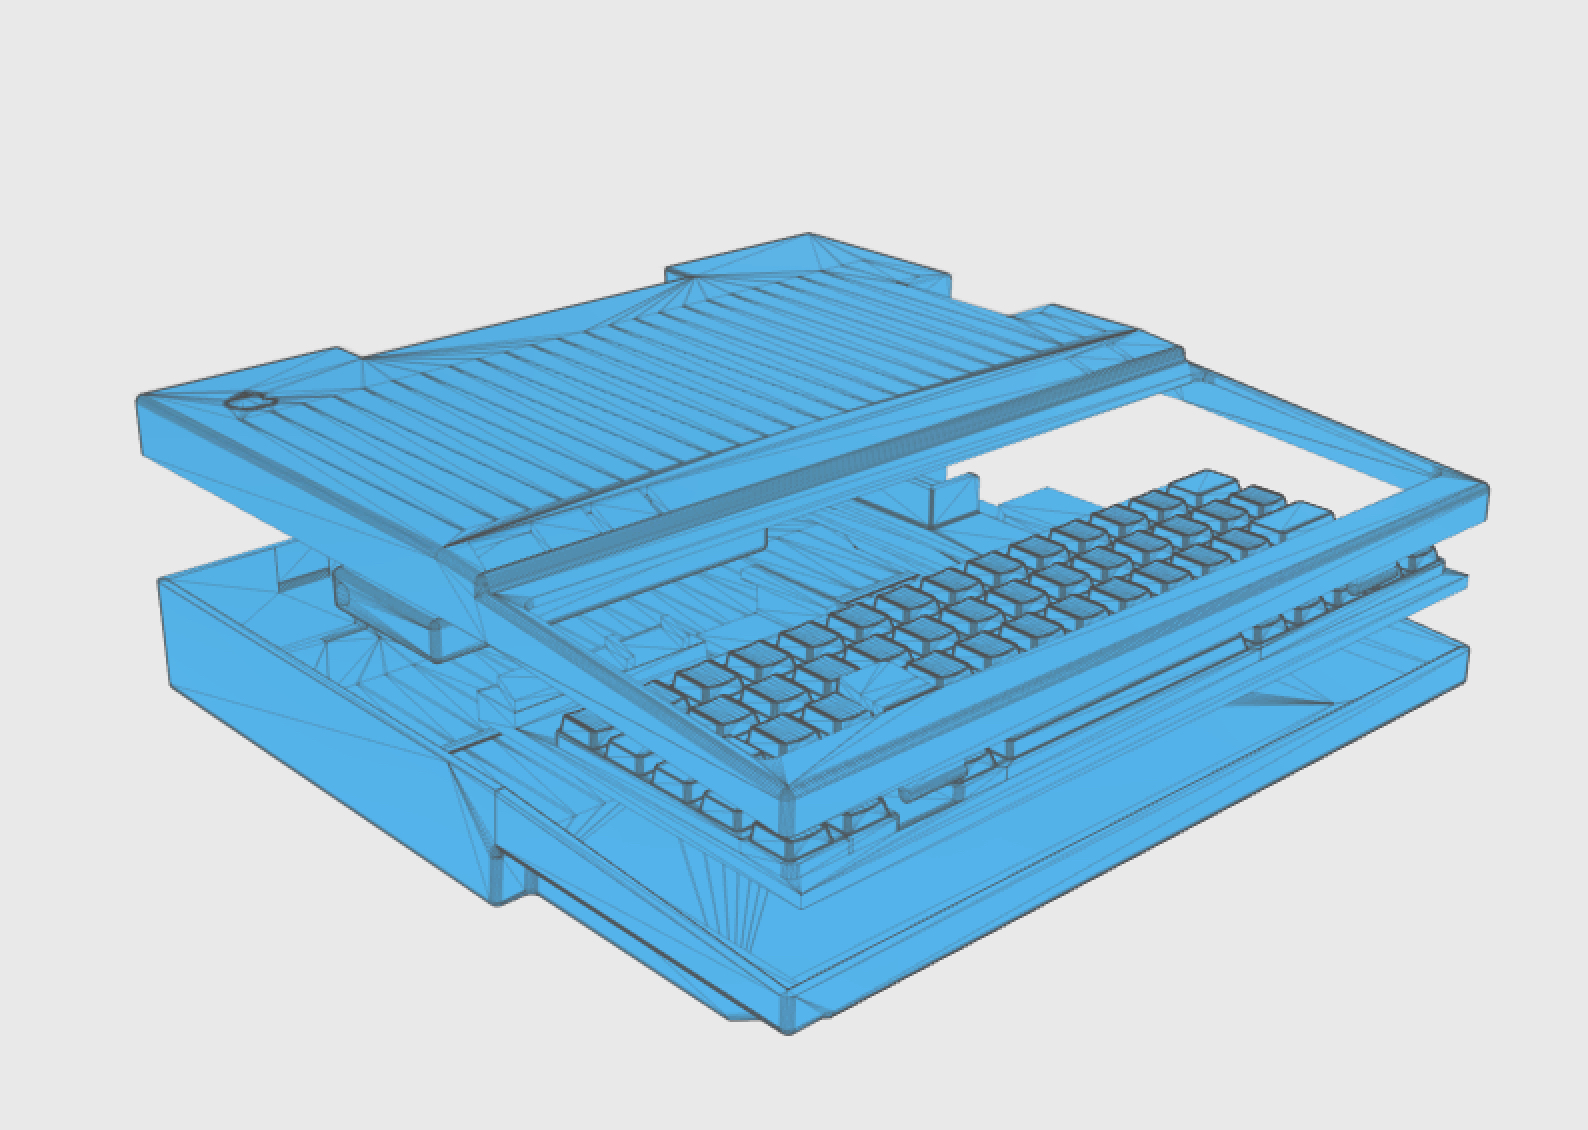
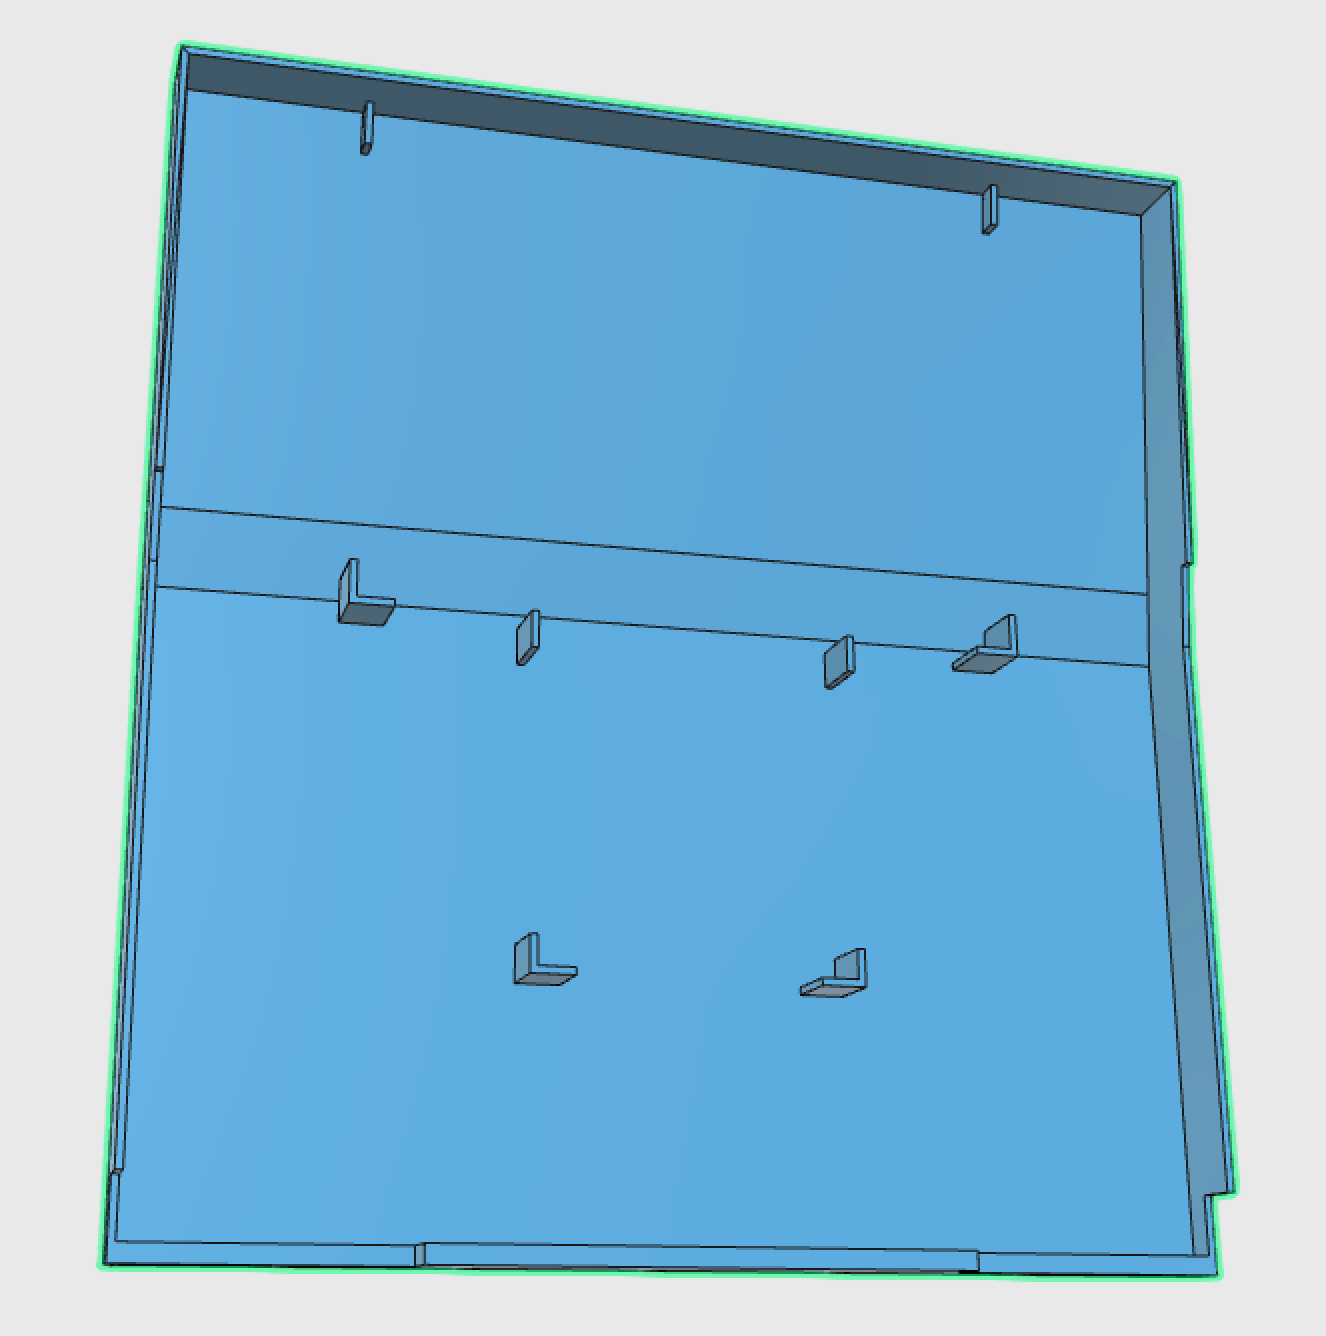
So, now I took the big plunge. I spent the time to model the entire Teddy Top, confident that this scheme would work.
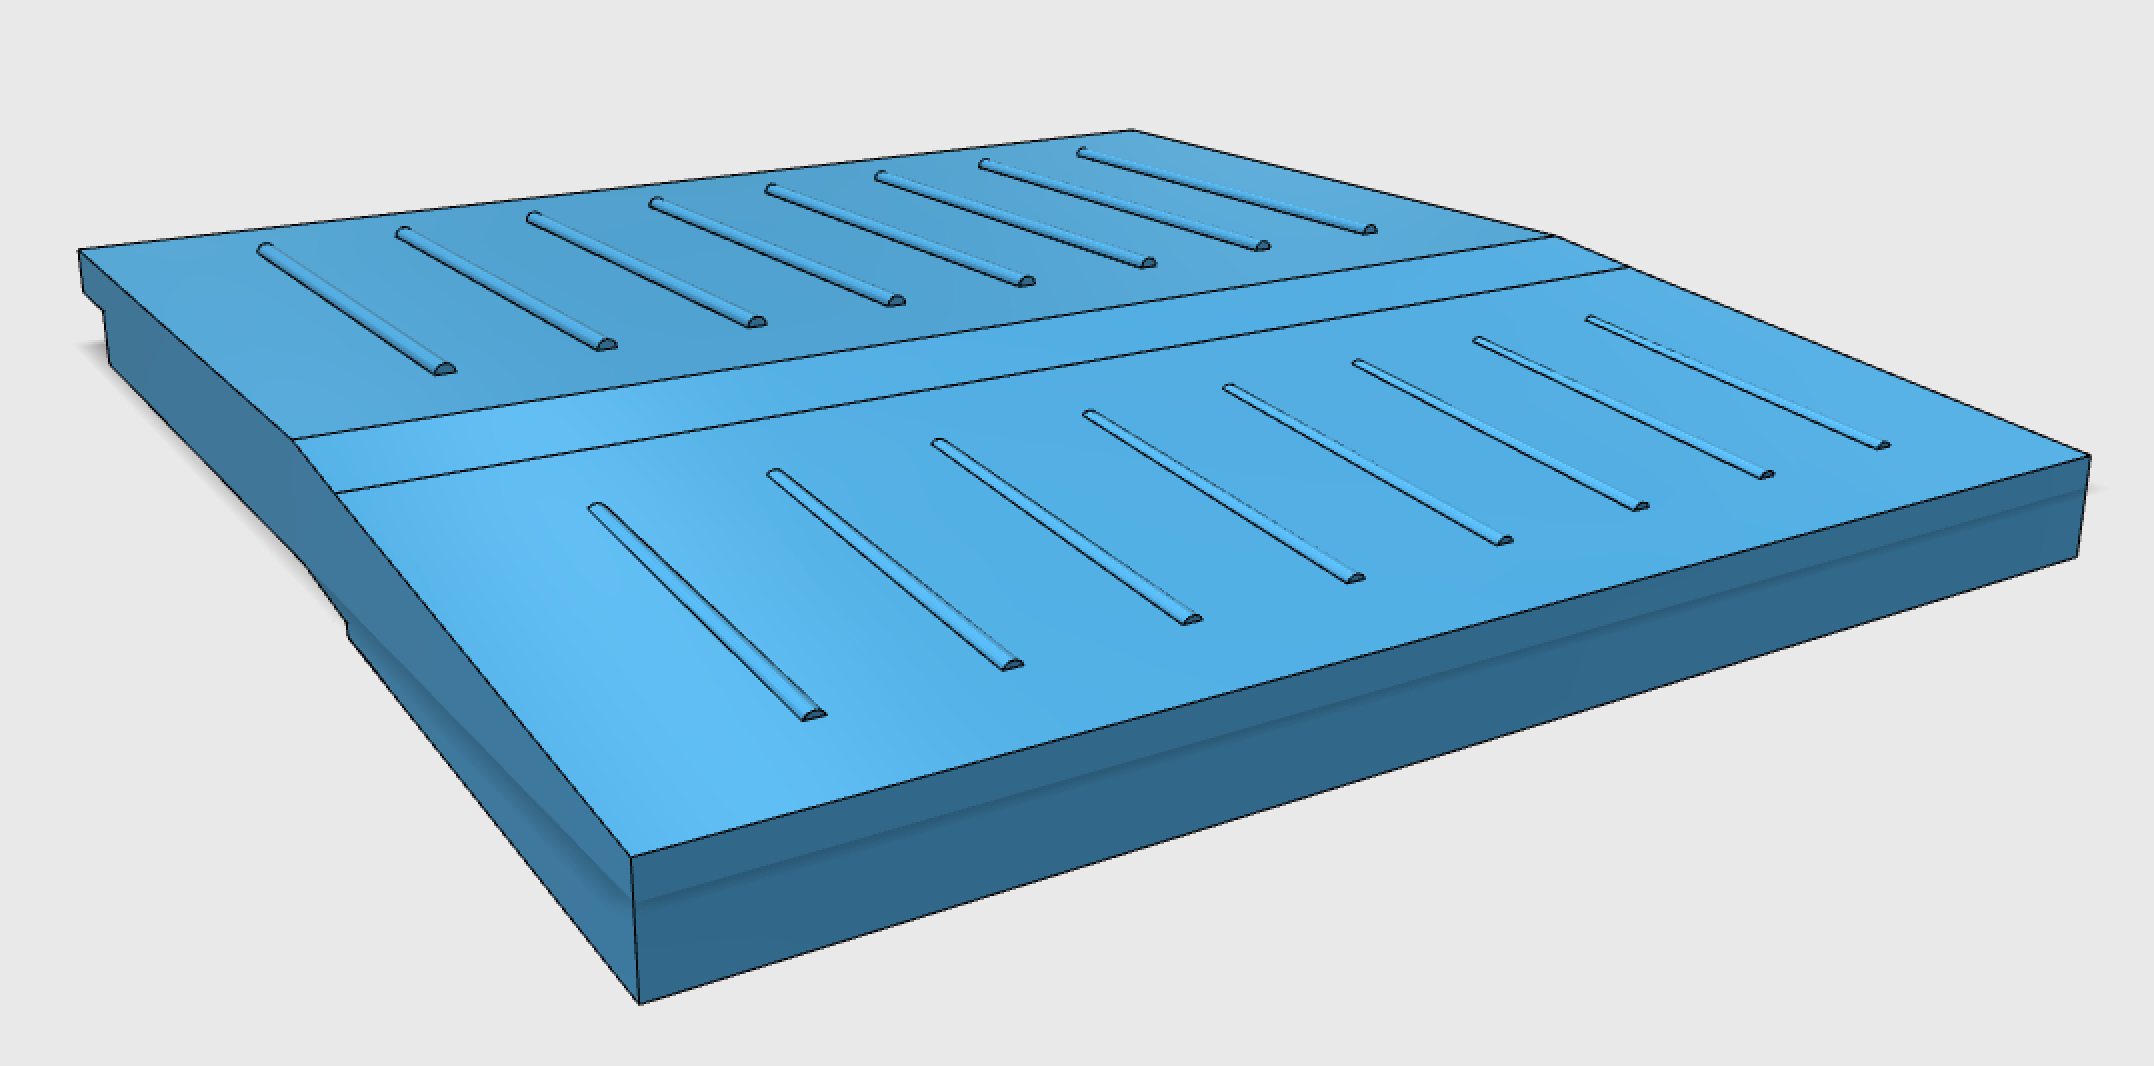
I tweaked the angle a bit on the keyboard, and I added some ribs for reinforcement. I opted to echo the IIc’s vertical ventilation grooves for these ribs, and I think it turned out pretty nice. I should have done some more chamfering and such for a more refined look, but as it turned out, none of this would matter.
With some trepidation, but still quite a bit of excitement, I uploaded this model to Shapeways for printing. This is right at the upper limit of what they can print. Teddy Top is roughly 12″ square, which is very large for a 3D print. However, Shapeways said they can do it. There was some real sticker shock here though. The quote for this is print was over $200US. Holy Benjamins, Batman! Luckily, there was a holiday sale going on, so I only had to pay $150US. Still a lot of walking around money, but I figured if it worked out, it would be such a cool thing that I wouldn’t mind too much. Sometimes in life you just gotta throw the hard eight. Roll the bones!
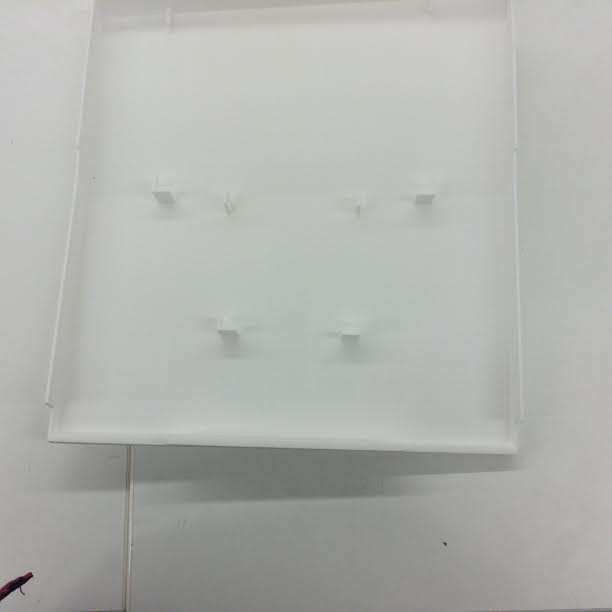
Sadly, carrying my metaphor, I crapped out. After a couple of weeks, customer support at Shapeways contacted me to let me know they had printed it, but there was a “subtle warping effect” (their words). They were kind enough to send along some photos.
Hey Shapeways- you keep using that word “subtle”. I do not think it means what you think it means.
I tease, but Shapeways was very good about the whole thing. They said it was probably outside the realm of what they could print, but they said they’d still give it to me if I wanted, or refund my money. They even rushed to print it in time for the holidays, on the assumption it was a gift for someone. Very thoughtful. Sadly, it wasn’t any use to me in this condition, so I had to ask for the refund. They didn’t seem to know why it warped, and weren’t inclined to try printing it again. Turns out 3D printing just isn’t the right hammer for this nail, much as I wanted it to be.
I’ve shared this model here. Feel free to download that and try your hand at 3D printing it yourself. Maybe you’ll have better luck?
So, the fancy technology has let me down. This was not the magic bullet I was looking for. Time for a change of strategy! I’m giving up on the new school and going decidedly old school. I’m going to use another cool home manufacturing technique that is well suited for plastic shells. Unlike 3D printing, which we’re all a bit sick to death of hearing about, this other method doesn’t get nearly enough press in the maker community. Some of you have already guessed what I’m talking about, so I’ll spoil the surprise now.
Vacuum forming! Yes, I’m going to melt and suck my way to a Teddy Top prototype. Stay tuned for next time, when I build a vacuum former in my garage. Hold on to your hats (literally, because, like, there’s powerful suction involved. Those look like nice hats, and it’d be a shame if something were to happen to them).
Onward!
I suspect that ‘subtle’ is relative for shapeways – they’ve probably seen thibgs that should be straight end up looking like tacos, so to the this probably IS subtle.
Can you share the source file for your model ?
As you gave us your permission, I’d like to give a try to printing it on my homemade 3D printer, but it would need some rework first – namely splitting it in 4 parts as it is too big to fit, and maybe some other hacks to make it easier to print.
And yeah 3D printing is a great tool, but it’s not the miracle solution we see described everywhere. There are a lot of restrictions with which you need time to get accustomed to deal with.
There’s a link to my model at the end of the article, on the word “here”. Sorry, I should have made that easier to see.
Yes, I have seen the STL file, but what I was – trying to be – asking for is the 123D version of the model : STL is not easy to modify, it’s an export format of raw triangles intended more for exchange / processing for printing than to be editable.
In the 3d printing area, when asking for the “source” of a model, we mean the original file format native to the 3d design software used, so that it can be easily modified. You probably understand the analogy with software development various steps of representation of a program : source, object, executable…
Sorry, I should have made my request clearer.
On the other hand, as I’ve managed to rework the stl to suit my needs, I no longer need that. Thanks !
Oh, I see. Okay, I’ve just uploaded that, and you can find it at http://www.quinndunki.com/eagle/TigerCoverFinal.123dx
I am fairly new to 3d printing my self but well versed in structural design and a software called google sketch up (free). as you have opened many plastic consumer electrical in your time im shore you have seen the structural braces that run across the sides reinforcing the usually screw hole posts. These braces add a lot of structure to the shell allowing a few millimeters of plastic to hold a full picture tube(crt). making this case two pieces with screws and between and bracing would create a torsion box like structurer making it hold shape in printing and be much stronger when assembled.
As for sls printing it has its place when detail and overhangs are plentifully but fused layer deposition can create a grain in the piece giving it strength. I have successful printed limbs for a small (toy kinda) crossbow. these are under constant stress and have not failed yet made with ABS plastic. making large enclosures with a 3d printer is at the edge of what current tech can do but it is possible.
I do not mean to be critical just trying to help I am still learning how to best exploit this tech myself.
-ERR
Yep, structural elements like that can do a lot to prevent deformation under load. However, this piece is deforming while being printed. I got the impression from Shapeways that something this large just isn’t going to print well.
Depends on the material used. ABS WILL warp. PLA, not so much. Nylon, ???. Another way around it is to print in pieces and glue together, make it thicker (thin walls might warp more?), etc. There ARE 3D print technologies that can do what you want (hell, CAR BODIES have been 3D printed), but maybe Shapeways doesn’t have that.
3D printing is a great technology for making small parts. Model Railroaders could use it to make structures for their layouts (once they master a CAD program). Custom Arduino cases, knobs, LCD bezels, all sorts of uses come to my mind for DIY hackers, but again some knowledge of CAD is necessary if you can’t find what you want on Thingiverse or similar pubic repositories of models.
I’ve built my own 3D printer because I wanted to investigate this technology on the cheap. I probably ended up spending more on my ‘RepStrap’ than a Printerbot Simple kit would have cost be (but I think my printer is more capable). It was built mostly from hardware purchased from the local HomeDepot, with electronics from Ebay suppliers. Stepper motors were surplus Nema23’s for $5 each. The hot end was a $40 bargain from Australia.
I think you owe it to yourself to (eventually) try this technology. While it may be overhyped, it’s something that a true hardware hacker will love getting their hands dirty with.