Taking a basic case to school.
Sometimes the simplest hacks are the most satisfying. I recently gifted a snazzy new iPad case to my father. That meant his old one was extraneous, and he gave it to me (or I gave it to myself on his behalf- the details are fuzzy, and there was a lot of eggnog involved). It’s a pretty nice leather case that also acts as a stand. However, it has one glaring oversight- it isn’t a “smart” cover in the sense that the iPad goes to sleep automatically when you close it.
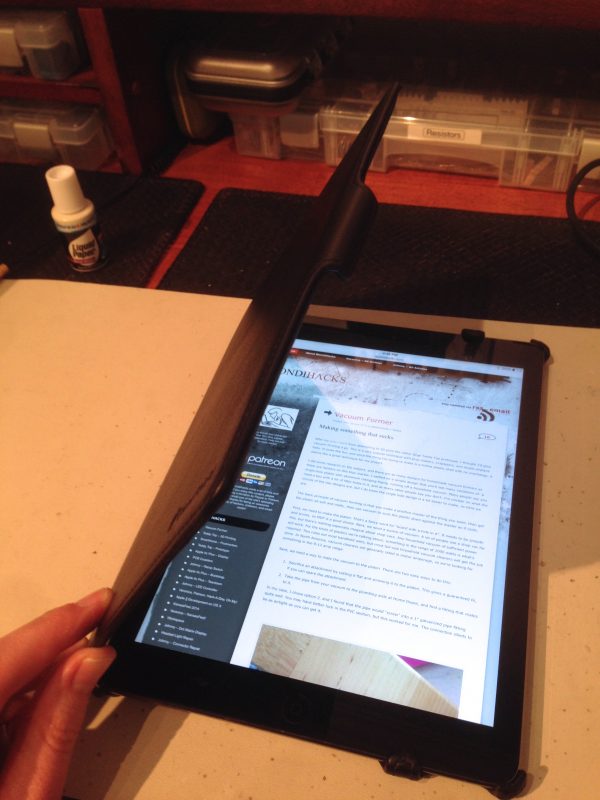
I’ve never really been one to put my devices in cases, frankly, but now that my iPad has one, I realize how convenient that “smart” feature is on the Apple covers. Closing the case and having to put it to sleep every time is an extra little step that was starting to get on my nerves. Rather than replace the whole case, it seemed easy enough to smarten up this one. I happen to have a stack of magnets on the junk pile, and I like excuses to use epoxy, so here goes.
It’s no secret that Apple does this auto-sleep trick with magnets (how do they work?). The official Smart Cover uses magnets to attach itself, and the iPad has hall-effect sensors in it to detect additional magnets in the cover when closed (thus triggering sleep). The trick is figuring out exactly how this works so we can replicate it. Apple is cagey about this, and in fact they have moved these sensors with every iteration of the iPad. That’s a pretty user-hostile thing to do, but I guess their stock is so high in part because everyone has to re-purchase all their accessories all the time.
Step one is to figure out where the sensors are on my particular device, an iPad Air (the first version of the “Air”). It took some fiddling, but it turns out there are two sensors you have to hit, and one of them is not at all where you’d expect. One is in the bezel, which seems natural, but the other is embedded in the screen (or more precisely, behind the LCD panel, I suppose).
There’s an “anchor” point, and a “closure” point (my terms, invented for the purposes of this discussion). The anchor point requires a magnet to be there for the closure point to be detected, but doesn’t actually sleep the device. Furthermore, the polarity of the magnet matters on the anchor point. The magnet will be attracted to the anchor point in one orientation, and repelled in the other, which indicates there is a magnet in the device itself at this point. If the anchor point magnet is being repelled, it won’t be detected. This is not to be confused with the mounting points for the Smart Cover, for which there is a row of magnets along the spine of the device. We can ignore those for the moment.
Once the anchor point magnet has been detected, a magnet on the closure point will sleep the device. The closure point is not polarity-sensitive; the magnet can be in any orientation. The two detection points have an unusual relationship- the anchor point must be detected, but once detected, only the closure point is needed to sleep and wake. Once asleep, the anchor point can be removed without waking the device. If the anchor point is not detected, the closure point is ignored, and the device will not sleep. My guess is this is a sort of “secret code” to make it more difficult to counterfeit Smart Covers. Perhaps there’s some technical reason for this arrangement which eludes me, but it’s pretty odd, to say the least.
Here’s a short video demonstrating this behaviour:
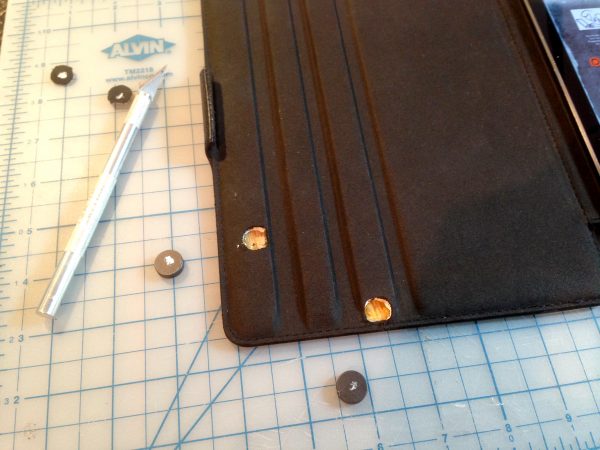
With the hall-effect sensor code “cracked”, it was time to install some magnets in my cover. Precision turns out to be fairly important here- the hall-effect sensors don’t have much range. To be sure the magnets land in the right place, I put them on the iPad, then dabbed the backs with WhiteOut. While the WhiteOut is still wet, closing the lid transfers their positions for me. Then it’s just a matter of cutting relief holes for the magnets to sit in. I traced the outline of the magnets with a sharp knife to remove the leather neatly.
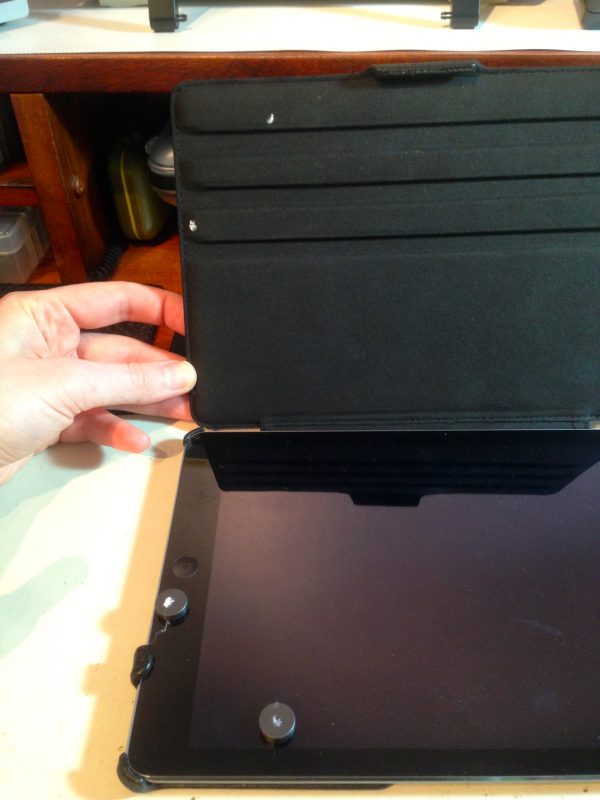
This case turns out to have a fiberglass core, and I needed to grind out a pocket to make clearance for the magnets. This was easily handled by a carving bit on the Dremel tool. With the holes cut and pockets clearanced, a dap of epoxy on each magnet secured them nicely.
This is all fine and dandy, but I wasn’t quite satisfied yet. The leather case has a stiff “hook” on one side to hold it closed. This is very secure, but also somewhat annoying because it requires a fair amount of force to open.
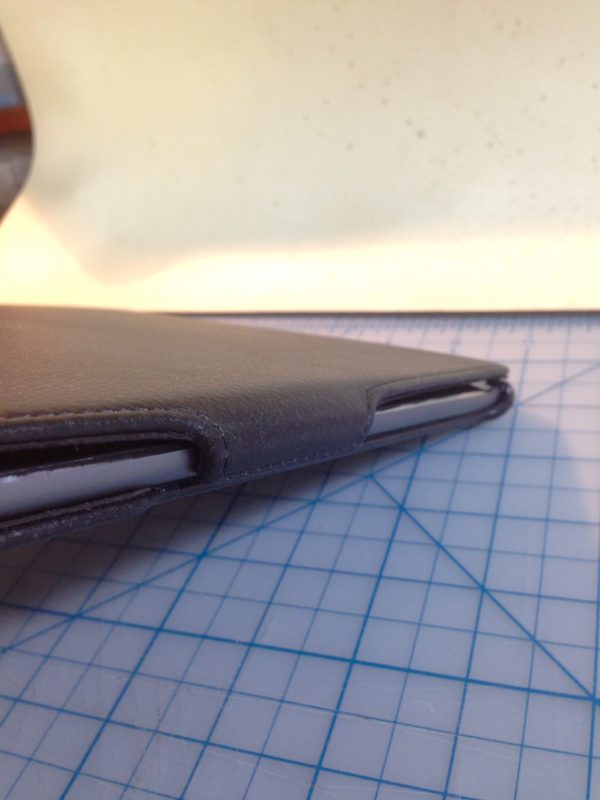
The iPad has magnets built in for holding the Smart Cover closed, so why not use those? A couple of additional magnets along the outer edge of the lid should hold it closed nicely. Before I could do this, I needed to remove the fiberglass hook. I started by pulling the stitches out of the leather, then peeling it off the fiberglass core in the area of the hook. Same for the inside layer, which is suede.
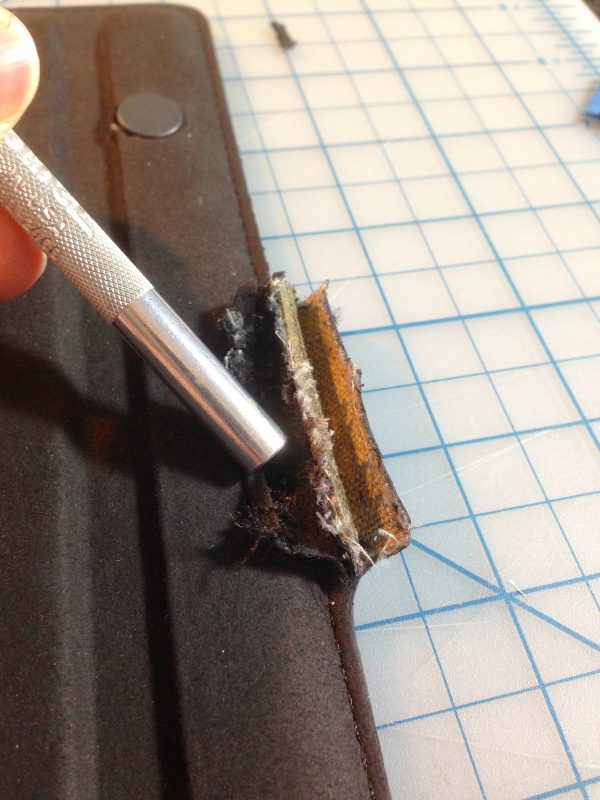
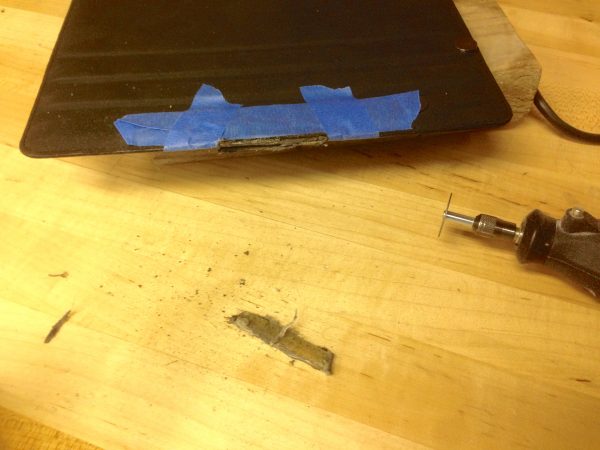
Next came the diamond blade on the Dremel, to remove the hook with extreme prejudice.
I let the magnets tell me where they wanted to be on the iPad, then used the WhiteOut trick again to mark those spots on the lid. Interestingly, the positions are asymmetrical. The magnets end up slightly off-center in the vertical dimension. Not much about these magnets and sensors makes a lot of sense. In any case, I cut more holes in the leather, carved pockets with the Dremel, and epoxied the magnets in place.
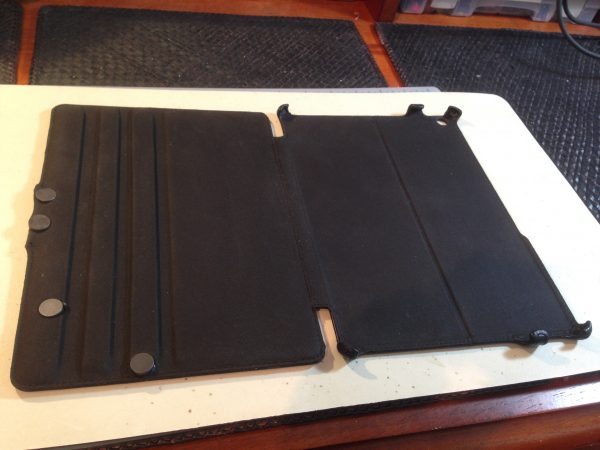
Lastly, I folded the flap of leather that covered the hook back around to cover the cut area, and glued it in place. Below is video of the final result in action. If you listen carefully, you can here the little “ka-chick” noise the iPad makes when going to sleep. We know it works!
This hack didn’t take long at all, and seriously improved this case. Best of all, it cost exactly zero dollars. My favorite kind of hack!
Don’t the magnets risk scratching the display being exposed like that?
I suppose it’s possible. The hardness rating of Gorilla Glass is much higher than neodymium however (650 vs 343 on the Vickers scale), so I think it’s unlikely. Besides, these things are tools to me, not artifacts. A few scratches add character.
So the iPad is more likely to scratch the magnets?
Heh, possibly, although you still need a point or an edge. Surface scratches on things are usually caused by grit getting between things, so the composition of the grit is what would matter. Time will tell, I suppose.
Maybe some thin felt-like stuff glued on the magnets?
Yah, that would probably work!
“they have moved these sensors with every iteration of the iPad. That’s a pretty user-hostile thing to do, but I guess their stock is so high in part because everyone has to re-purchase all their accessories all the time.”
…and that’s why you’ll only see me buying Apple products in which the Wonderful Wozniak Worldview appears.