An arcade “cabinet” to hold my arcade controller.
A while back, I decided my life was missing a homemade arcade control panel. Well, it’s high-time that panel had somewhere to live. Most home arcade enthusiasts will either convert an old arcade cabinet for this purpose, or build one from scratch using many available online plans. There are even some exceptionally cool ones built from the mind of mad geniuses. However, my needs are a bit different than all of those approaches.
First of all, I need something I can move myself. Arcade cabinets are giant MDF beasts to begin with, and by the time you add a CRT, PC cabinet, and incidentals, you’re way beyond what my skinny girl arms and almost-40-year-old back can handle. Furthermore, and I know I’ll take heat from arcade junkies for this, but I don’t find the cabinets attractive. Well, let me rephrase- they’re very cool in an arcade setting. However, I don’t want one in my living room. I wanted something that matches the decor of the room it’s in, which is clean, light, and airy.
So, to achieve all those goals, I came up with the Blondicade.
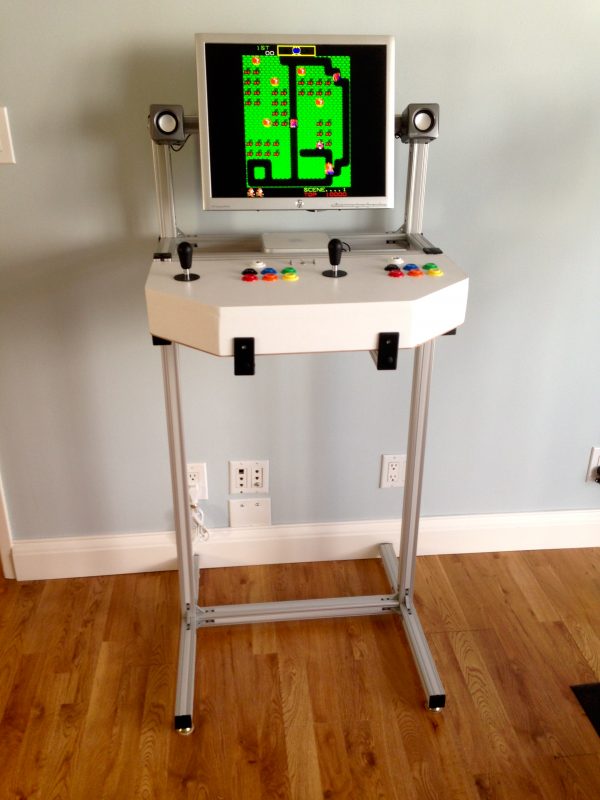
“That’s not an arcade cabinet!” people will no doubt be screaming. Nevertheless, it gives the experience of standing at a machine, dropping in quarters, and banging away on the buttons, with the music and graphics in your face the whole time. All that in a package that can be lifted with one arm, and fits right in with the room.
When I conceived of this idea, I knew immediately that I wanted to build it with 80/20. This is a brand of aluminum extrusion that is incredibly easy to work with, looks great, and has a ridiculously awesome catalog of construction options. It’s wicked stuff, and if I was wealthy, I’d have a warehouse full of it on-call at all times.
I started by planning out roughly what I wanted to do, so that I could order the materials. I drew up this plan in a vector drawing package:
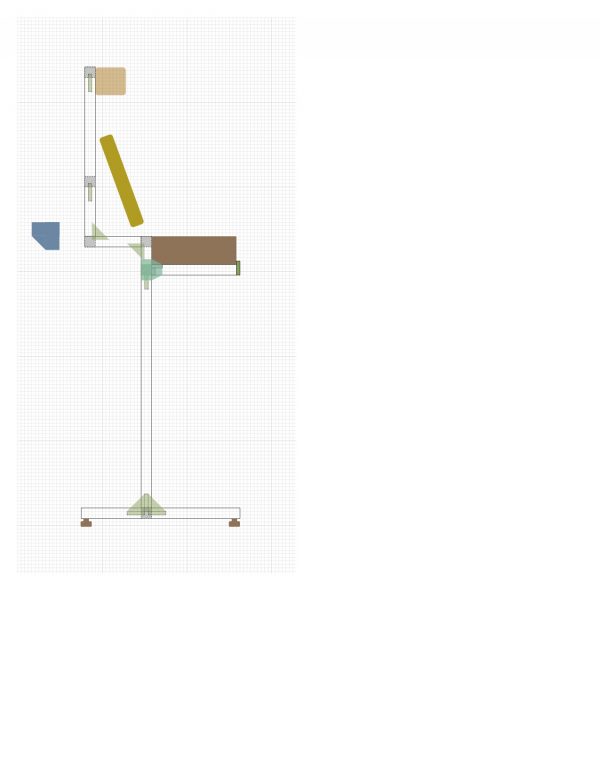
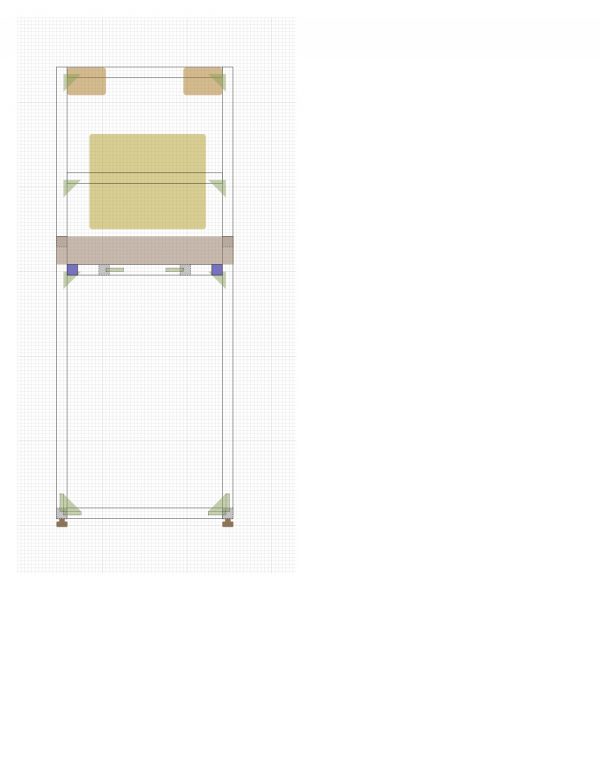
One thing to keep in mind at the design phase- make sure it will fit through doorways! It’s very easy to build something big in the garage and then not be able to get it in the house.
With the best-laid-plans in hand, I needed to source the materials. 80/20 doesn’t sell their own product on their website, oddly enough. Most people acquire it through a local distributor. There are also a few large online distributors such as Grainger and McMaster that carry it. However, if you go to those places, you’ll quickly discover how expensive this stuff is. It is incredibly cool, but cheap it is not. However, there’s a relatively well-kept “secret” way to get it- eBay. Not just any eBay, mind you. 80/20 runs their own eBay storefront where they unload extra stock, scratch-and-dent stuff, pieces with tooling marks, or pieces that didn’t come out quite right. They also sell most of their normal bits, but if you stalk the site for a while, you’ll find great deals. You can usually get stuff for 50-60% off retail this way. The catch is that some of it may have imperfections, and the selection isn’t as good, so you may need to adjust your designs a little. Also, don’t be scared off by the seemingly astronomical shipping costs listed. Those are for single pieces, and when you place a big order, they combine everything to the point where 98% of the shipping costs disappear in final checkout.
Figuring out what 80/20 bits you need is a two-part exercise. Start with the “Interactive Catalog” on the 80/20 website. Yes, it’s very Web 1.5, and extremely clunky to navigate. It appears to be designed for the average Windows 95 user, and hasn’t been touched since. However, if you tolerate the interface, there is very good information in it, and you can use it to get all the right part numbers. Then, plug those part numbers into the eBay storefront to get what you need.
You’d think a high-end product like this would make it easier for you to give them your money, but they don’t seem to want it very badly. Maybe it isn’t the right shade of green. Nevertheless, the product itself is worth the effort to acquire.
If they had some sort of web-based design tool where I could lay out a project, then click one button to have everything appear at my door, I would need to start forwarding my paychecks directly to them. Maybe it’s for the best that they don’t.
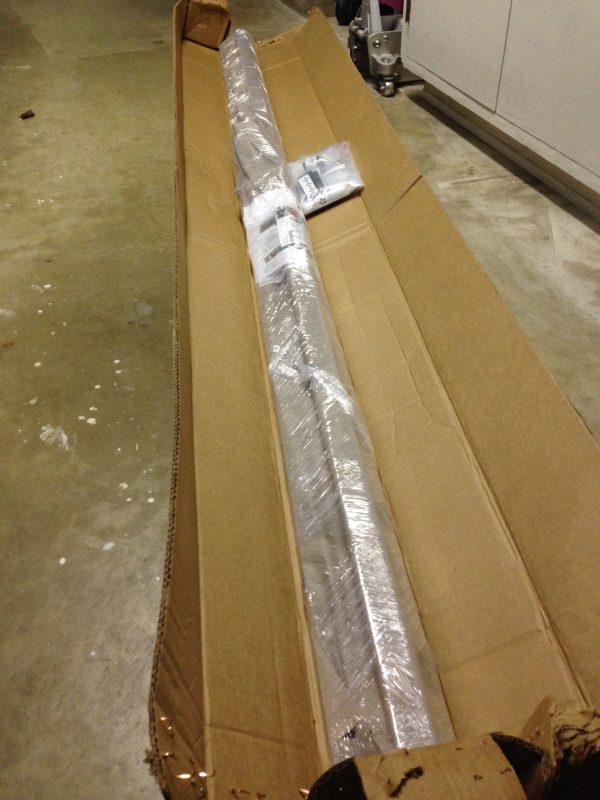
When ordering 80/20, make sure you order extra length of extrusion, and lots of extra brackets and hardware. Chances are you’ll need to change your design on the fly, and it’s so much easier to have the parts on hand. If you have extra at the end, it can always be used in another project in the future. I find a good rule of thumb is 20% extra length on raw materials, and 25-50% extra count on brackets. I also order 100% extra on nuts/bolts/washers/etc, because those are always useful, and you can never have too many.
So, with all the bits in-hand, it’s time to get dirty! The first question is- how do you cut this stuff? The eBay store I mentioned sells various random lengths, but I held out for the 8′ long pieces. That gives the most options for working with the material. Cutting this stuff is surprisingly easy- you can actually work it pretty much like wood. Don’t use metal-cutting (stone-based) tools on it. This is a non-ferrous metal, and it’s very soft. People say you can actually use normal woodworking tools with it. That may be true, but just in case, I opted to pick up a non-ferrous-metal-and-plastic cutting blade for my chop saw. Since I planned to make a lot of cuts, I knew it would pay for itself.
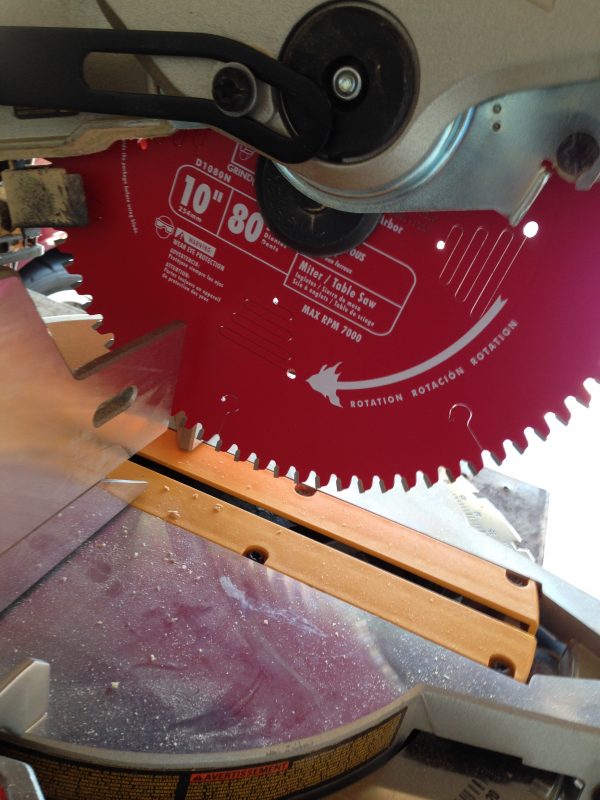
Okay, materials and tools are all ready to go. Let’s make something!
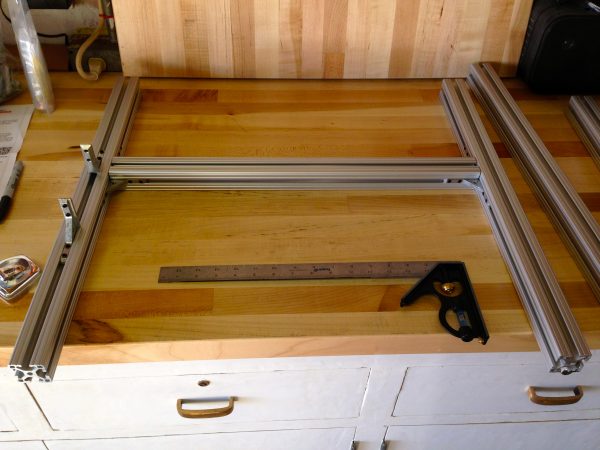
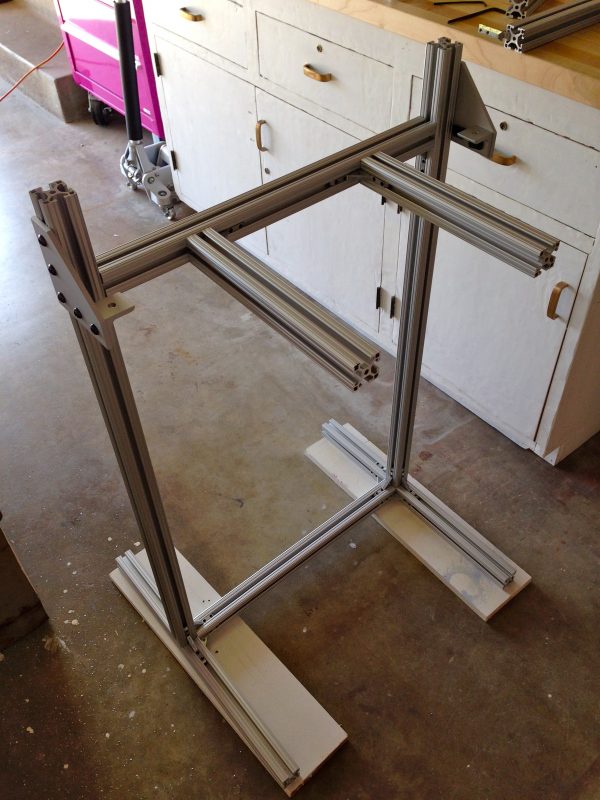
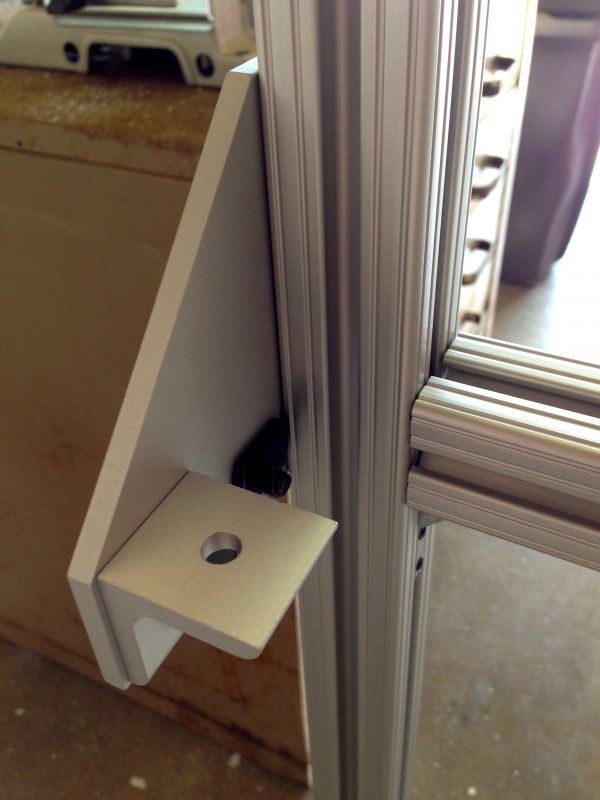
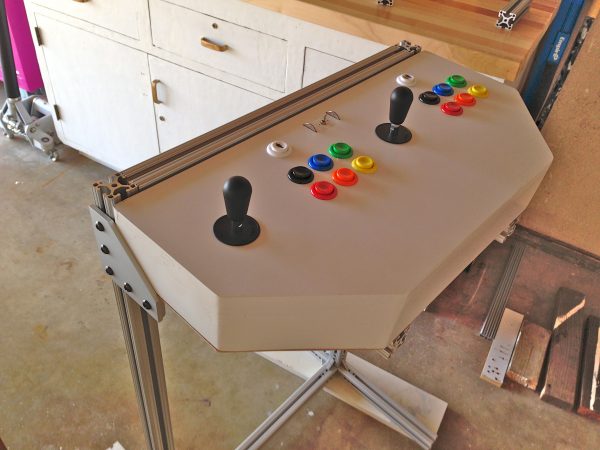
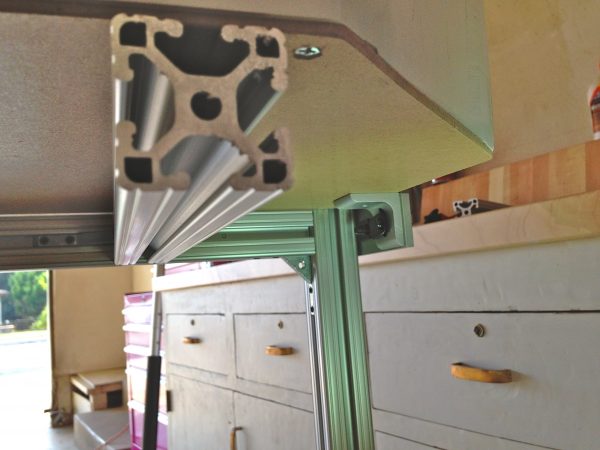
That all looks pretty and nice, but it didn’t actually work very well. The beams in the middle that are holding the weight are attached to the cross-members at a single point, so there was torsional flexing. The beams themselves are very stiff (this 80/20 is very strong), but they are putting a lot of leverage on the attachment point, which was susceptible to torque. The end result is, the control panel felt a bit squishy when you lean on it. That’s not going to cut it.
The great thing about 80/20 is that you don’t have to commit to a design. It’s trivial to take it apart and reengineer it. The only risk is some possible wasted material. Remember what I said about ordering extra brackets and hardware? This is why- the new design might need different bits, and you don’t want to have to wait and pay additional shipping costs.
So, the main problem is that I need to resist the torque applied to the rear supporting cross-members by the control panel. The strongest way to do this would be to triangulate downward, perhaps by adding another cross-member lower down, then some 45° support beams down to that from the control panel support beams. However, that would disrupt the clean minimal look I’m going for, so I wanted to find another way.
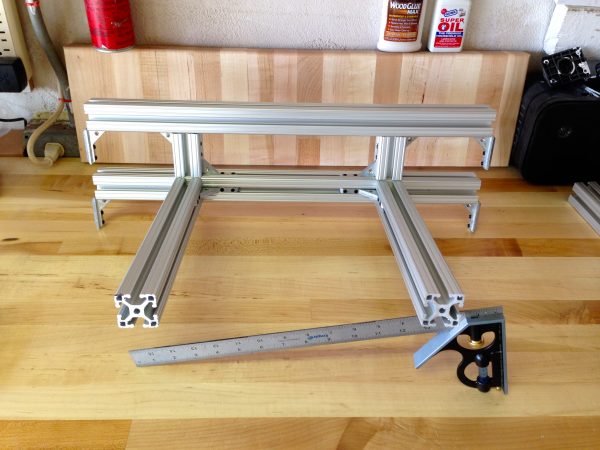
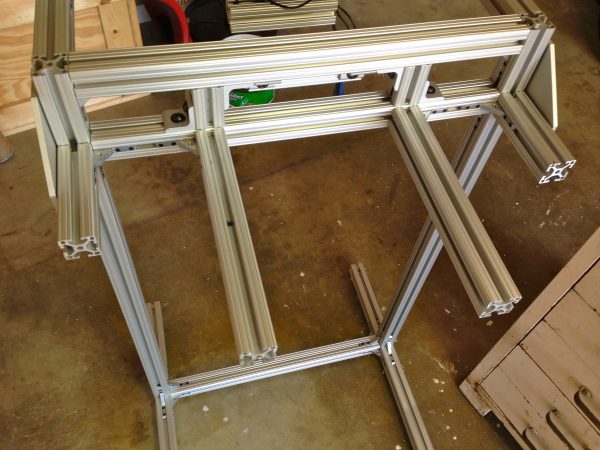
With these changes, things are much improved. There’s still a teeny bit of flex in the control panel, but that’s not going to be eliminated without full triangulation. It feels sturdy when you lean on it, and it’s strong enough to do pull-ups on (I tried it), so I’m satisfied.
The next challenge is the monitor. In keeping with my slim-and-lightweight design, I opted for an LCD. I can hear the arcade purists groaning, but it suits my needs nicely. The trick here is that you kinda want a 4:3 display, since that’s what all the old arcade games used. It turns out to be relatively difficult to find large 4:3 LCDs, because 16:9 became the norm very shortly after LCDs became commonplace. There was a narrow window between CRTs and 16:9 LCDs, and you have to find a display from that period.
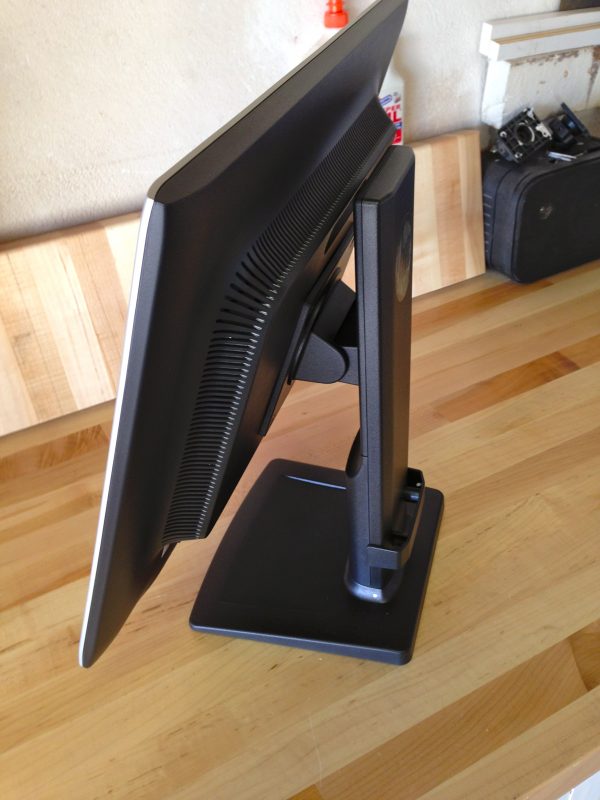
I went with the HP LA1956X monitor, which I found refurbished though the Amazon used marketplace. I got it for a steal, and I’m super happy with it. It’s 19″, 5:4 ratio, and has a silver bezel, which saves me painting it to match.
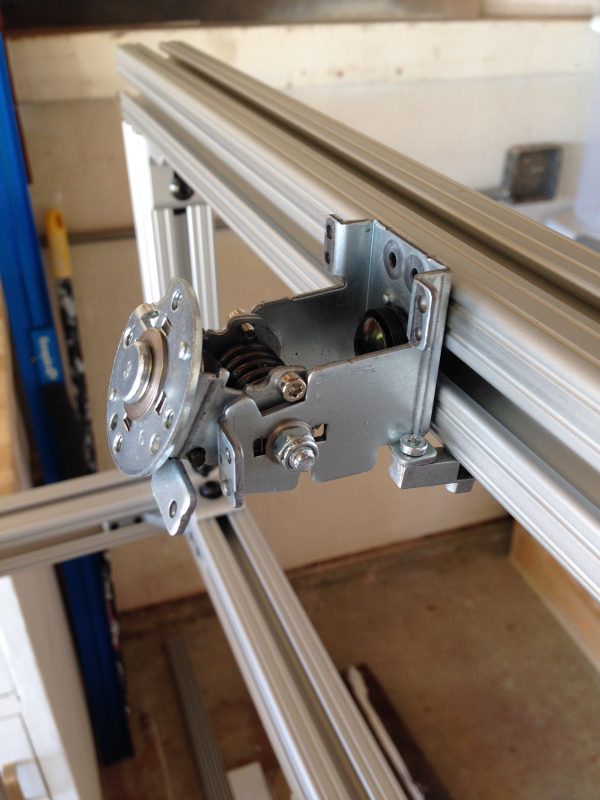
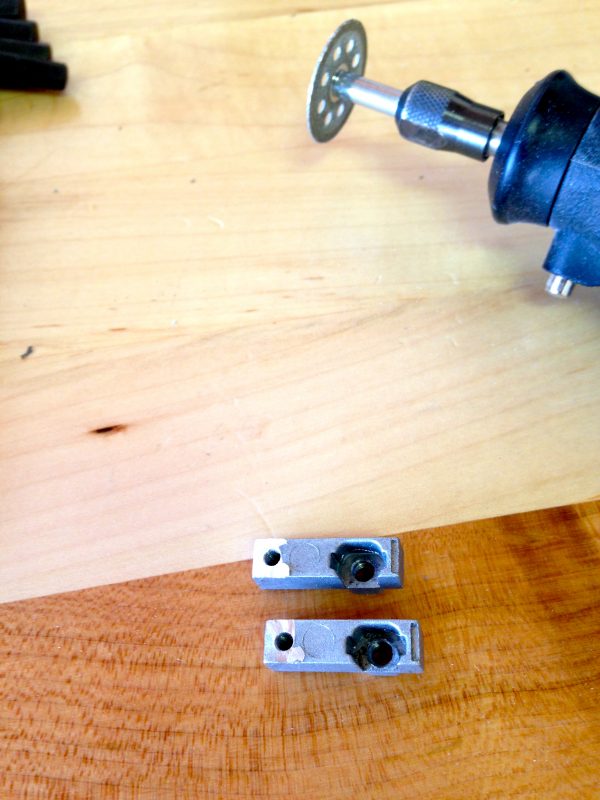
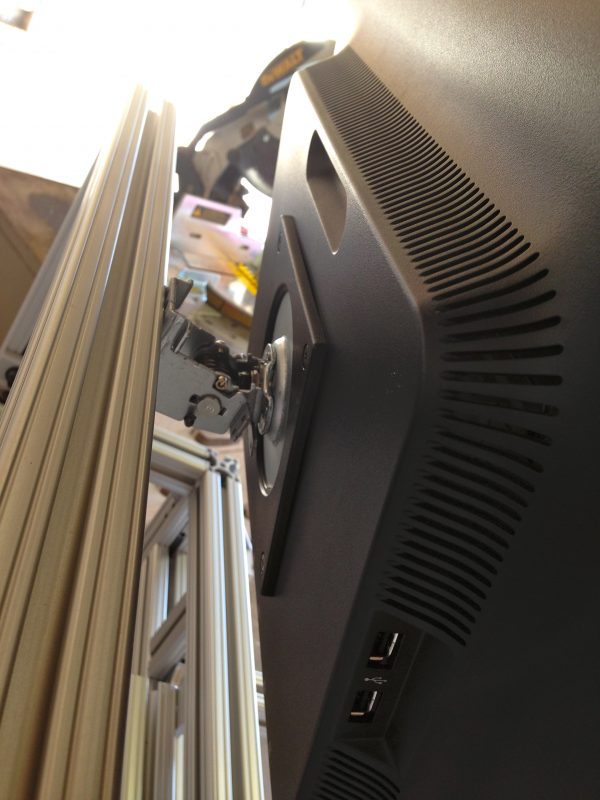
For mounting it, I needed to do a little hacking. In what seems like a massive oversight, 80/20 does not make a VESA mount for their system. Considering they themselves sell a line of office furniture built with the stuff, this seems very strange indeed.
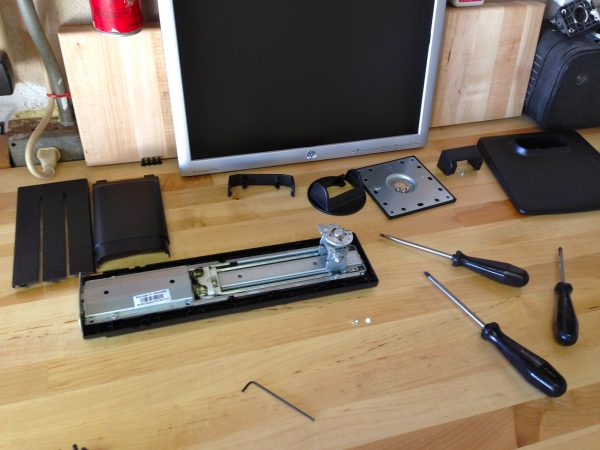
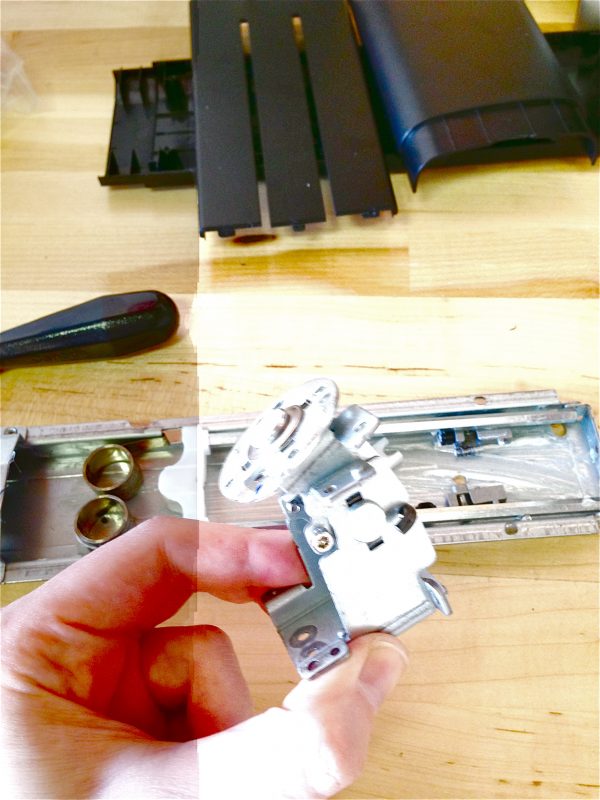
I needed a mount that would tilt and rotate, if possible. I didn’t want to commit to a viewing angle, and I thought I would like to rotate the display for some games, such as vertical shooters. That turned out to be unnecessary, honestly, because the screen is basically square anyway. But what the heck- I may upgrade to something else later. So where can I get the parts to do this?
I started shopping online for VESA mounts that I could modify, and found them to be a bit spendy. I began to despair. But wait… what’s this?
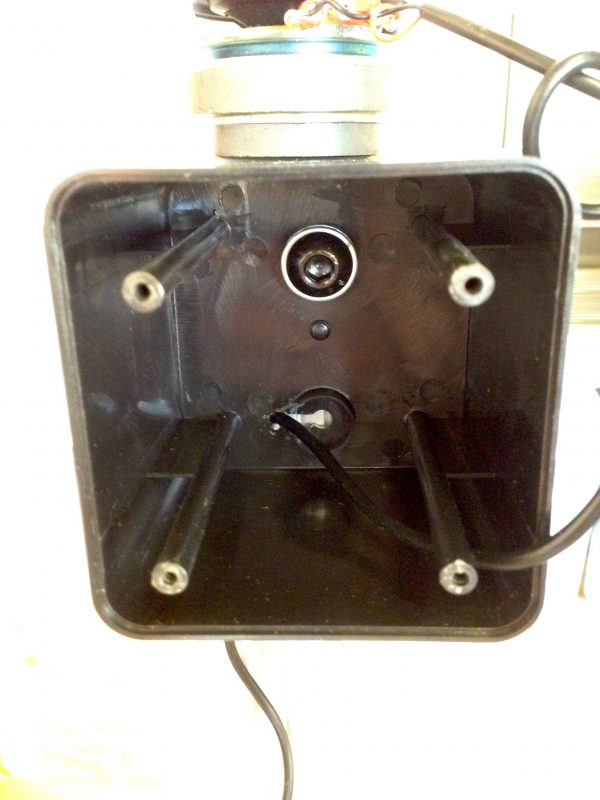
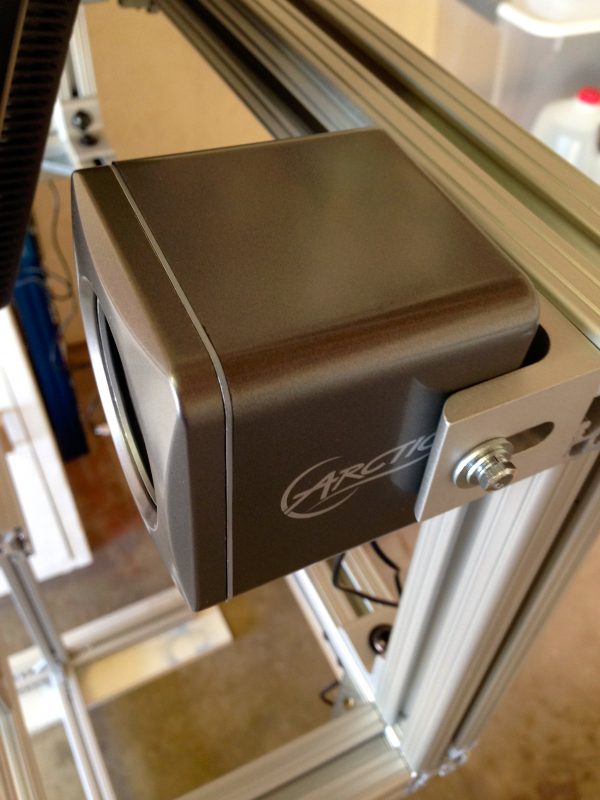
The next challenge is sound. I wanted some speakers that were small, and cheap. I wasn’t too concerned about quality, because most of these old games had pretty clunky sound anyway. I found these Arctic S111 USB speakers that fit the bill. They are USB powered, which is handy because it saves a power cord. Of course, you can only get so much juice from USB, so don’t expect to wake the neighbors with these. And yes, quality-wise, you get what you pay for. They are not great. They are certainly good enough to play old video games on, though, and they look sharp.
On to mounting! First step when using something in an off-label way is to take it apart. Luckily, these speakers are quite hackable (no sonic-welding or one-time plastic clips).
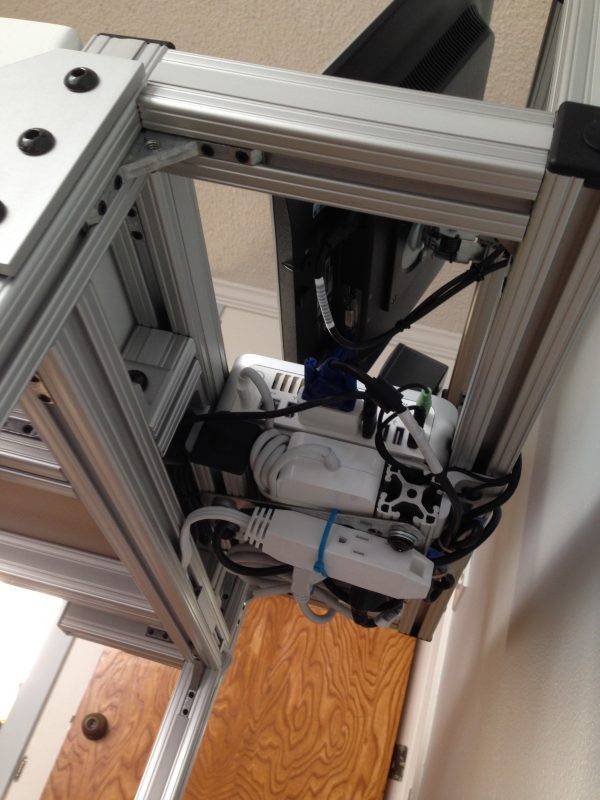
Okay! We have controls, we have graphics, we have sound. Now we need a computer! Once again, I’m going to take a ton of crap for this, but I’m running this system off a Mac. Yes, a PC would be the traditional choice for a home arcade, and the software options for menus and such are certainly better on Windows. However, a Mac Mini has exactly the form factor and look that I need for this design. I could have installed Windows on the Mac and had the best of both worlds, but I seem to be a glutton for punishment and decided to use OS X. Don’t get me wrong, I love OS X. However for certain classic gaming environments, it is harder to set up. The reason I opted for OS X is that the rest of my home network is OS X, and I intend to manage this machine remotely (no local mouse or keyboard), and that’s much easier if I stick with OS X. So here we are. I may do another article on configuring arcade menus and emulators on OS X, since it’s a poorly-documented subject on the internet at the moment. If this would be of interest, let me know in the comments.
For acquiring a Mac Mini, I recommend eBay. For classic game emulation, you don’t need a lot of horsepower, and older low-end Minis can be found at very reasonable prices. I wanted a 2Ghz Core Duo in order to run some of the later 16-bit games. If you’re sticking to older classics, however, the very early PowerPC Minis can be had for peanuts. The latest Minis hold their value, however, so avoid those. They go for near-retail on eBay. If you’re interested in spending that much, find the somewhat-hidden Refurbished & Clearance section on the Apple Store website. You can get brand-new(ish) gear there for about 25-40% off.
For mounting, I built a little cradle with scraps of 80/20, under where the monitor goes. I had already planned the depth of the gap between cross-members there to hold it snugly.
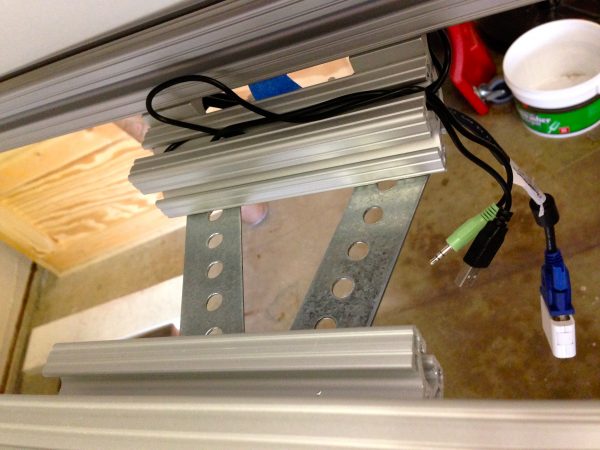
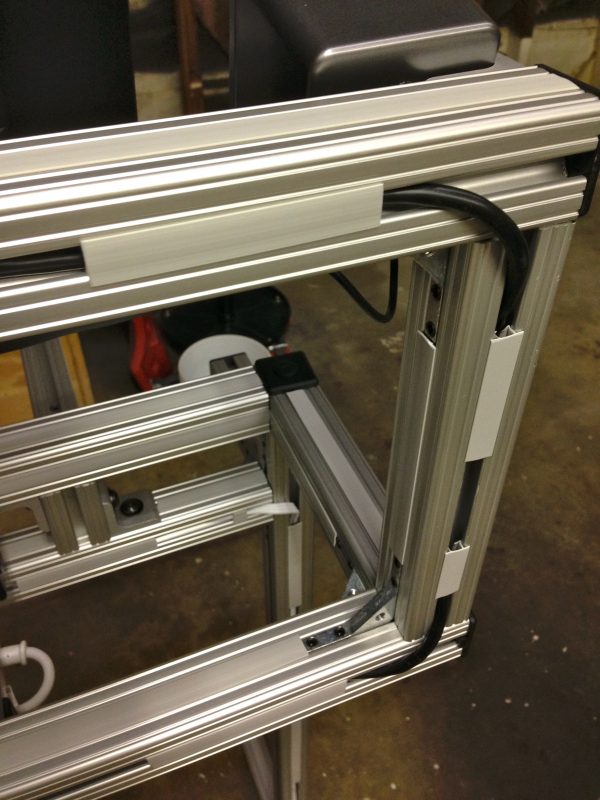
The secret to a clean looking installation in something like this is to hide your cables. It’s difficult, and often a lot of extra work, but hiding every inch of cable makes all the difference. Luckily, 80/20 is a huge help here. The T-slot channels are perfect for running cable through.
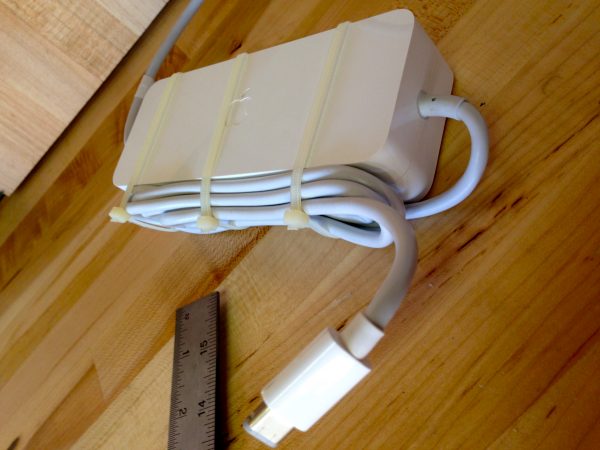
Wait! We missed something- feet! Any piece of furniture you make should have leveling feet on it. Floors are rarely level, and nothing is more annoying than a wobbly edifice that you intend to lean on (such as an arcade control panel).
Here’s where I deviate from the 80/20 rulebook a bit. See, they sell nice leveling feet, but they require a separate bracket to attach to the beams. This extra bracket is obscenely, obnoxiously expensive. I couldn’t find any in the discount eBay store, and honestly they don’t look very nice anyway. They stick out beside the beam and are just generally clunky.
Well, I realized I can circumvent all that by simply shortening the mounting bolt on the foot, and drilling a hole right through the center portion of the extrusion. Done correctly, the channel traps the top nut, making it easy to adjust the jam nut on the bottom (and hence the height of the foot).
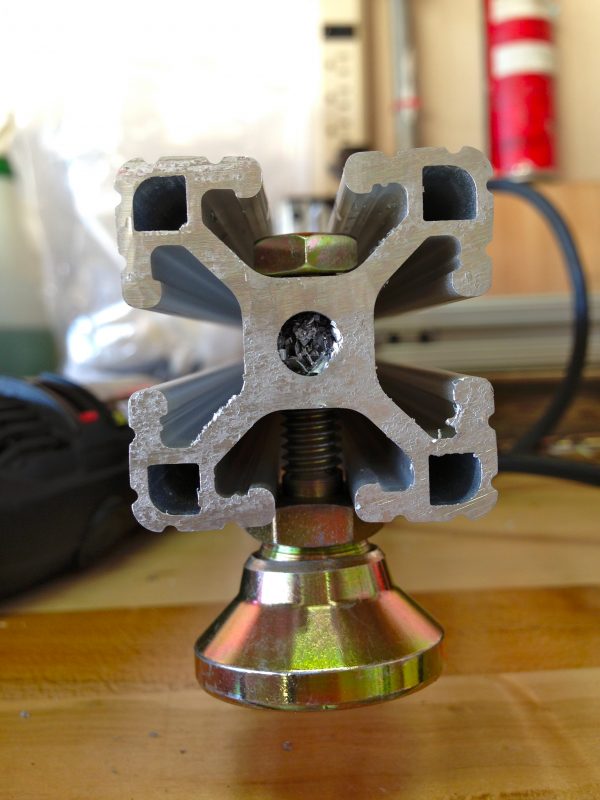
That’s all there is to it. If I haven’t gushed enough already, let me say I really enjoyed the 80/20. This was my first experience with it, but it won’t be the last. It is not cheap, to be sure (even the heavily discounted stuff), but it really is fun to work with, and you can build any conceivable mechanical thing with it.

I hope you like Blondicade- now get outta here so I can go best my Dig Dug high score.
Beautiful.
Looks really nice. My only worry would be is it strong enough to stand up the the amount of “body english” that some players tend to subject those arcade machines to? (Those of us that are used to pin games sometimes will slap a video arcade piece around a bit. Old habits die hard! Maybe that’s why some video machines had “Tilt” sensors?).
Well, sure, it won’t be as human-resistant as a 400lb slab of MDF, but neither does it need to be. Anyone who comes into my house and applies body english to something I spent 50 hours building won’t get invited back. It’s strong enough to sit on, and puts up with my most aggressive play on fighting games and the like. The far more likely point of failure is the joysticks and buttons, but they’re serviceable.
I wasn’t suggesting that some gorilia might come along and break it, I was just wondering about how “hefty” it felt compared to those old arcade pieces. It looked like it might be subject to some “flexure” while you were tring to move that game piece over to zap an alien invader, or hit that pong ball. (Gotta love space invaders!)
Nope, it’s stiff.
I was going to say something inappropriate, but I think I will just leave it unsaid. 🙂
Oh, I recognize the Mr. Do! screen. So, you play Do *and* Dug? Nice to see that you’re not a snob. 😀
Good eye! Indeed, I condone the playing of all subterranean construction-based maze games. I think they are both good in different ways, though if I was forced into a Sophie’s Choice, I might concede that Mr. Do has more depth of strategy. Then again, it’s standing on the shoulders of a giant, namely Dig Dug, so respect where it is due.
Now, that is a cool looking contraption. 🙂
Gotta love a person that grabs a dremel and asks questions later!
Beautiful build as always, Ms. D! 80/20 is awesome stuff. Thanks for the tips on the seconds discount.
Do you plan dim lights, a smoke machine, and bad electro-disco music to properly set the mood?
Yep- I’ve also hired a shifty looking dude to sling weed in the corner, and a cranky chain-smoking guy with a change belt to sit in the other corner and scowl at people.