Because Interrupts Are Hard.
The Apple II was (well, still is) a computer devoid of interrupts. I think most modern software engineers probably under-appreciate the implications of that. Folks skilled in writing main loops for games or graphics will at least be familiar with the evolution of main loops in games, so let’s start there.
Back in the old days, games had a “main loop” within which you serviced each activity required by the game- rendering graphics, updating physics and collision detection, processing inputs, starting audio sequences, etc. Each trip through this loop is generally considered a “frame”. On many very early platforms, this loop simply ran as fast as it could, because it was always going to be slower than you wish it would be. The second step in the evolution came with vertical blanking synchronization. Interestingly, even the concept of “vertical blanking” is becoming archaic knowledge because it’s much more of an abstract concept on modern LCD displays. In fact, under the hood they generally fake the concept because many old layers of software are still expecting it. However, they’re capable of essentially displaying continuously and updating any given pixel as needed. This is a slight oversimplification, because in reality pixels are still updated sequentially through shift registers and the like, mainly to save on circuitry. However it happens so fast as to be effectively instantaneous to software.
In the old days of cathode ray tube displays, however, vertical blanking was far from an abstract concept supported only to coddle dated software layers. It was an immutable physical property of the video device. As the electron gun scans across each row of pixels to “draw” it on the glowing phosphors, it reaches the bottom and must shoot back up to the top in order to do it again for the next frame. This is the “vertical blank”, so named because the screen is not updating during that time. In fact, the screen would go black during this time if not for the glowing phosphors buying us a little time. There’s also a much smaller horizontal blank during which the electron gun is shooting back to the start of each row. Some early computers leveraged this as well, but for this conversation the vertical blank is all we care about.
That was a lot of context just to get to the point that second-generation main loops in games are synchronized to the vertical blank. At the end of each trip through the loop, they pause and wait for a vertical blank to come up. The idea is that each loop starts when the gun starts heading back up to the top. If you can do all your processing and rendering during this vertical blank (no easy feat on early computers) then you can achieve a frame rate equivalent to the refresh rate of the screen (~60fps in North America), all with flawless animation. There are two ways that this vertical blank synchronization can be done. Earlier games did it by polling. There would be some flag set in the video hardware that went high when the vertical blank starts. So you would check that flag at the end of your loop. If it’s high, you’ve missed the start of this window, so you wait for it to go low, then high again. If it’s already low, you wait for it to go high. If you don’t manage to do all your screen updates during the vertical blank, the game will experience a lower frame rate, and also possibly artifacts, such as “tearing”. If you update the position of a draw element (such as an enemy sprite) just as the electron gun is passing through it, half of that element will be the old state and half will be the new, making it look like the object is horizontally torn in half and shifted. Clever game engines can avoid tearing while still taking longer than one vertical blank by updating things lower on the screen later, or by staggering updates and accepting 30 or 20fps instead.
Polling the vertical blank is fine as far as it goes, but the gold standard is interrupts. In more modern game engines, the rendering state is double-buffered and updated entirely from code that is triggered by an interrupt on the vertical blank generated by the video hardware. If you’re not familiar with interrupts in general, they are rather like a proto-form of threading. It’s a little piece of code that can be jumped into at any moment (asynchronously triggered by hardware) to do some work before handing control back to the main code. Interrupt programming used to be the only exposure most engineers had to concurrent programming (and the associated nightmarish bugs) but modern software engineers are generally comfortable with threading so should not be bothered by interrupt code. That is, assuming they paid attention in computer science classes and aren’t just relying on all the ways modern programming languages hide the complexities of threading.
Fully modern game engines take this idea all the way, and the graphics subsystem of a game is running entirely on a separate thread (even on a separate CPU hardware core which talks to one or more dedicated GPUs) controlled by the vertical blank (or a fake one generated by the video driver because ha ha LCDs aren’t real).
I’ve given you this trip down video memory lane because it’s easier to visualize the importance of interrupts and what life is like without them in the world of graphics. But we’re here to talk about sound. You see, sound actually has all the same challenges as video, but doesn’t get nearly the same love. And, it turns out, it’s much much more difficult to do audio in a game engine without interrupts. Which brings us back to the Apple II. The Apple II was (and is) well known for having lousy sound. It has a single-bit speaker much like later PCs did, however the Apple II has no interrupts. This is a critical difference, because it doesn’t just mean the audio is low-fidelity like the PC Speaker. It means that maintaining that audio has to be done manually in the game loop while it’s trying to do everything else. Furthermore, audio has no glowing phosphors to buy us time or fake our way through it. If we lose time and fail to tick that speaker at exactly the right pace, the audio drops in pitch, breaks up, or sounds poor. So think about what an Apple II game engine is trying to do. Every trip through the game loop, it has to update graphics, physics, collision, input, etc, but also tick the speaker. The frequency and complexity of sound is now tied to the frequency of your game loop. What happens if a player presses the jump key? The code path through the main loop changes and the code takes longer to execute. That would mess up the timing of ticking that speaker. This is basically an impossible situation, which is why virtually no Apple II games play music during gameplay. They often played music on title screens, or high score screens when nothing graphical or input-related was happening, but playing music while also running the extremely variable main game loop is almost impossible. I’m not certain off the top of my head if any games did it. I have a vague memory that one or two might have pulled it off, and if so they should be held in the highest regard now that you have some appreciation for how difficult this is. Even basic sound effects on the Apple II are hard. If you detect a collision and want to play a “thump” sound, you have to stop your game loop to do it. You can see this in many Apple II games- the animation pauses for a split second when a sound plays. Sound effects are kept short to minimize this effect. Simple sounds are a little easier to compute and can be played over multiple frames, so quite a few games do manage this. But again, it is difficult.
All of that context is to make you appreciate the value of sound add-on cards for the Apple II. They don’t just bring musical voices and synthesizer chips like on other computers of the day known for their quality sound. These cards brought their interrupts with them, freeing the programmer from trying to time audio playback amidst the main loop. You can start a frequency playing on one of these cards, then come back to it a few frames later and make an alteration as needed. This is incredibly powerful on a machine with no interrupts.
It’s perhaps a mystery then why sound cards like the Mockingboard and Phasor weren’t more popular. I suppose they had the chicken-and-egg problem that all add-on hardware has. The games don’t support it, so people don’t buy it. Nobody buys it, so the games don’t support it. The only way to break that cycle is aggressive developer partnerships, like SoundBlaster did in 1990s PC games. If you incentivize game companies to support your hardware, people will buy said hardware because the software already exists. Then your hardware becomes a standard and a virtuous cycle begins. In the Apple II days, hardware accessory companies hadn’t really figured that out yet, so we have great cards like the Mockingboard that are not well supported. That said, the games that really leaned into Mockingboard support (such as the Ultima series) really are outstanding with the card installed.
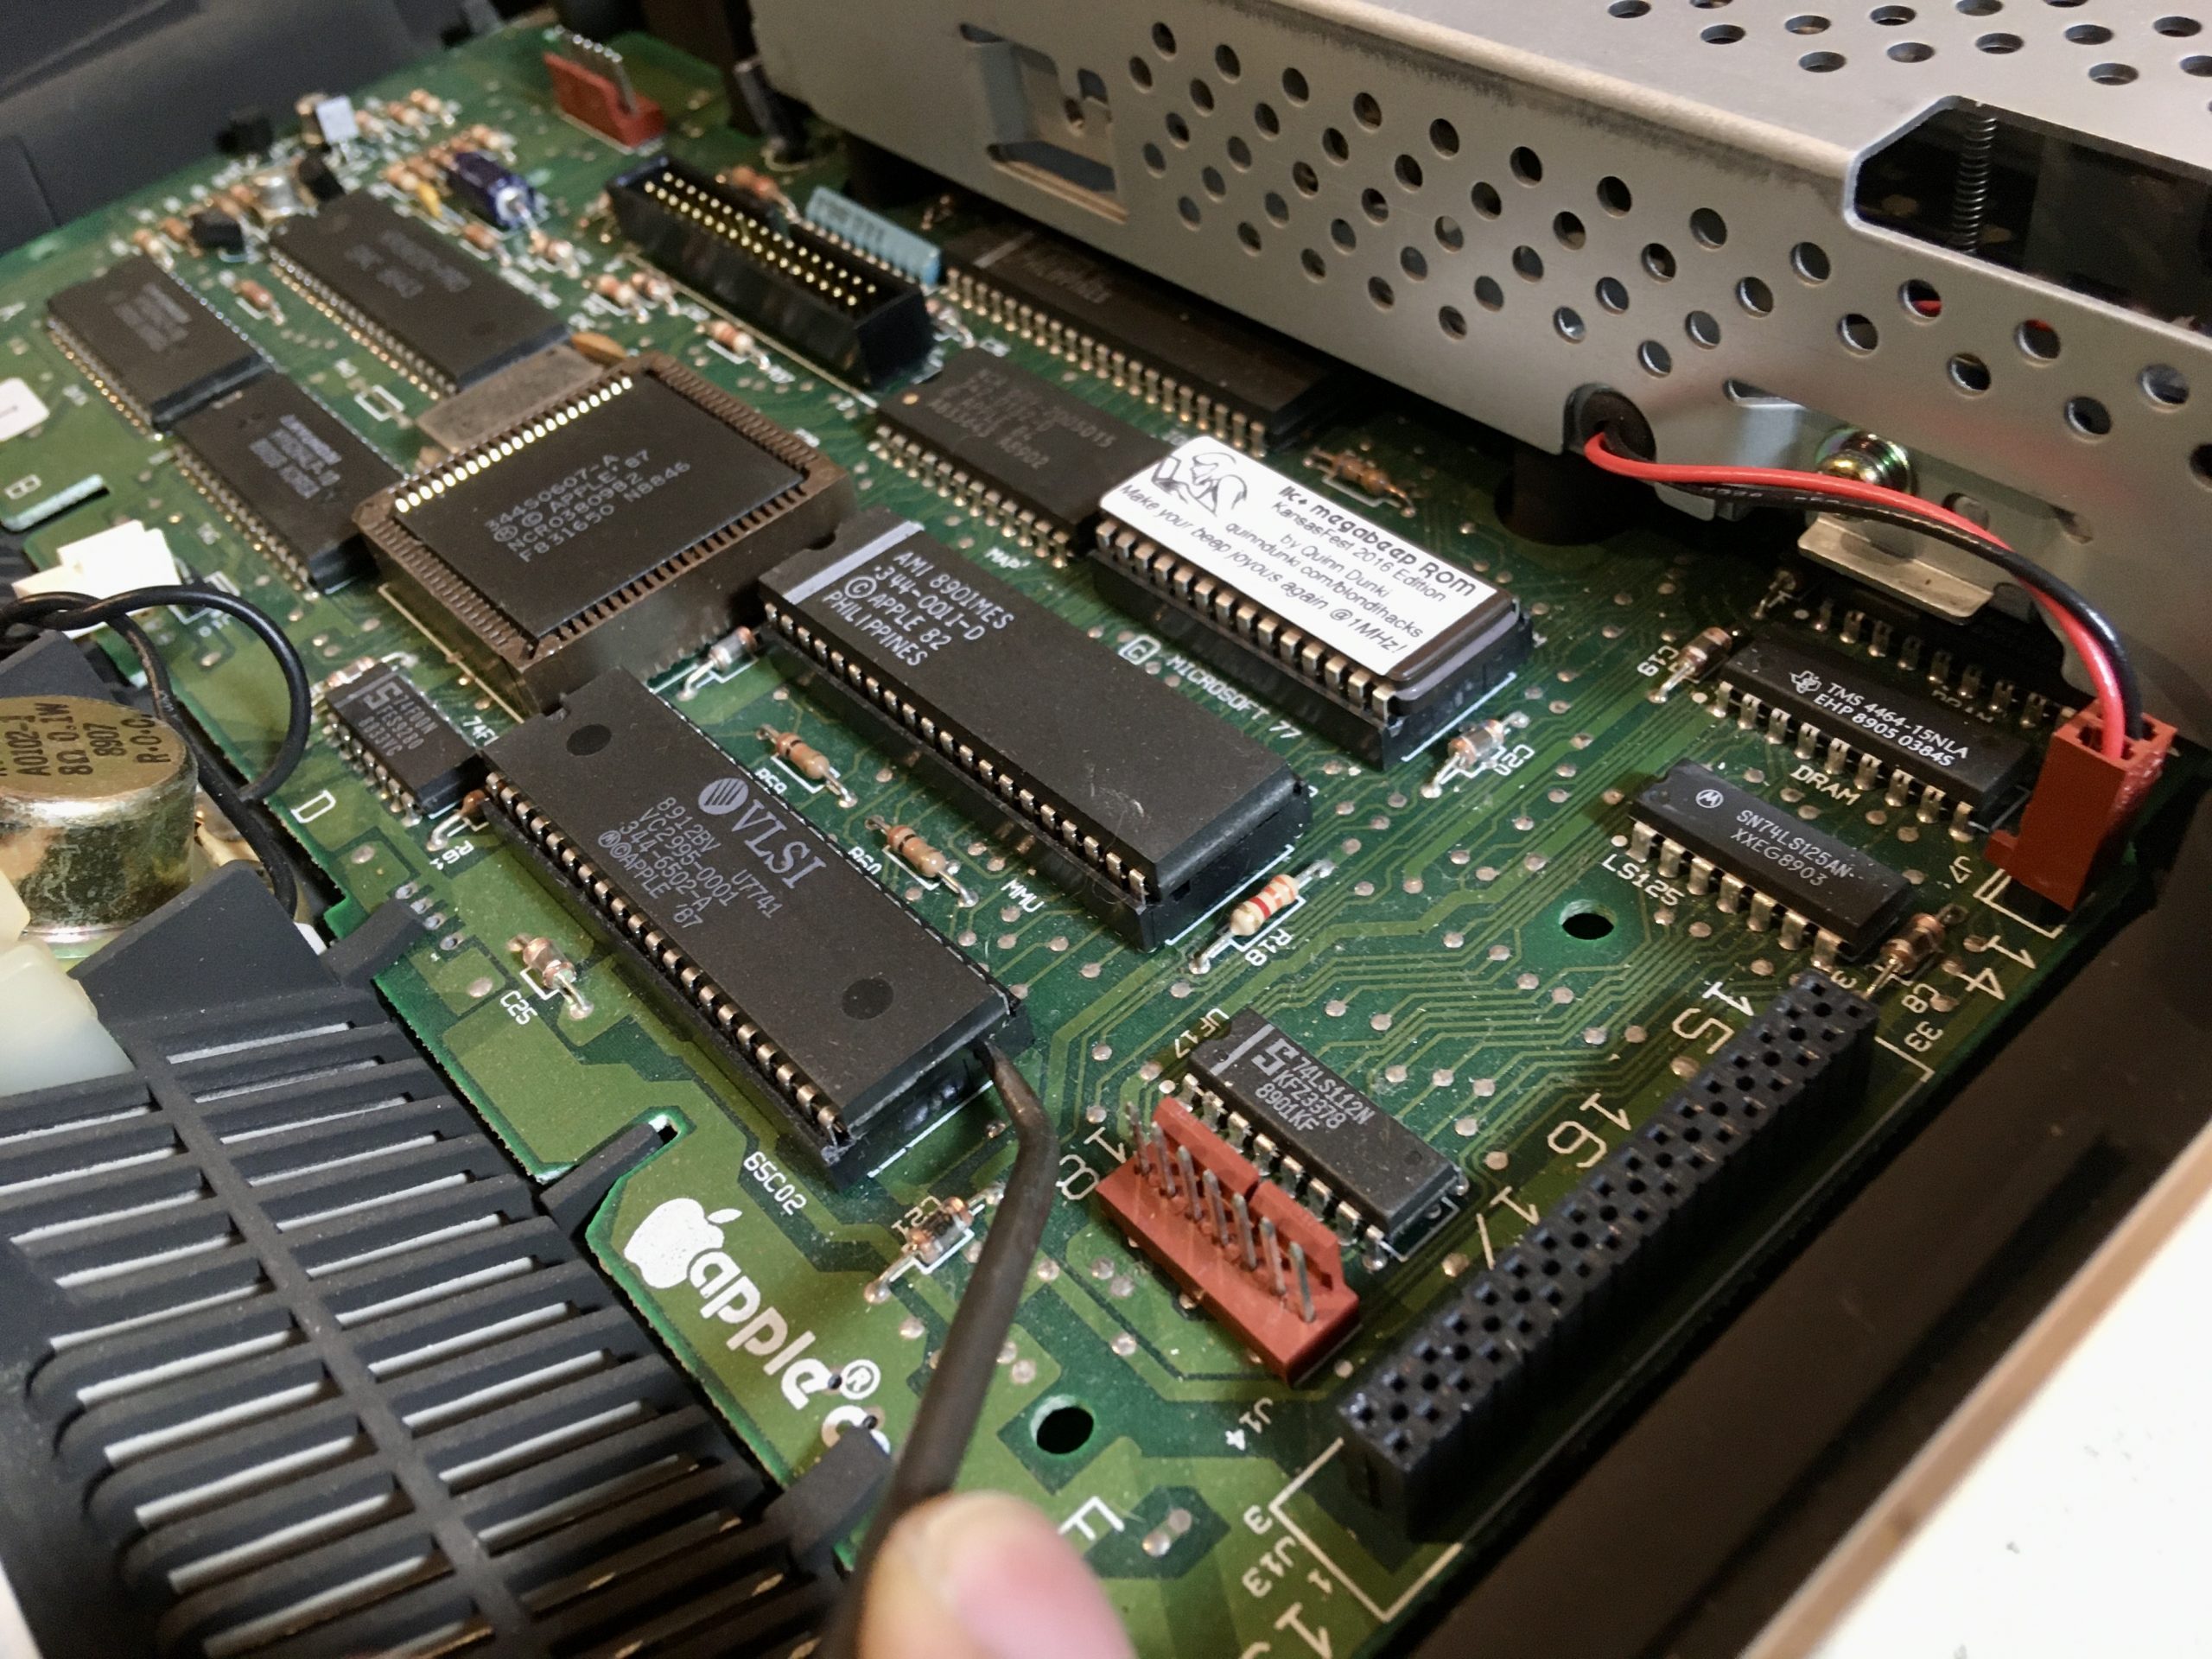
For the vast majority of the Apple //c’s life, it was mostly left out of Mockingboard support, because it didn’t have slots. There was a special “//c” version of the Mockingboard that was a box which plugged into a serial port. However, it required dedicated code to use, so now we’re talking about a niche of a niche hardware product that nobody supported. In the modern era however, we have incredibly powerful tools to do things like, say, make a board that parasitically intercepts all signals in and out of the CPU, and makes the computer think it has a Mockingboard in it, then emulating that board as though it existed to play sound. That’s what the Mockingboard 4c (by the amazing Ian Kim) is. It sits between the CPU and the motherboard, and makes the Apple II think it has a Mockingboard installed in a slot that doesn’t exist. This works because the Apple //c, internally, does think it has slots. The ROM code behaves as though slots are there, and the built-in features like the floppy drive and serial ports are treated as cards permanently installed in slots. This was a design simplification to portable-ize the II platform for the C, and modern devices like this can still take advantage.
Today I received my Mockingboard 4c+, which is Ian Kim’s latest product. It’s a Mockingboard clone that fits inside the Apple //c Plus, which happens to be my current daily driver Apple II. So let’s install it!

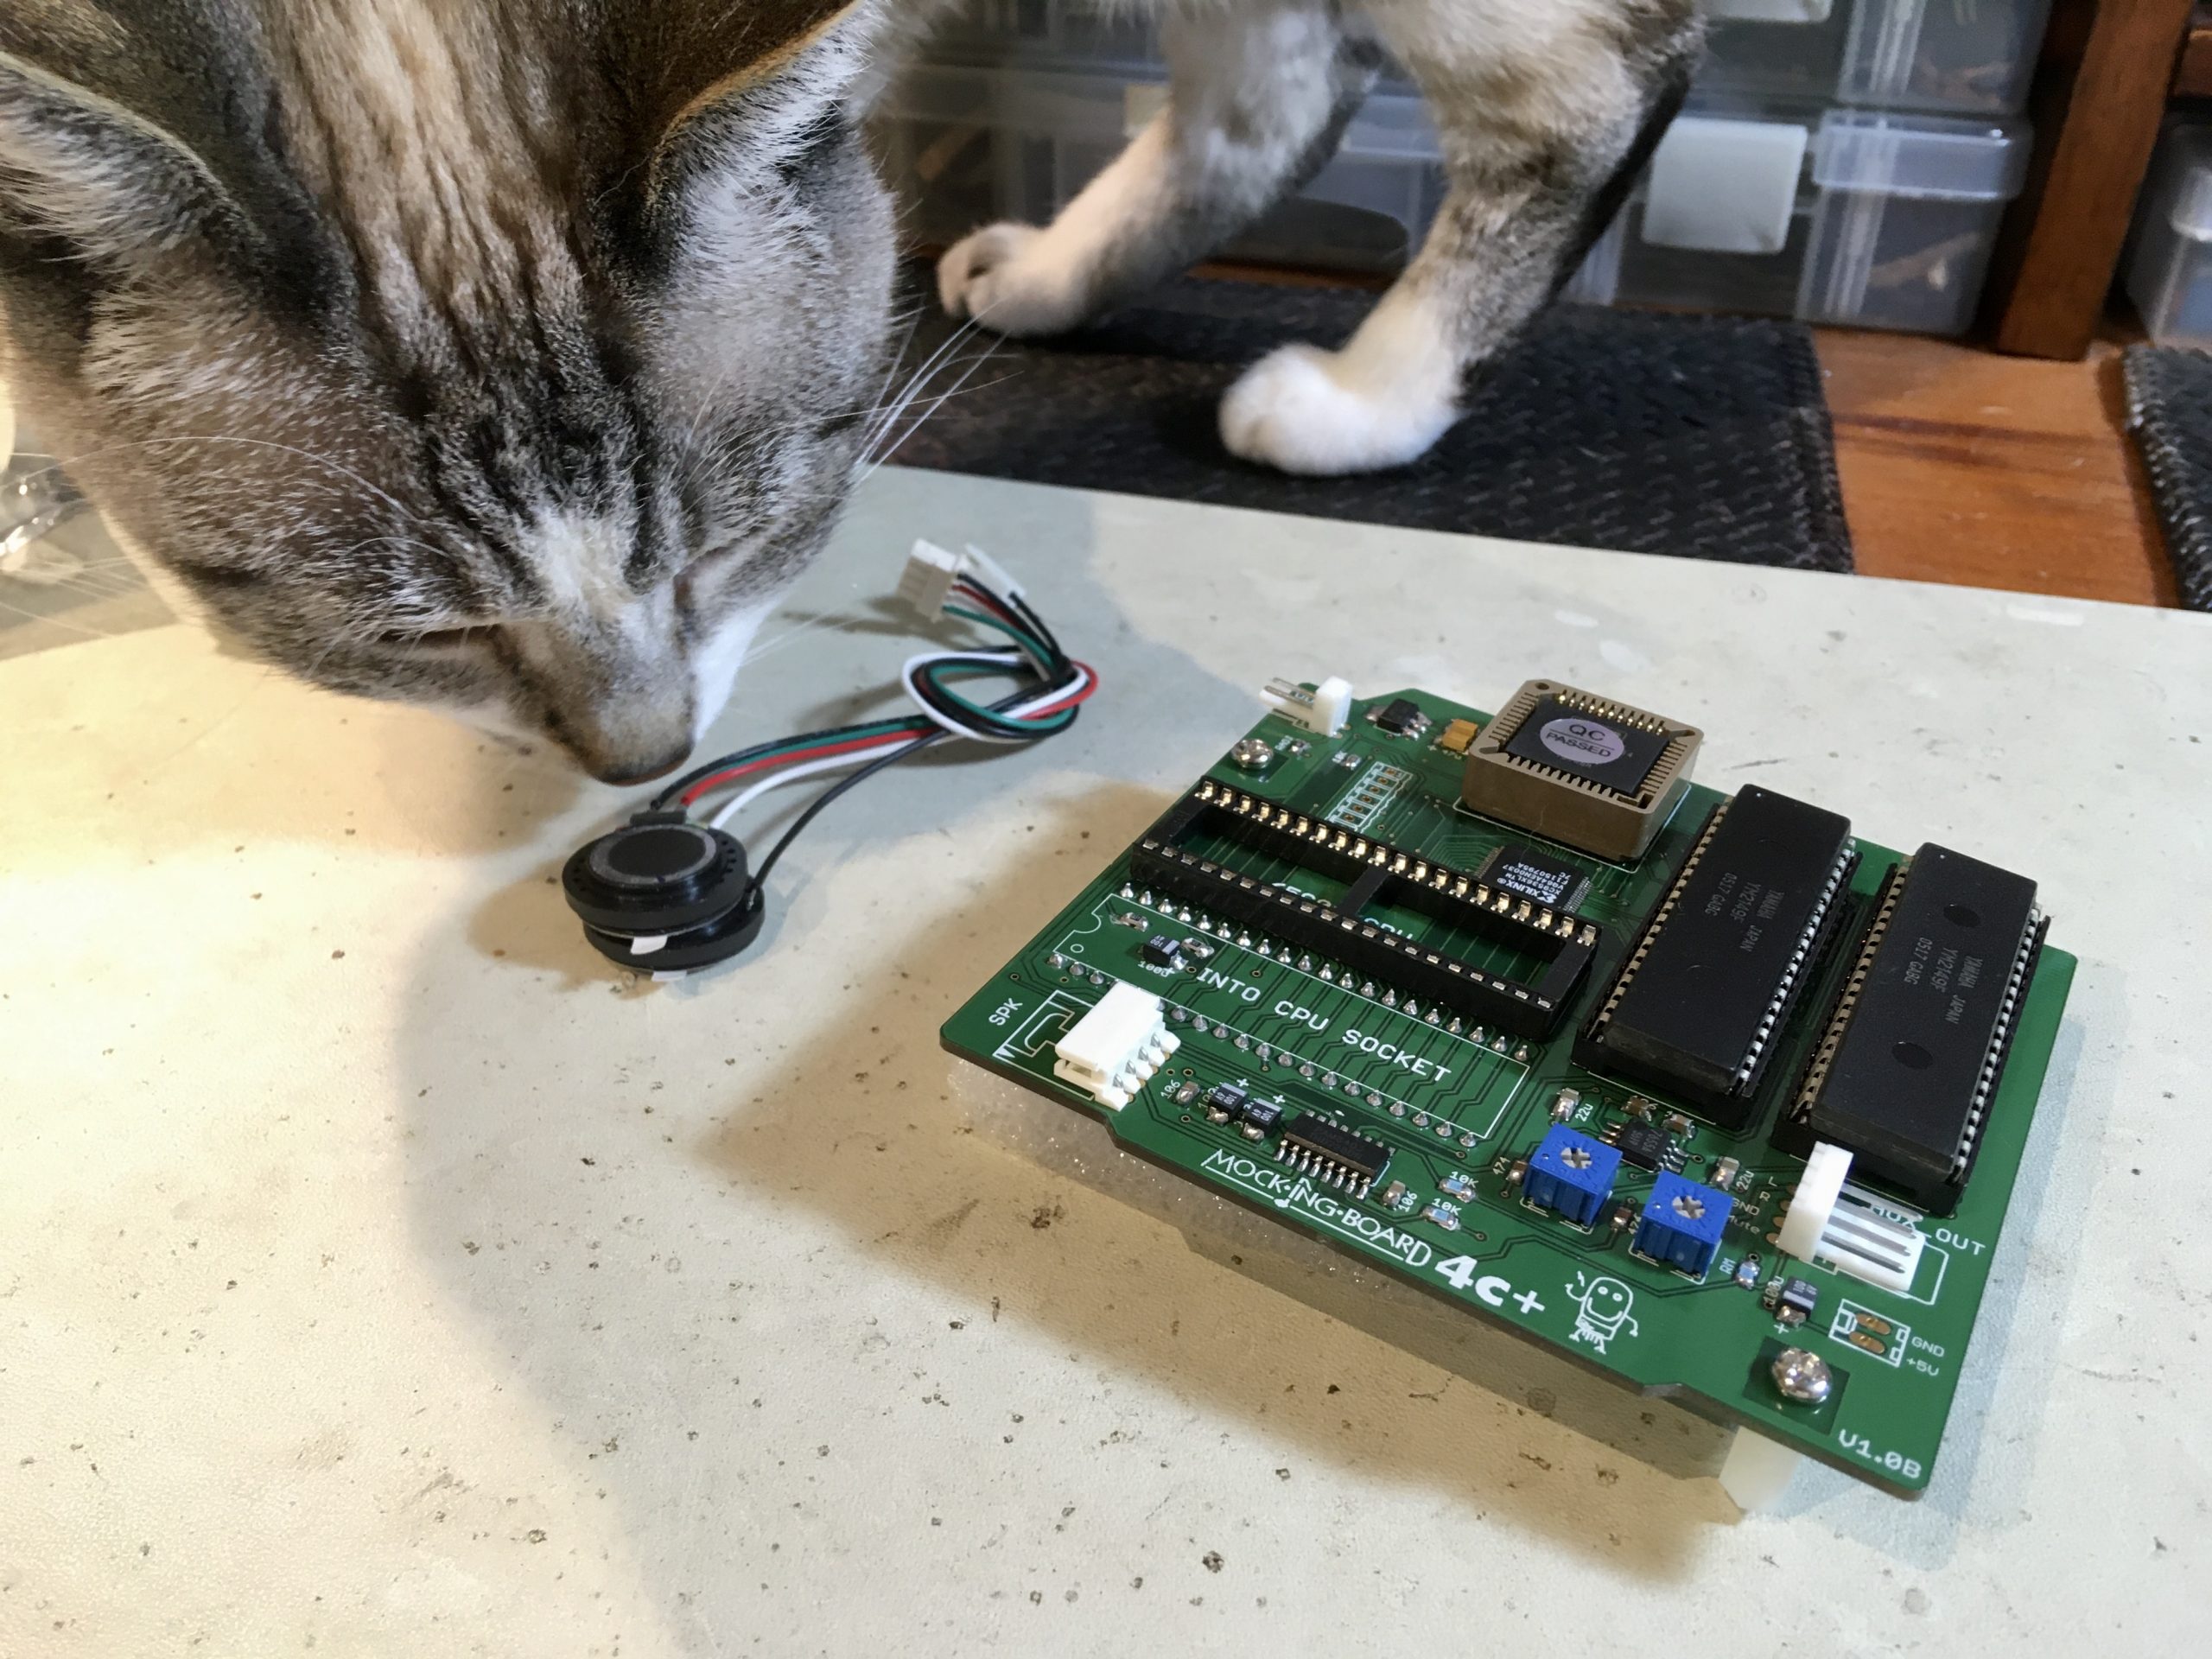
You’ll note that the kit comes with two little speakers. This is an authentic oddity of the original Mockingboard- they did not pipe sound through the Apple II’s built in speaker. This is in line with later sound cards for PCs as well. SoundBlasters and the like had external speaker outputs that you had to connect. Only much later did computers manage to integrate add-on sound hardware such that it all came through a single audio output source (then on to your choice of internal speakers, headphone jacks, and line-outs).

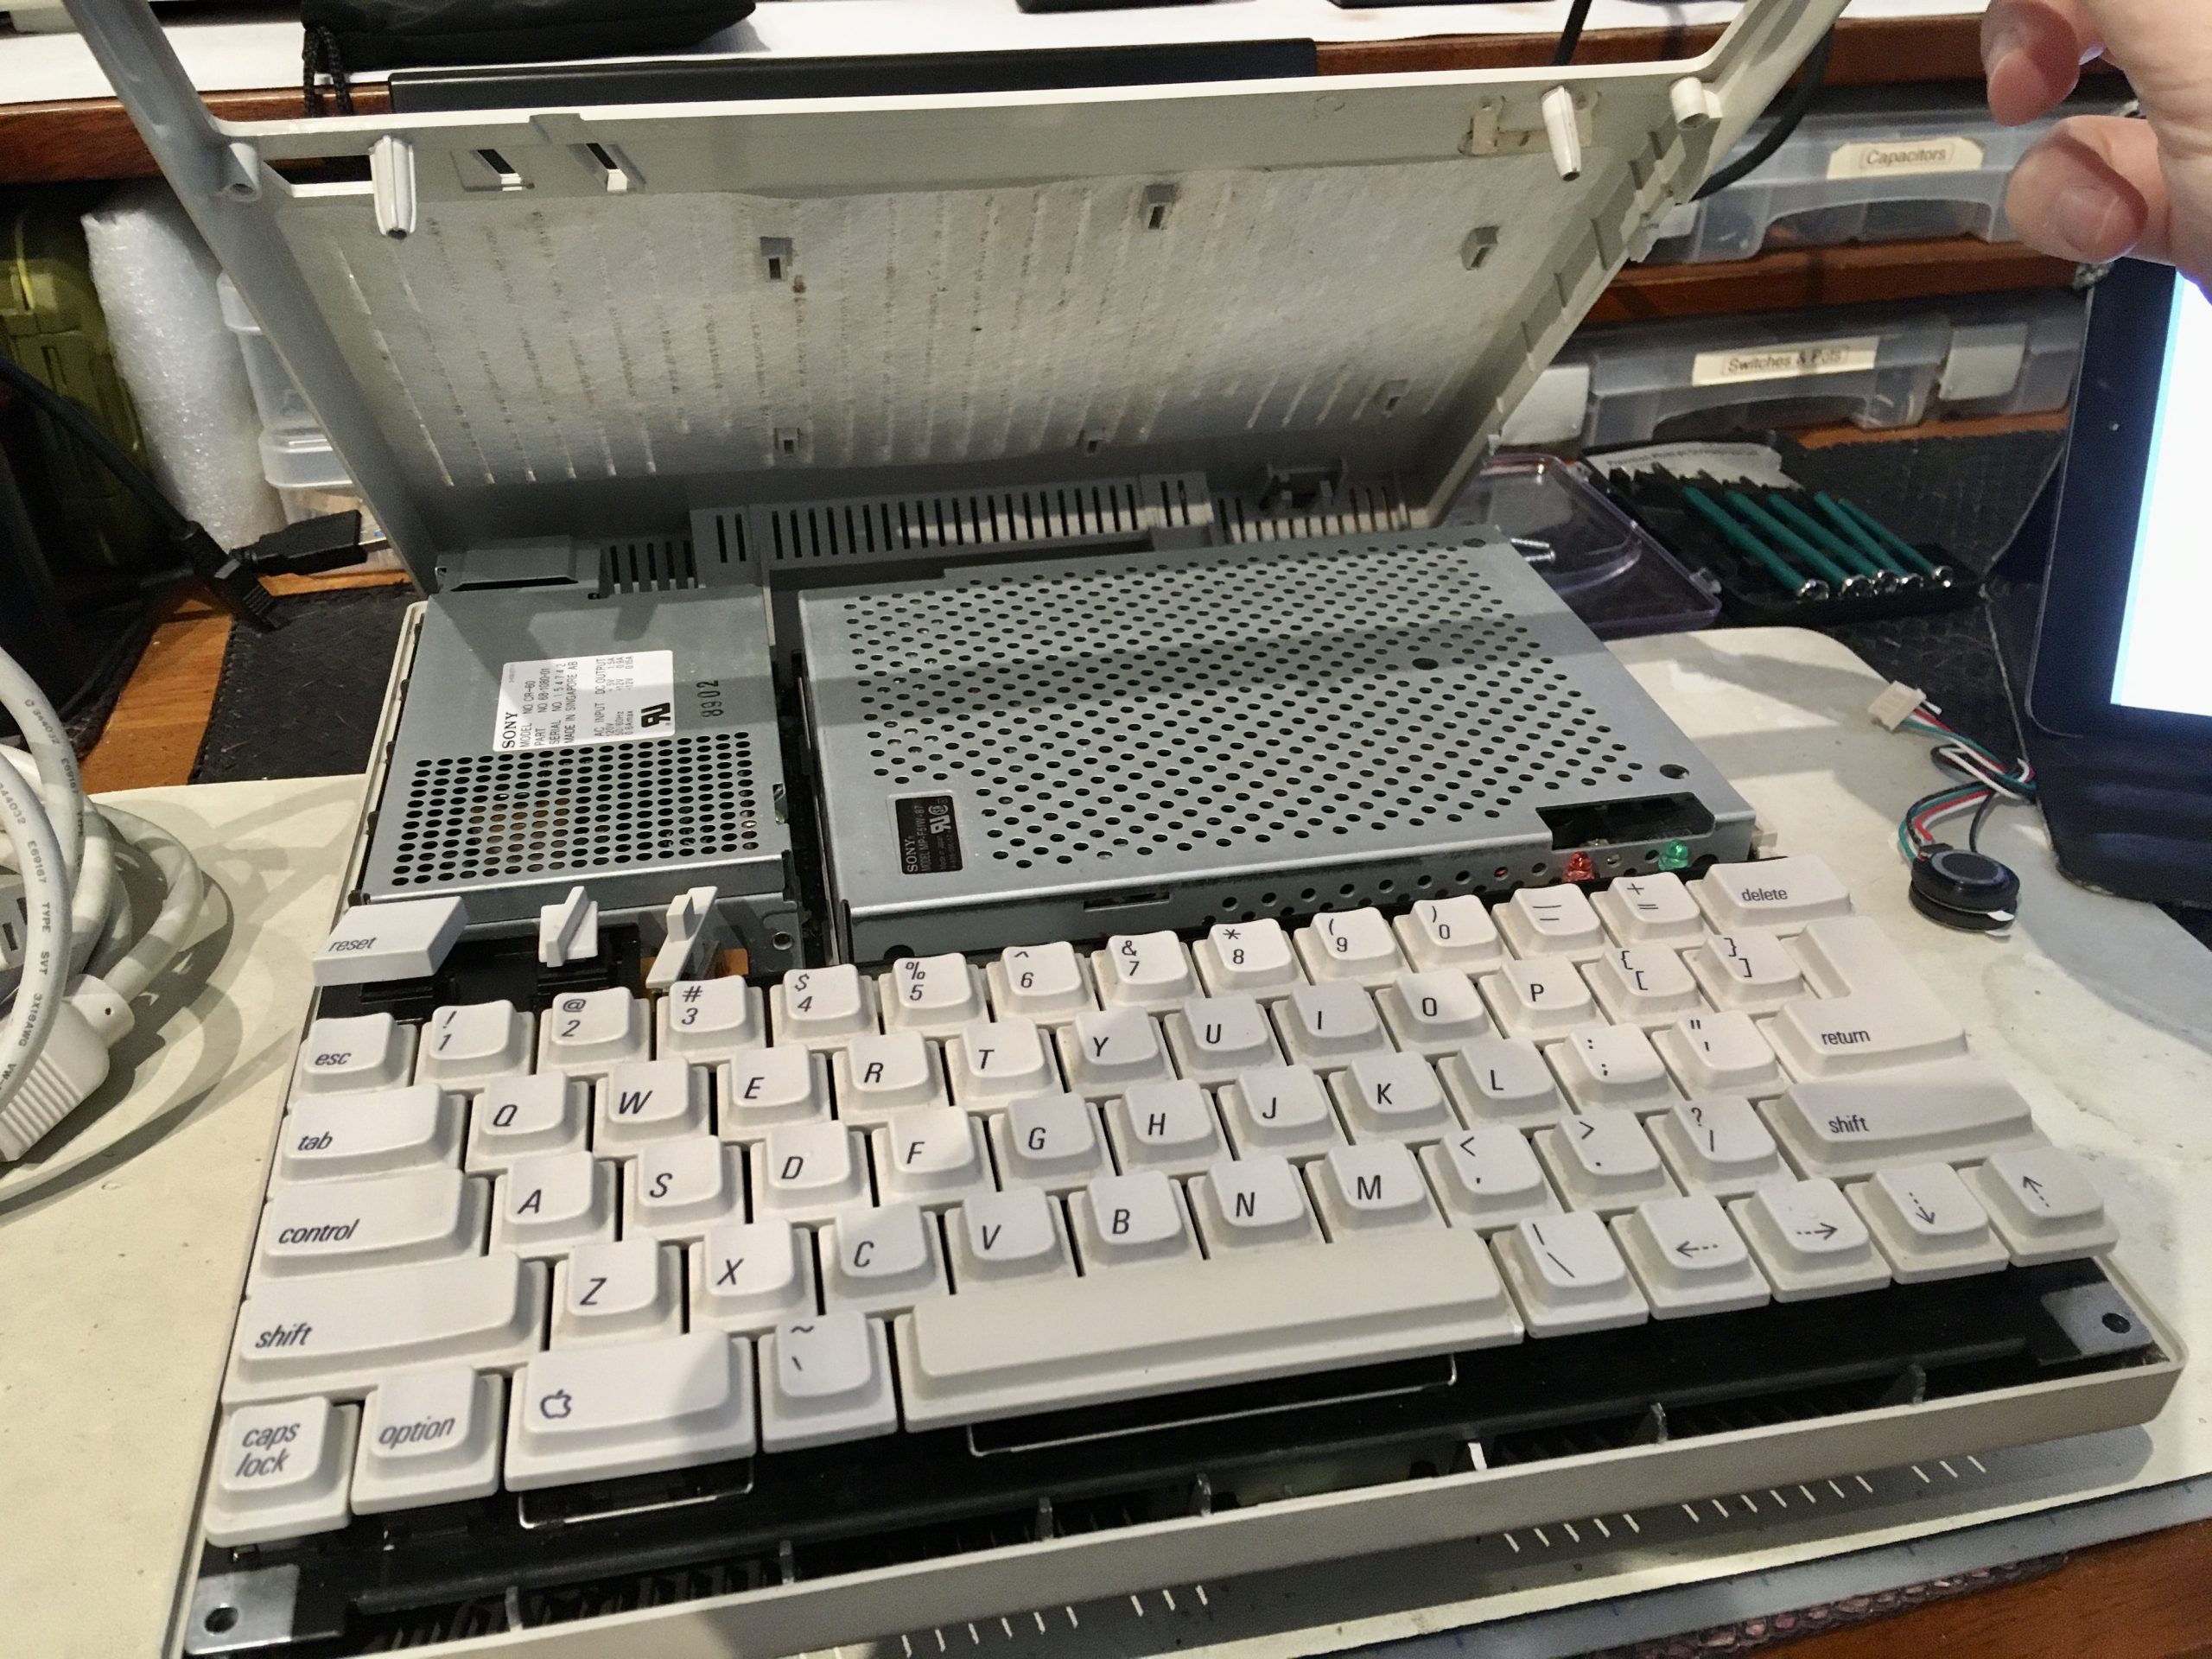
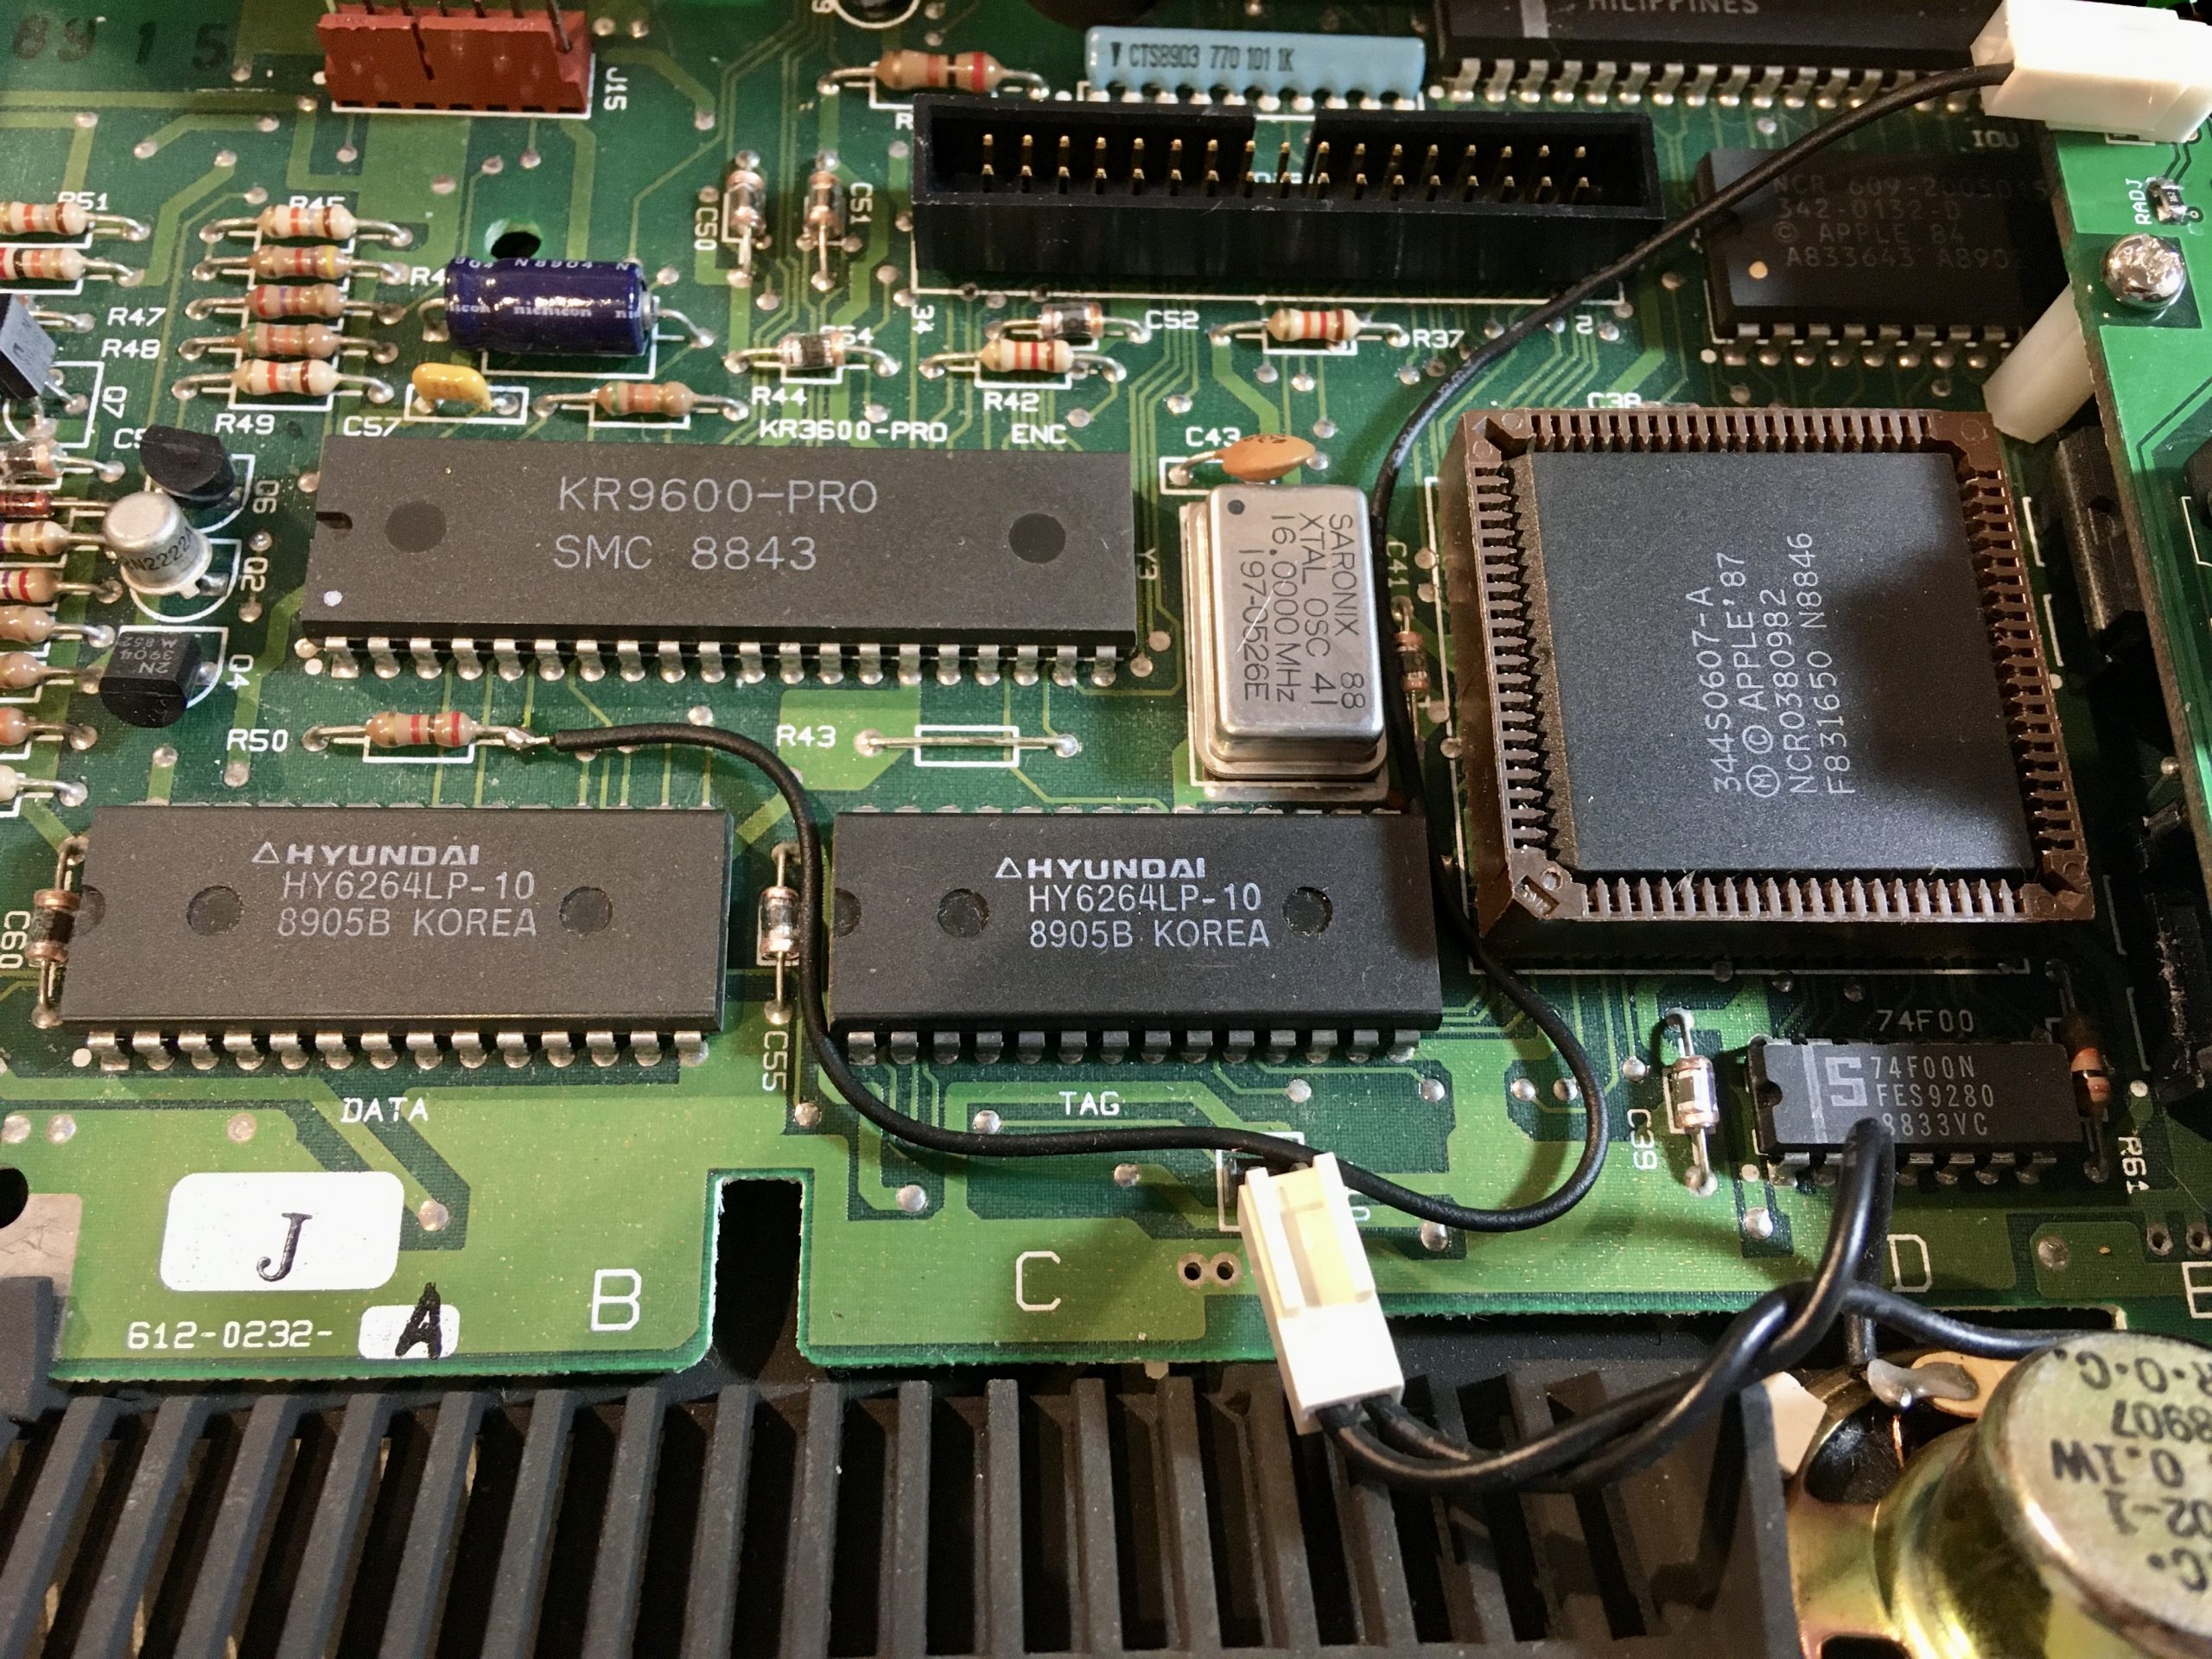
Apple //c computers actually do have a large (by modern standards) amount of free space inside them. This is partly because of miniaturization limits of the day (the floppy drive and power supply need a lot of vertical height), and partly because there are some intended internal expansion options for the machine. There are two small “expansion ports” inside the //c Plus. They are not slots, exactly. One is for an internal modem, with pins dedicated to that task. I’ve never seen an internal modem product for this machine, but if they existed, I’d like to know! Drop a comment below. The other slot is more general purpose, containing many (but not all) of the signals found on a standard Apple II slot. There are quite a few products that used this for internal RAM disks and such. Applied Engineering did many very clever internal peripherals for the //c line, some of which used these connectors, and some which did tricks more in the vain of what the modern Mockingboard 4c+ is doing.

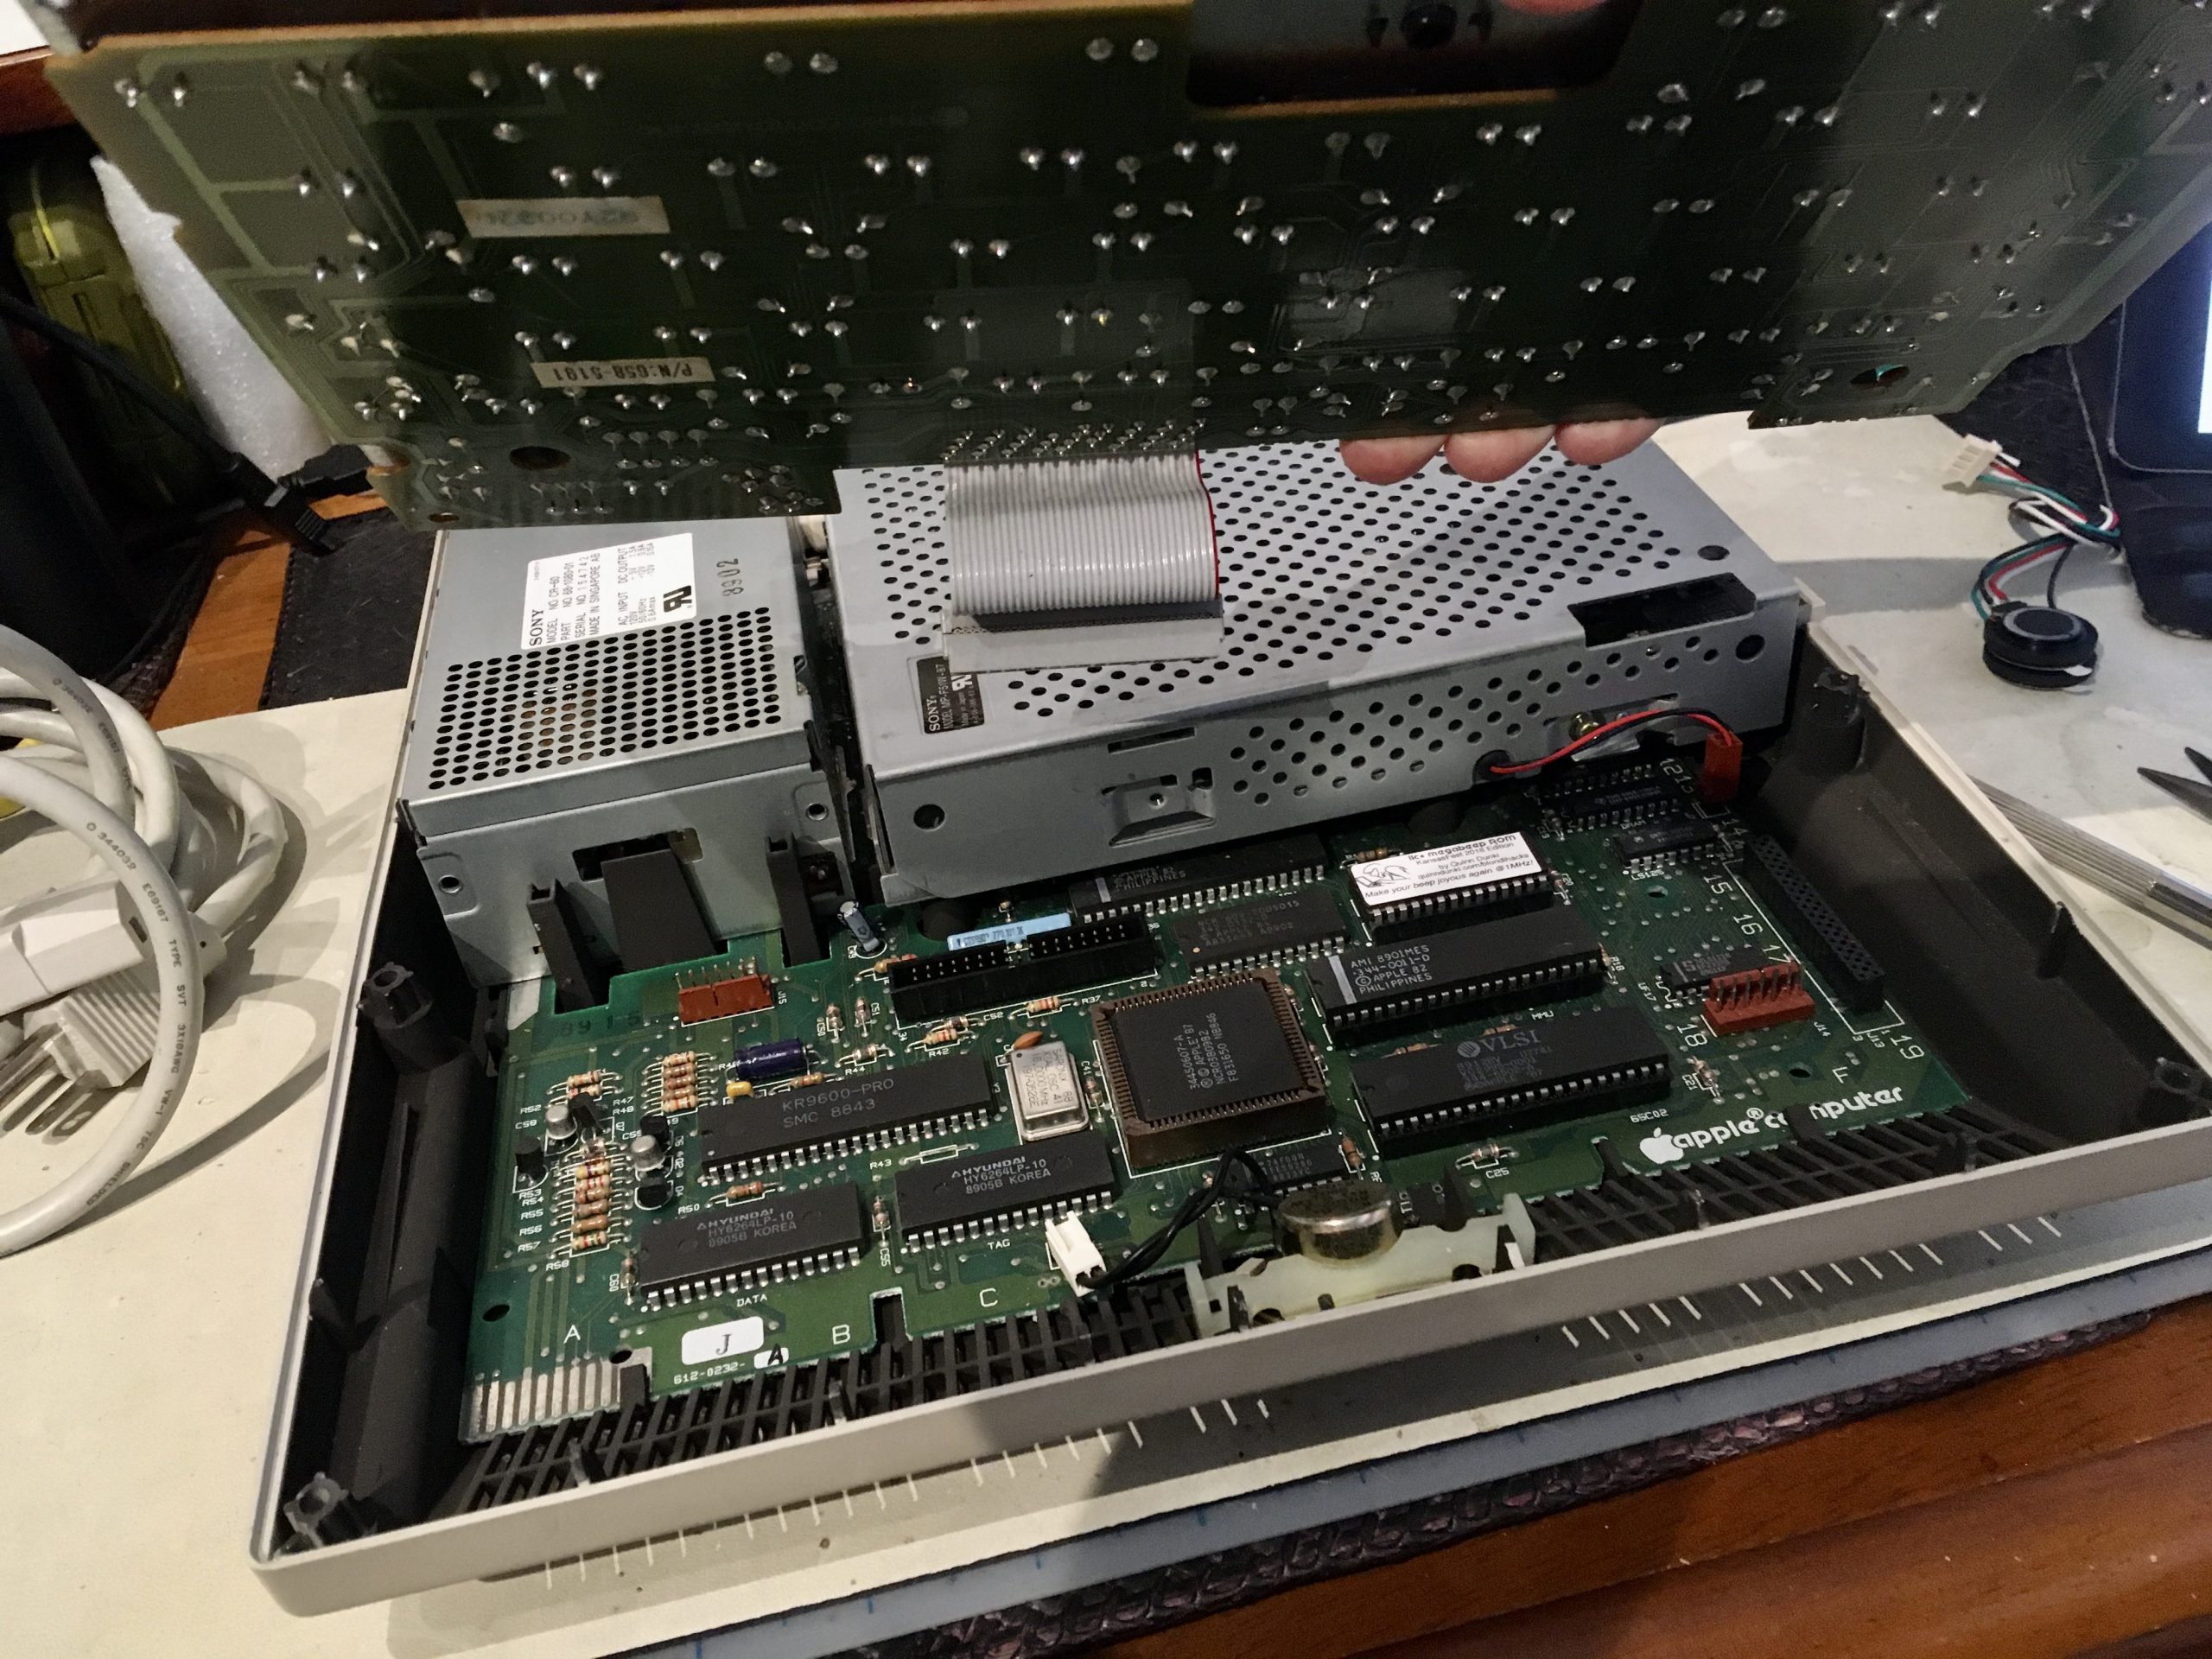

There’s something really clever and magical about expansion boards like this that replace or intercept the entire CPU. Because modern electronics are so much faster and smaller than the 1980s stuff they are talking to, we can do all manner of crazy computing in between the comparatively glacial clock pulses of these old CPUs. We can build and dismantle worlds in the time it takes for that old CPU to go from a high pulse to a low on its pokey clock. That horsepower gap means that we can insert ourselves between the CPU and the outside world, and make it do just about anything. Like, say, think it has a sound board that doesn’t exist sitting in a slot that doesn’t exist.

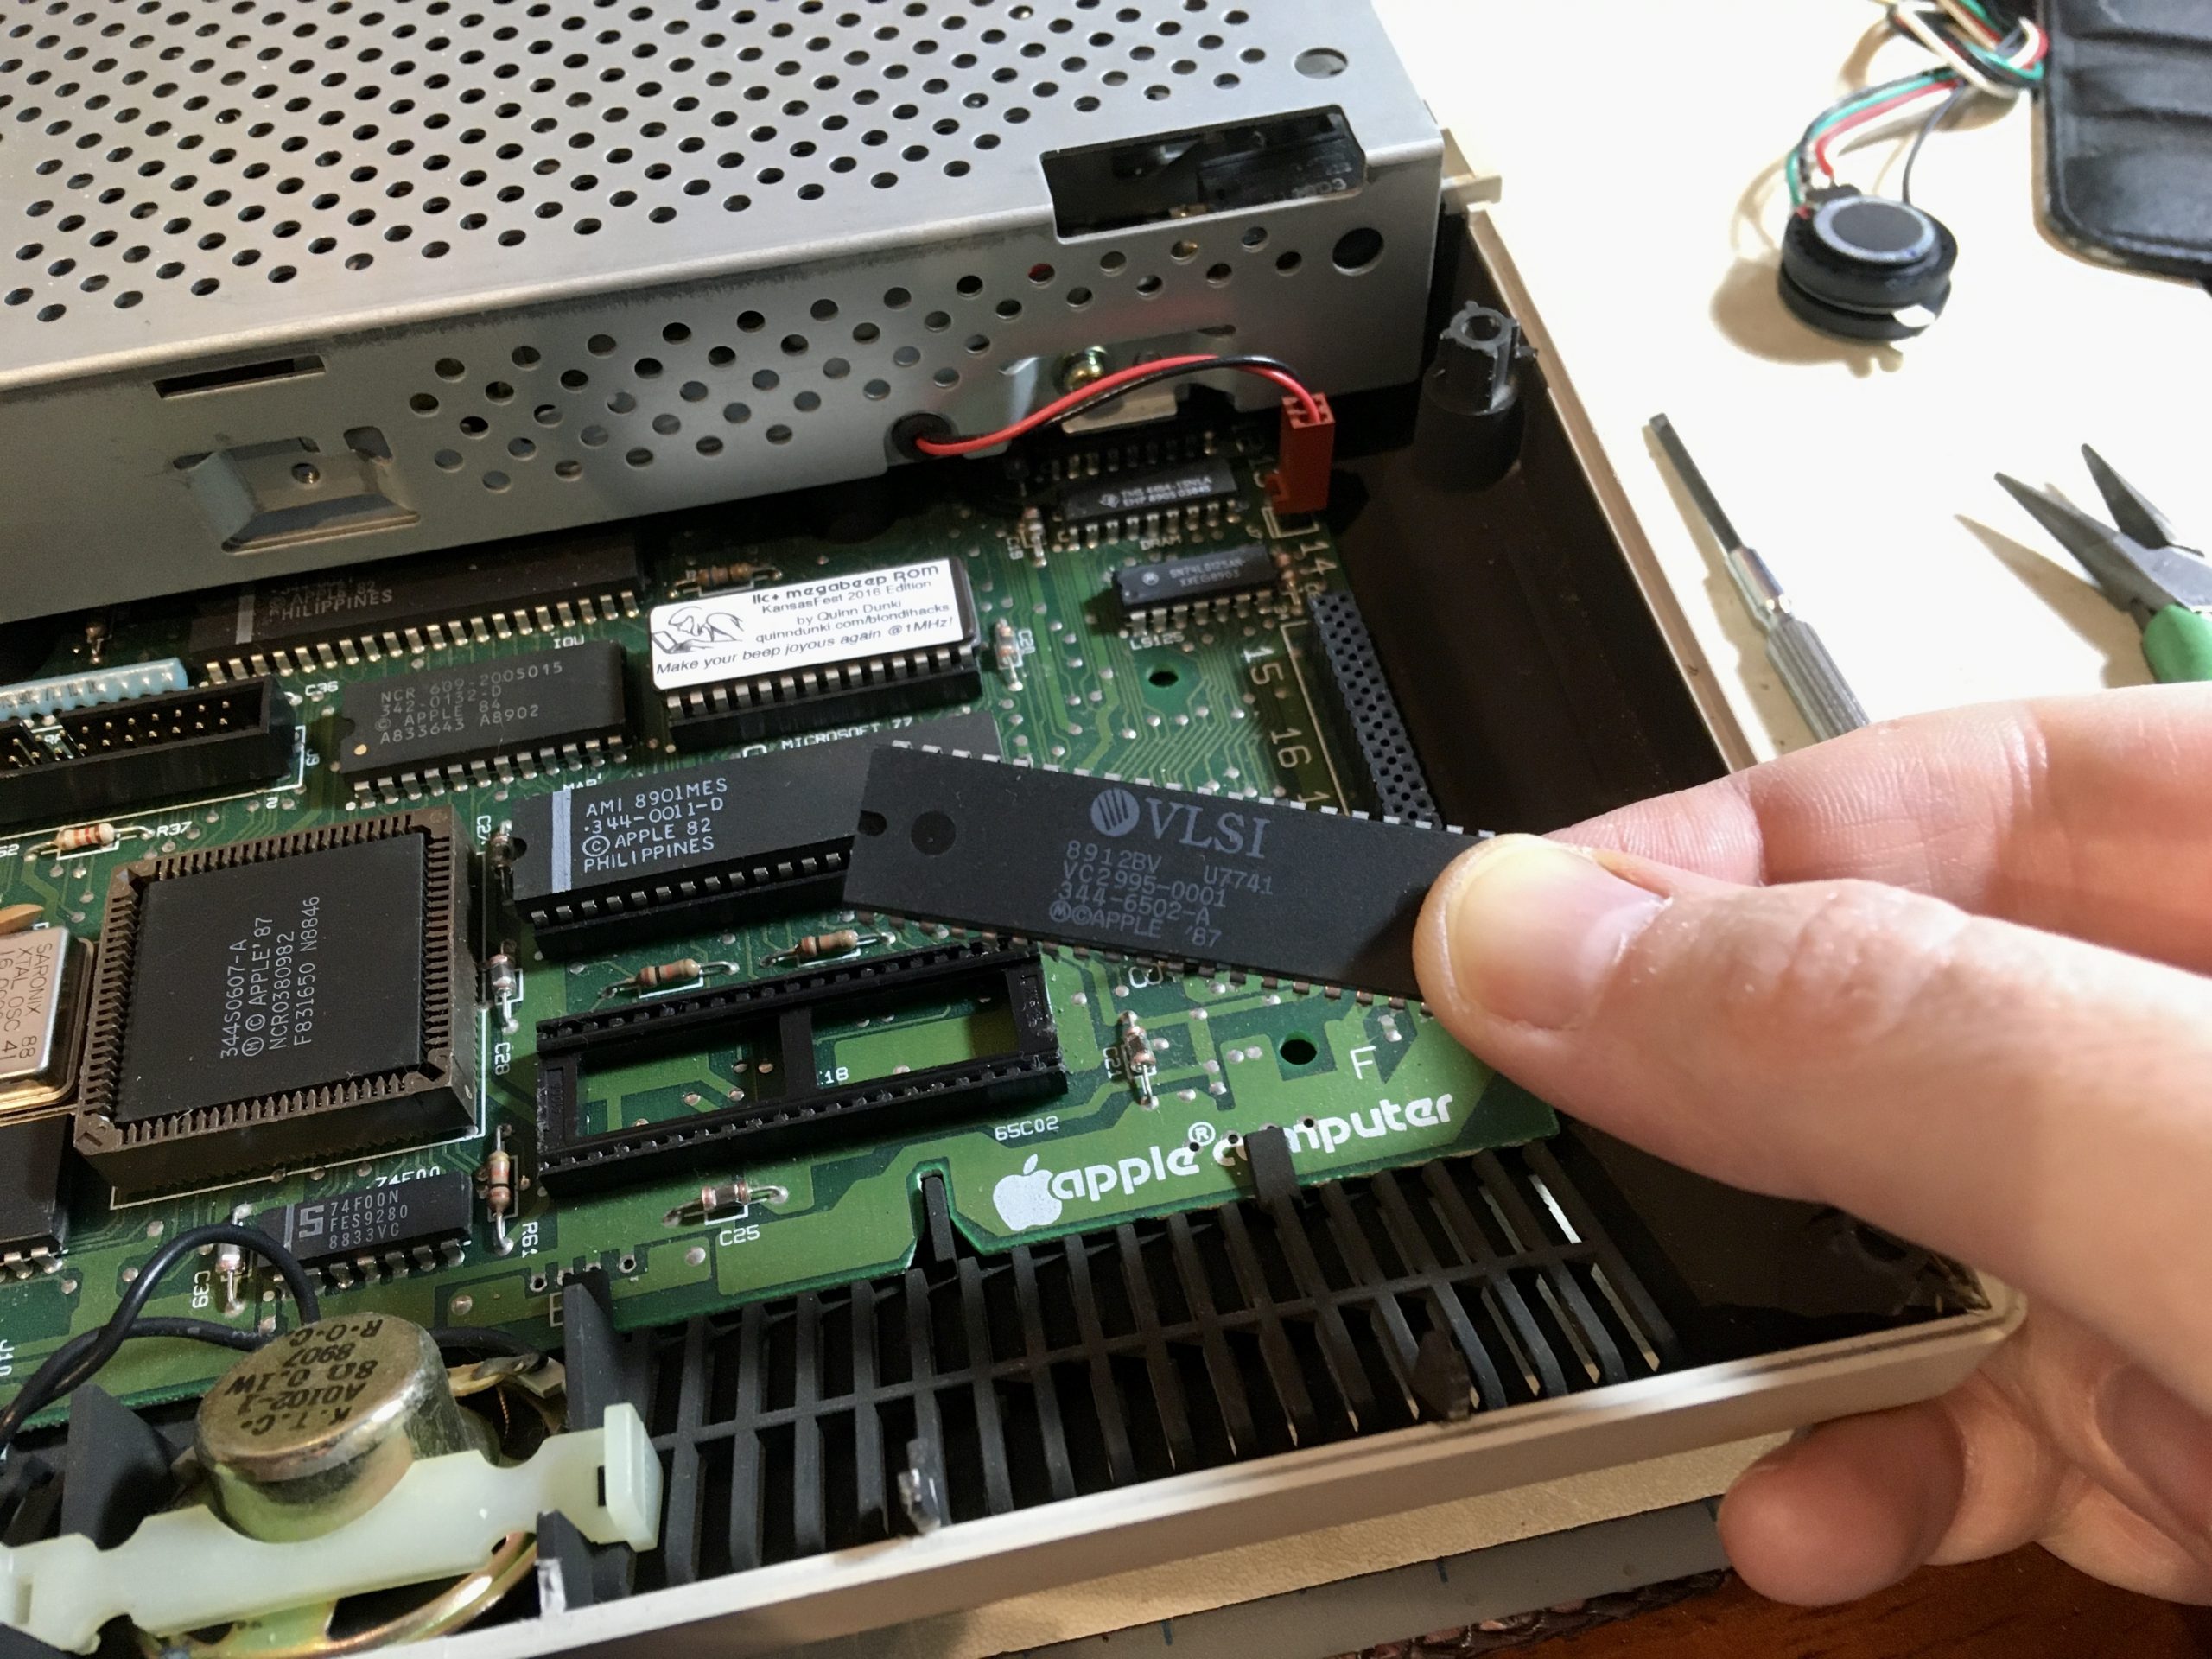
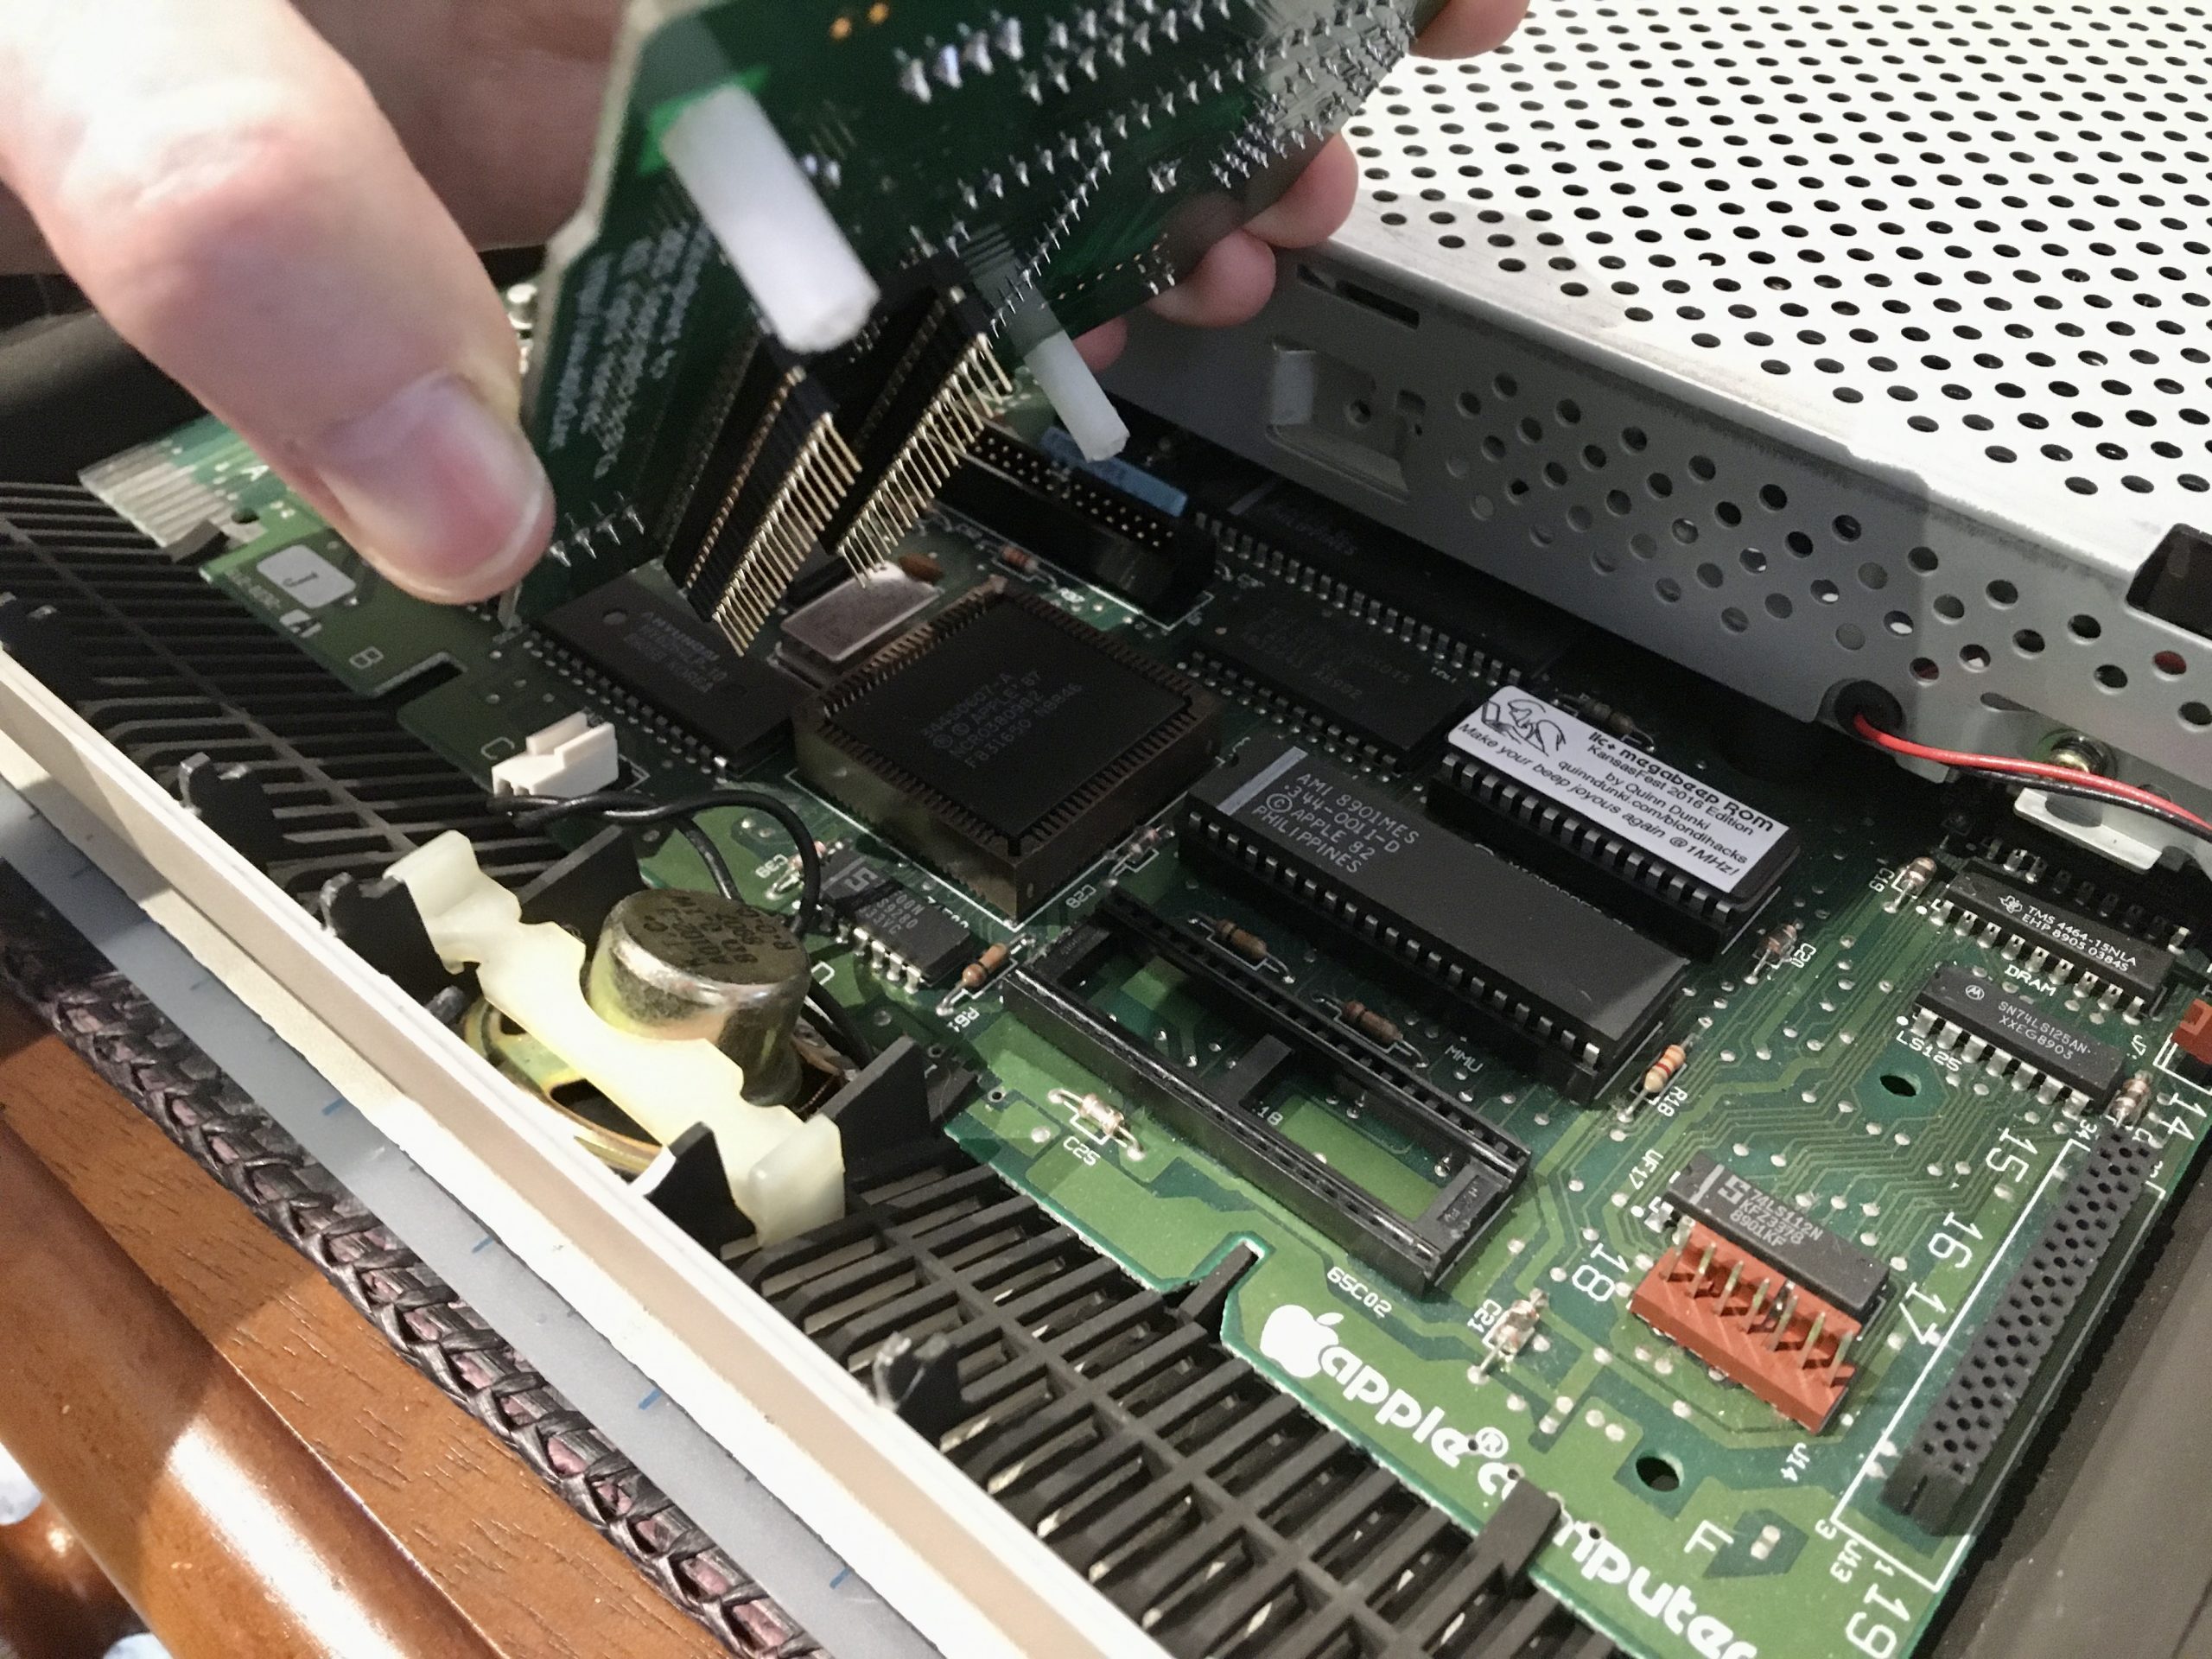
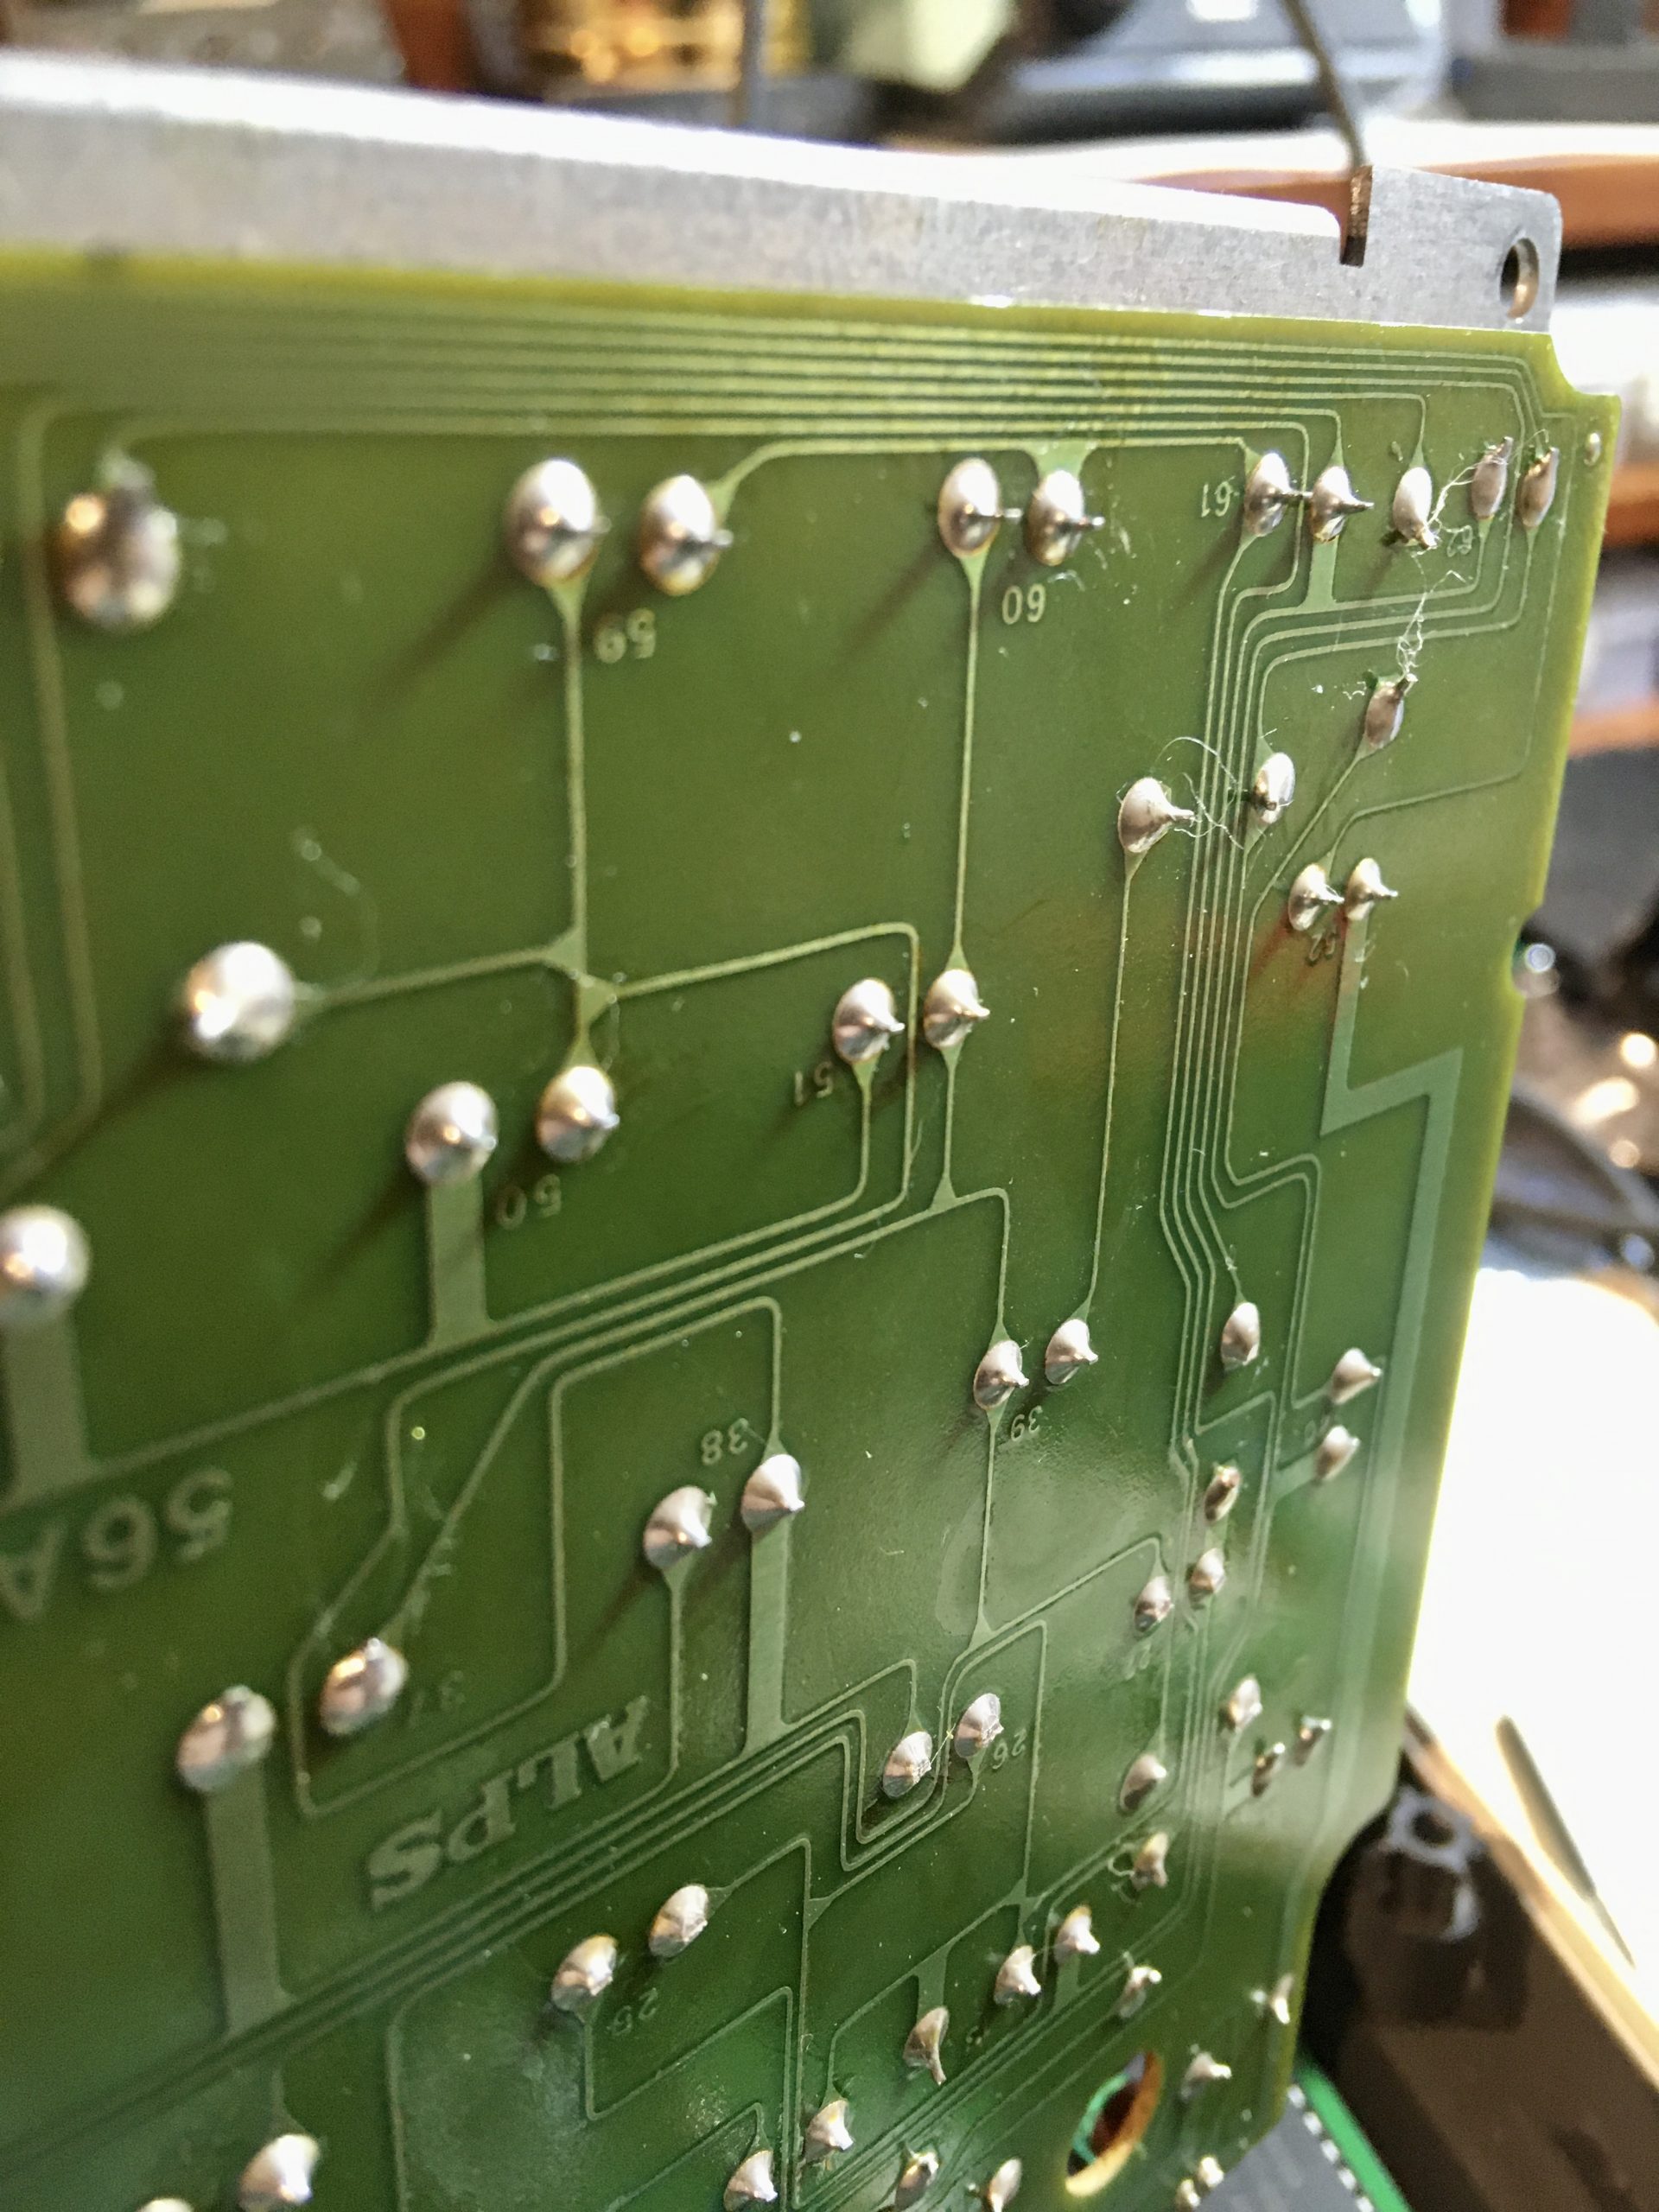
The secret to getting old socketed chips out without damaging anything is patience. You have to find a way to get a tiny screwdriver or pick between the chip and the socket. Anywhere you can get a beachhead. Then work that part of the chip upwards a tiny amount, prying only between the socket and body of the chip. Once you get a little movement, move to an area opposite that on the chip and do the same until you get another tiny amount of movement. Go back and forth making tiny moves until you work the chip straight up and out.
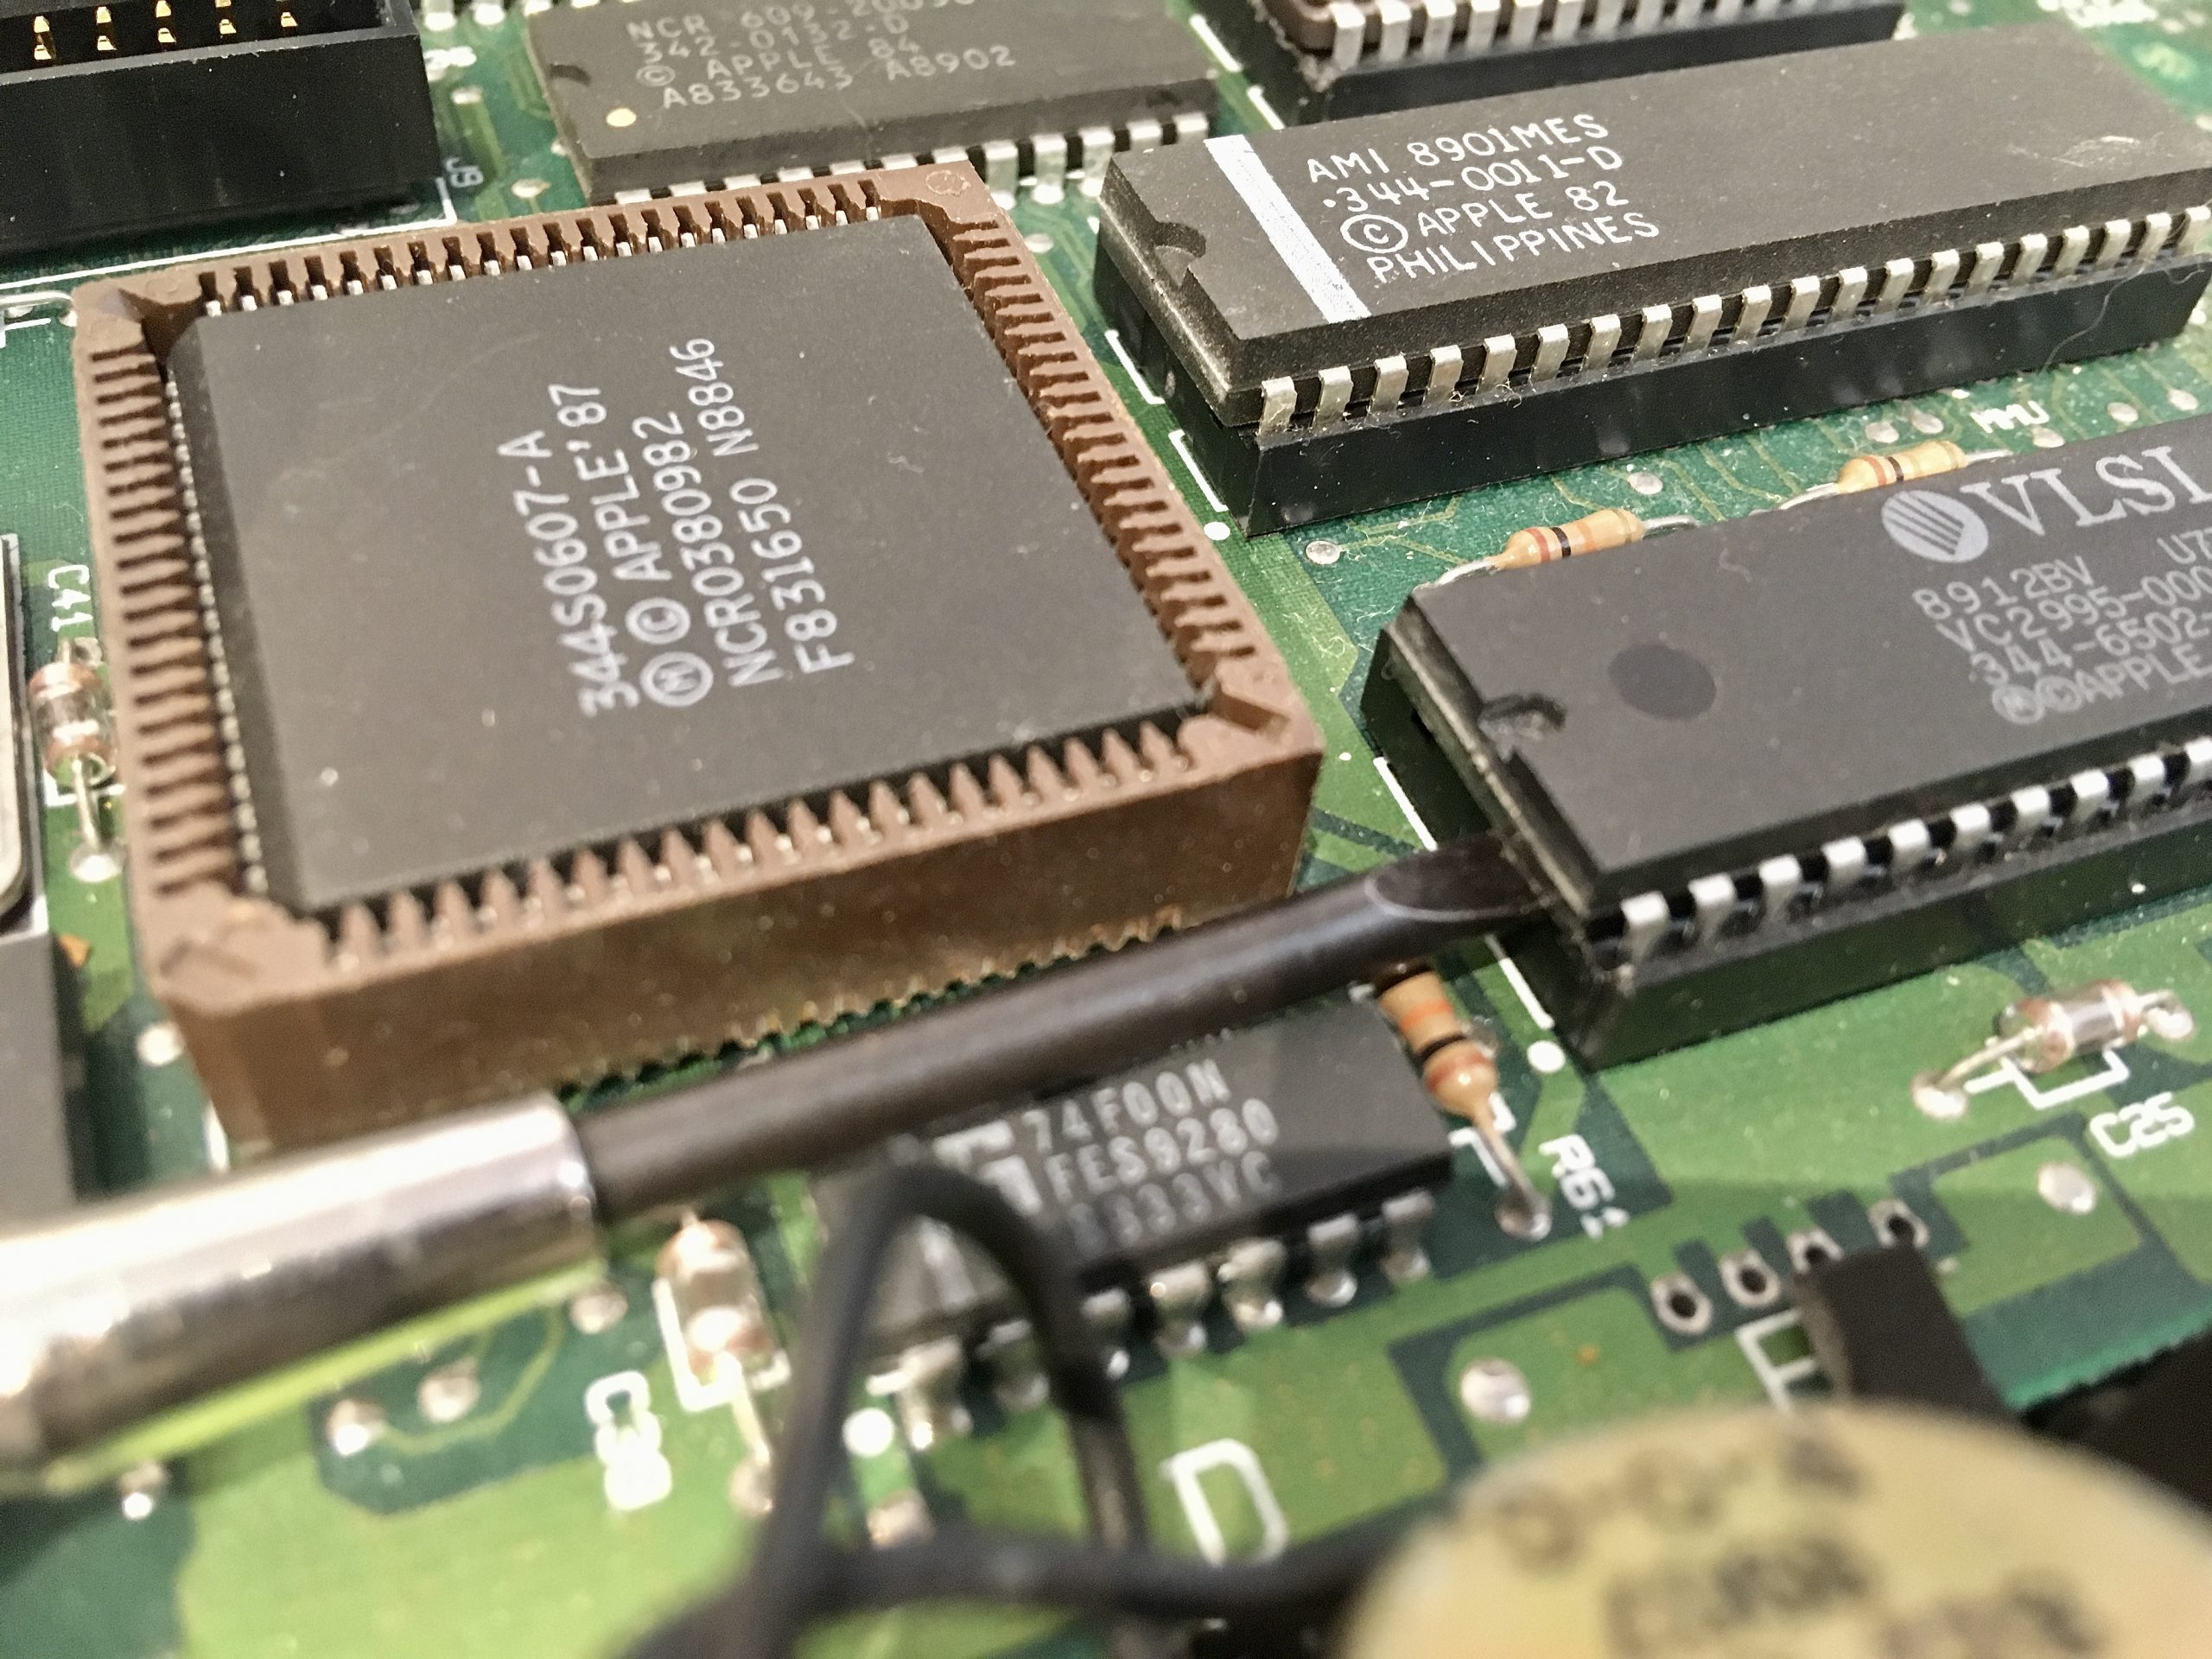
Make sure you aren’t prying against other components or applying forces to anything except the chip against the chip socket. A twisting motion is usually best once you get a tiny bit of the screwdriver blade between the chip and socket.
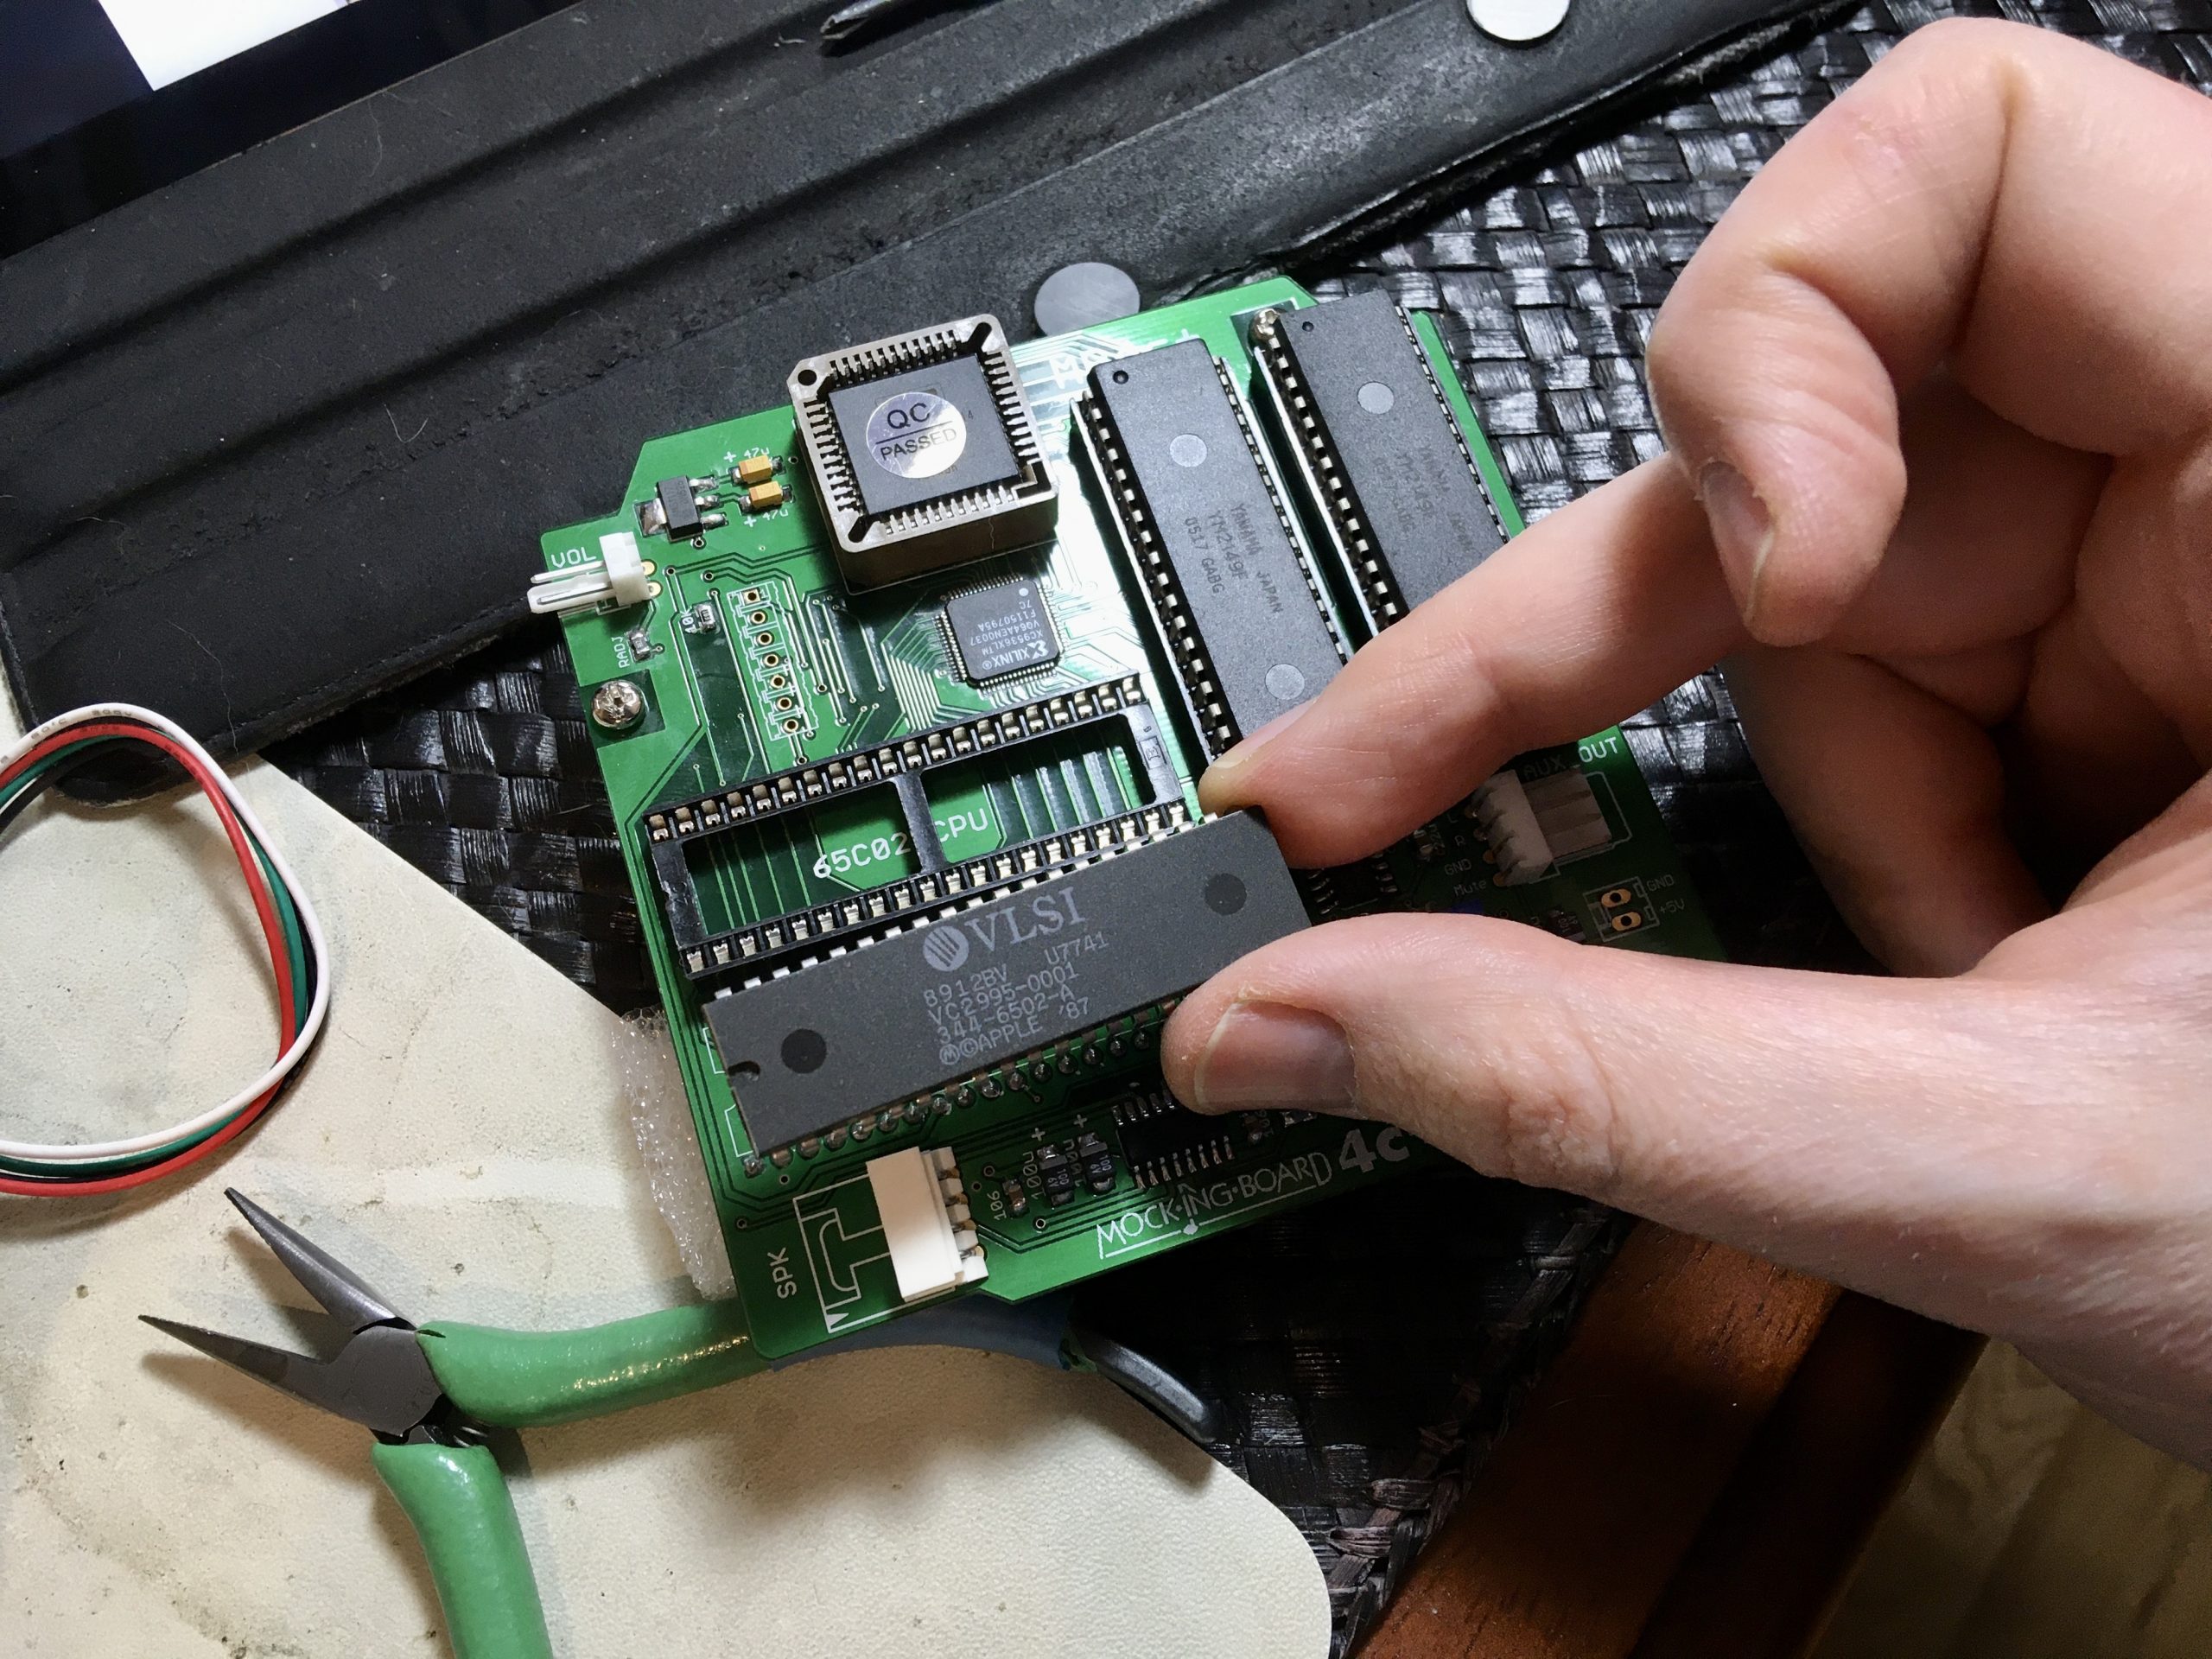
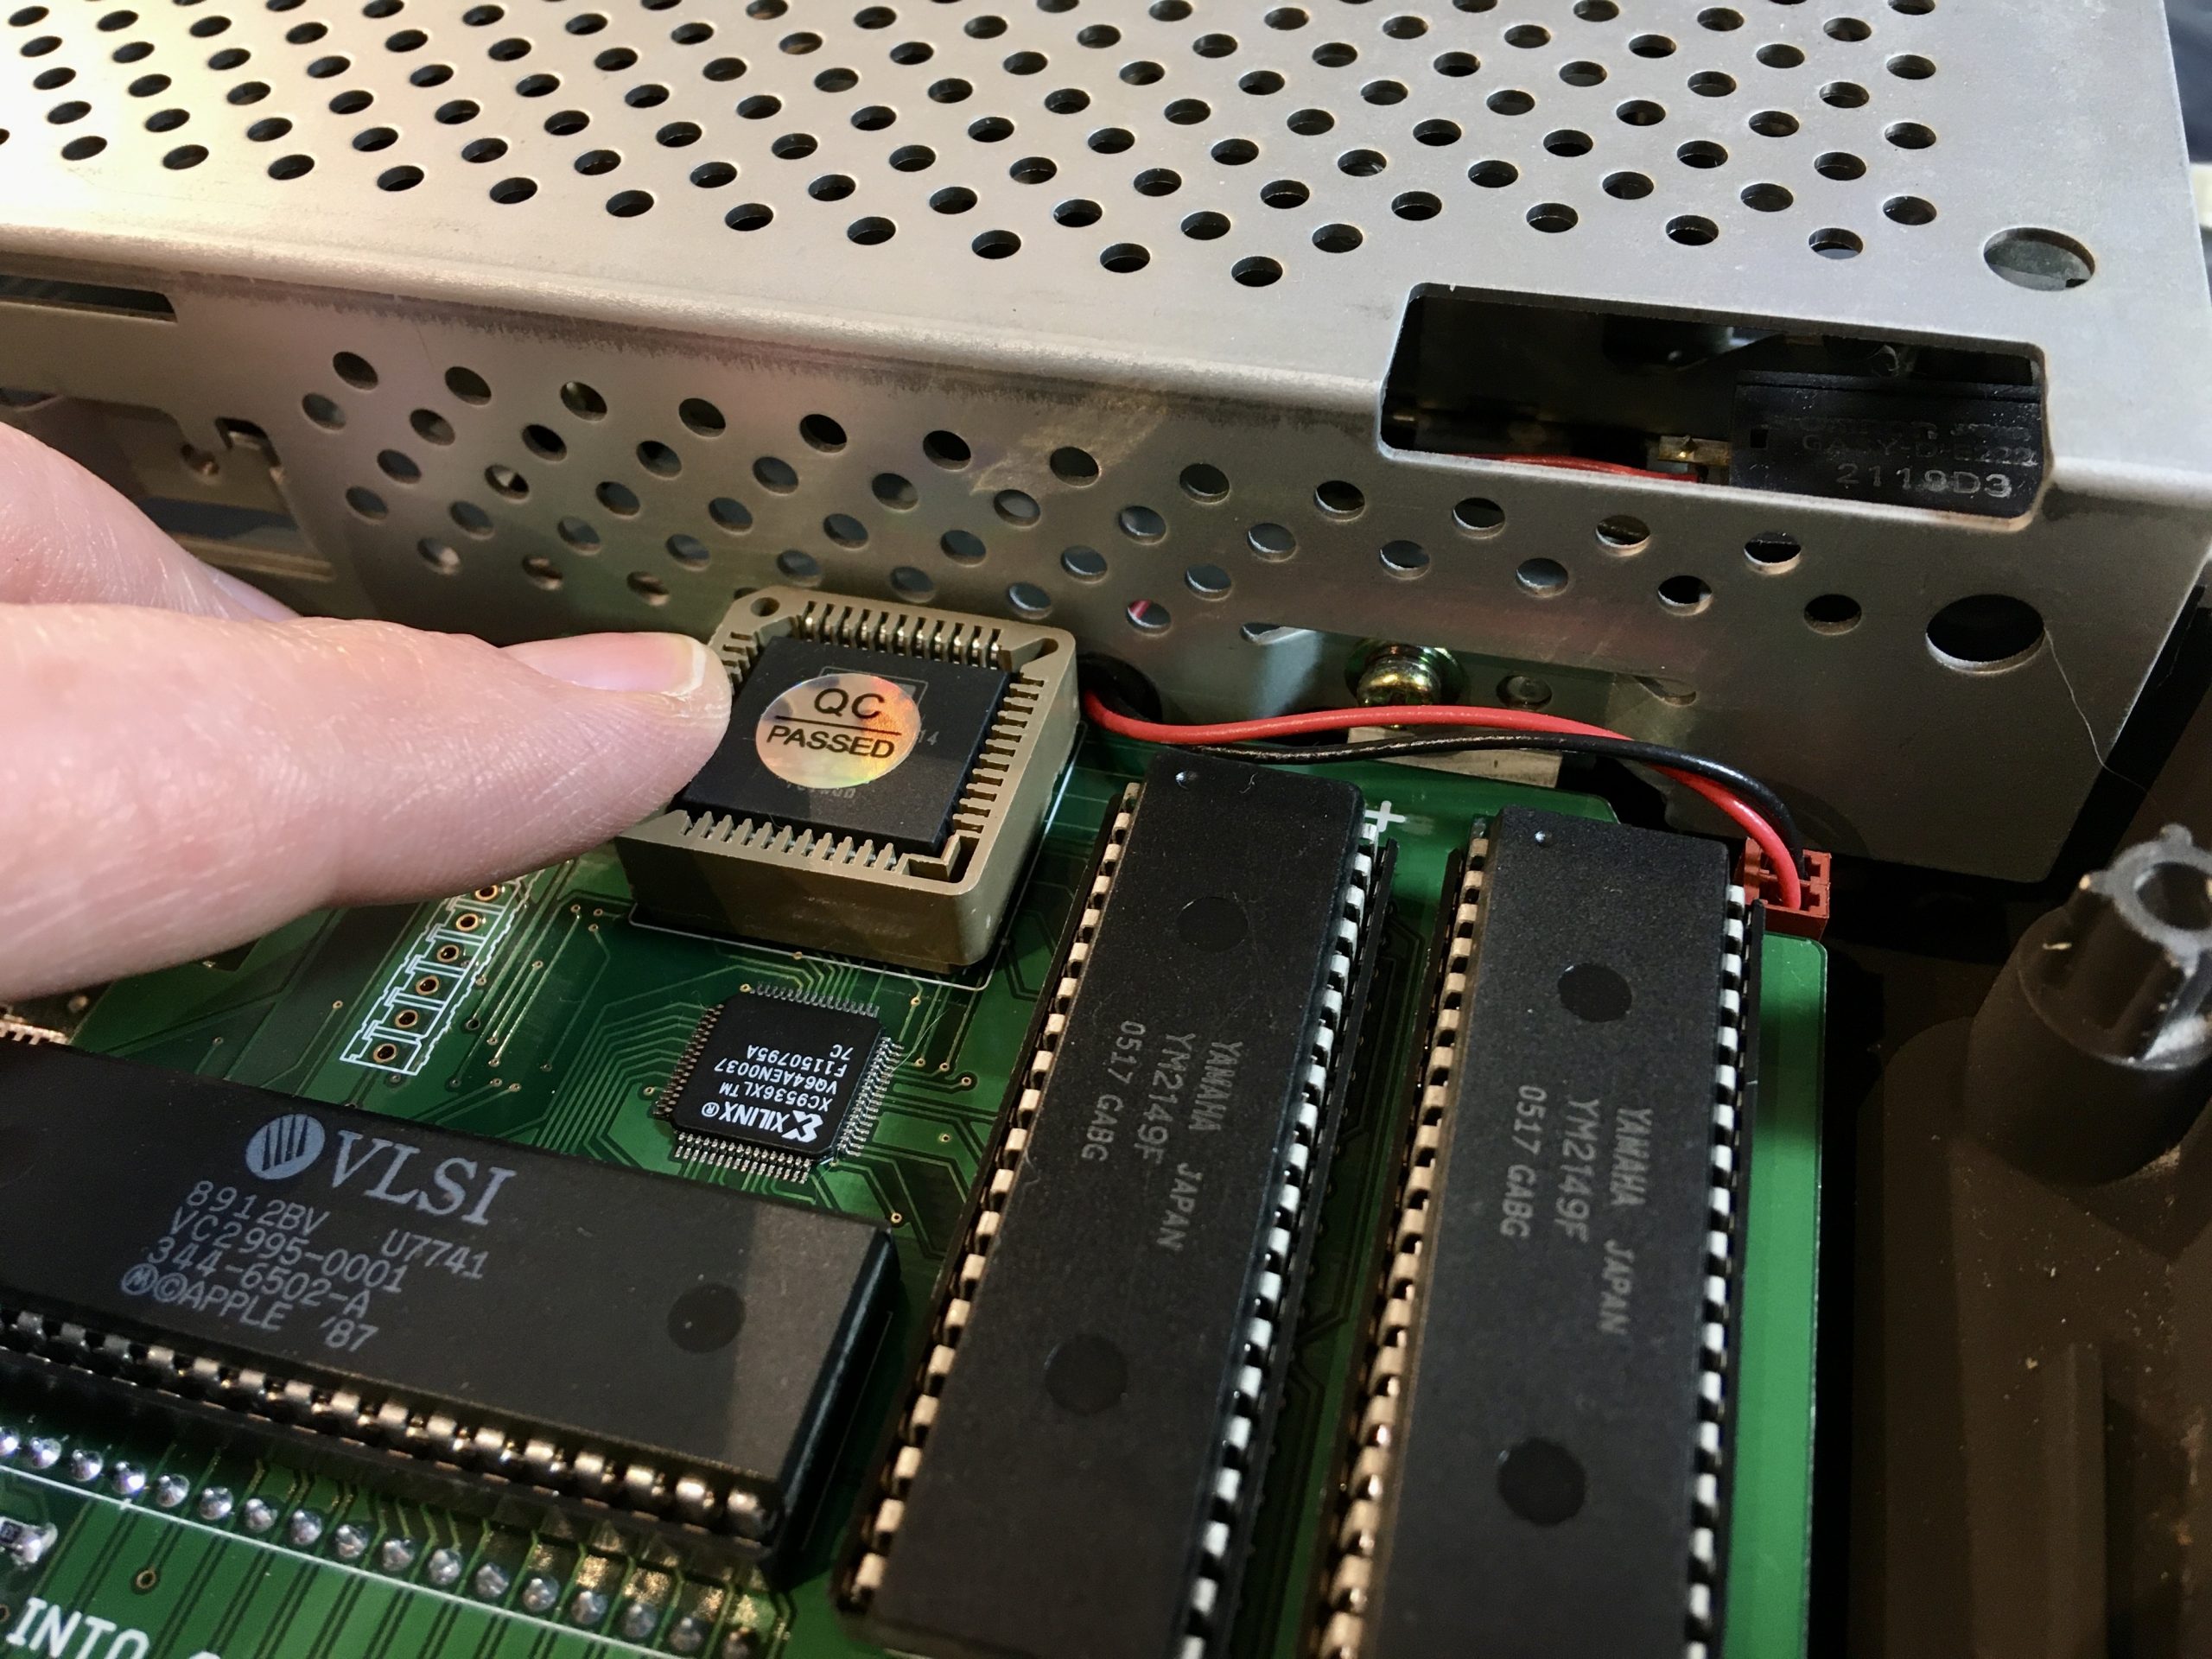
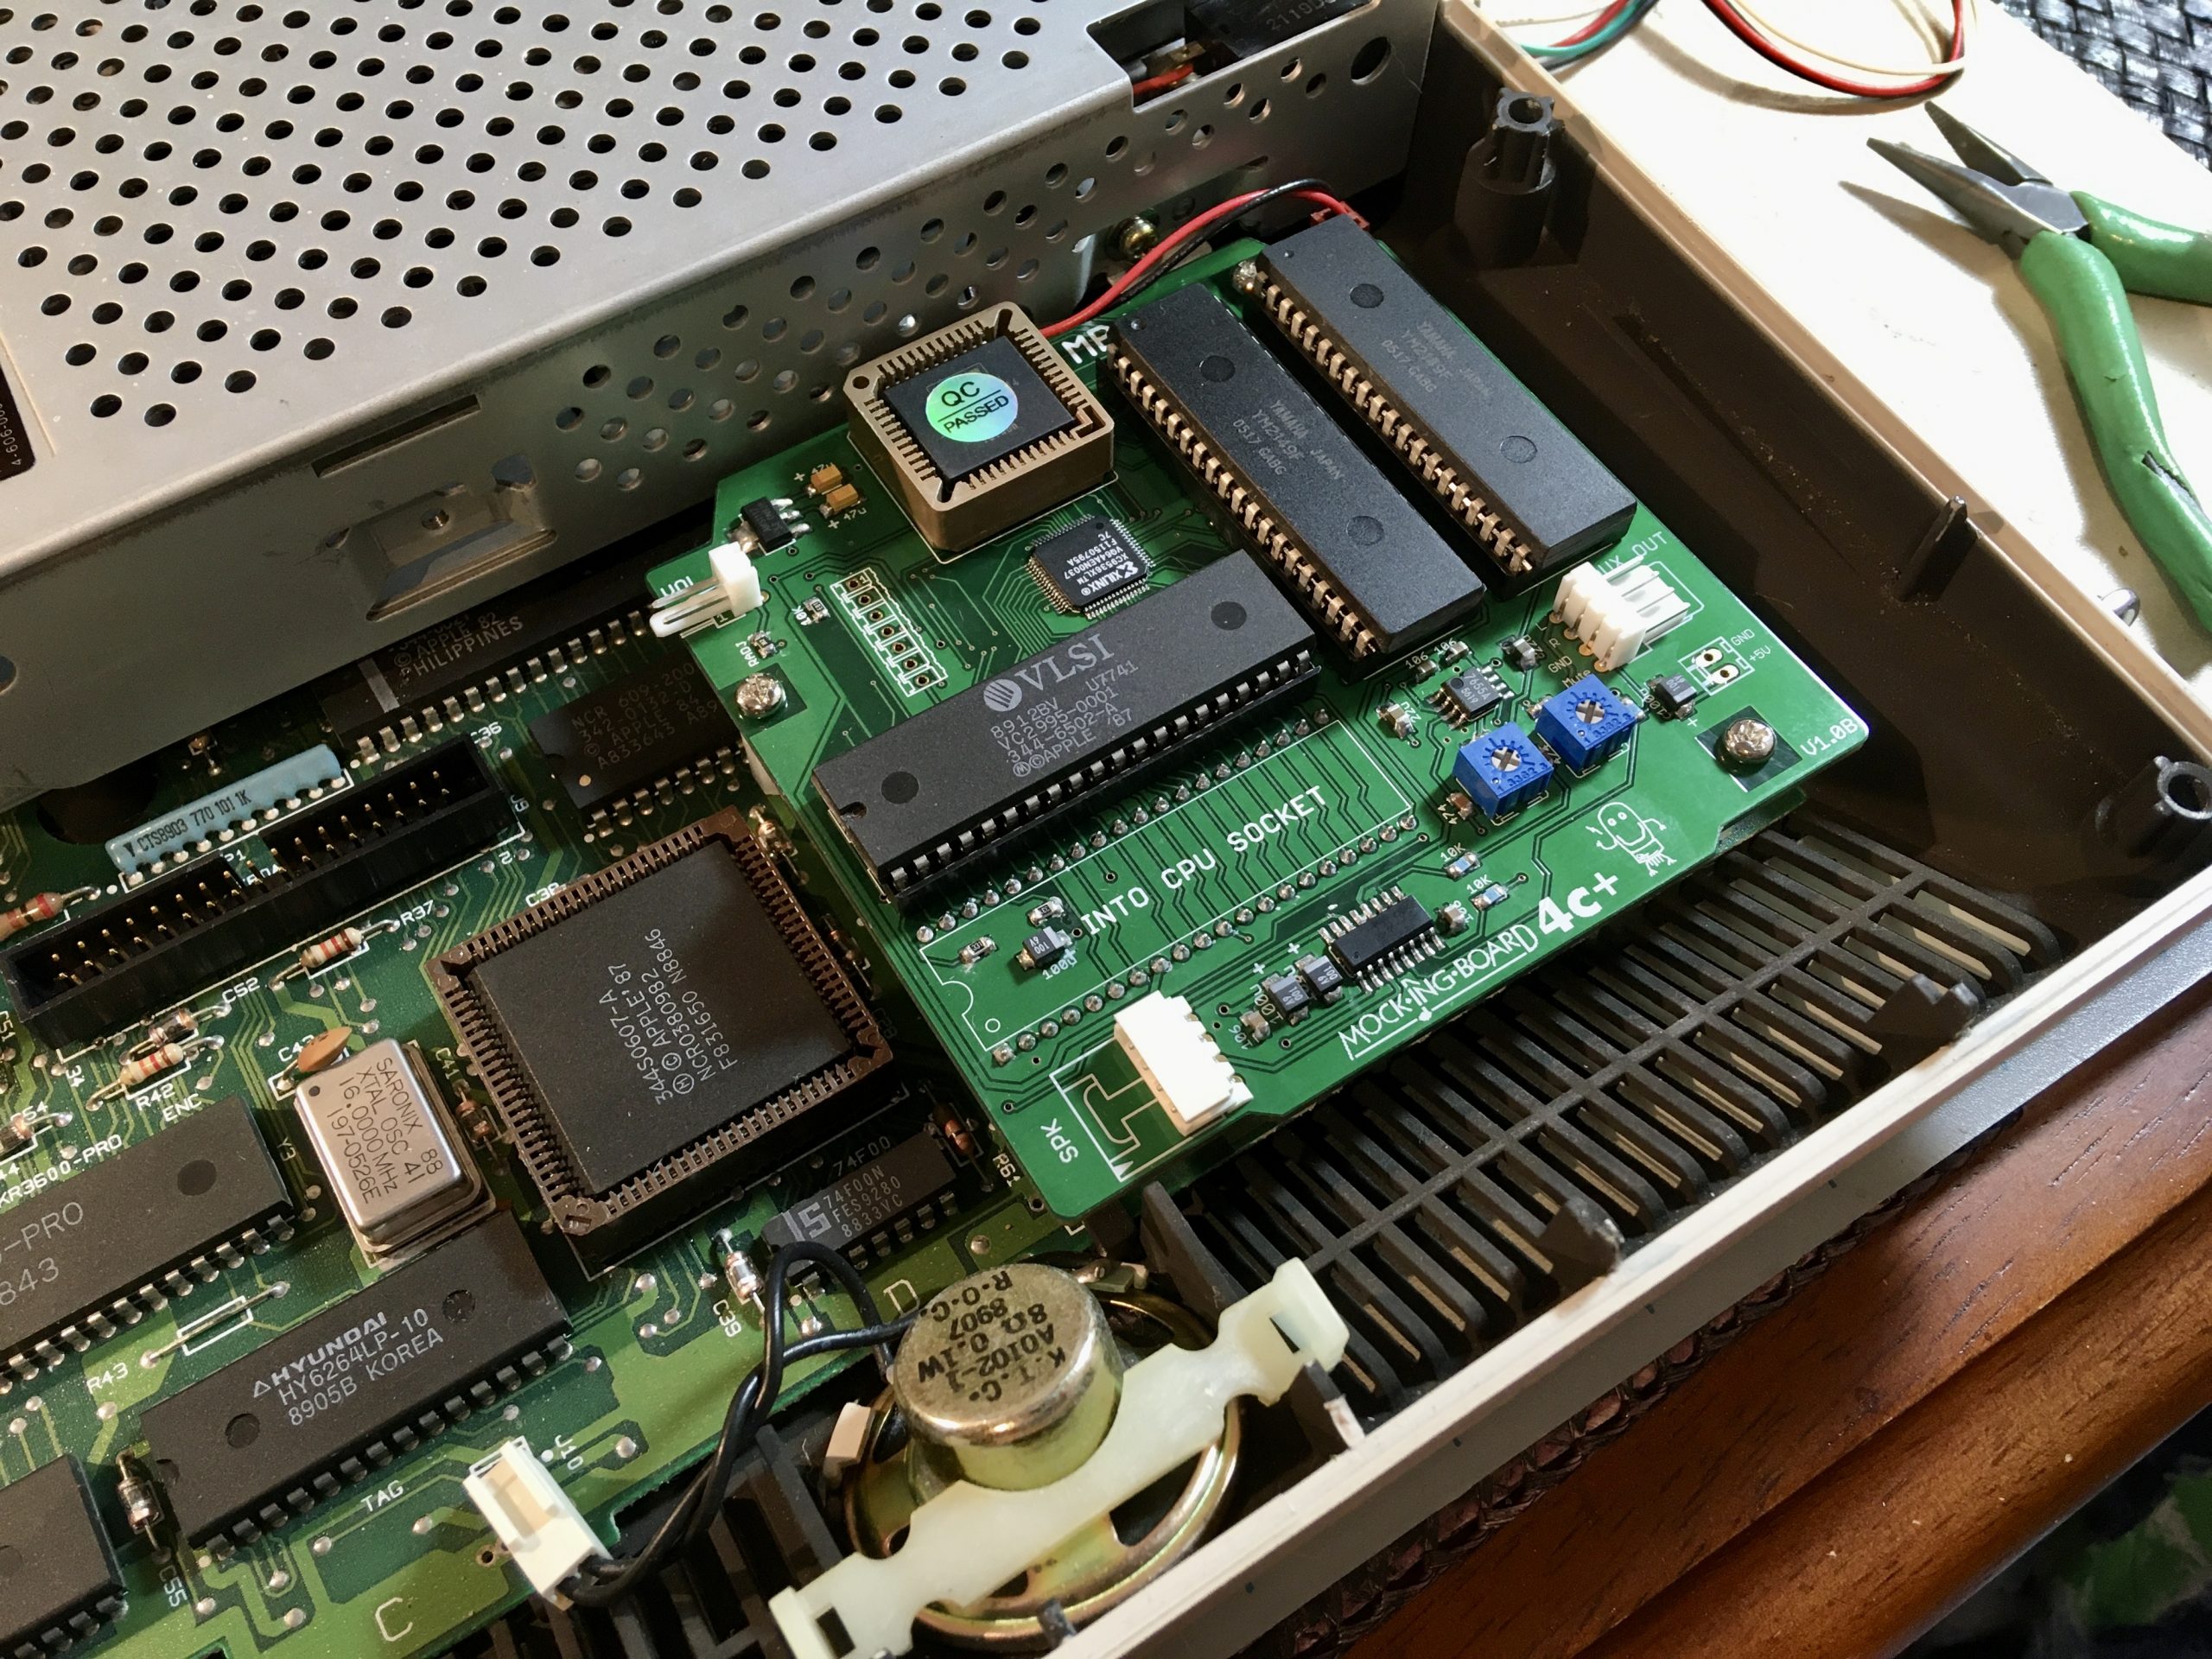
One of the tricks to a sound board is controlling volume. If you have your own external speakers (not using the built-in one) how do you control the output audio volume? SoundBlasters and the like did this by having their own separate volume control, or expecting you to use the Line Out to your own amplifier. The Mockingboard doesn’t have that luxury since we have no audio Line Out here. Instead, volume is controlled by two potentiometers on the board itself (the little blue squares shown above). This is a set-it-and-forget-it situation, which is fine because most Apple IIs don’t have volume control at all. They BEEP at a particular volume, and you take it or leave it. However, the Mockingboard 4c+ has one more trick up its sleeve. It has an option to piggyback on the system volume control that the Apple //c Plus does happen to have. To do this, you’ll need to warm up the soldering iron. Don’t panic though, it’s the easiest soldering job you’ll ever do, and easily reversed if desired.

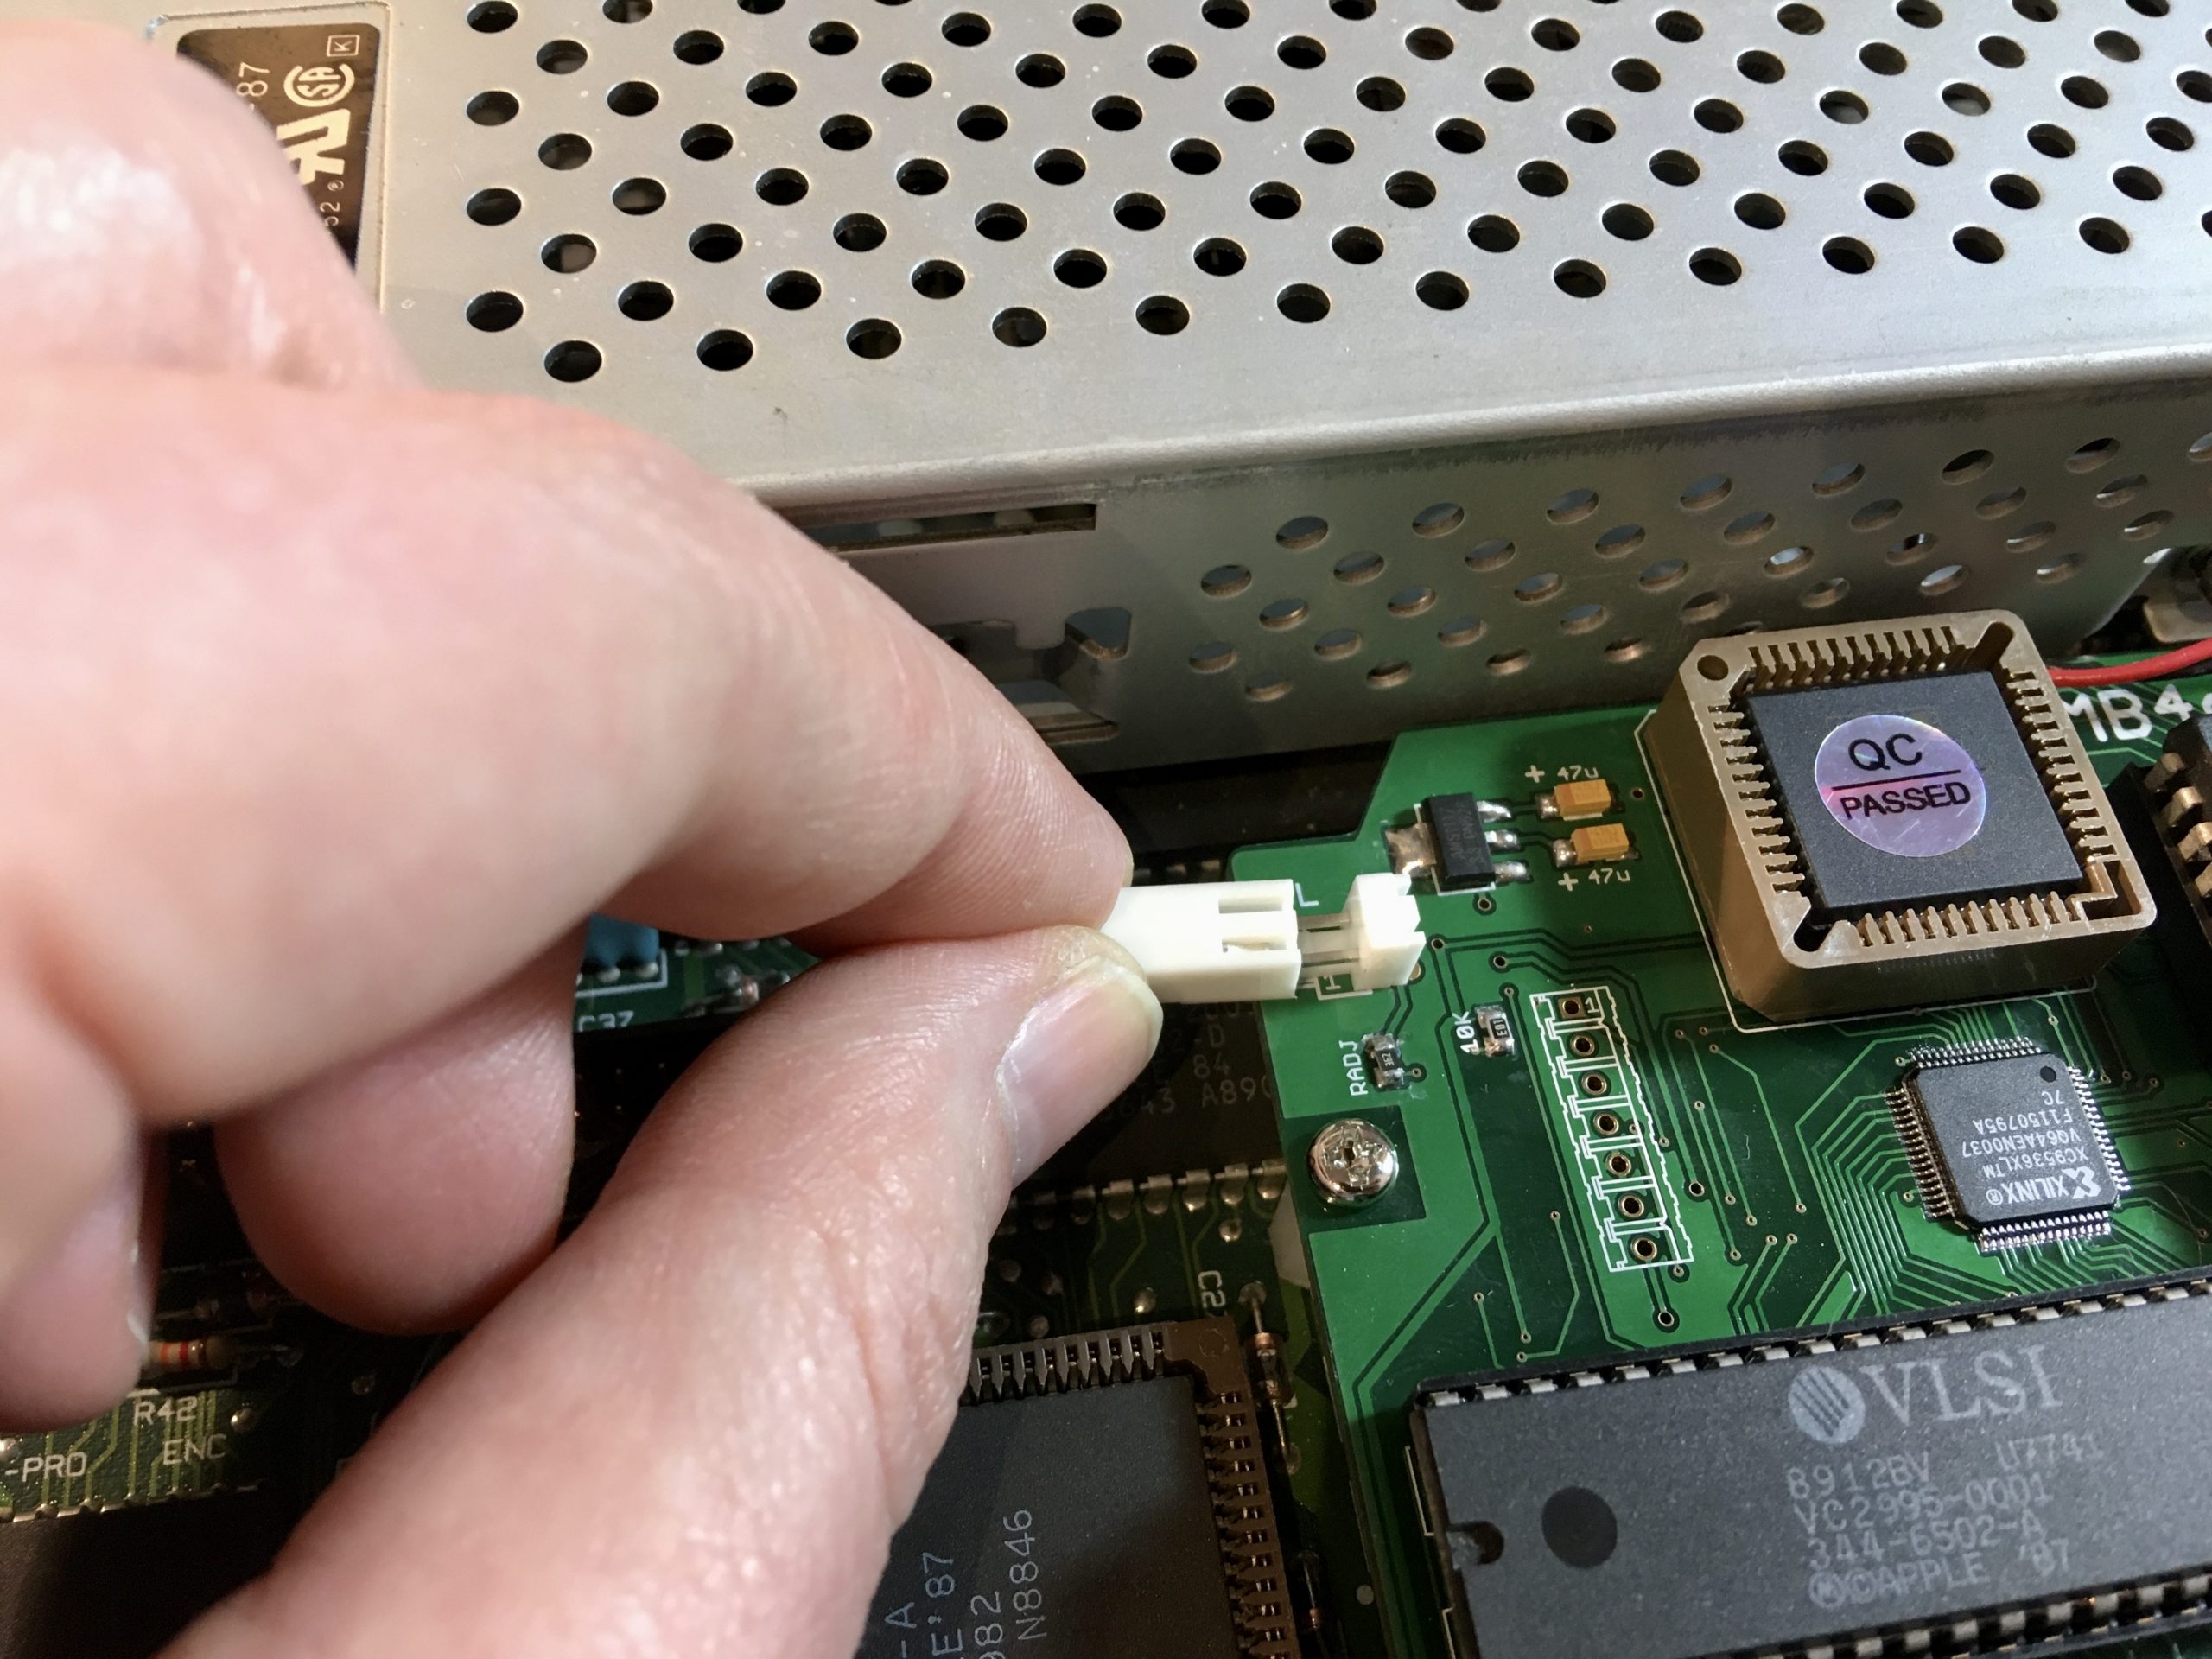
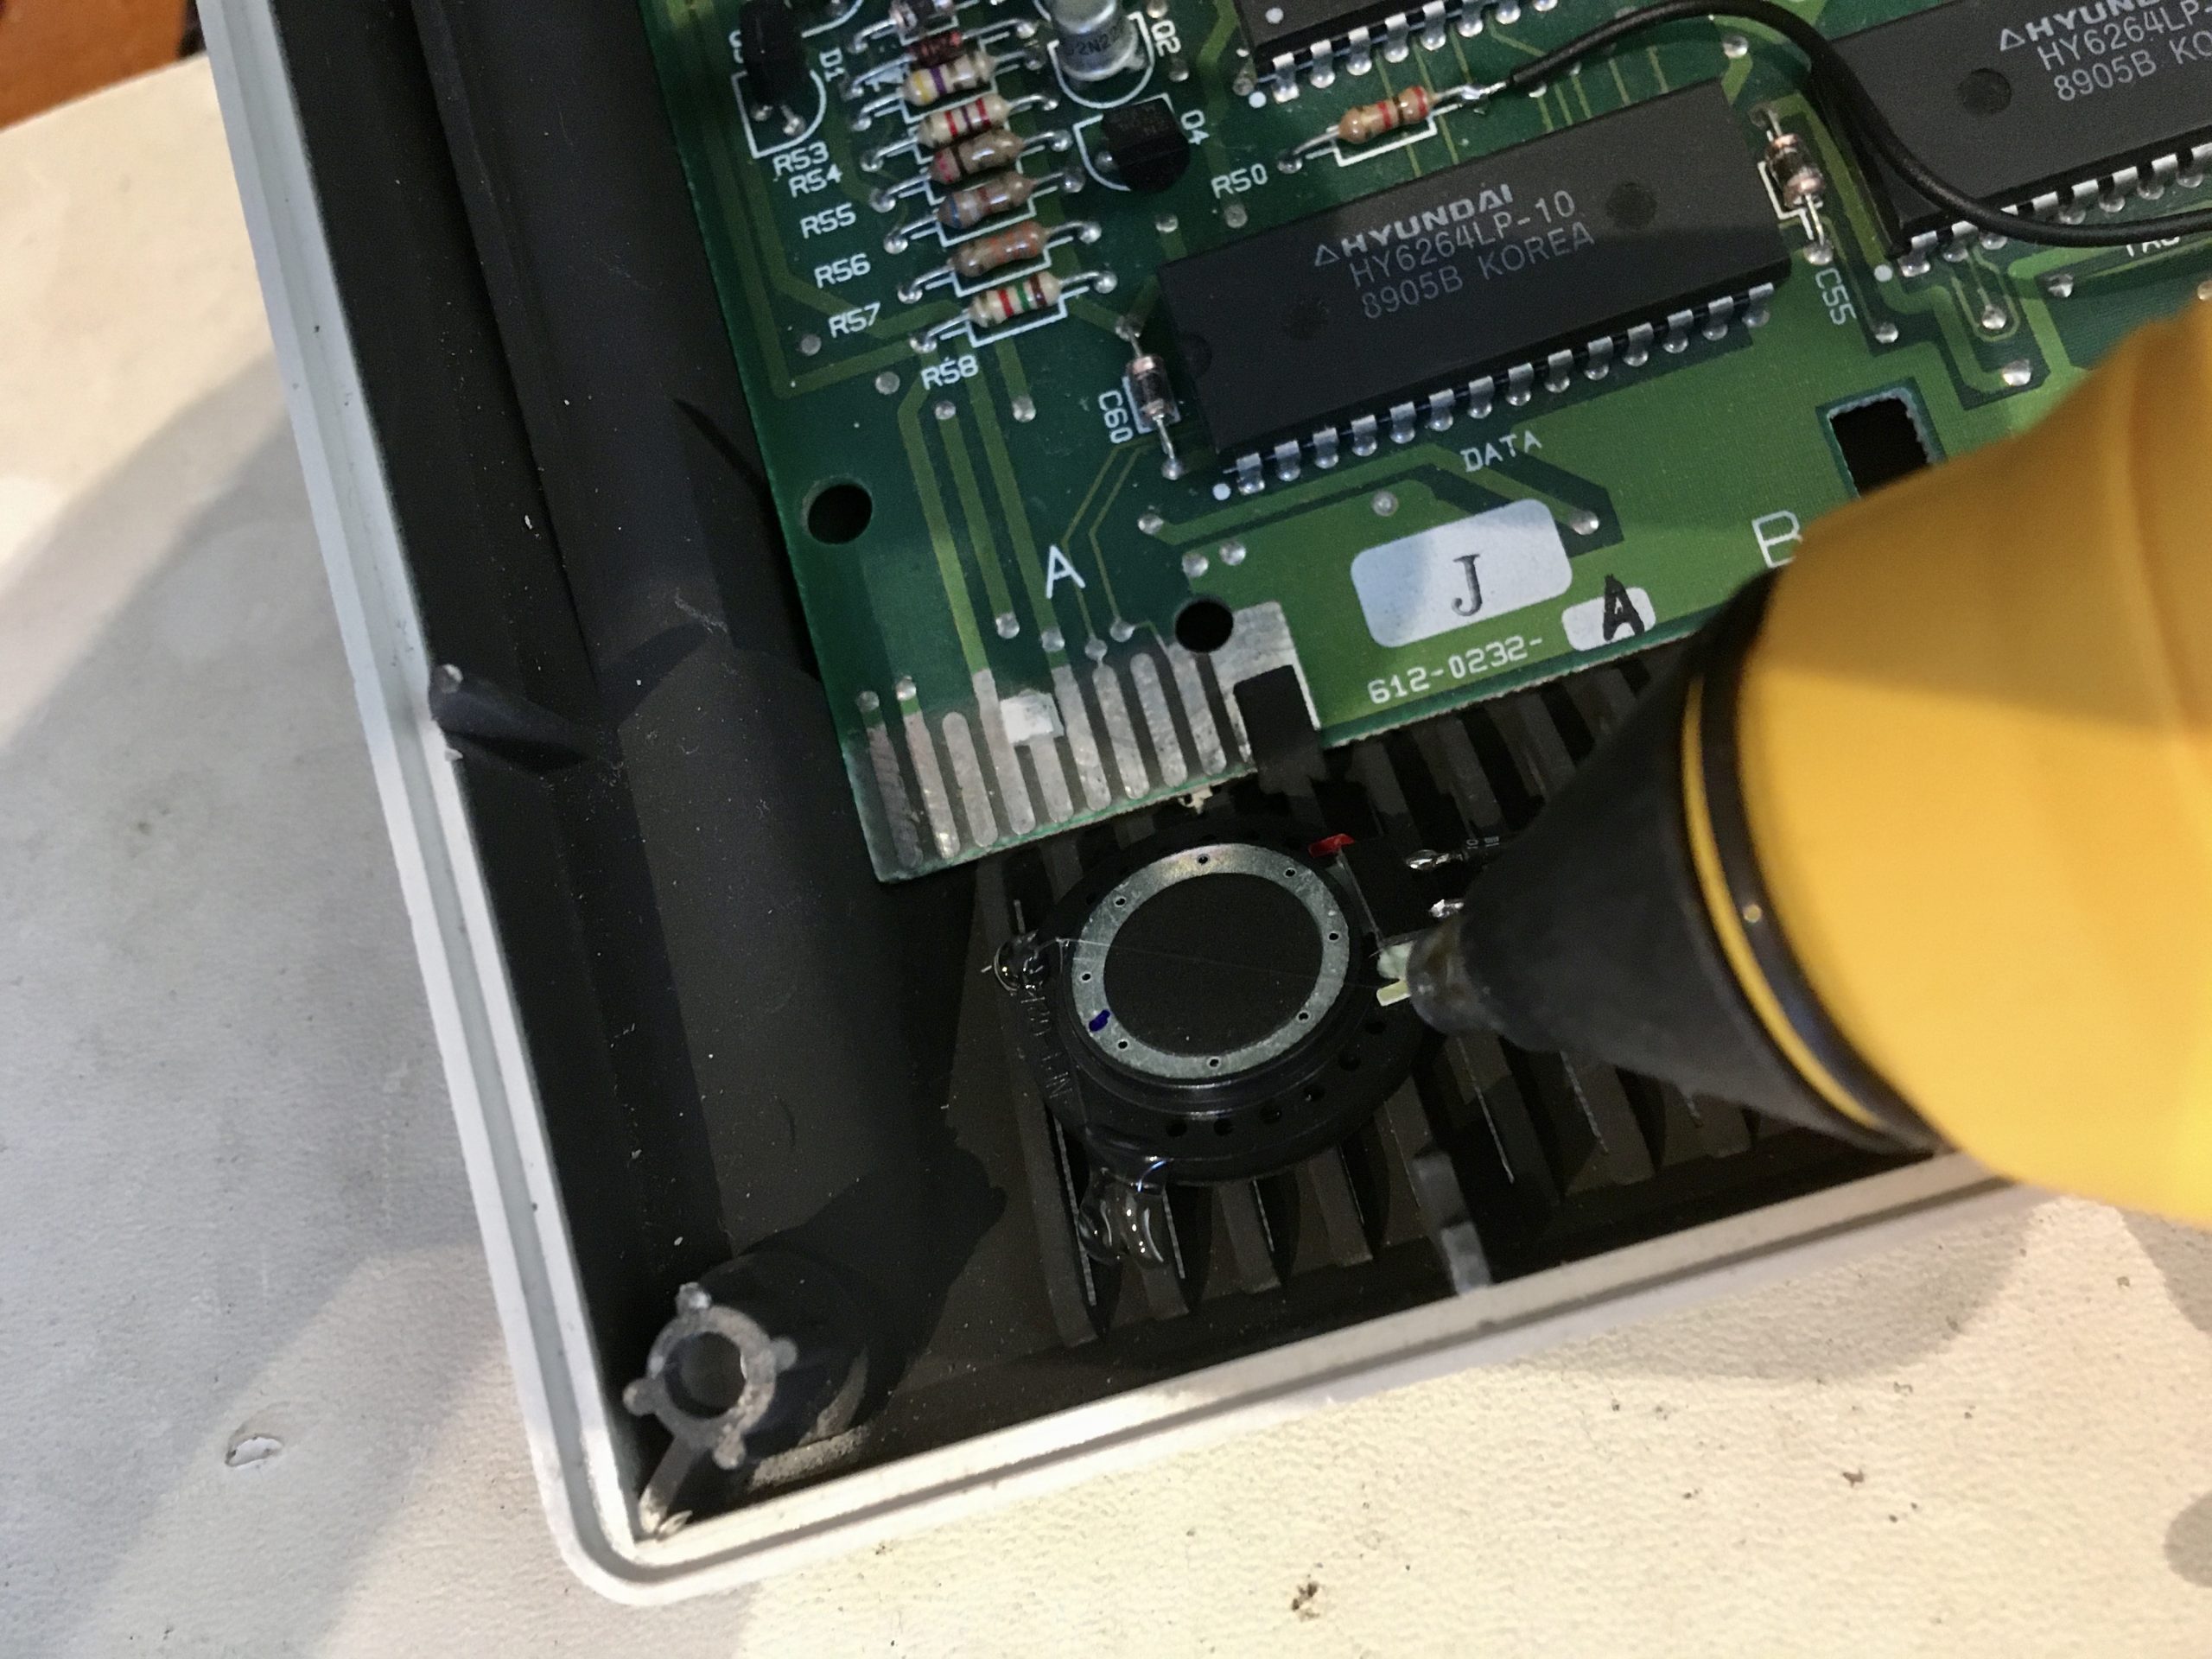
The final step are the speakers. It comes with two, since the Mockingboard is stereo. These are mounted inside the case of the Apple //c Plus, which makes everything seamless. This has the added benefit of disguising the secondary source of the sound, since the system’s built-in speaker is in the same area. The two sources effectively get mixed in the air after production.
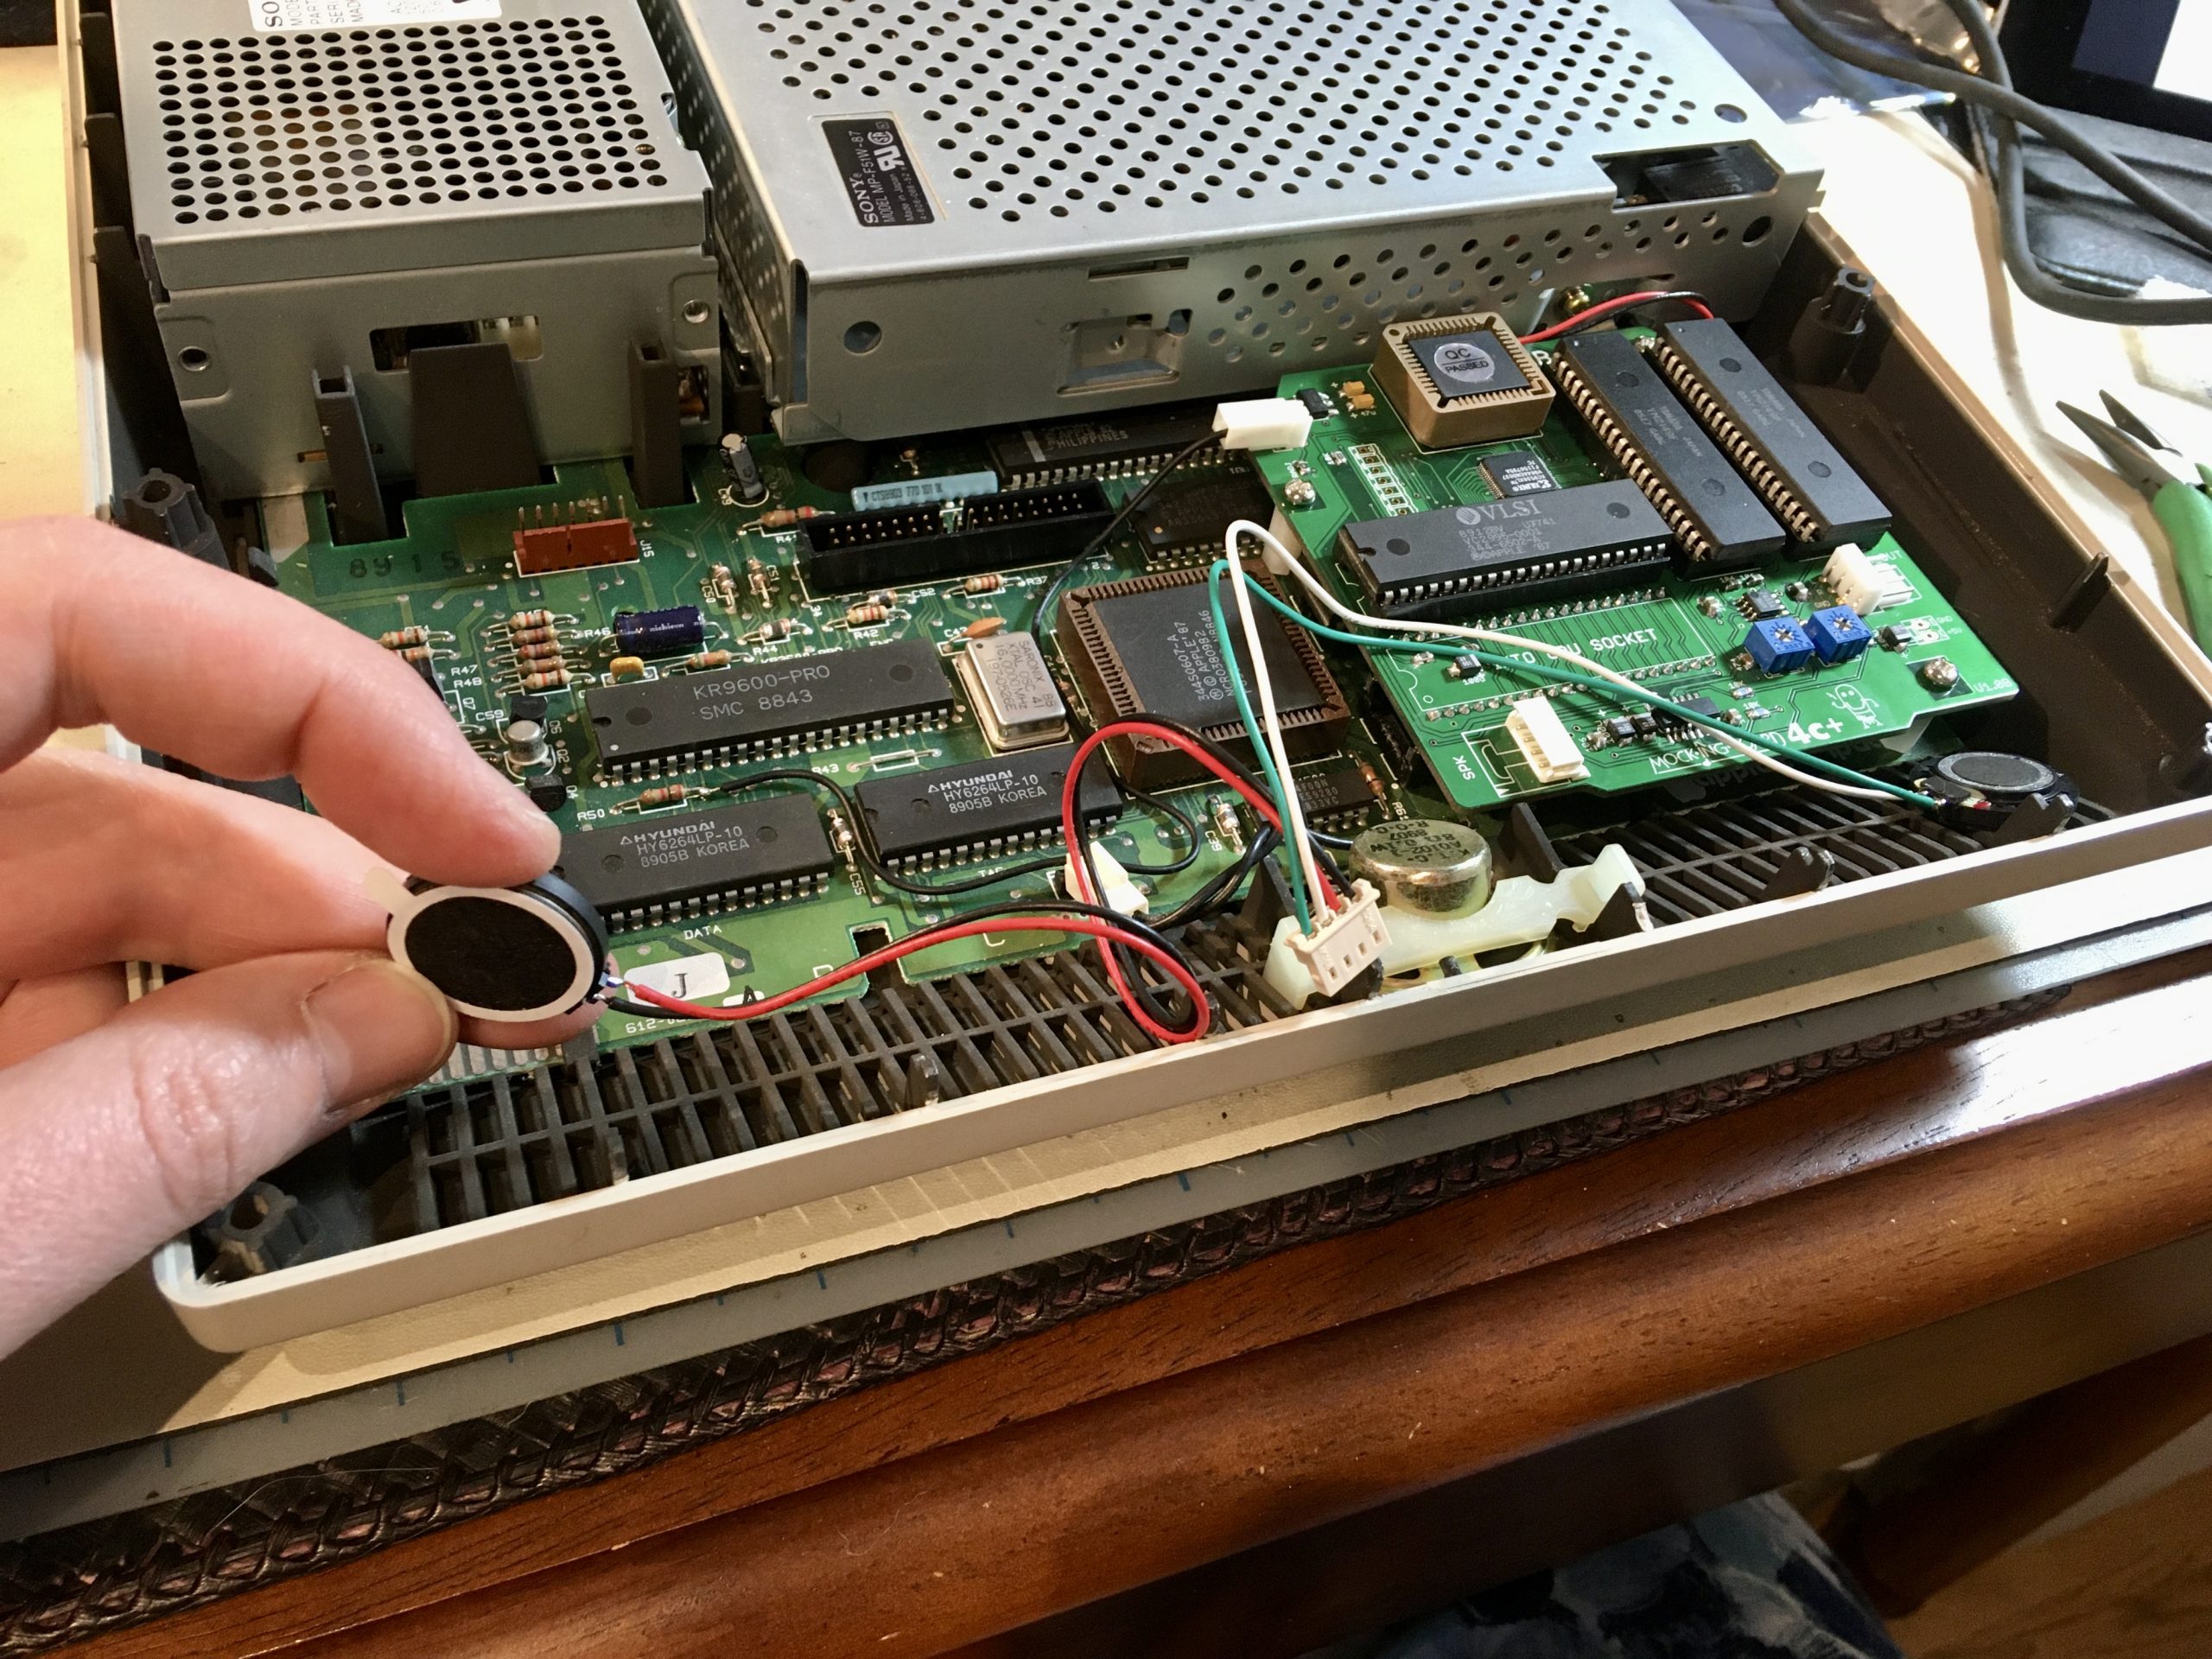
The speakers plug in to the board and are mounted in the corners, to spread the stereo field as much as possible. This is surprisingly effective. You can definitely hear the field separation when seated in front of the machine. These corners at the front also have grills built in, since this is a factory air vent all along the front. Thanks, Apple!
The speakers have a self-adhesive ring on them, but it’s quite clear this will not be sufficient to hold them well. In recognition of this, the instructions recommend an additional form of gluing, such as epoxy or hot glue. I opted for hot glue because this is easy to do, and easily reversed if you want to remove the speakers later. Hot glue sticks well to plastic, but not permanently so. Epoxy would be very permanent indeed.
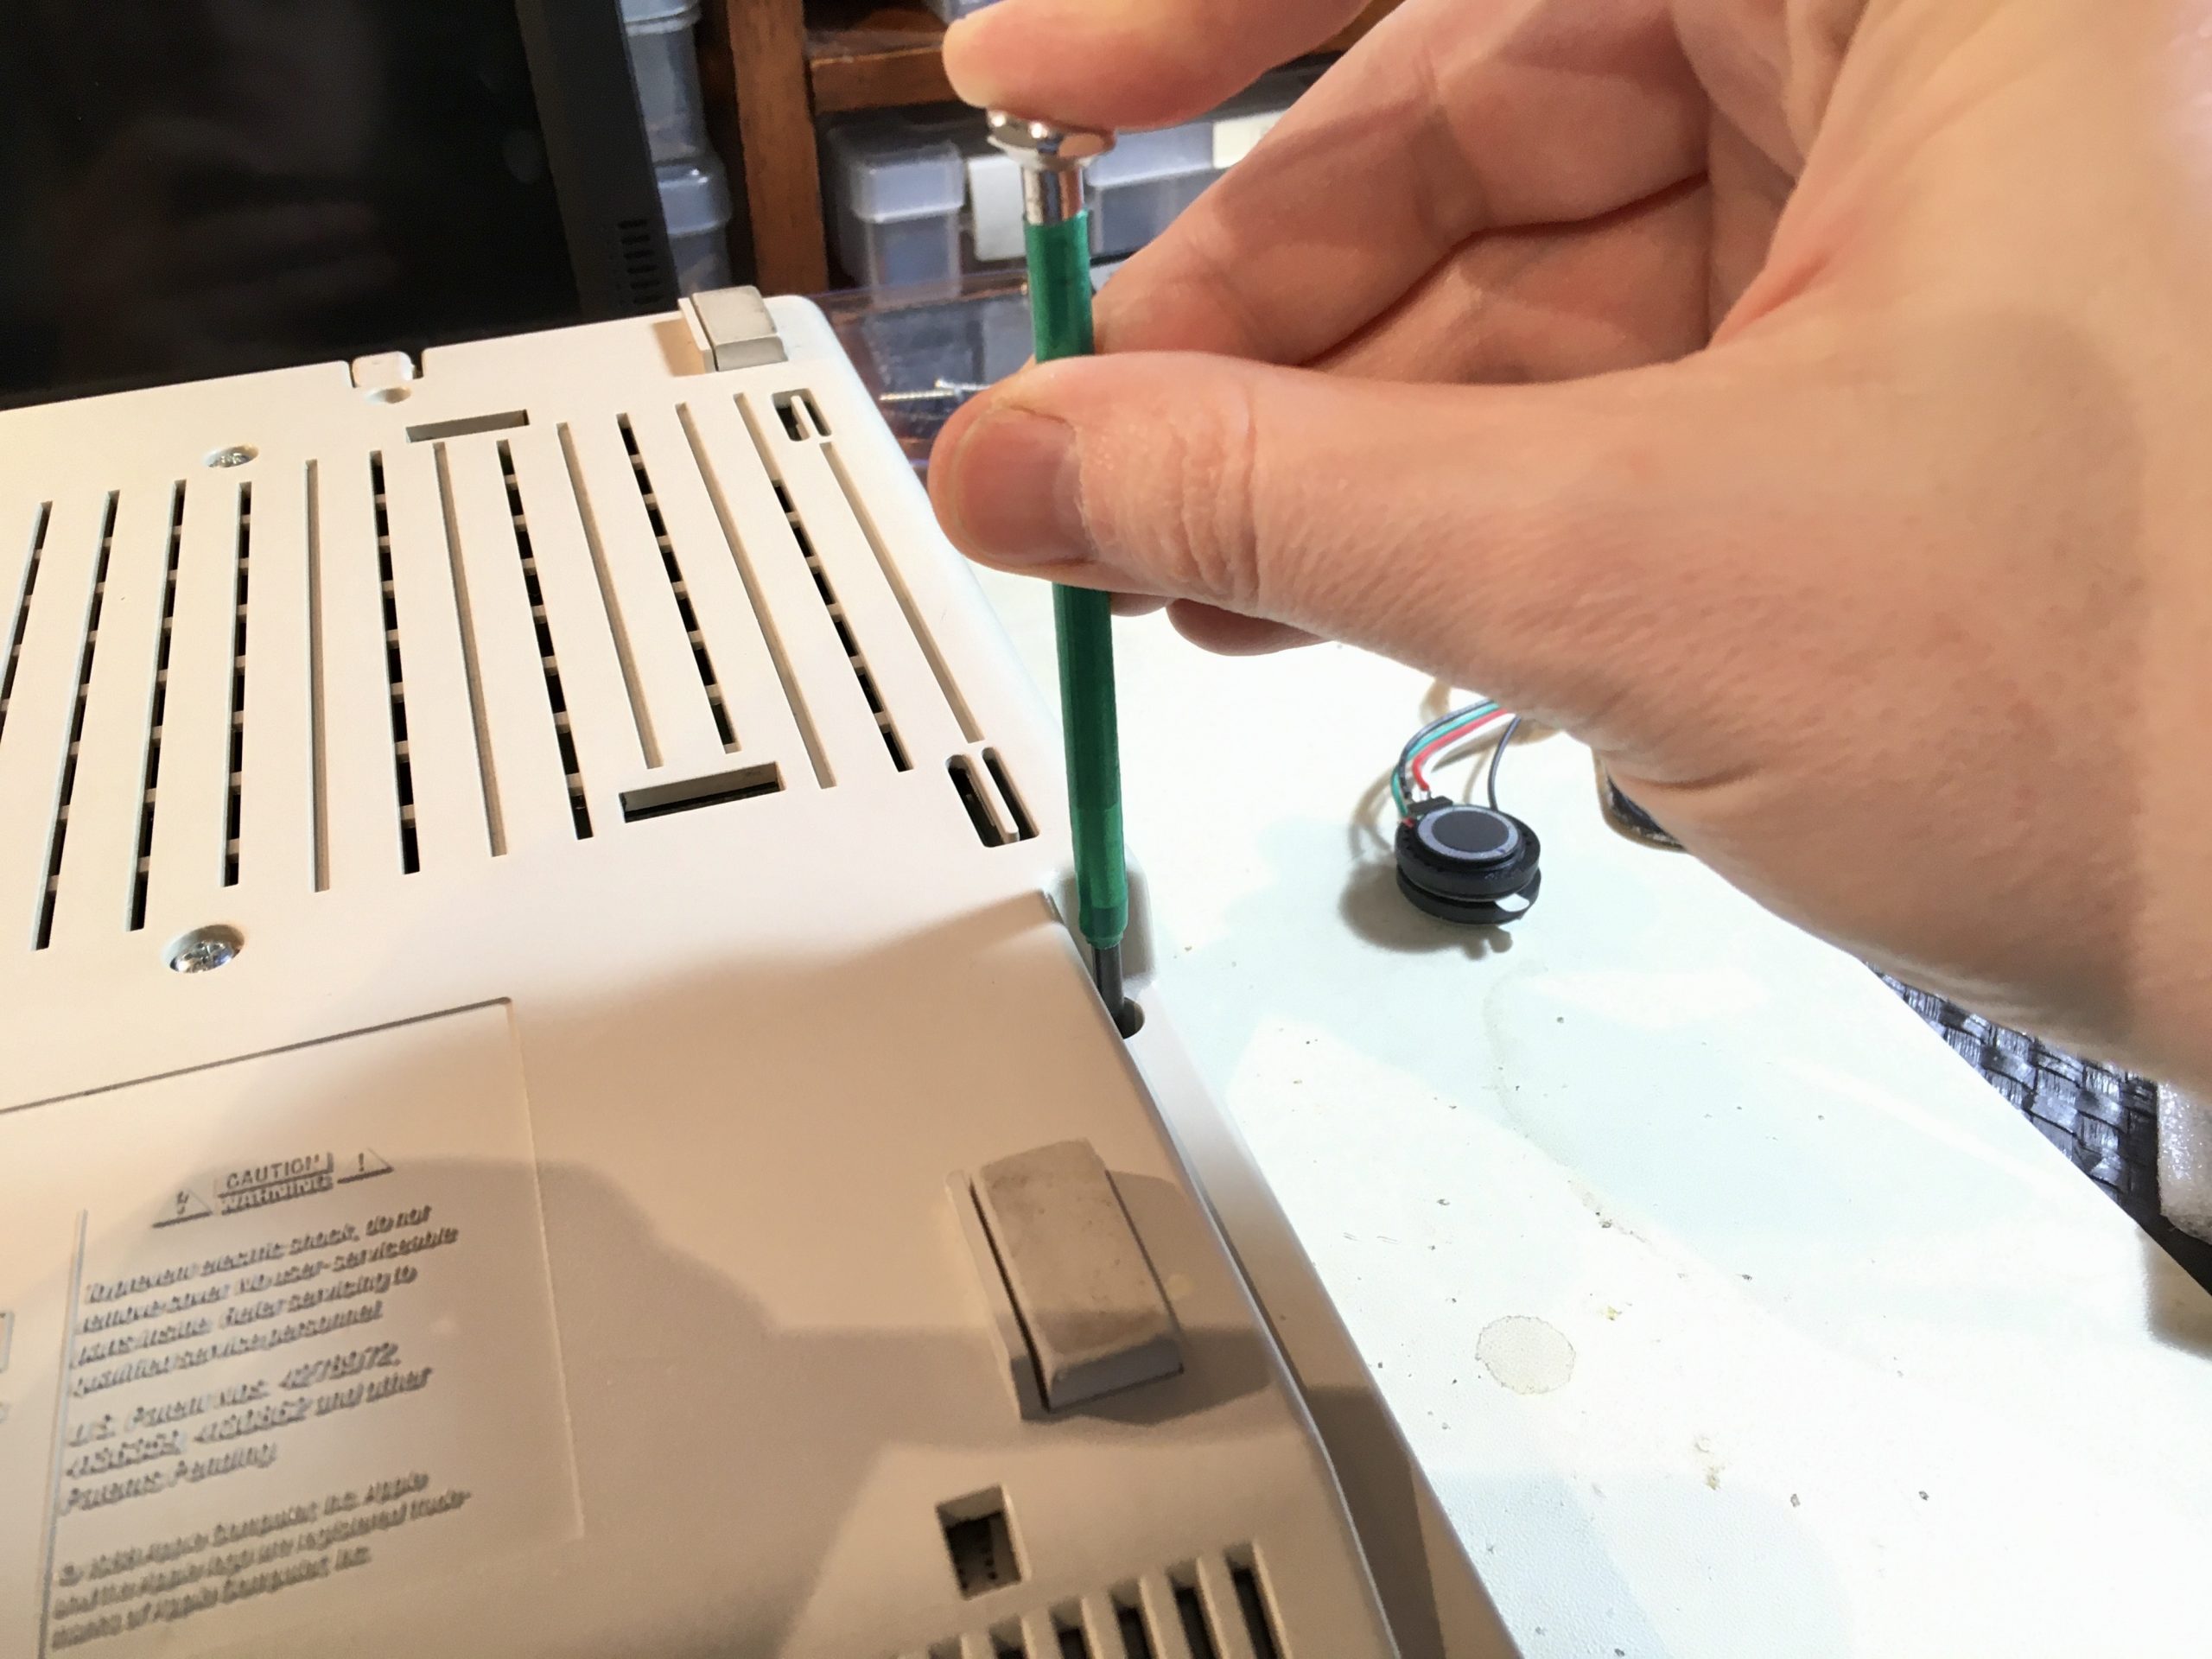
After this it’s time for a test! I did one (or six), of course, but I’ll save that for the end. Let’s skip ahead to reassembling the machine, because here I encountered my first and only hiccup. The keyboard would not sit flat on its mounting posts. The Mockingboard 4c+ underneath it was sticking up a tiny hair too high. I could have bolted the keyboard back down as-is, but I didn’t want it to be stressed that way.
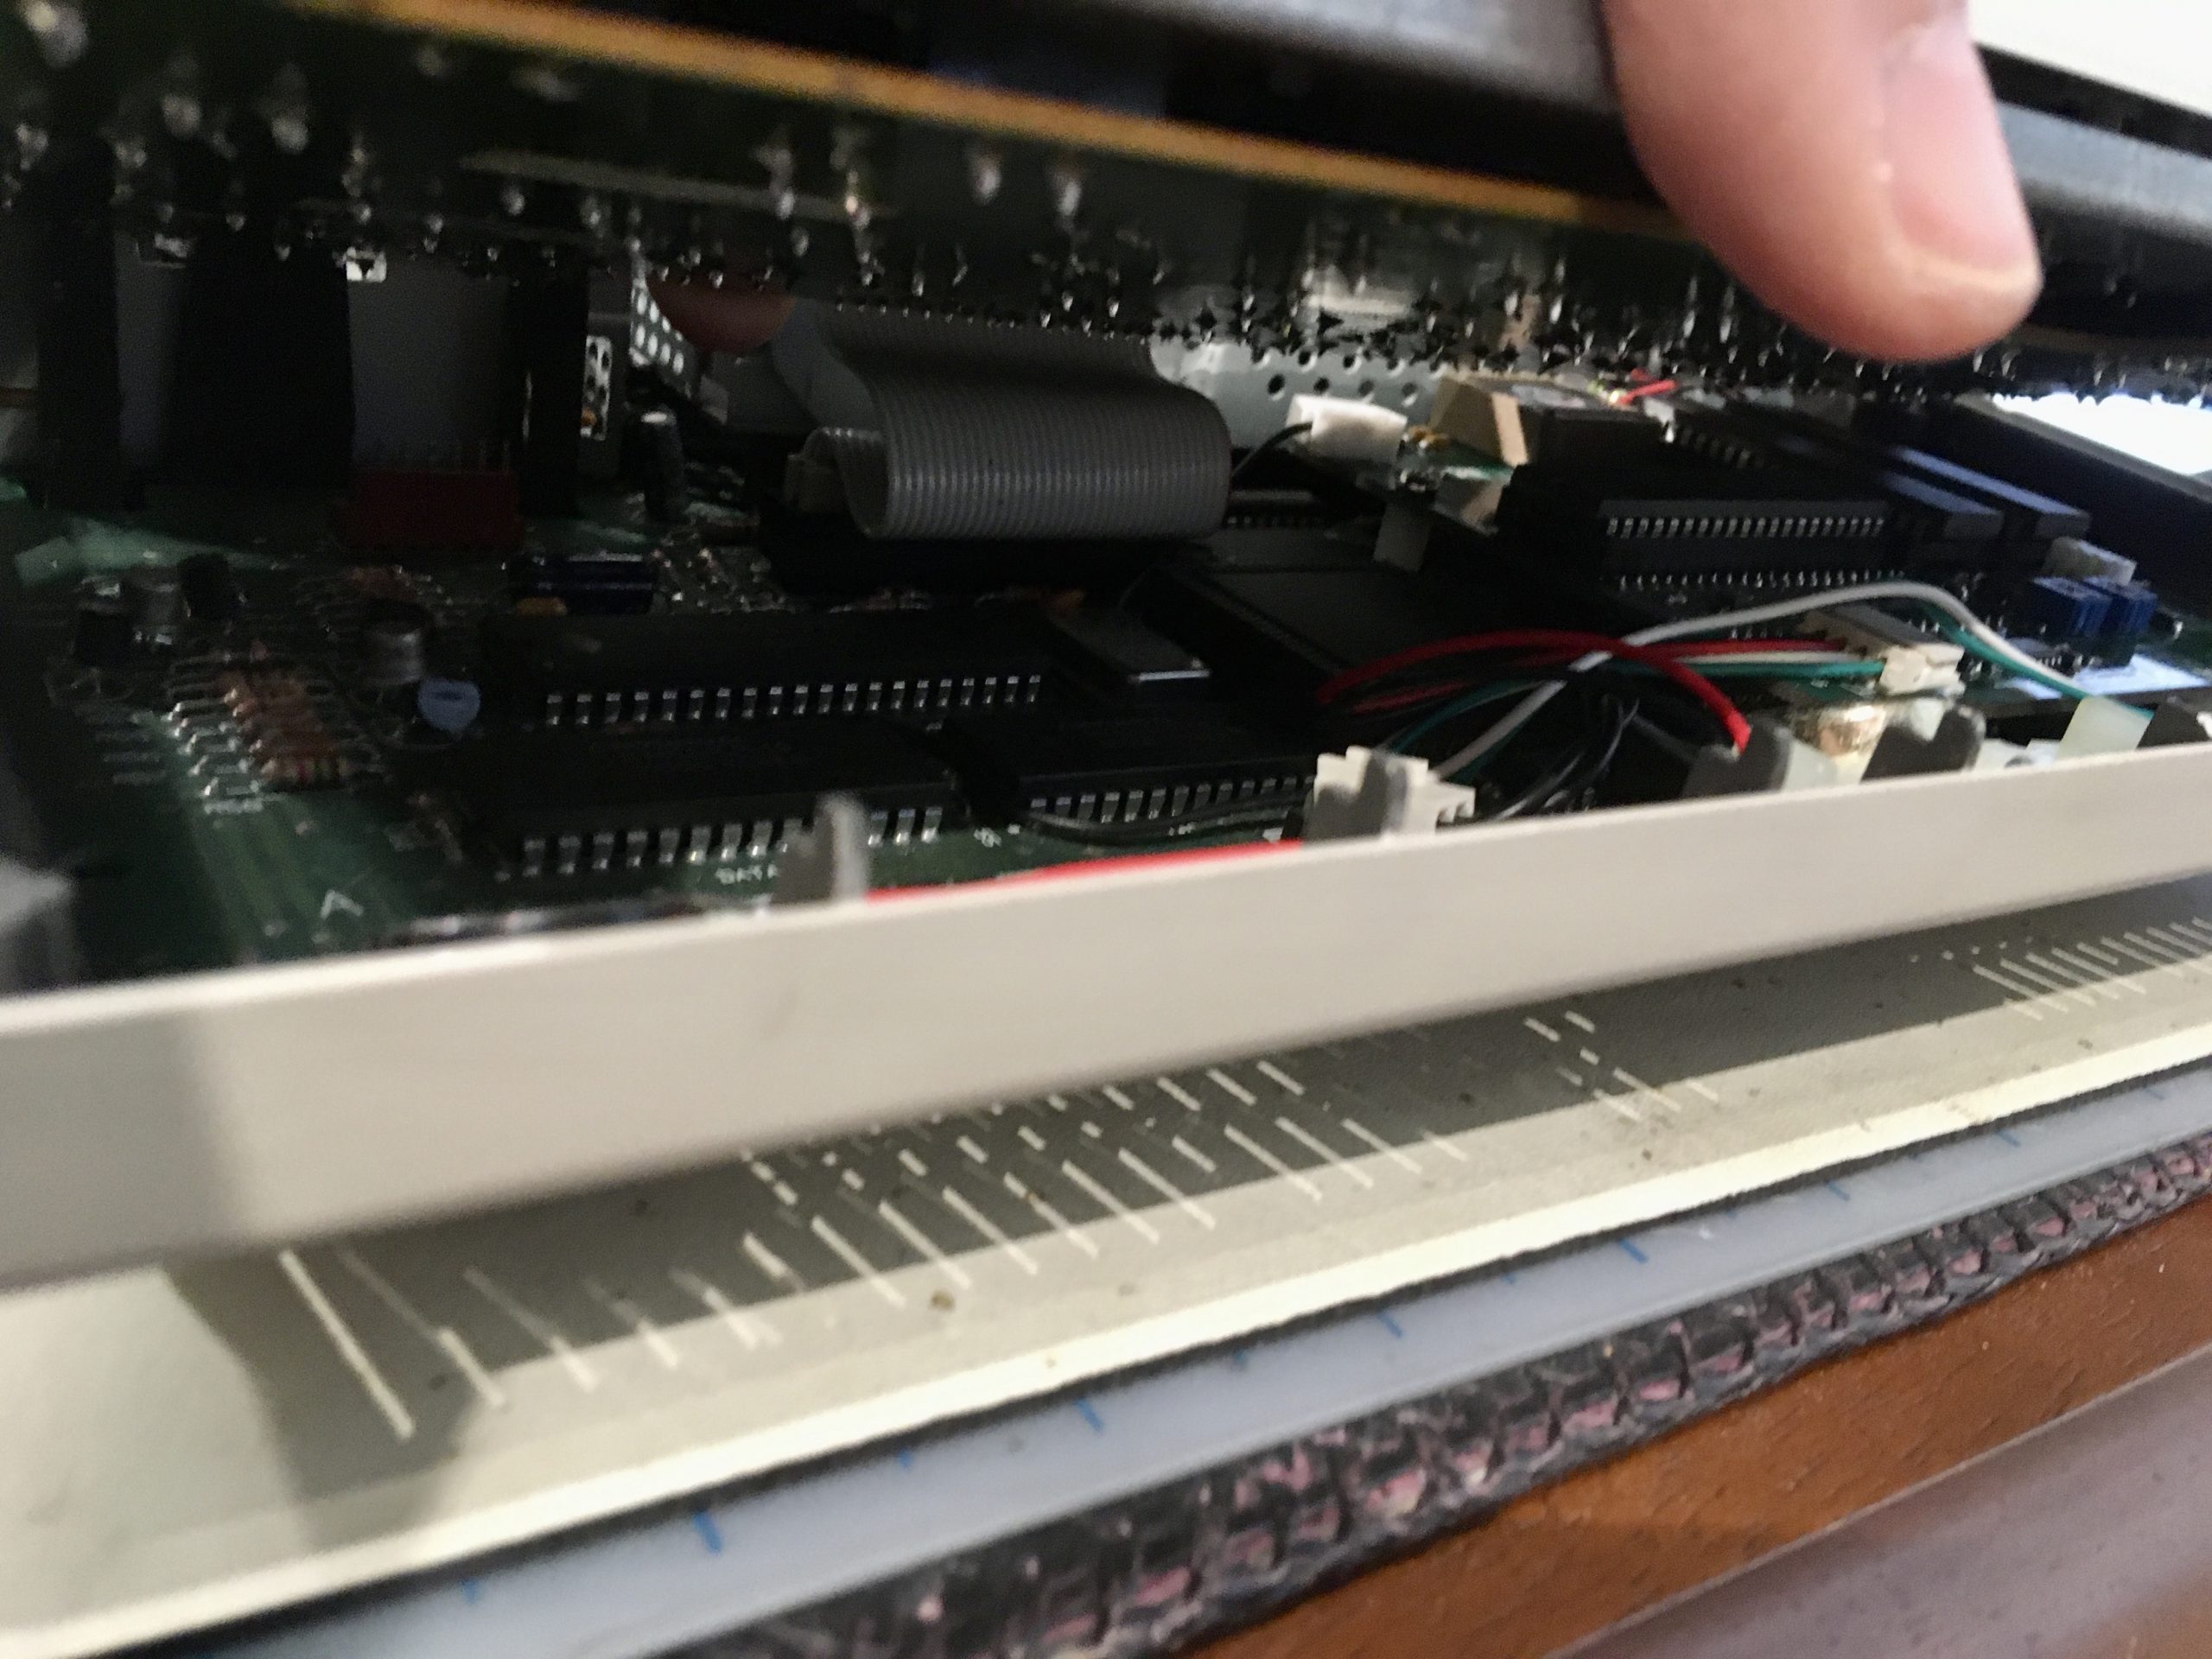
I verified everything was well seated. I did notice that the Yamaha chips that come preinstalled on the board were not themselves 100% seated in their sockets. They were 99.9% seated, but sticking up a tiny hair. I gave them a little push, but got no movement and didn’t want to force the issue. Instead, I increased clearance on the keyboard.
Okay, here’s the moment you’re waiting for. Quiet on set! Sound check!
Forgive the BlairWitchCam there, but I was too excited to go get the tripod. It works incredibly well in Ultima V, which is itself a tour-de-force of Mockingboard audio. In the video you’ll see me configure Ultima for a Mockingboard C in slot 4. The “C” there is the Mockingboard model number. That was the most common one, and is what the Mockingboard 4C+ emulates. The C in the modern products’ name is for “Apple //c” (and now Plus). It’s a little confusing, I know. The card emulates itself being in slot 4 because that was by far the most common place that Apple II users put it. Most software lets you configure this, but if not, it will likely still work since software tended to assume slot 4. Now how about that system volume control modification. Does it work?
It does! Amazing! How about that effect I talked about with mixing music and system audio “in the air” as it were? Ultima V shows that off as well:
The “babbling brook” sound effects play at the same time as the music. The former is Apple II speaker, and the latter is Mockingboard, but it all works together perfectly.
To really show off any sound board though, you need a tracker. Trackers are a uniquely-80s (and 90s) form of electronic music production that borrows heavily from MIDI, but tailored to the limits of early computers. I believe the Amiga (or possibly the C64) pioneered them, but now anything with a sound card will play them. Depending on your hardware, there will be some dedicated sub-genre of trackers just for you. Amigas have their MOD files (which PC SoundBlaster people later adopted as well) and so forth. Is there something like this that our humble little Mockingboard can do? Thanks to awesome modern Apple II programmer Deater, the answer is yes. He has written a Mockingboard tracker (among many other things) that plays ZX Spectrum music, which used a tracker format called PT3. The results are spectacular:
The phone-recorded audio doesn’t do this stuff justice- it really sounds great in person.
Okay, amidst all this success, are there any flaws? I will say there is one. The Mockingboard 4c+ does seem to pick up interference. It seems to be coming from the power supply, perhaps. There is occasionally high-pitched and very soft noises coming from the speakers. Twiddling the volume slider a little often silences it, and the effect is less at lower volume levels. It is manageable, but it does seem like something on the board might need a little more shielding or termination to insulate from this signal noise. Overall though, I’m super happy with this new toy. As I said, not a lot of software supports it, but modern Apple II games do, and I’m looking to playing with Deater’s excellent Mockingboard library to write my own stuff.
As of this writing, the 4c+ board is not yet on general sale (I got an early review board) but watch Ian Kim’s site for updates. If you have a regular Apple //c, he has one for you that you can buy right now!
“Trackers” proper started on the Amiga, with Karsten Obarski’s The Ultimate Soundtracker in 1987, but of course the piano roll style of sequencing goes back to, well, player pianos, and music boxes and the like.
Is there really no option for a line out? I guess it would require a mixing circuit and more soldering to get the built-in audio as well, but still. However, I’ve never even seen an Apple II in person, are the built-in speakers an essential part of the experience?
There’s no line out, though I imagine one could be added. The //c line actually does have an audio line out on one pin of the “video expansion” connector on the back. This is something not a lot of people are aware of or took advantage of.
The built in speakers on the Apple II are not an essential part of the experience, but I would say audio in general is not an essential part of the Apple II experience, so people didn’t bother with external amplifiers or speakers. One has to remember that the machine dates to 1977, and at the time the competition (TRS-80 and PET) had no audio at all. It was groundbreaking that the Apple could even make sounds. Of course, audio became very important in home computers shortly thereafter with the Atari 8-bits and Commodore 64, but the original 1977 Apple architecture continued all the way to 1993. Throughout its entire life, audio was only ever a “so so” extra in Apple II games that people didn’t care a whole ton about.
You talk about how this board insinuates itself between the system and the processor. There are other boards that were far more extreme. The Transwarp accelerator card would take over the memory bus and interrupt the processor while having a completely separate 3 Mhz processor, memory and other system hardware which was the primary system that was running. Initially I thought it would mirror back the IO and display memory but now that I think about it, it probably just held onto the memory bus and provided its own version of that when the IO cards or the video display hardware requested it. And of course it would slow the processor down to the 1.02 Mhz while doing IO so as to stay compatible with everything (presumably as soon as you touched $Cxxx and for some arbitrary number of microseconds after the last access)
Indeed, it was a pretty common technique, even back in the day. My IIgs (which was my original from back then) has a Transwarp GS in it (also from back then) and it’s an amazing card. I think what’s interesting with these modern devices though, and what I tried emphasize in this article, is how much more we can do with the technique because of the differential in performance between the host machine and the accessory.
First, I love all the attention you have given to the IIc+. It is one of the machines I really like in my collection.
Does this prevent the use of an internal RAM card?
I also appreciated the deep dive into the Iic+ for making it auto boot in 1mhz. A feature I now have and love. Many more programs benefit from this than the speed.
As a side note, there are a few games that truly benefit from the speed and are nearly unplayable otherwise which I love using the IIc+ for:
Galaxy! from Avalon Hill
Taipan
Star Trek (integer basic version)
Yahtzee (integer basic version)
These, as well as other turn based strategy games shine on a IIc+ with the additional speed. 🙂
Please continue with content on the Iic+. It seldom gets attention otherwise.