Making Veronica fit for the open road.
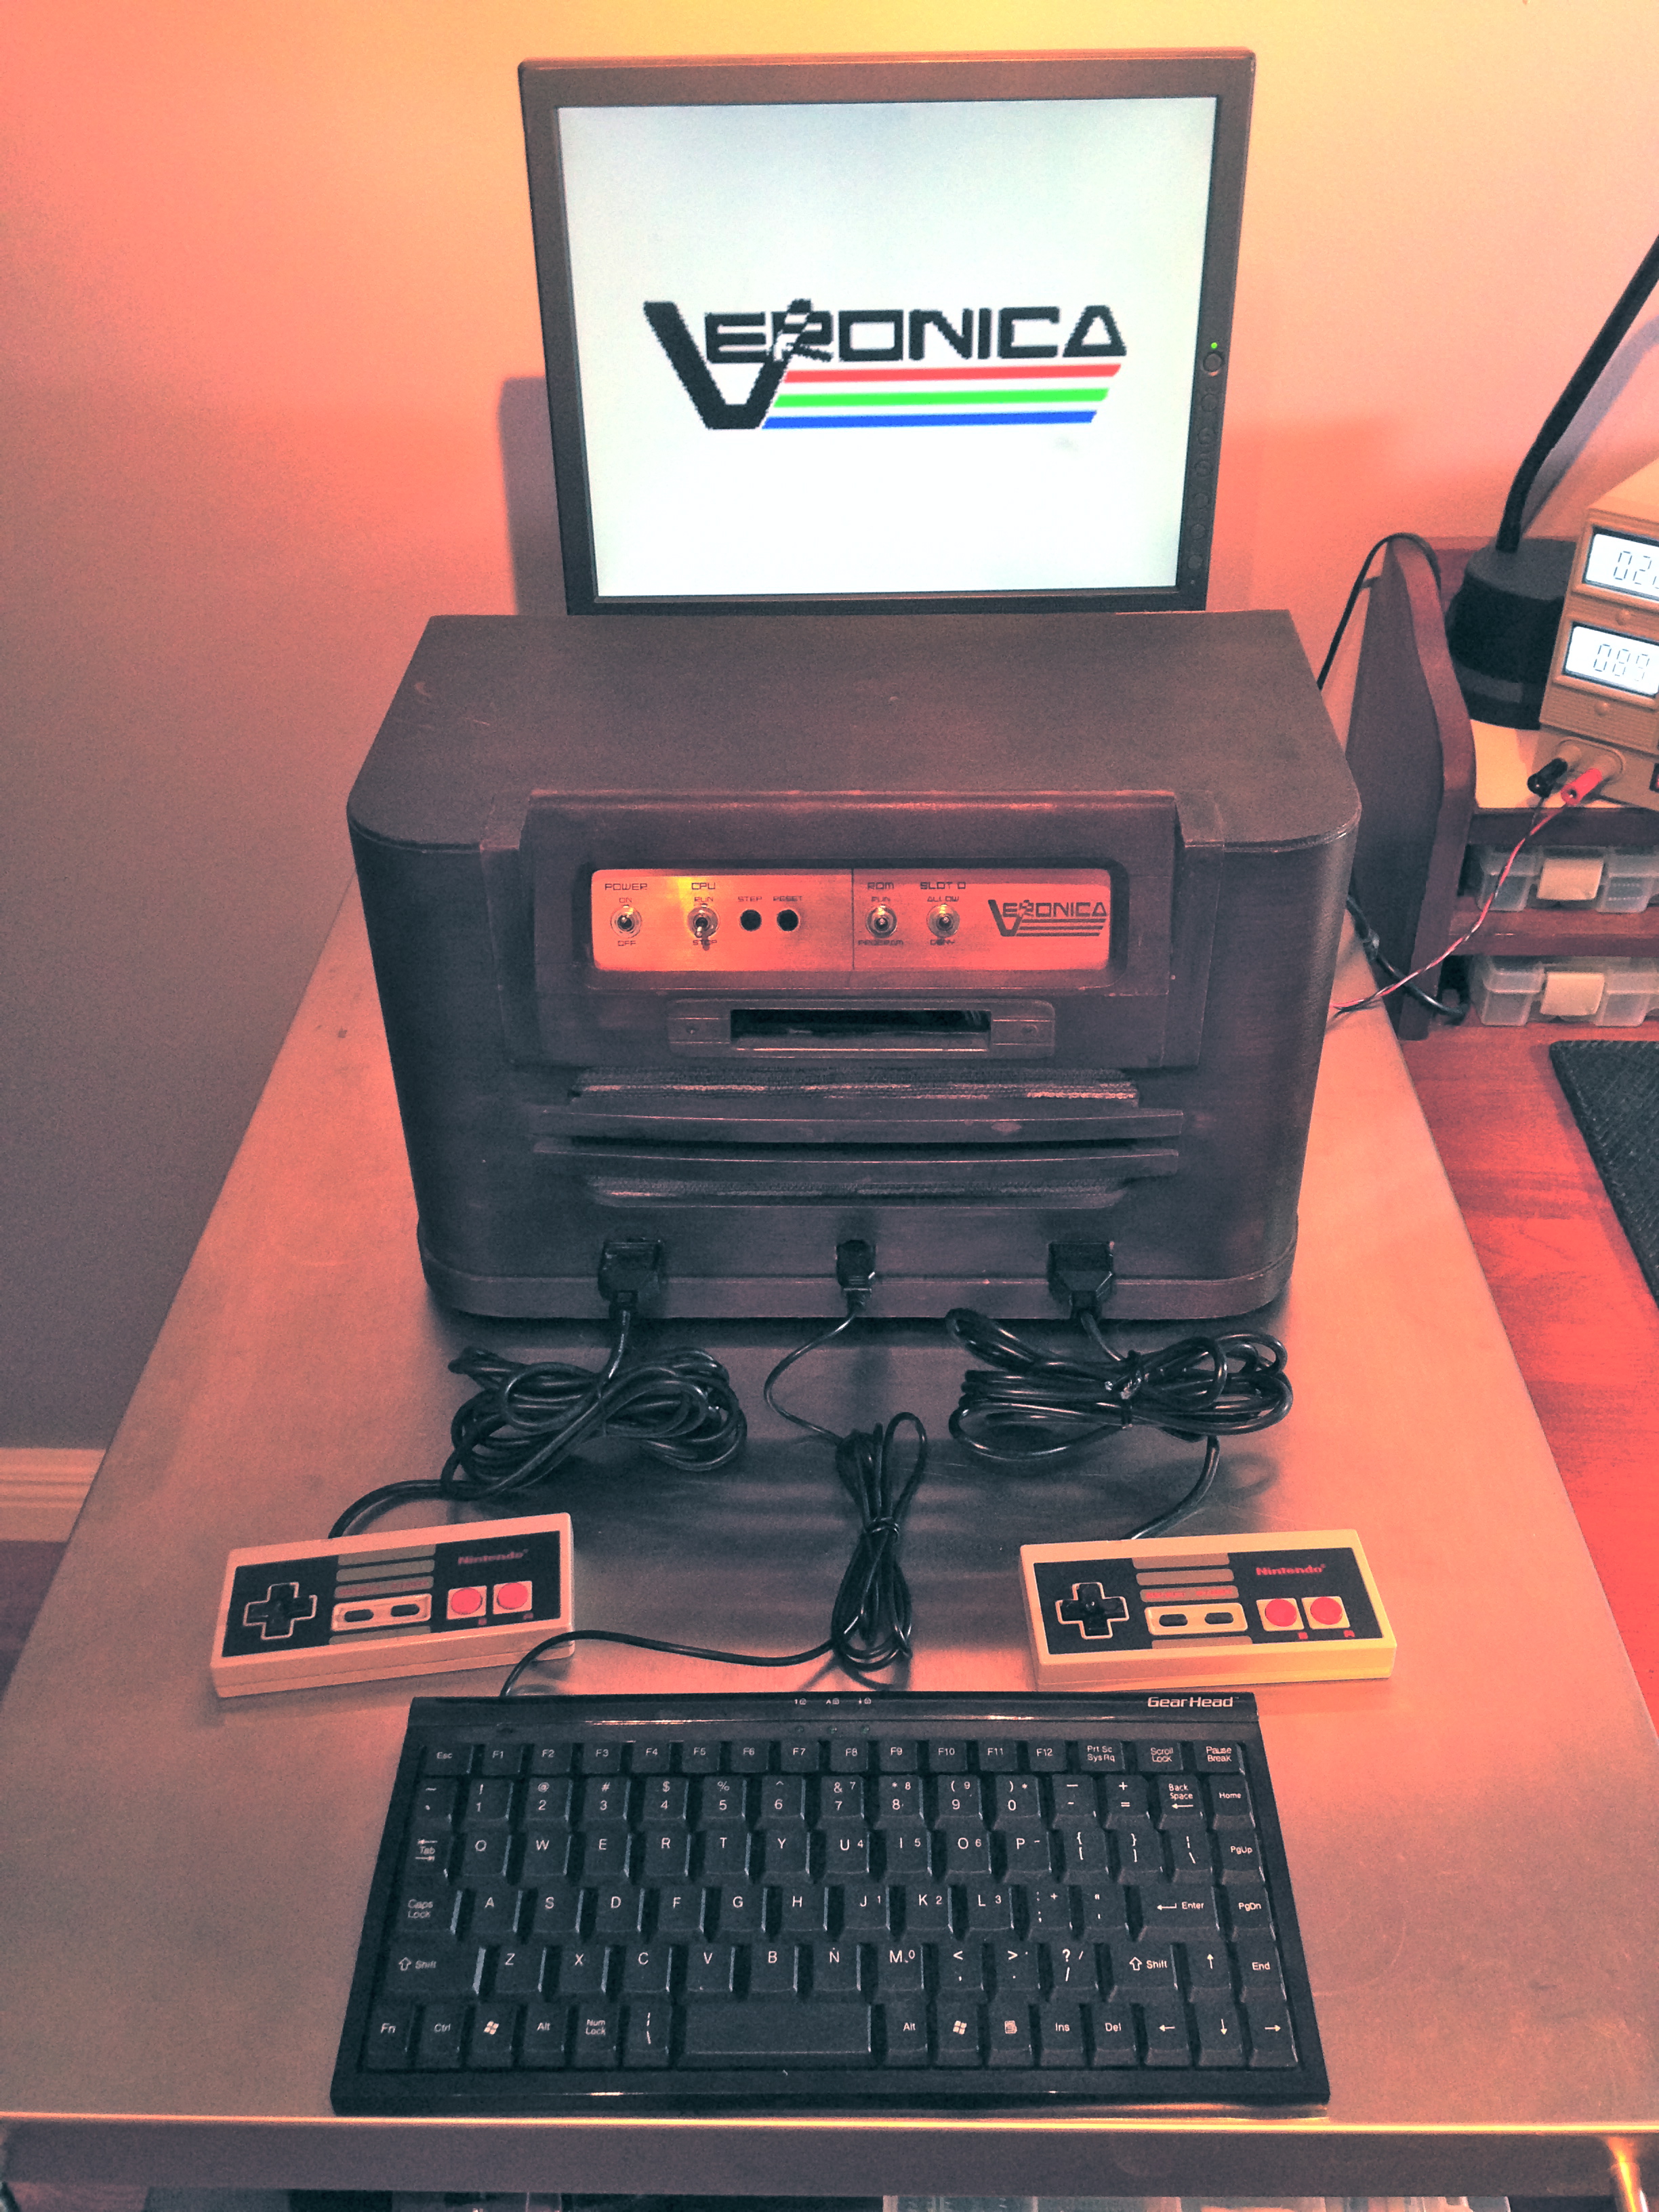
One of my earliest goals for Veronica was to be able to take her places. Perhaps a Maker Faire, or a hackerspace visit, whatever comes up. Currently, Veronica is a rag-tag collection of circuit boards heaped inside an old radio. She looks presentable enough on the outside, but she’s an unstable mess inside (rather like her creator). It’s time to robustify* her enclosure.
*What? It’s a perfectly cromulent word.
The first thing she needed was a proper backside (so to speak). Previously, I cut a piece of cardboard for the back. This was good for a while, because I wasn’t sure what my port layouts and such might be, and cardboard is easy to modify.
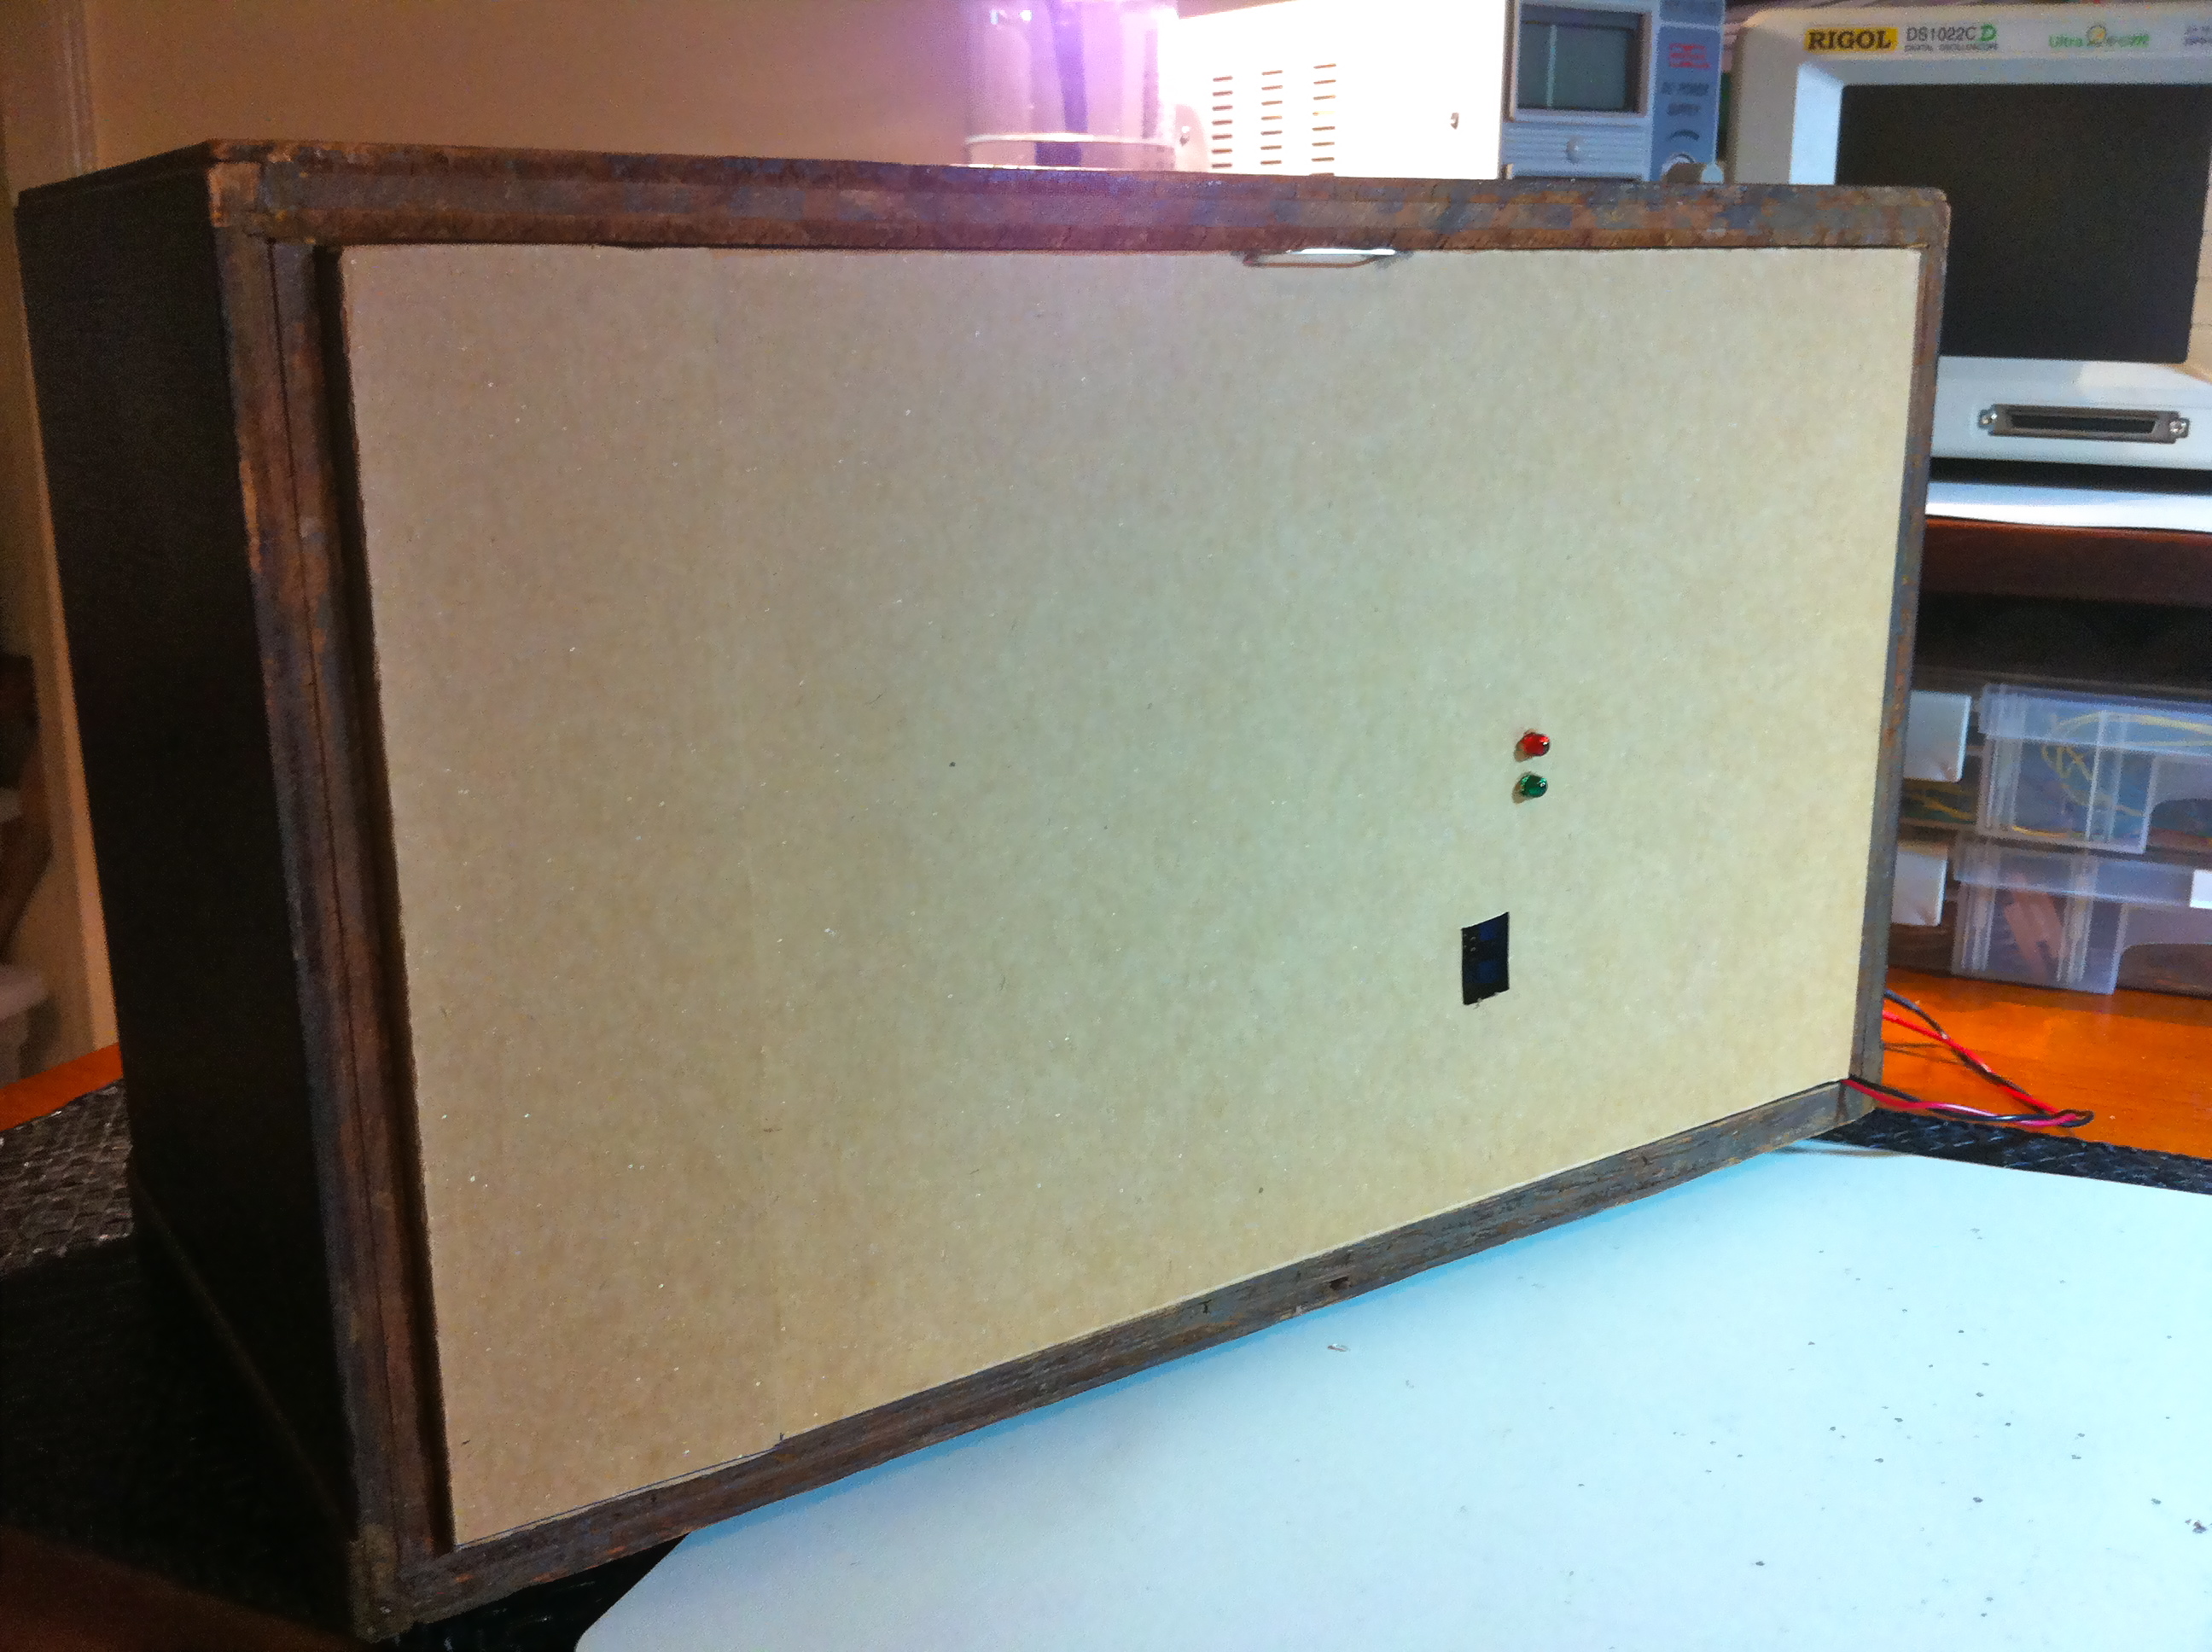
I had some pressed fiberboard left over from my Arcade Control Panel, and it seemed like just the thing. I grabbed some little brass hinges and a closure down at the hardware store, and in short order I had a nice looking, sturdy back. Cut a few holes for the VGA port and power adapter, and we’re good to go.
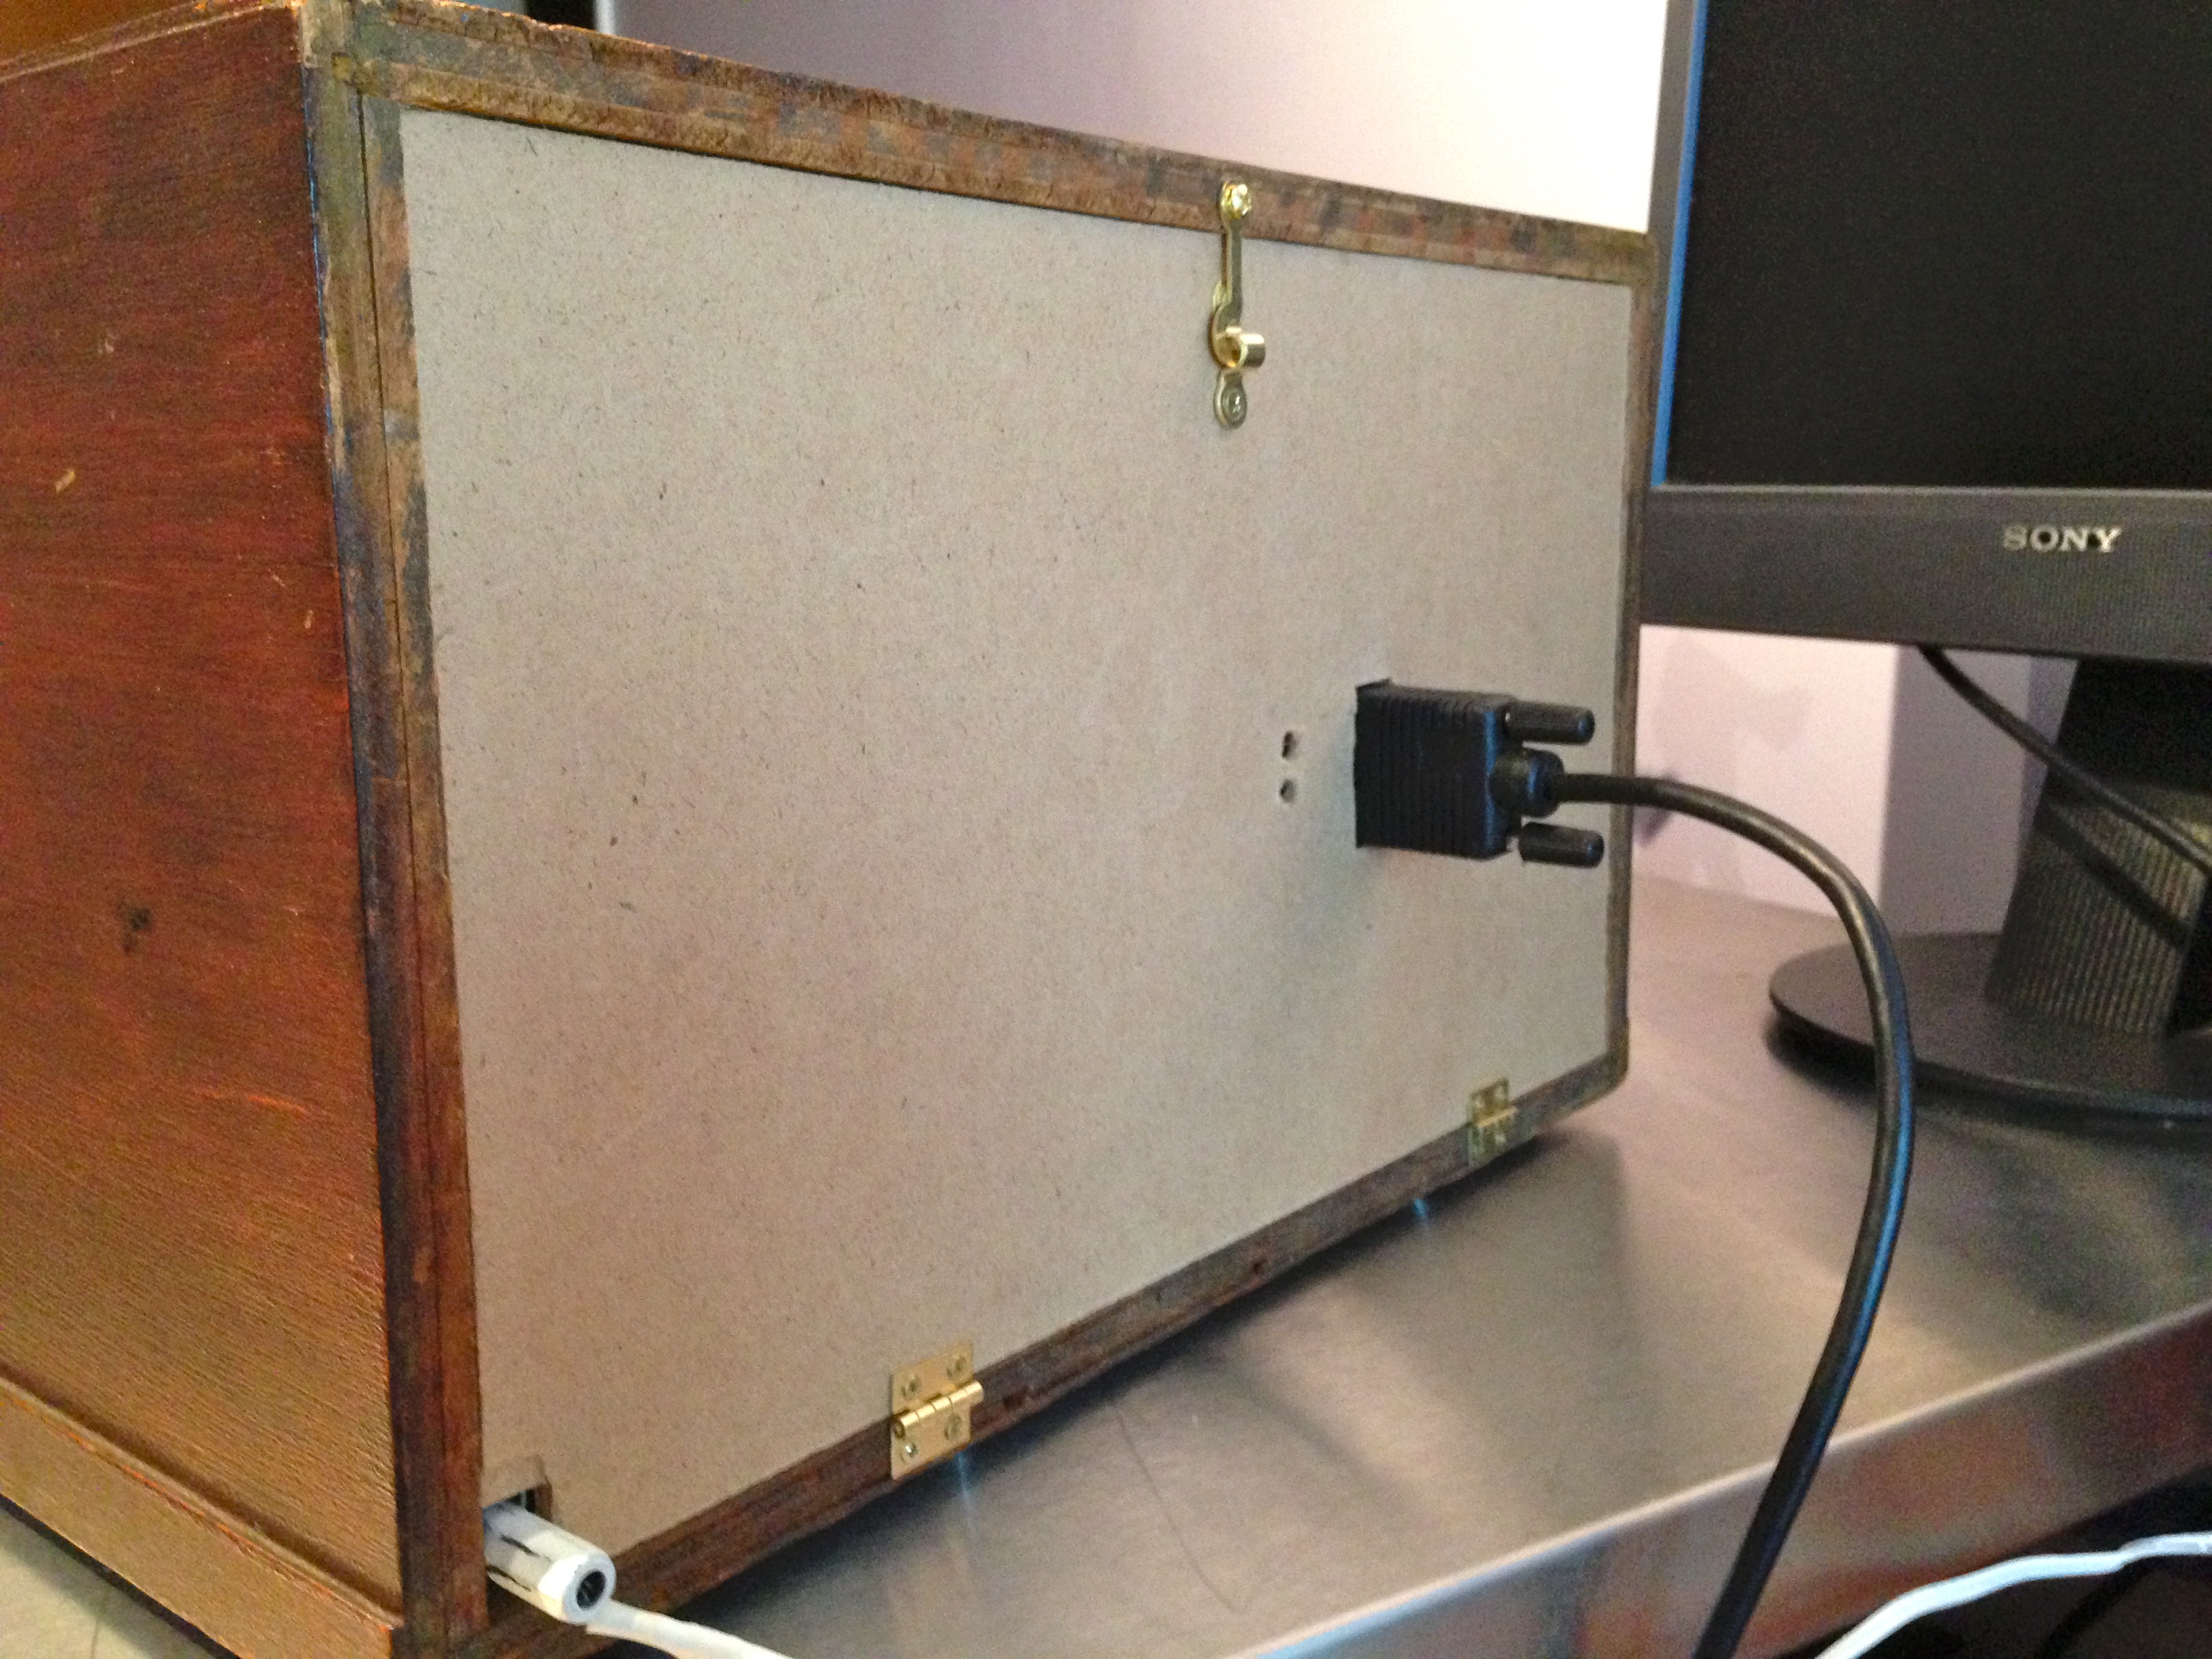
The next thing to do was decouple Veronica from the desk. For the past four (or so?) years, Veronica has been getting juice from my bench supply. She has her own little filtered supply to convert 9-12 volts down to 5V, but she still needs that initial source. Rather than mess with mains voltages and building a full blown power supply (something I probably shouldn’t mess with), I grabbed a 9V wall wart off the junk pile. Since Veronica’s backplane already has power filtering, this worked out great. All that was needed was a barrel jack accessible from the back.
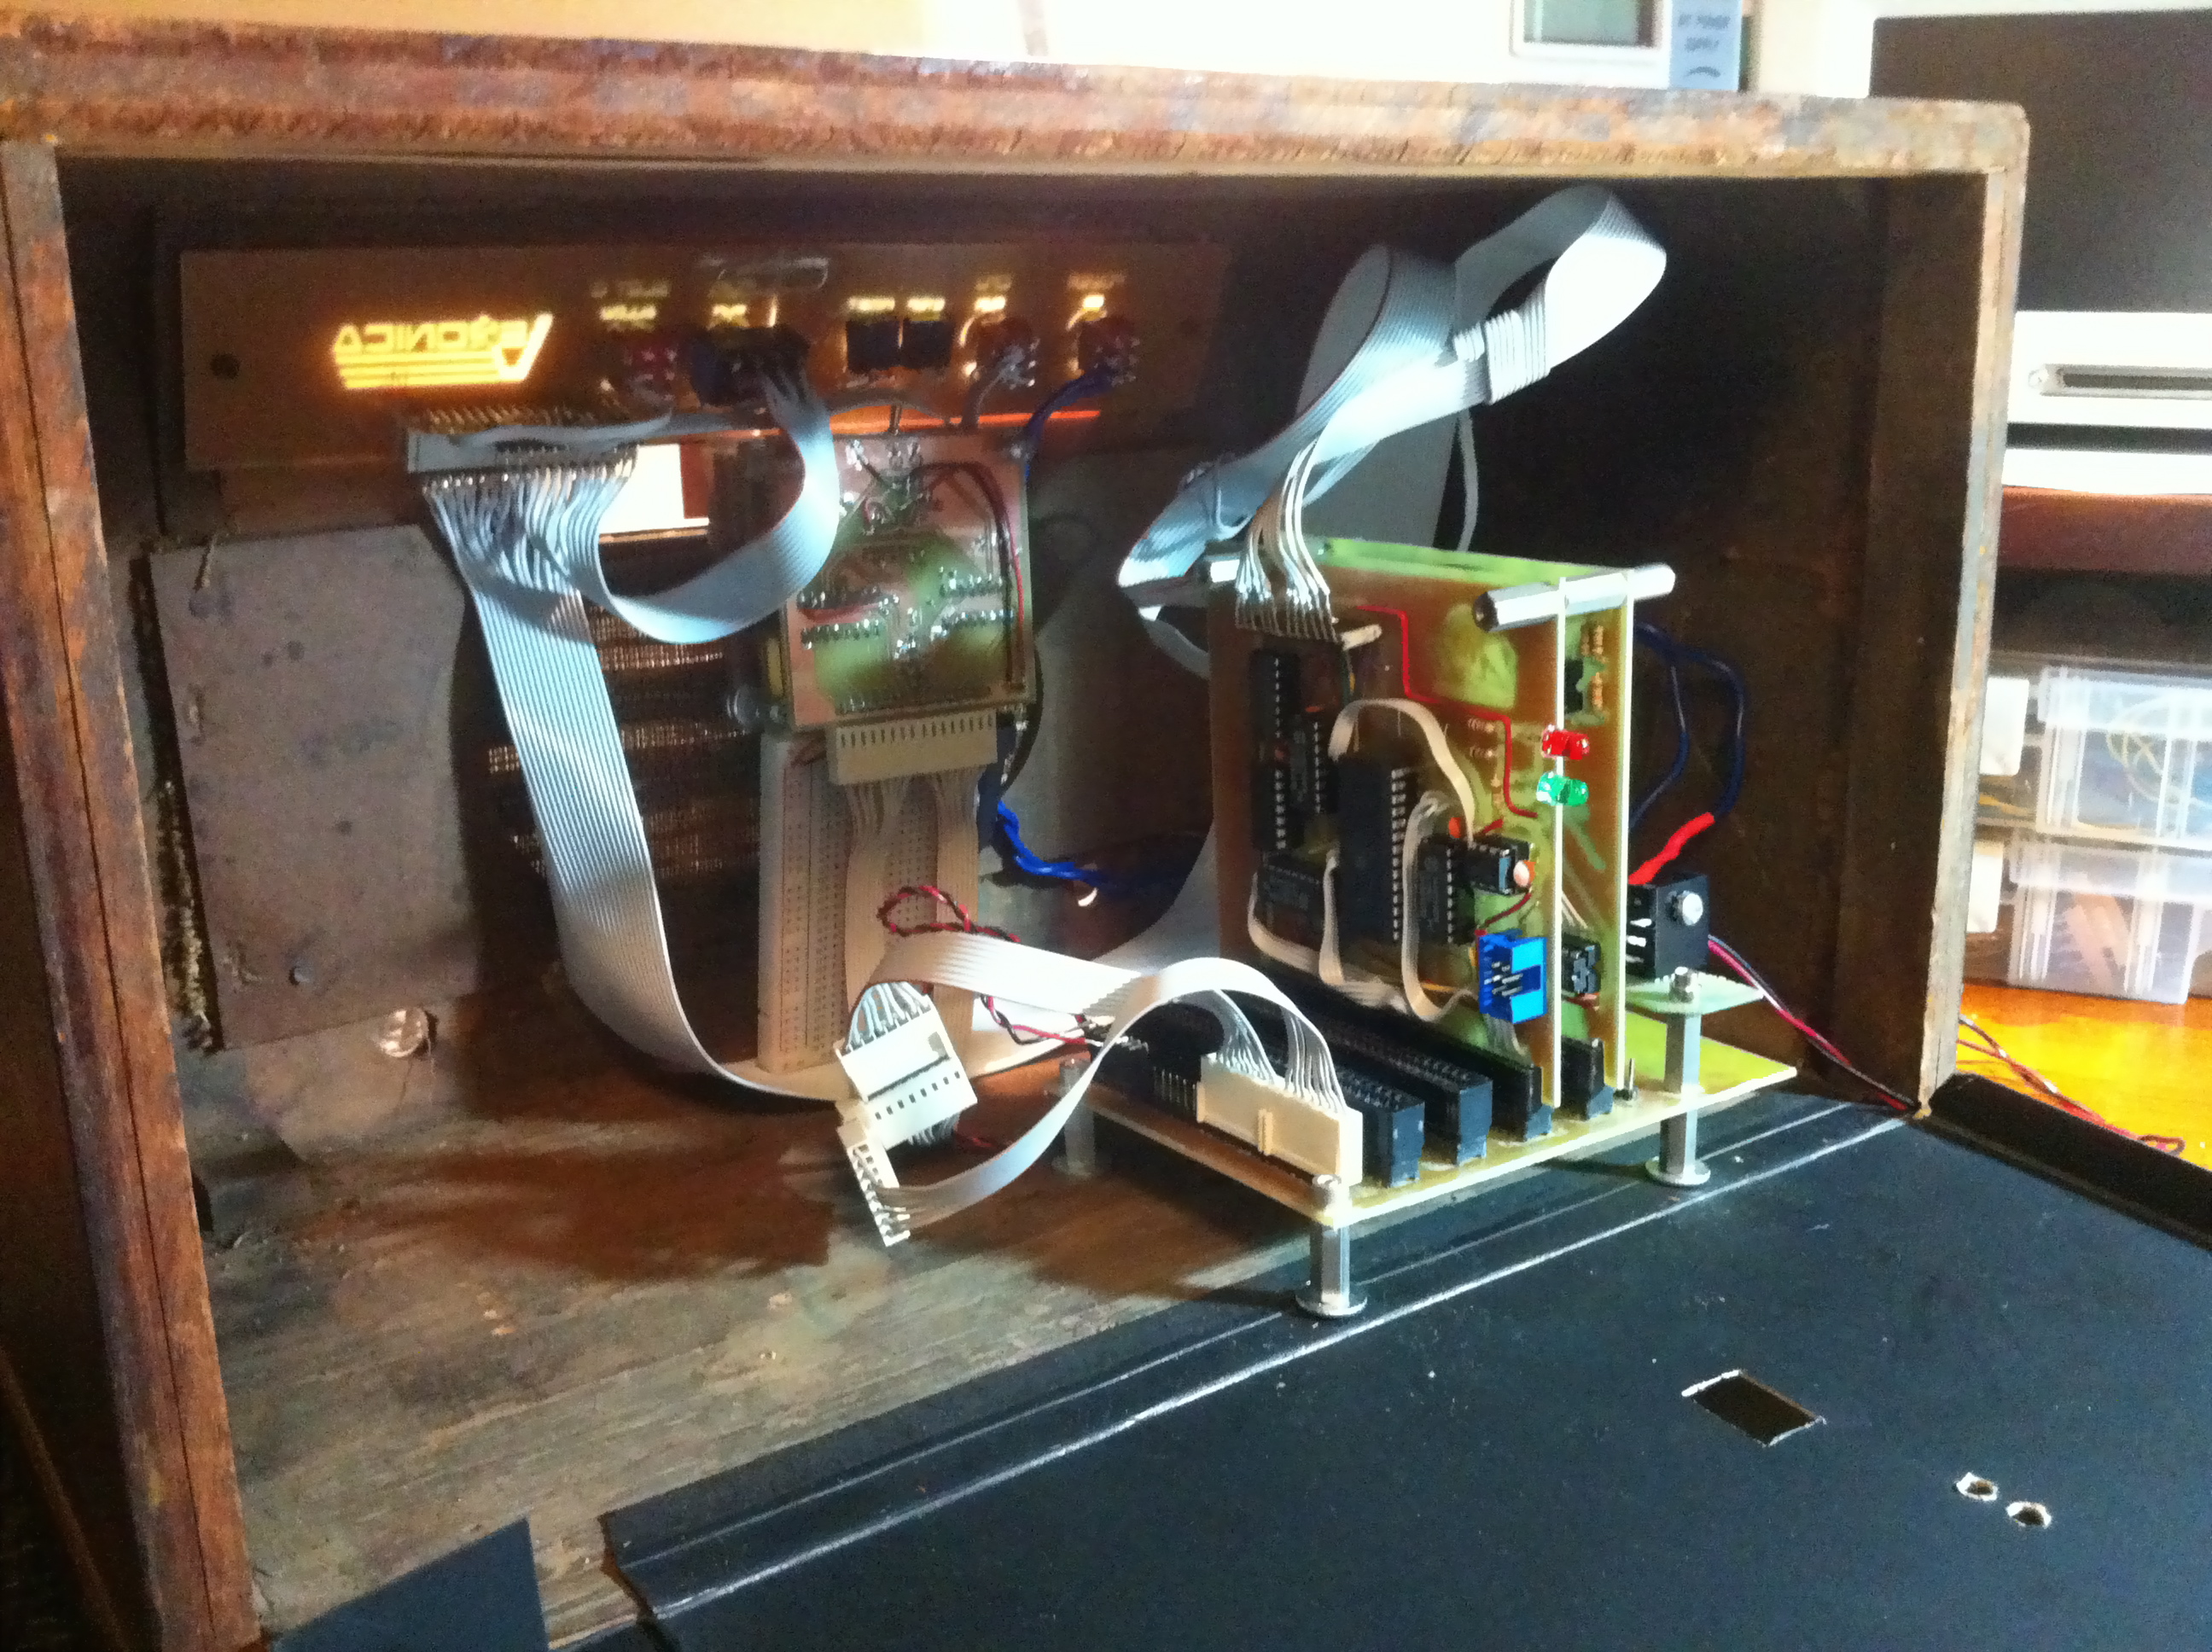
Now let’s go inside. Since the beginning of this enclosure, the backplane has always been held inside with standoffs that sit in holes drilled in the bottom of the case. This worked well for development, but isn’t enough support for the boards during transportation.
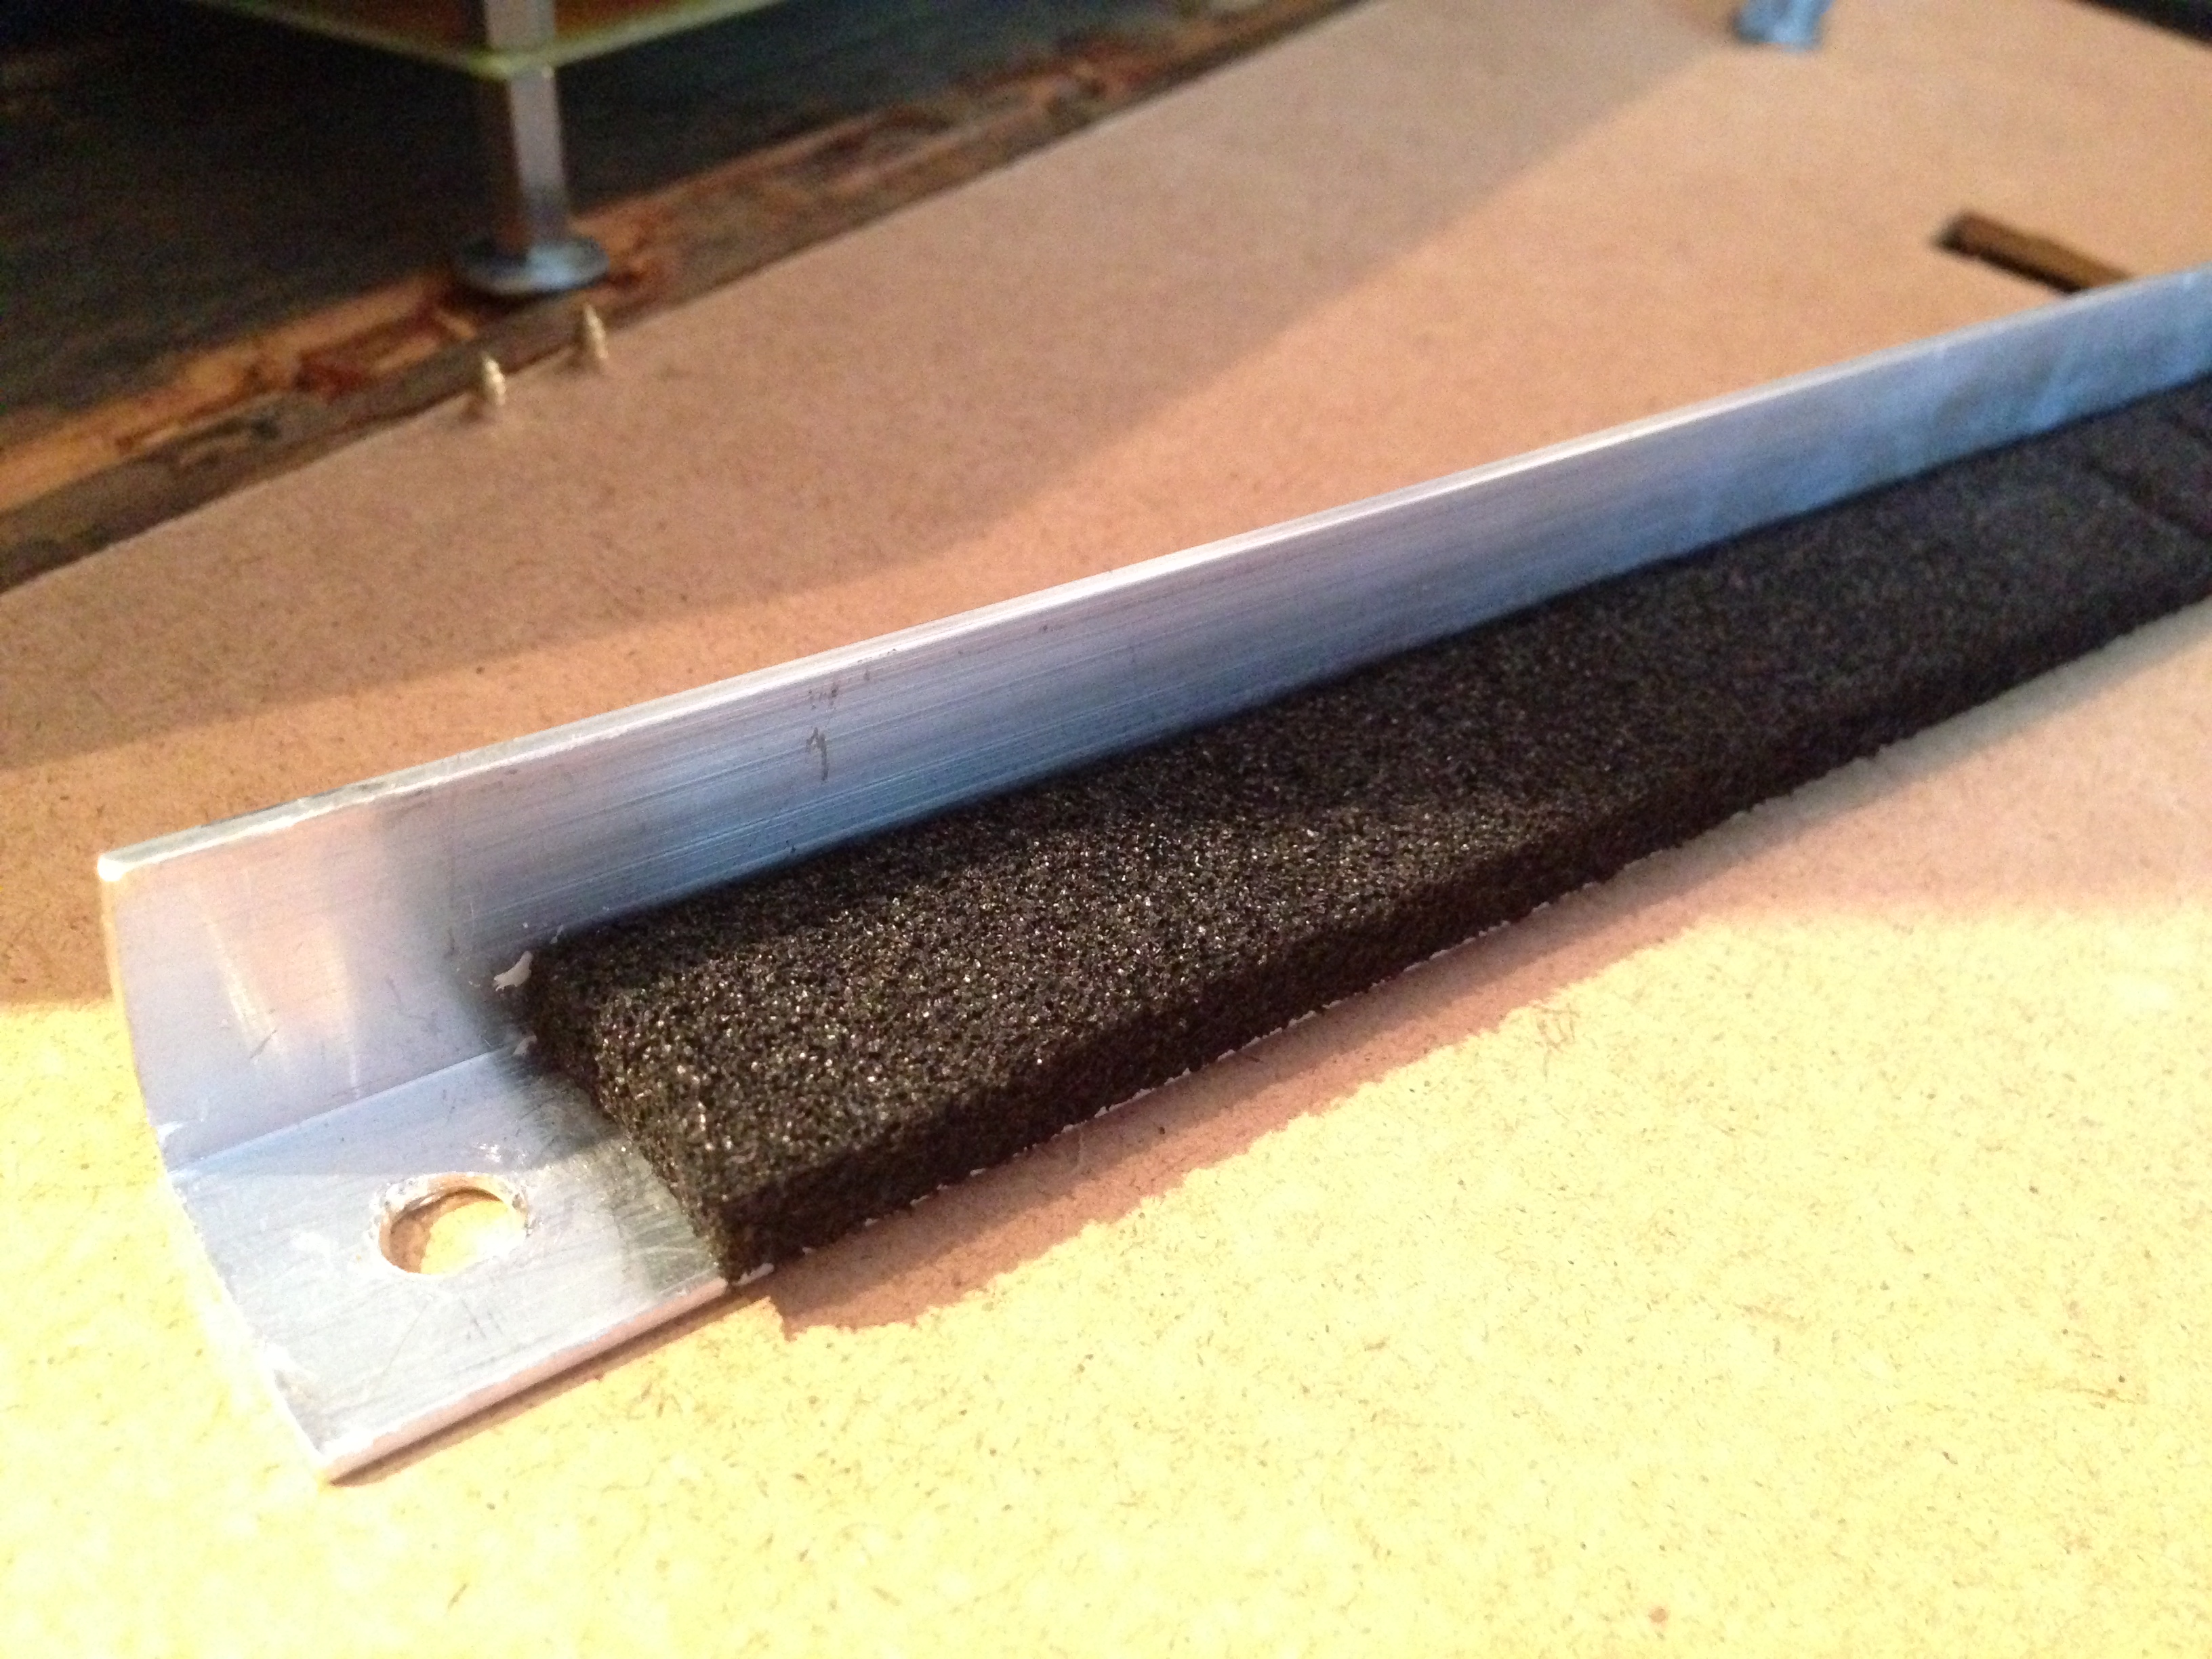
Well, no more messing around with cardboard and friction fit retainers. Time to get serious.
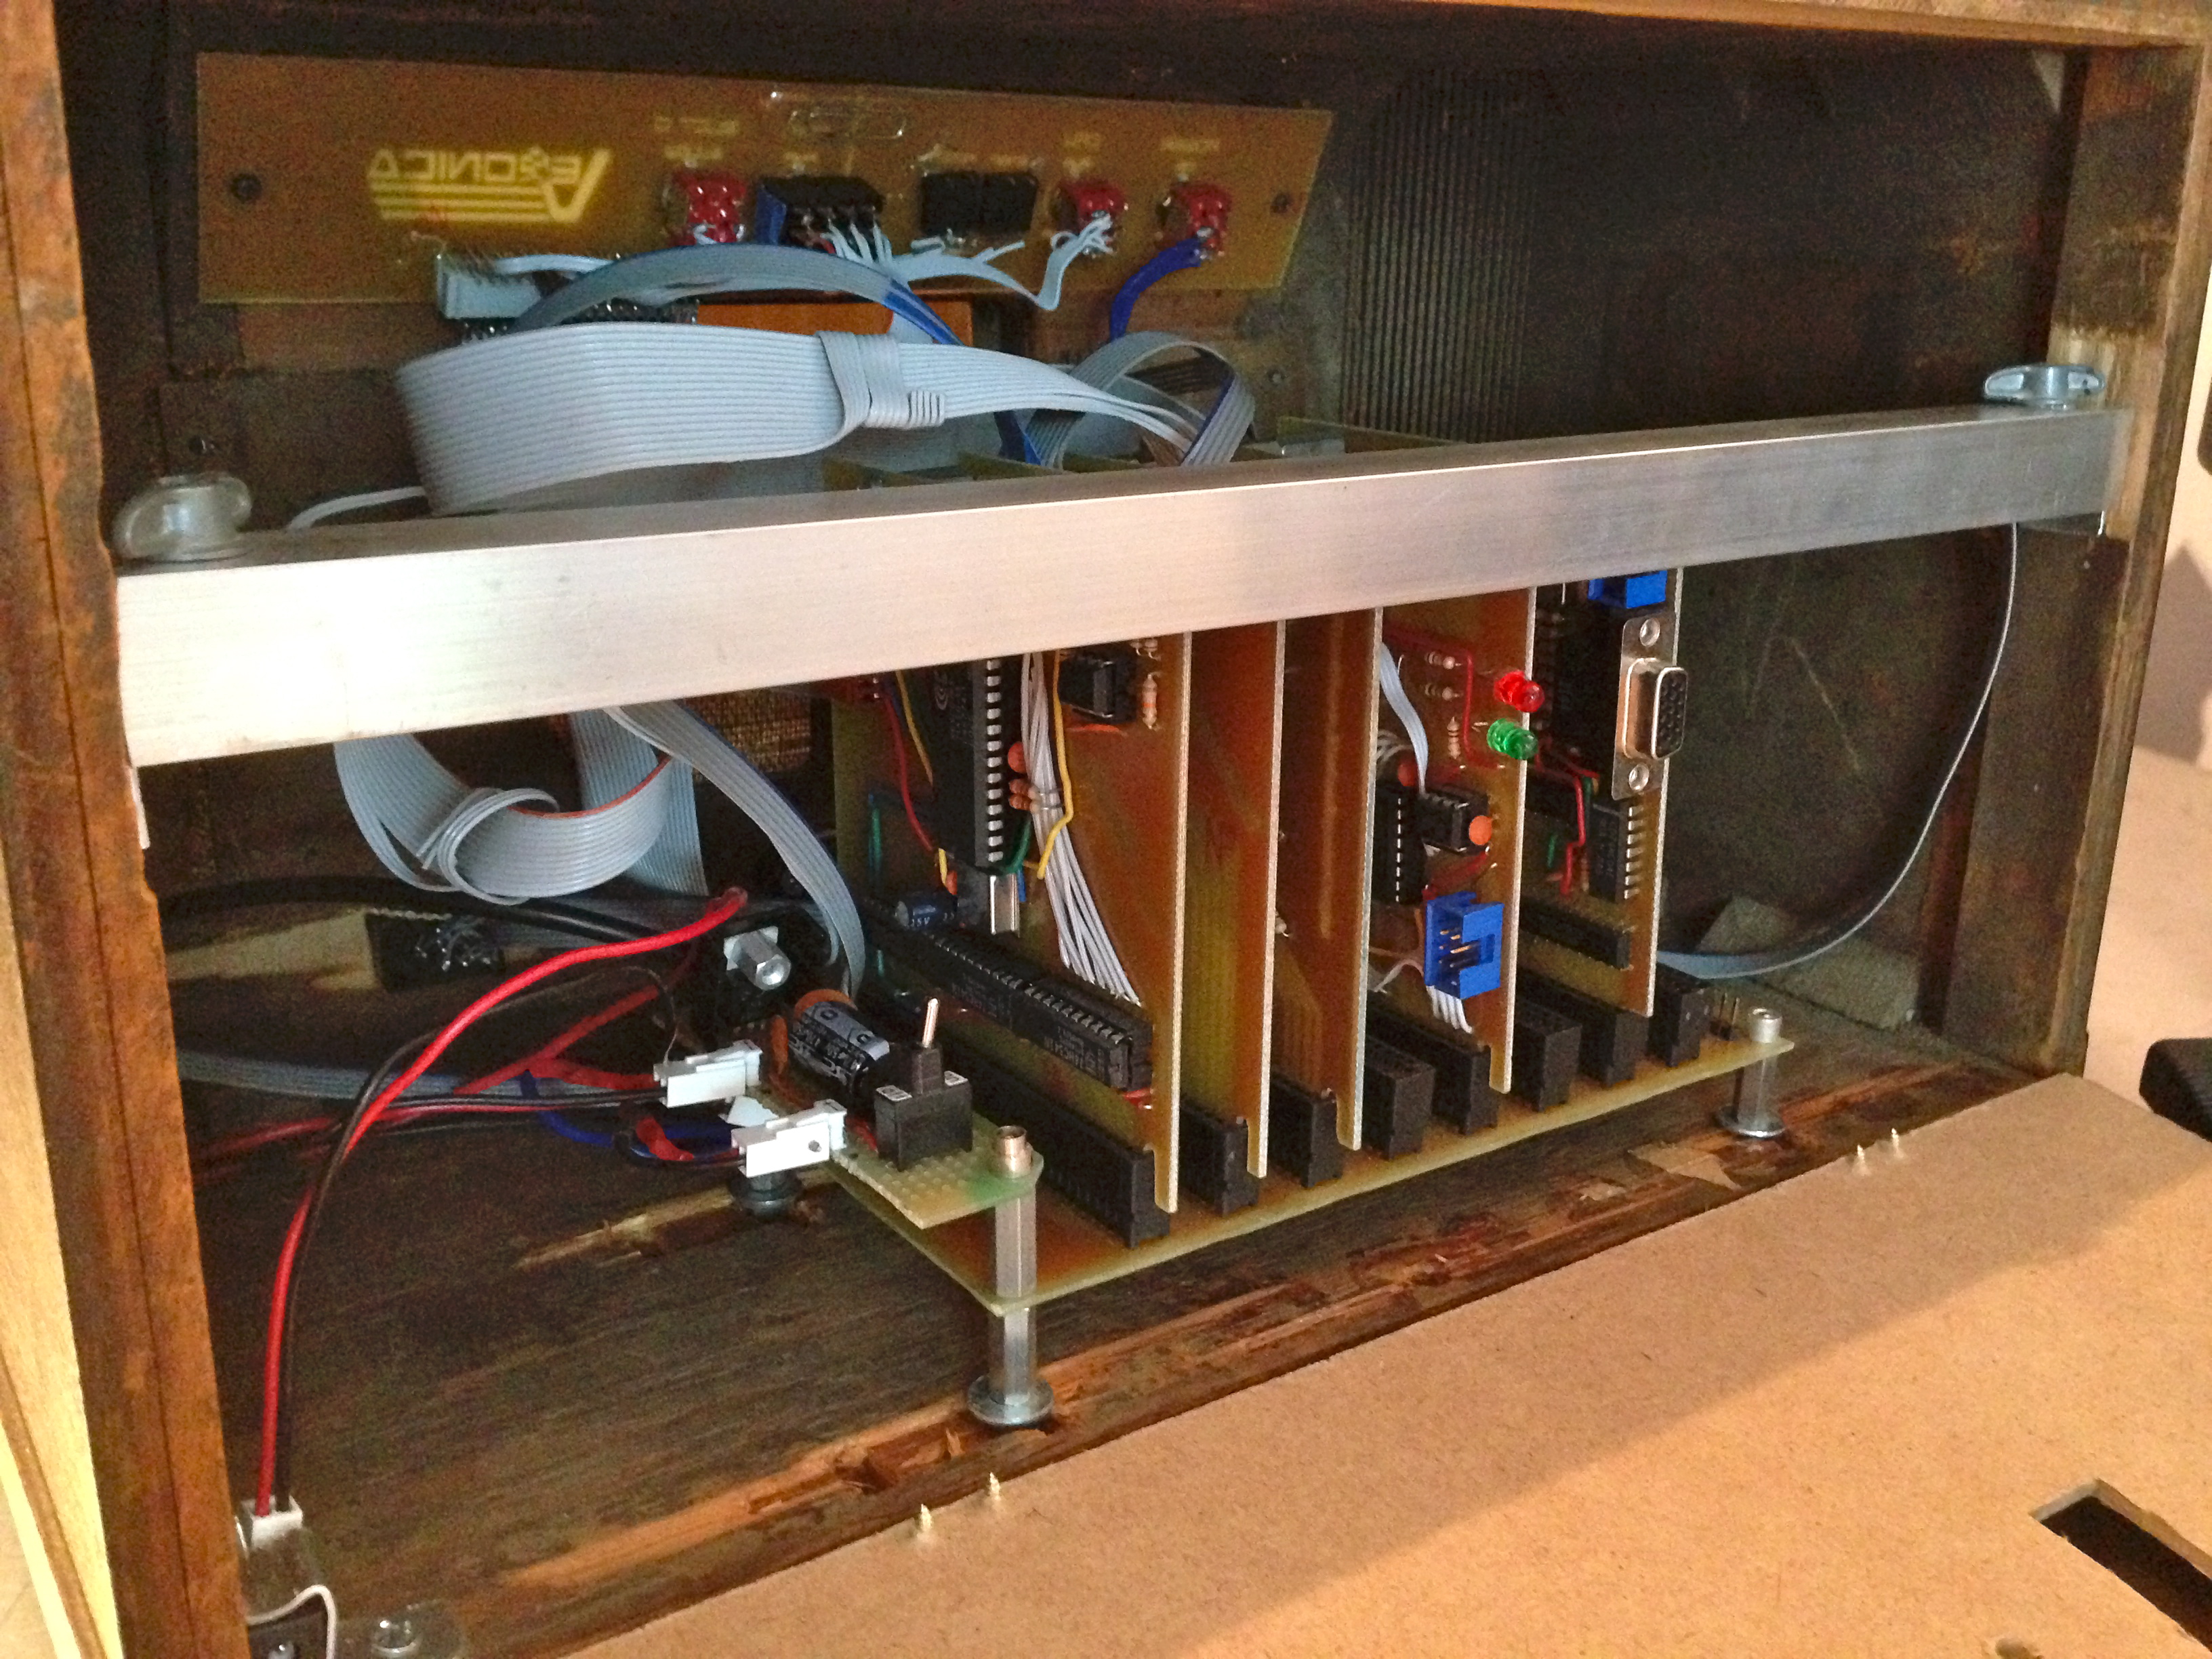
With this new clamping bar in place, the whole machine can be turned upside down with no issues, and the connectors can be plugged in without risk of dislodging the boards from the backplane. It’s held in place with wing nuts, so that it’s easy to remove for access to the boards. The bar also acts as the back-stop for the rear panel when closed.
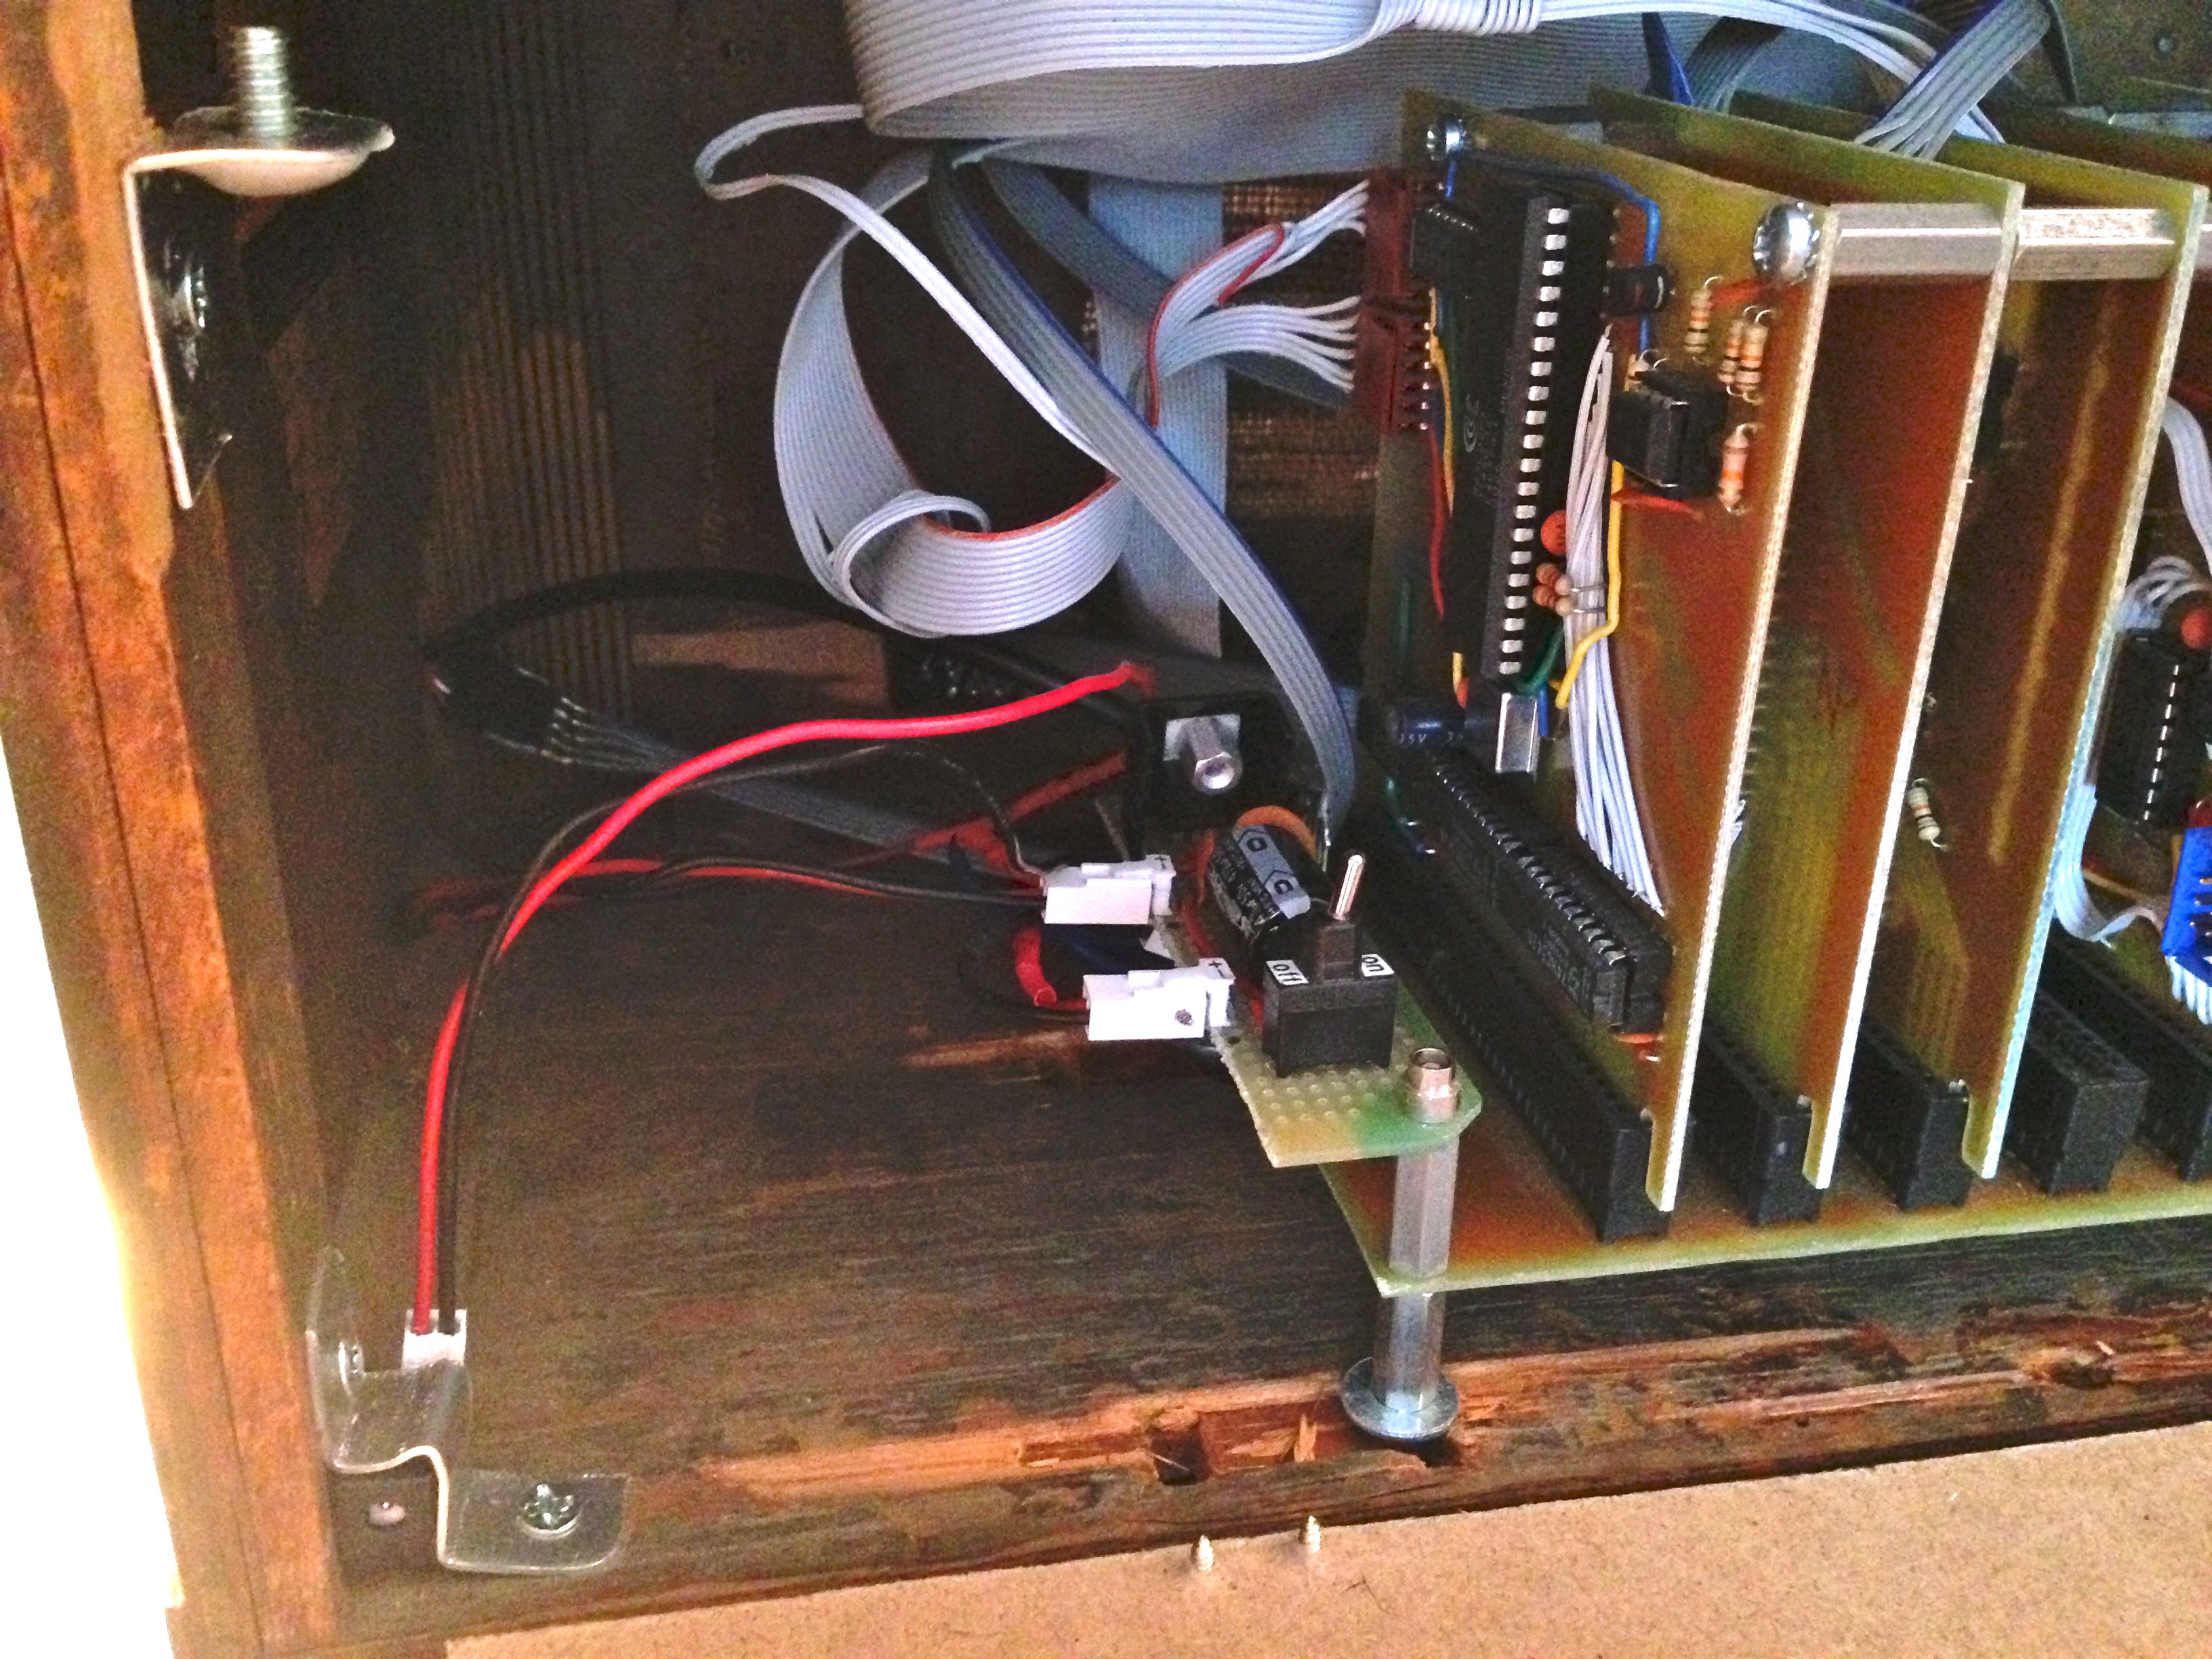
Every connection to the case is connectorized, and all the cables are long enough that Veronica’s board set can be pulled completely out and set beside the case, all while the machine is operational. This is very useful for debugging.
So there you go. Veronica is all dressed up, with no place to go. Where should I take her first?
First thing I’d do is make sure that the antistatic foam doesn’t touch any components at all ever — antistatic foam = conductive foam. Which = smoke, if two or more components that really shouldn’t be in electrical contact with each other, suddenly are in electrical contact with each other.
Simple fix? Cover that foam with electrical tape. Two layers should be just enough overkill 😛
A fair point. The risk is low, because it’s resting on the standoffs between boards, which are all connected to ground. However, a little insurance is a good idea.
But do keep in mind that placing electrical tape (an insulator) over the foam negates the anti-stat ability of the foam! Anything rubbing against the tape will generate static via triboelectric charging. I would leave it as-is. The foam is conductive, but quite high ohmic unless tightly compressed, so you’re not likely to damage anything. The worst that I would expect would be strange operation, in the event a high Z input got coupled to some other node.
If the uninsulated black anti-stat foam is a problem, you might consider switching to the pink foam – it’s static dissapative, but not conductive. Also, you might consider grounding your Al channel, if you’ve not already done so.
Fun stuff here – I’ve enjoyed reading about Veronica and applaud your efforts, especially the additional time and energy you have spent to nicely document everything. Keep up the great work!
-tom
MakerFaire Detroit 2014 is july 26-27 if you’re looking for places to visit!
Yah, after starhawk’s comment, I got curious and tested it. Across the distance between two boards (assuming it touched a component on each), the resistance is about 300k. That’s too high to cause any damage, but low enough that it could cause strange behaviour, particularly in the video circuitry (which has some high speed elements on it). A couple of the boards have tall connectors or other elements on them, and if the standoffs aren’t in place, they can touch an adjacent board. This results in interesting behaviour. 🙂
If I do decide to cover the foam, I won’t use electrical tape, primarily because that shit is gooey and annoying as hell after a couple of weeks. Then it dries out and crumbles away. In my experience working on cars, electrical tape does nothing well. That stuff is an absolute last resort in any situation for me.
I might glue a layer of thin card or something over the foam if it becomes a problem. I would lose the antistatic property of course, but it’s glued on, so there’s no point in scraping it off and trying to save it anyway.
Grounding the retainer bar is probably a good idea as well.
Where should I take her first? Well, come in Toulouse and show us Veronica at the Toulouse Hacker Space Factory http://thsf.tetalab.org/2014/ and http://cfp.tetalab.org/en/thsf2014/cfp/session/new for more informations.
Come to Retro Rio! We hold it every August.
Pics of 2013: https://picasaweb.google.com/109345699838454178536/RetroRio2013
Video: http://www.youtube.com/watch?v=MZSc0oErz6E