Wherein the huge workbench is determined to be insufficiently huge.
While it’s true that Furiosa’s Workbench is a beastly thing and should be plenty large enough for any sane home shop, I’ve been finding myself wishing I had a little more room in that area. Because the bench is tucked into one corner, much of the work area is somewhat inaccessible. This is due partly to the rolling machinist’s cabinet I have sitting next to it.
I adore that cabinet. It was left behind by the previous owner of Blondihacks Galactic Headquarters, and it’s the sort of quality shop cabinet that is hard to find nowadays. It dates from sometime in the 1940s or 50s, I believe, judging by the hardware. The handles are brass, the drawers pull all the way out and lock open on steel rollers, and it rolls on spring-loaded steel caster wheels. It’s so imminently useful that I wouldn’t think of getting rid of it. However, it is blocking part of my work surface, and there’s nowhere else to put it in the shop. My shop may look spacious in these photos, but it has to hold two cars most of the time, so there’s really not an inch to spare in there.
After studying the situation for a while, it occurred to me that I could probably build an extension to the workbench over top of the cabinet. This would give me more work area, without sacrificing the placement of the cabinet. I could also still roll the cabinet out from underneath if I need access to it elsewhere in the shop (which I often do for larger projects).
The idea then is to make Furiosa’s Workbench into an L shape. However, an L-shape is a rather difficult thing to get level (and move!), so I wanted to keep the two pieces relatively independent. However I didn’t want to take up a lot of space with additional legs (which would also block access to the shelf under the main bench). My solution was to build a “wing” that stands on two legs, but the shared edge is suspended from under the top of the main bench on adjustment bolts. That way the bench pieces are all rigidly attached, but can be independently leveled. The shared edge of the extension bench would have an angle-iron profile that would provide a lip that sticks under the edge of the main bench, and has holes for the adjustment bolts. These bolts are welded to the main bench. The outboard legs on the wing will have adjustable feet just like the main bench, and thus all four corners are adjustable. This seems crazy enough to work!
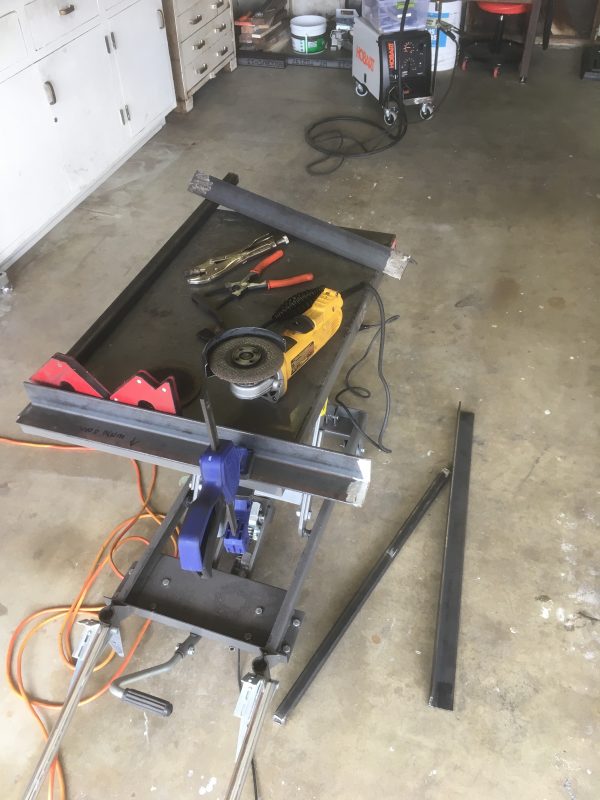
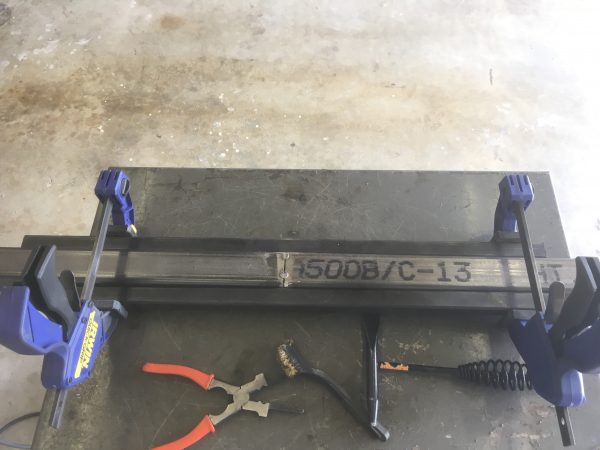
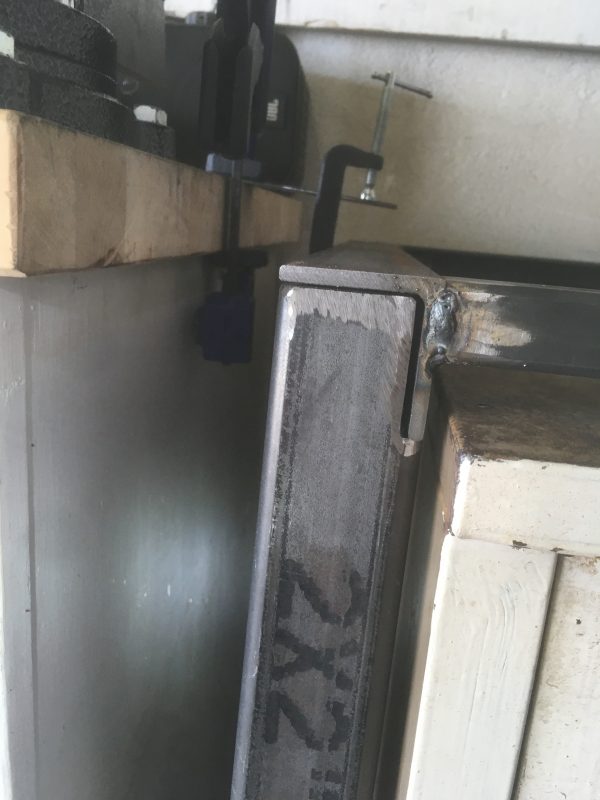
The clearance between the cabinet top and the bench top is only a little over 1″, so the 2″ tube I used to build the main bench will not fit. I opted to use 1″ tube of the same wall thickness. That’s still plenty strong, and the run is much shorter anyway. I planned to use 2″ angle iron for the sides because I had a ton left over from the main workbench. I thought I had enough 2″ square tube for the outboard legs, so no problem there.
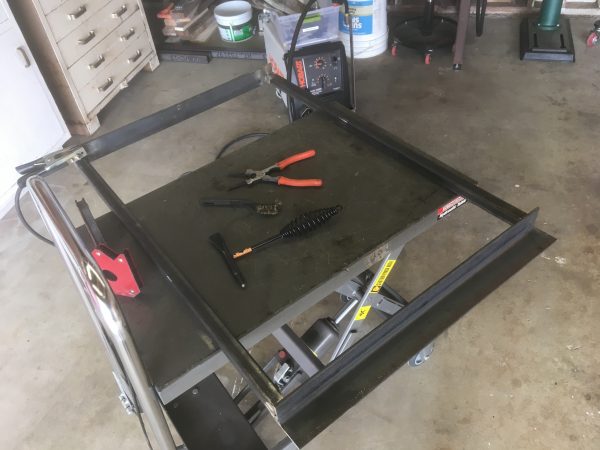
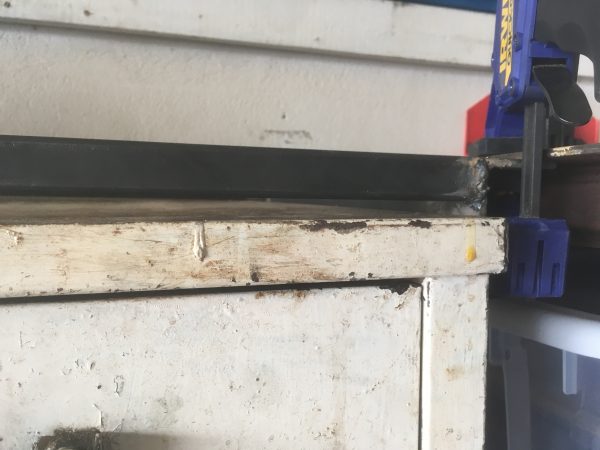
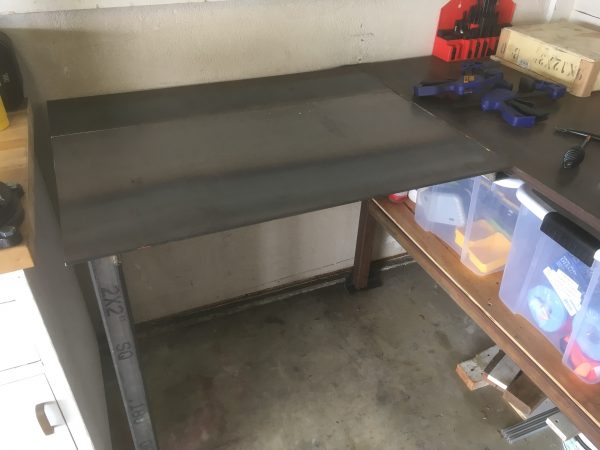
Looking good so far, right? Well, most of the decisions shown in the photo above would turn out to be incorrect, but at least the project was underway. Gotta start somewhere! This project was less simple than it seemed, so I fooled myself into thinking I didn’t need a drawing. I thought I could “just bang this out quick”. My life experience suggests I should never think that.
In any case, I did a test fit with this first mockup.
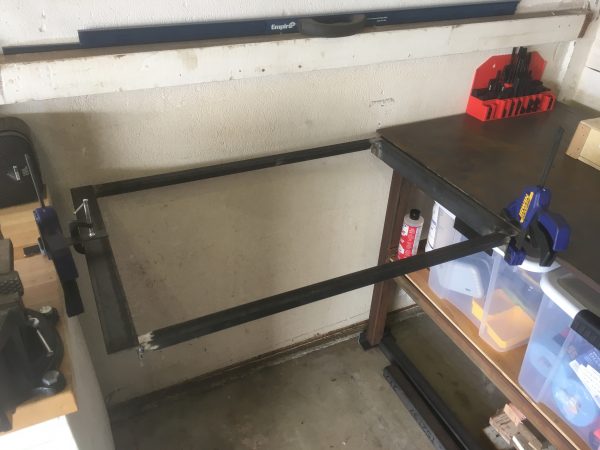
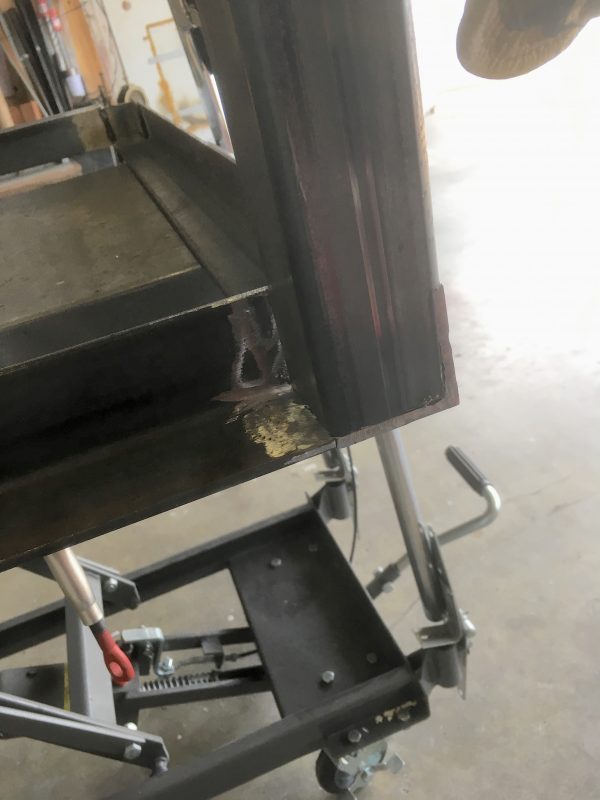
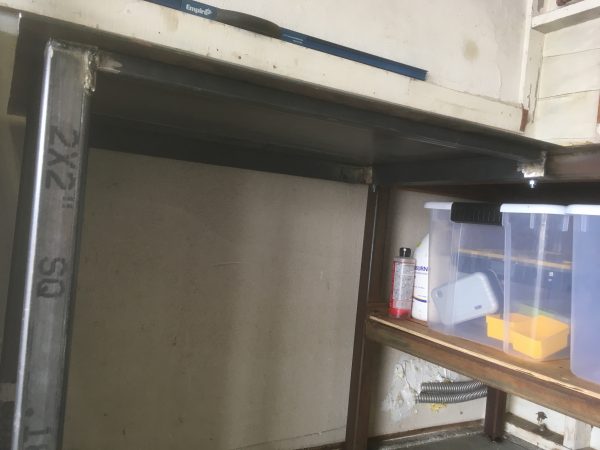
I carefully leveled the frame in this position using adjustable clamps to make sure it was all going to work. Things were looking pretty good, so I tried rolling the cabinet into what would be its future home.
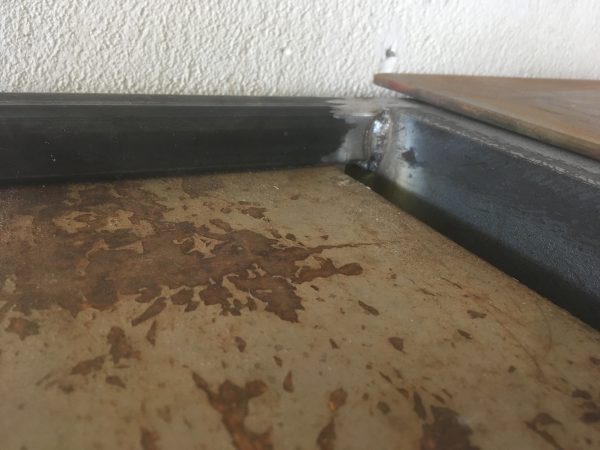
For some reason, the front has ample clearance, but the back is dragging. How could this be? The frame is level, so either the floor is not, or the cabinet is not. Let’s see where the problem lies.
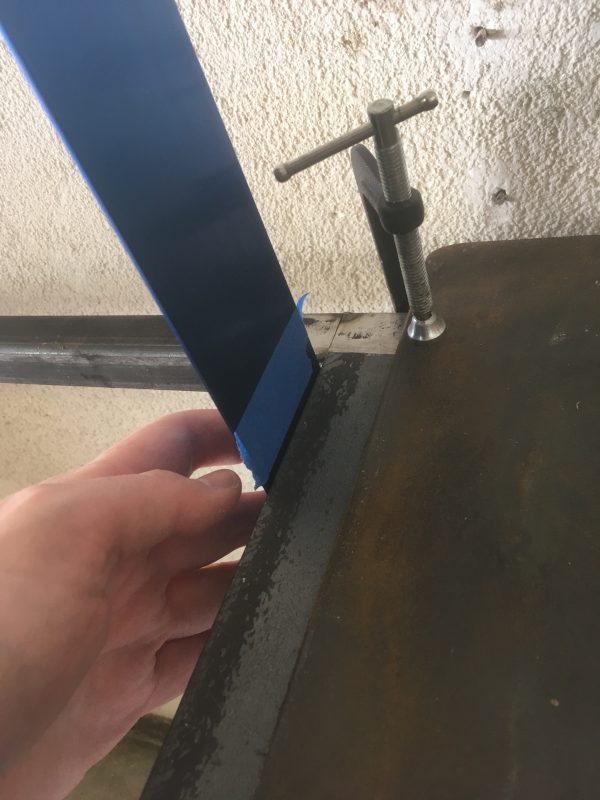
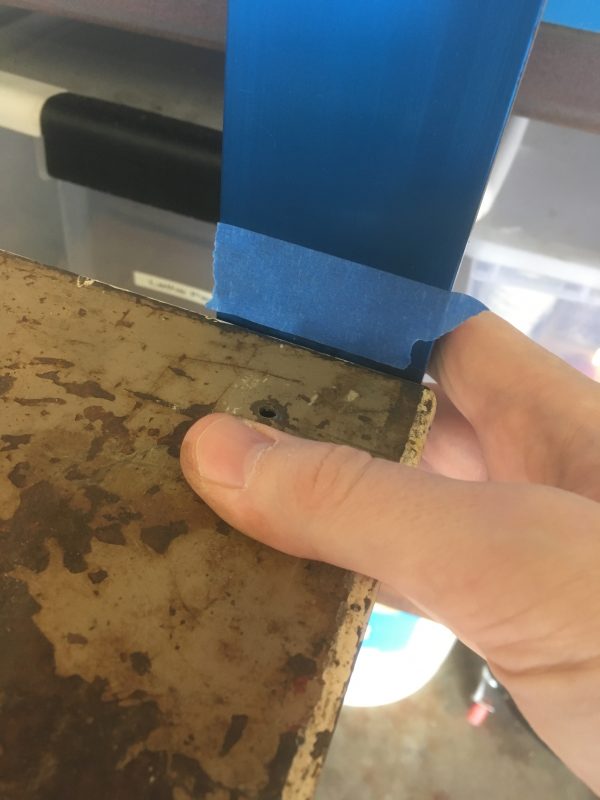
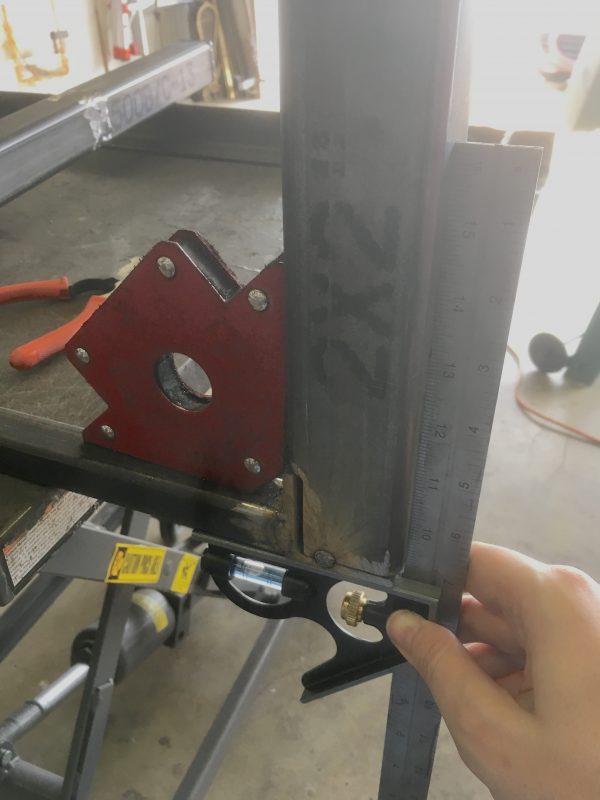
I certainly didn’t expect the floor to be level, but it’s more out-of-level than I hoped. The discrepancy shown there by the tape doesn’t account for the entire problem though. There must be more going on.
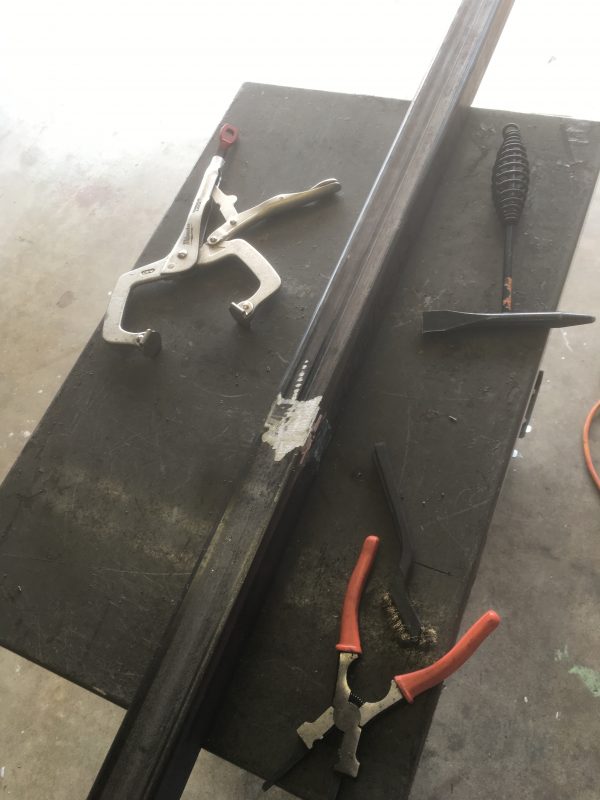
In any case, a solution was needed. There wasn’t room in the back for 1″ tubing, and I couldn’t go any smaller. What to do? After much mulling, I realized I could replace the rear square tube with angle iron that would sit behind the back of the cabinet. It would probably be even stronger, as well. It was around this time that I realized the aforementioned hanger-bolt-lip was upside down, so it was pretty clear most of my frame had to come apart. For some reason I had chosen to fully weld up the frame before doing these final tests with the cabinet, so now I had some rework to do.
The rear tube got replaced with angle iron, and the side frame was flipped over, and everything was tacked back together again.
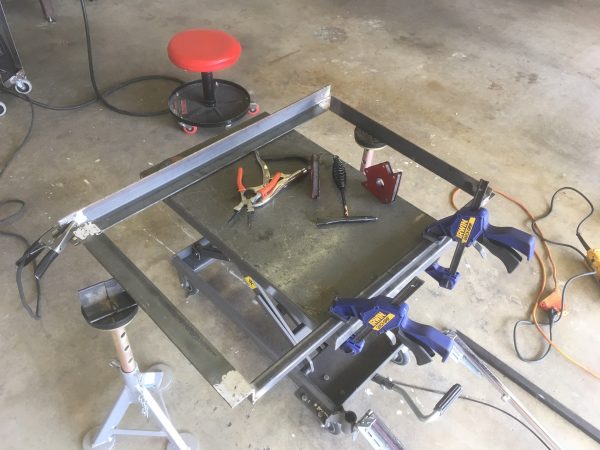
I now felt good about welding it all up again. I massaged my bruised pride, checked my hubris at the door, and got back to work finishing the structure.
During weld-up, the frame started to acquire a twist. This is not uncommon in metalwork, especially when your “welding table” is a Harbor Freight dolly cart-thing that cost less than a good bottle of whiskey.
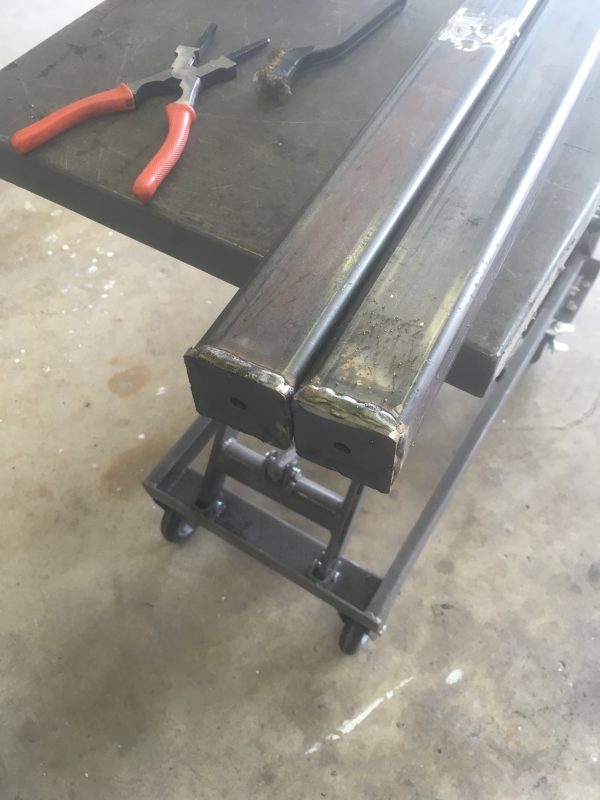
Now we were ready for some legs! I knew I had a bunch of the 2″ heavy wall square tubing left over from Furiosa’s Workbench, so I grabbed that. Unfortunately, I had less than I thought, and I didn’t have sufficient uncut pieces for two legs. Rather than wait until the metal yard is open on a weekday, I decided to make due. The nice thing about metalwork is that everything is reversible! I had enough material for one complete leg, and two pieces that could be joined for the other.
For the feet, I opted for the same system as used on the main workbench. Squares of 3/16″ steel are drilled and tapped for grade-8 M10 bolts, and then those plates are welded to the bottoms of the tubes. This makes for quick and easy leveling feet.
Mounting these legs turned out to be a kerfuffle. With all my reckless use of angle iron, I never stopped to think how I was going to mount the legs. This whole project would have gone a lot smoother if I had put half the planning into it that I did for Furiosa’s Workbench. Oh well, we’ve come this far. Press on!
The issue is that neither corner where the legs mount has a flat surface. Because angle iron. Gah. I needed to make cutouts in the legs for the profile of the angle iron frame to seat into. Either that or cut and weld in a lot of little pieces to make a flat mounting surface. To me, that seemed like a lot more work and more error-prone than relief cuts.
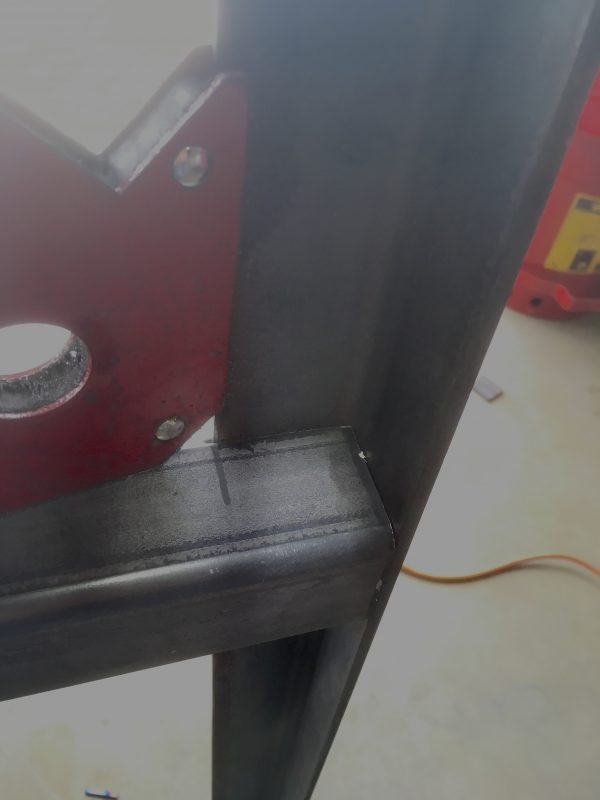
The rear was even worse, because two pieces of angle iron were meeting at 90° here. I needed a relief cut of that profile on two sides.
With the legs fitted to the corners, I could now mount them up. This would turn out to be pretty challenging. All those relief cuts introduced a lot of sources of error, and it was very difficult to get the legs square and true. These legs are also very heavy, so it was tricky to square them up and hold them in place for welding if they don’t have a flat surface they can sit square on.
I won’t claim I got both legs especially square, but they will do the job, and are certainly strong.
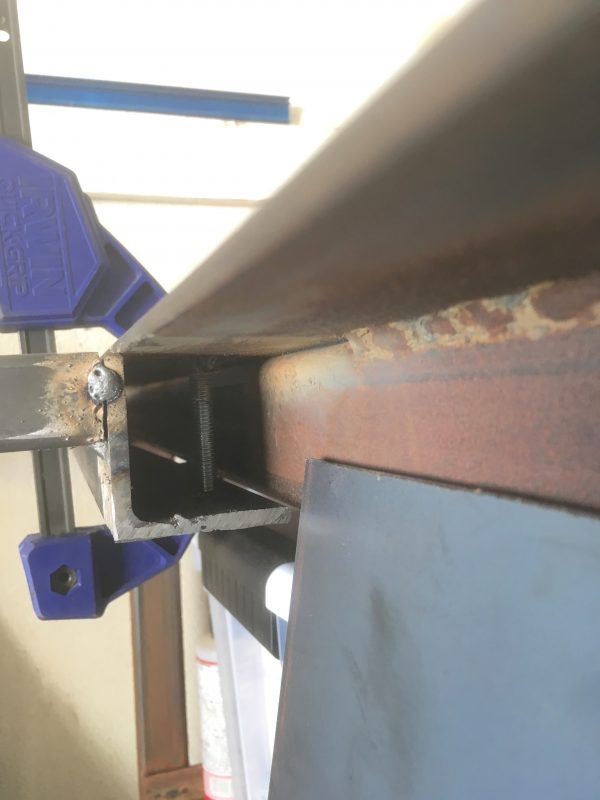
With the legs in place, it’s time for the inboard mounting system. As stated before, the idea is to have a lip that sticks out under the top of the main bench, with a gap in between. There will be bolts welded to the main bench, and the extension is hung from these bolts. This provides a solid connection, while still being adjustable.
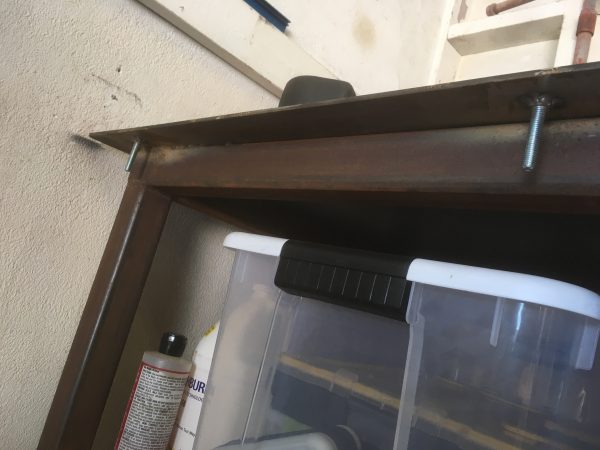
You may have noticed that I said “two inch” bolts there. Does that throw any red flags for you? It didn’t for me, but it should have. What’s the mounting lip made of? Two-inch angle iron. See a problem, here?
It took some finesse to cut those old bolts off there and weld on longer ones, but I managed to do so. With that done, I was finally ready for the top. I wanted to use up the scraps I had from the utterly titanic 4’x8′ 3/16″ steel plate I ordered for the top of the main workbench. That thing weighed in at around 250lbs, but the vast majority went into the main bench. I had a long strip about 18″ wide left over. This was not wide enough for the entire extension bench, so I was going to have to have two pieces. The only question was whether to have the seam run lengthwise or crosswise. Crosswise might make things slightly stronger and more symmetrical, but it would also make the seam very visible and put it in an annoying place. I agonized over this for a while, but opted to run the seam lengthwise.
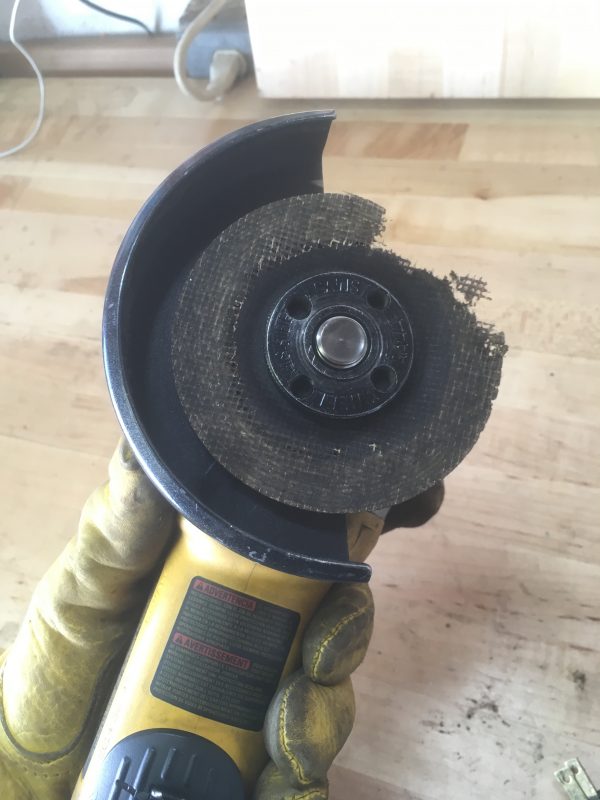
Cutting steel that heavy without a plasma torch is no picnic, but at least I didn’t have nearly the scale of job as last time. These cuts where fairly short, although (it turns out) fraught with peril.
With the pieces cut, I did a final test-fit of everything.
I then got down underneath and carefully tacked everything in place. I didn’t want to do the full weld-up working upside down under the bench, so these were just tacks to hold the top in position. I then disconnected the bench, flipped it back over on the ground, and welded everything up. Similar to the main bench, I only did 4-6″ seams every 12-14″, to avoid warping the top with too much differential heat.
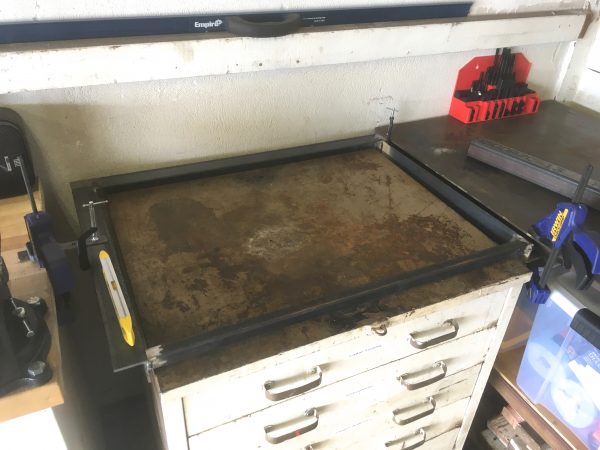
At this point I needed to make a call on a surface finish. With the main bench, I had gone over the whole thing with JAX metal blackener. I don’t really like painting things, and I didn’t want the top surface to be painted. Painted surfaces chip, scratch, and are otherwise unpleasant to work on. I needed to do something to prevent rust, and JAX seemed like a great option. Well, it didn’t work out well in the long run. You have to use a *lot* of JAX to get a good result, and on something the size of that workbench, it was impossible to do a decent job. The blackening didn’t hold and the original bench has started to rust (as you can see in the photos above)
I decided to paint the legs on this extension, and figured I might as well paint the main bench while I had all the stuff out. I needed to get rid of the rust on the old bench, but I really didn’t want to do any kind of mechanical removal, because the lathe is sitting right there. A cloud of rusty grit particles in the air is pretty much the worst possible thing for a machine tool. This was a job for chemicals.
I had heard good things about Evaporust, so I gave that a try. For large things that can’t be soaked, they recommend wrapping the item in paper towels soaked with the stuff, then wrapping that with plastic to keep it wet. I tried that, but I didn’t find it worked well at all (and made a big mess). Weirdly, what did work pretty well was simply painting the stuff on and leaving it until it dried. I repeated that process a couple of times. That got rid of the worst of the rust, and Rustoleum paint over top worked great. If I had it to do over, I might use a dedicated rust-removing primer, like Rust Doctor or Rustoleum Rusty Metal Primer.
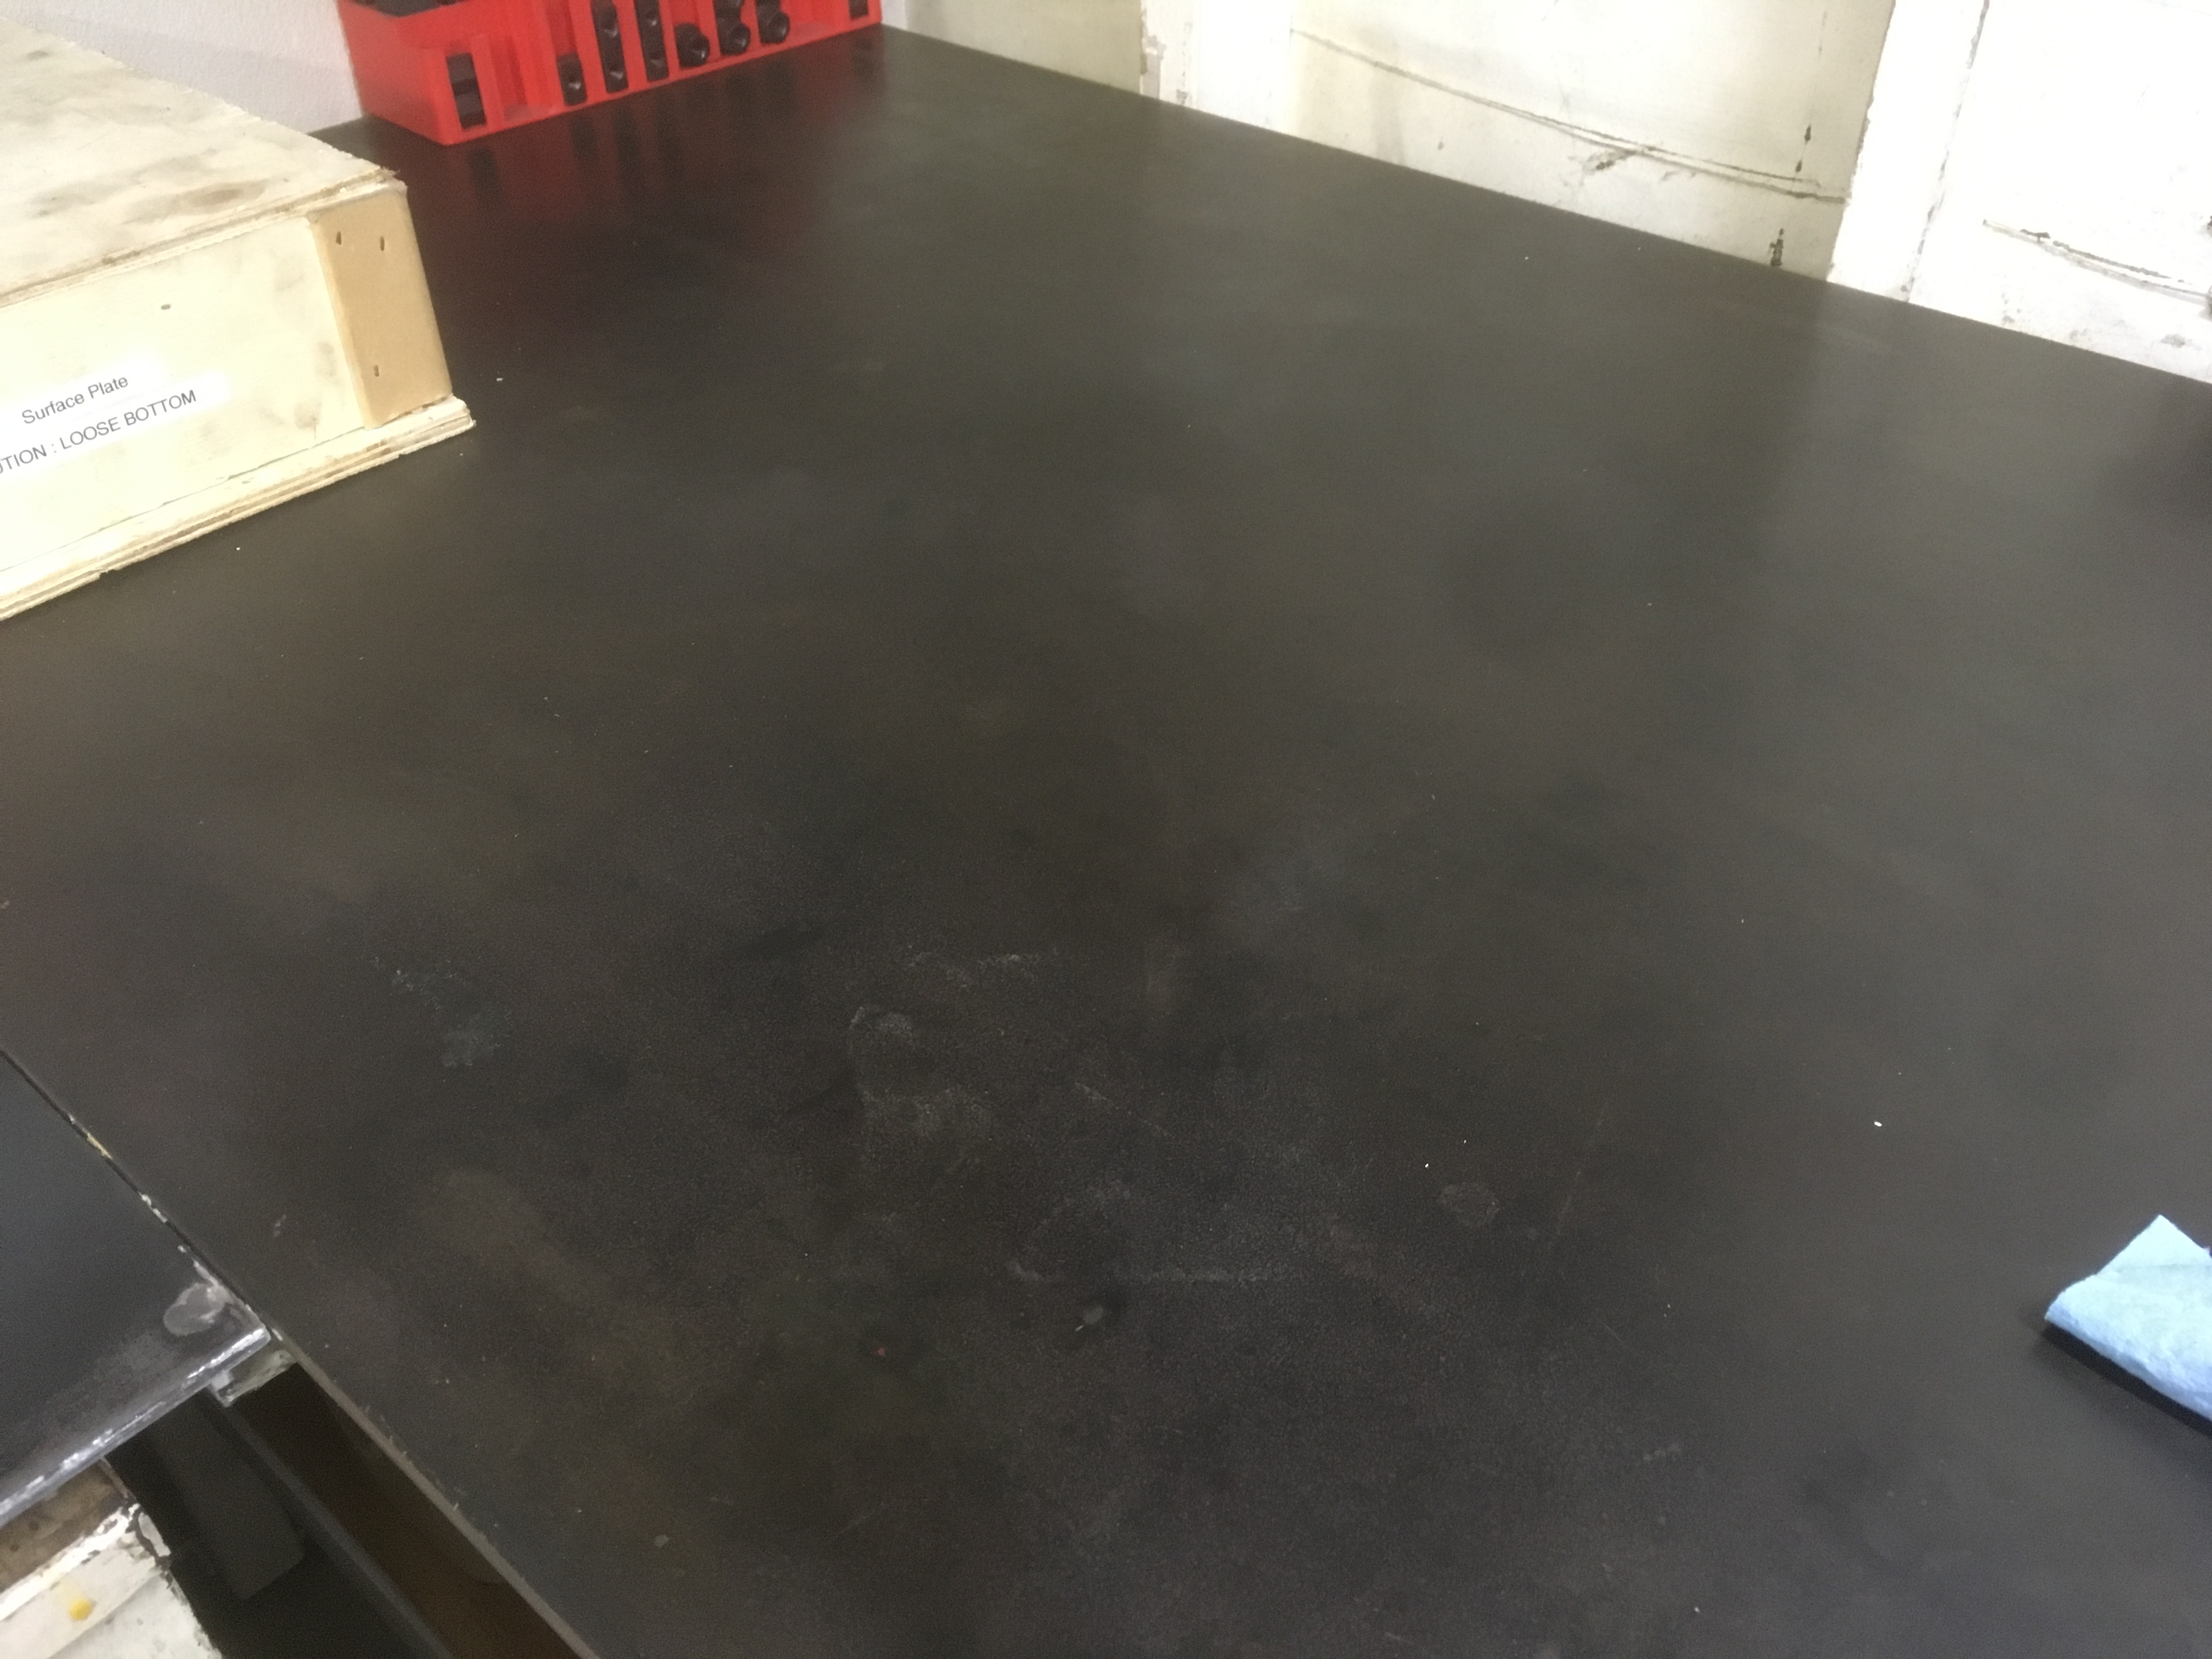
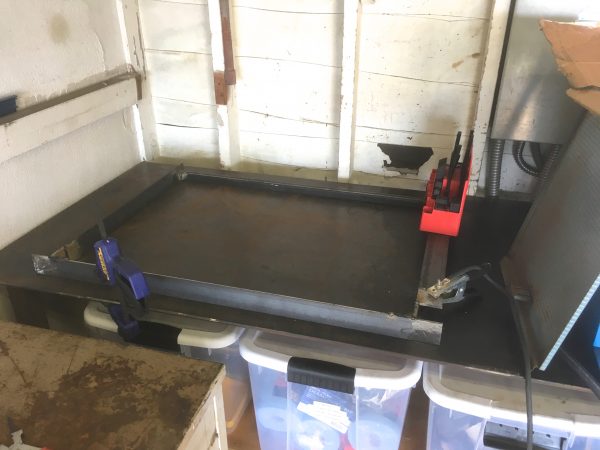
For the tops, I actually discovered a great finish by accident. Where my oil cans had leaked on the original steel workbench, the top had taken on a dark black finish that was nice to the touch and rust-free. It turns out that ISO-68 way oil (aka Vactra II) makes a great sealant and finisher for mild steel. A few drops every square foot or so, rubbed in with a rag, and you have a really nice top to work on. This may need reapplying periodically, I’m not sure. It sure looks and feels great though.

I’m quite pleased with how this turned out, and I’m glad I persevered through all the troubles. For a project made entirely from scrap I had lying on the pile, and for having done no planning at all, I think it went pretty swell. Maybe soon I should paint that cabinet to match all the benches!
Thanks as always for reading, and special thanks to all my Patreon patrons. You folks are the reason this blog is still going after six years, and everyone else who reads owes you a debt of gratitude. If you’d like to become a Patron, sign up here. Every little bit helps!
Also, if you’re on Twitter, follow me there @QuinnDunki. I post sneak-peeks of current projects before they make it into the blog, and I tweet out all my new posts so you won’t miss any. Until next time!
I think you need to build a dedicated lathe stand to get that thing off of your workbench.
Well, the workbench is the dedicated lathe stand. That’s kinda the point- there’s nowhere else it can go. Rather than just a stand, I opted to build a bench filling the entire available area. There isn’t an inch to spare in this shop.
Nice looking extension– looks good with that cabinet under there. I love the cabinet – there’s something about any old, well-made fixture with many drawers that just feeds my inner packrat.
Thanks! I need to figure out where to get more interesting old cabinets like that. Maybe machine shop auctions or farm sales.
Do you mind posting a close up photo of the bench surface? From the last photo, it does look like a very fine surface finish indeed!
Here you go!