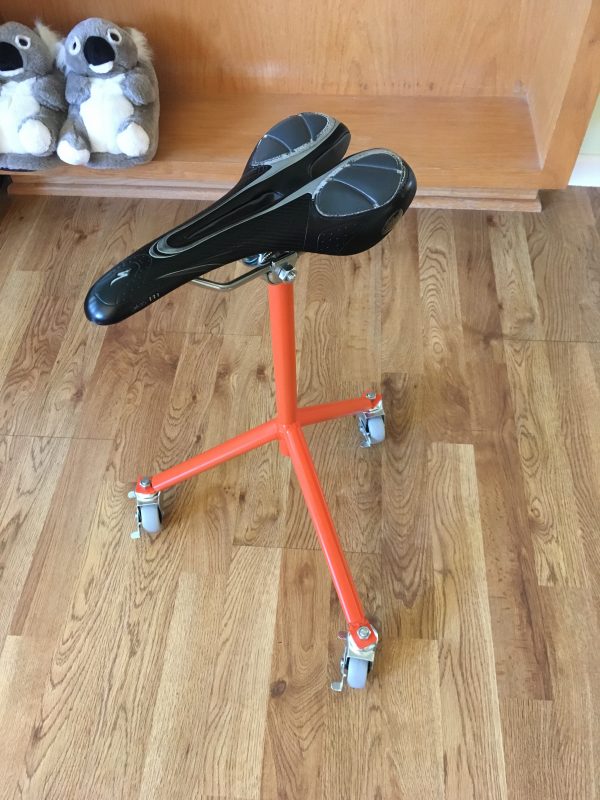
For all your bicycle-related scooting needs.
I was recently asked by a cyclist if it was possible to build a rolling stool that used a bike saddle as a seat. Much like when working on cars, a low rolling stool is often just the thing when your prized racing steed* is up on the stand for service. Who am I, a four-wheeled object enthusiast, to say this wouldn’t be great? Thus was born the bike stool.
*cyclists never use this word. I am a giant dork.
The vision was very simple- go to the metal recycler and find some tubing with an outside diameter that would match one of those weird clamp things that hold bike seats on to bike seat posts. That same tubing would be used to make three legs at a 45° angle from the center upright. Attach some nice casters, and Bob’s your uncle. Amazingly, it mostly went to plan, and a few nutty techniques that I tried actually worked out. Let’s dive in.
When buying stock, I always buy 50-100% more than I need. This has two advantages. First, it gives you the freedom to make mistakes. Second, everything always take more stock than you think it will. Sometimes the pieces you cut don’t divide nicely into the stock lengths, sometimes you measure wrong, sometimes it’s after noon somewhere and you’re drunk. Whatever the reason, you’ll need more stock than you think. The other advantage is that you then usually have some left over for the next project. Having a variety of materials on hand makes fabrication projects so much easier. I love it when I can do a project without going to the store at all. The more extra bits I have on the junk pile, the more likely that is to happen. Also, the more likely the neighbors are to lodge a complaint about the post-apocalyptic scrap yard that I am clearly running out of my back yard. Nevertheless, buy extra.
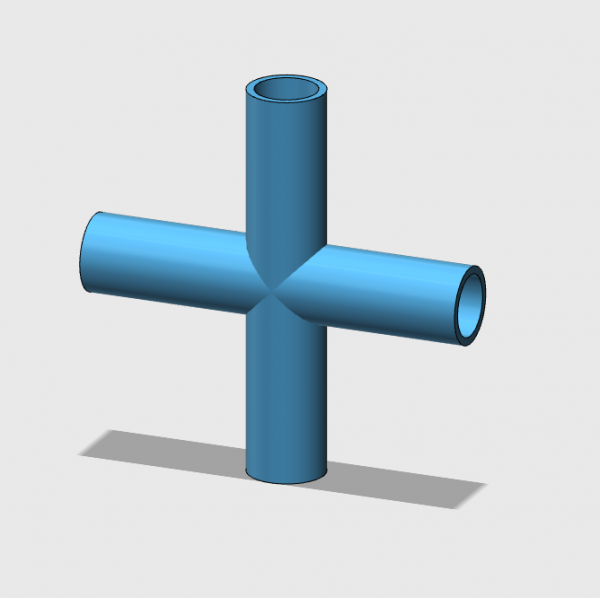
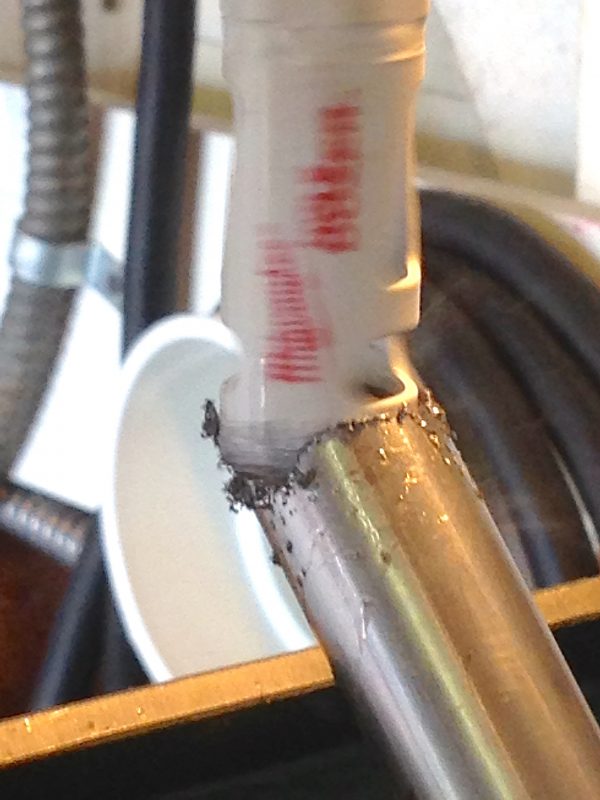
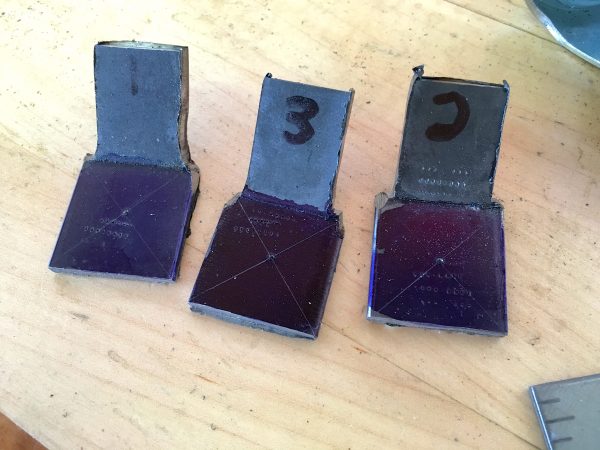
Right off the bat, I knew what the primary challenge would be on this project. Imagine a vertical piece of tubing with three other pieces attached at 45º angles. Any time two pieces of round tubing meet, you need what’s often called a “fish mouth” or “saddle” joint. If you remember your high-school conics, you know why it’s called that. Imagine one cylinder intersecting another such that a tight seal is formed. The resulting piece you have taken out of one cylinder looks like the mouth of a fish.
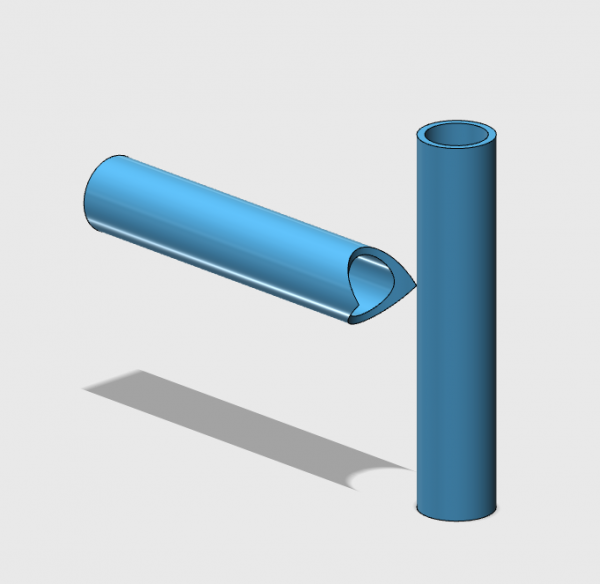
That seems like a very difficult cut to make, but there are lot of interesting ways to do it. First off, there are commercial jigs and machines for the purpose. Tubing Joiners and Fishmouth Jigs of various types exist, and they are very fancy. At the other end of the spectrum, you can simply use an angle grinder to chew away the end of the pipe until you get a good fit. In my case, remember that the stool legs are at a 45º angle to the upright post. That means I need a 45º fishmouth, which adds an extra layer of trickiness. If the angle of the cut isn’t just right, the legs won’t mount properly. An angle-grinder wasn’t going to cut it.
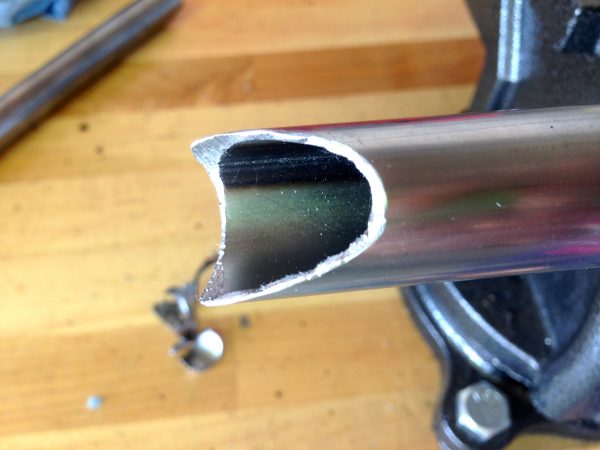
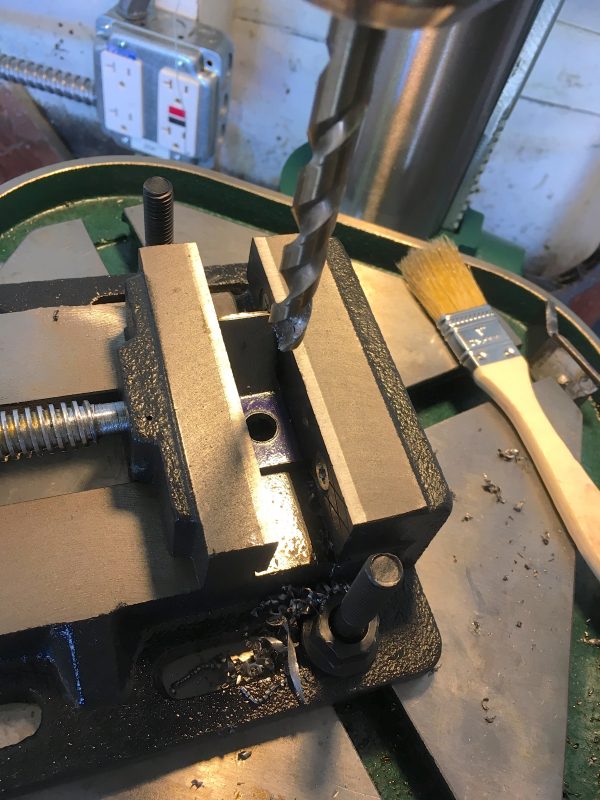
I decided to try rigging up a hole saw on the drill press to do the job. This setup looks really janky, but it actually worked quite well. This puts a lot of lateral stress on the quill of the drill press, so I wouldn’t make a habit of it. In a pinch though, it worked great.
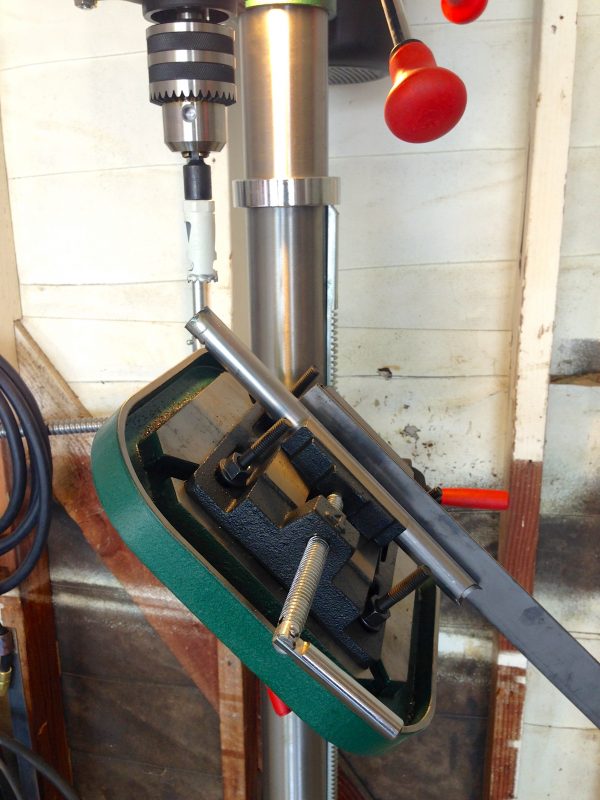
I did a few practice cuts and experimented with different clamping arrangements until I landed on something that worked well. Remember when I told you to buy extra stock? Here’s another reason why. It’s always good to practice a technique that you’re not sure is going to work.
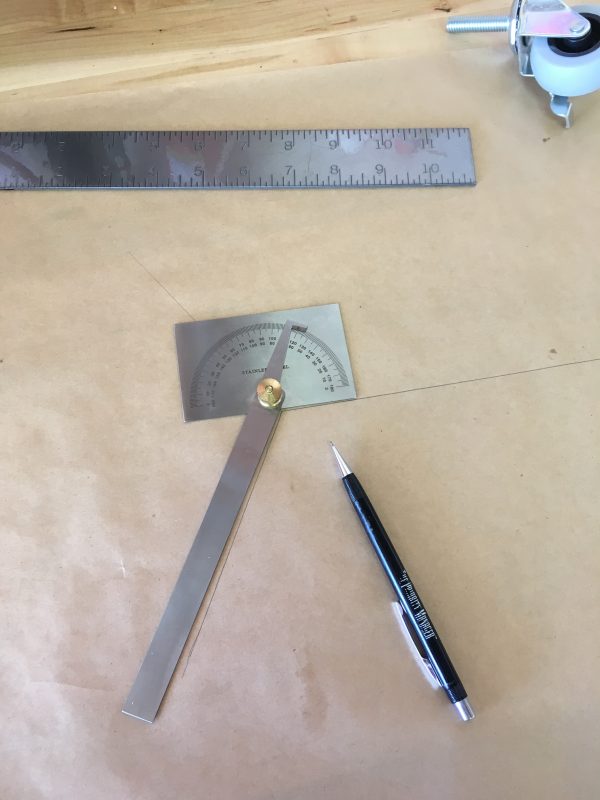
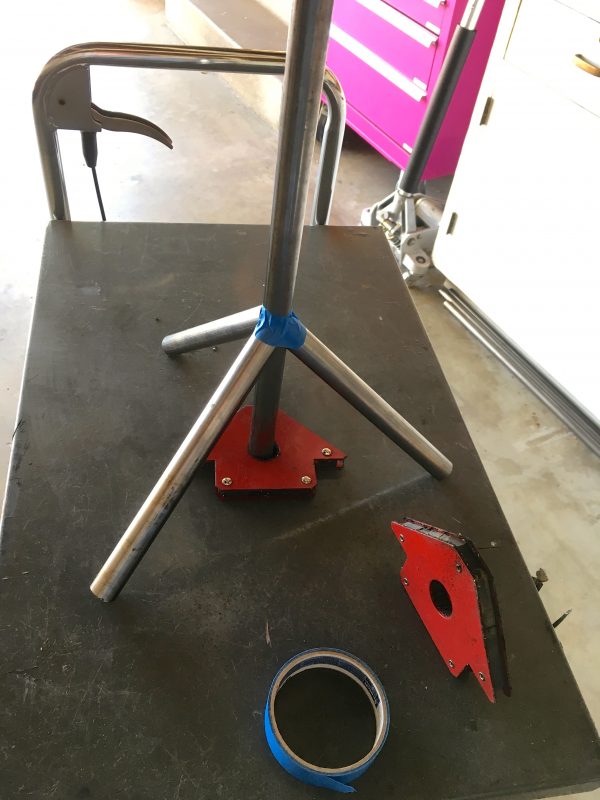
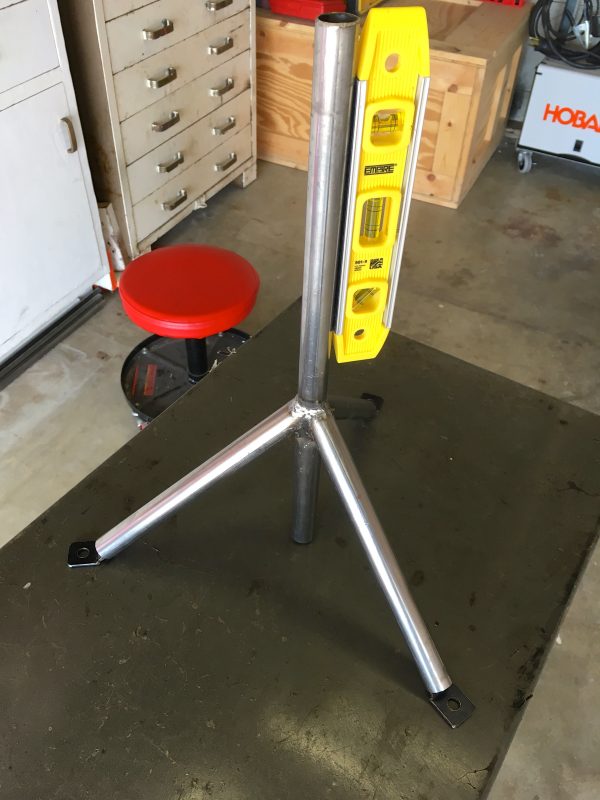
With the cuts figured out, I needed to do some layout. Since this is furniture, getting everything really plumb and square is important. Nothing is more annoying to use than crooked furniture.
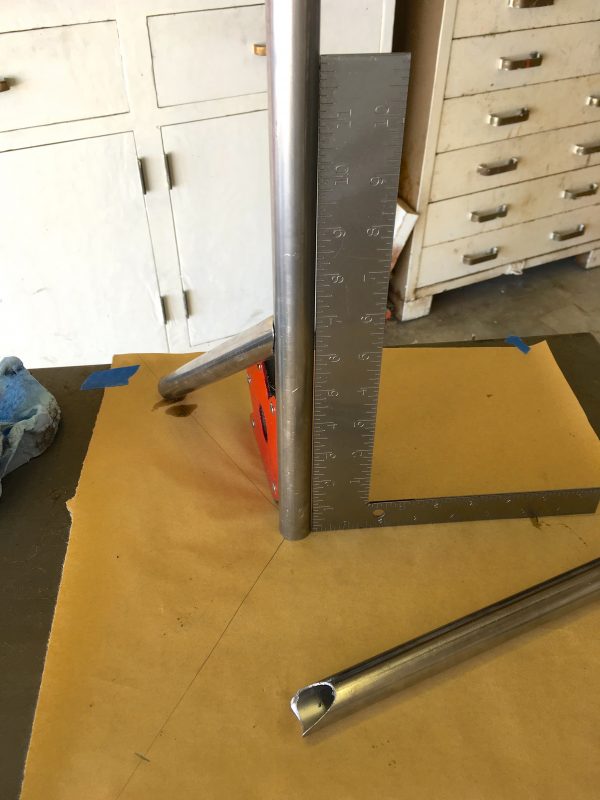
To get everything plumb, I decided to use our old frenemy, gravity. I leveled my welding table carefully, then made the center post square and plumb to that surface. I left the center post long so that it can sit on the table and provide a reference for all the other pieces.
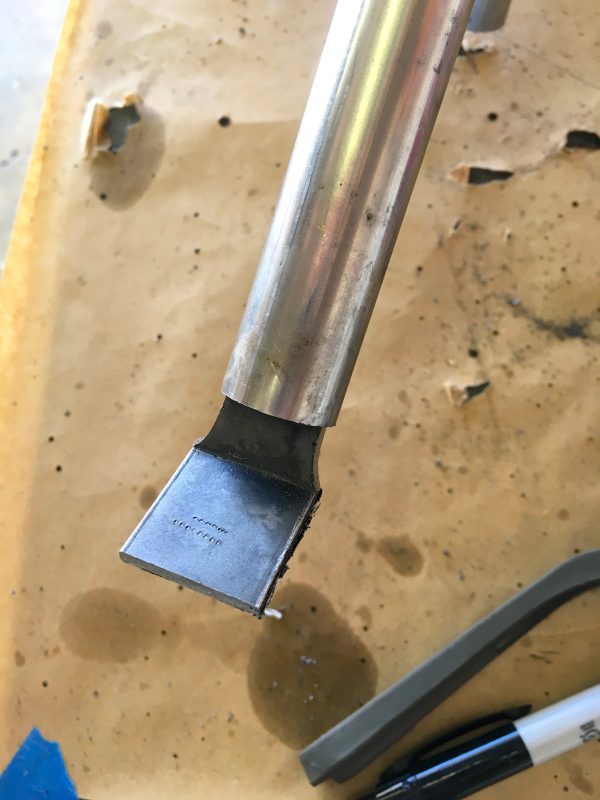
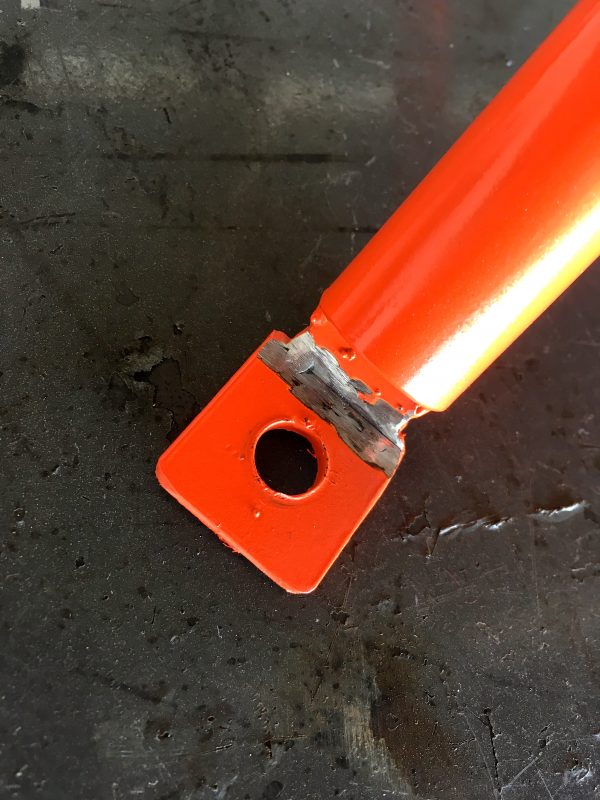
With the legs done, it’s time for some feet. We need flat parts at the end of the tubing upon which to mount the caster wheels. One way to do that would be to crimp the end of the tubing flat with a hydraulic or screw press, then bend the resulting tab into a horizontal position. This is probably how a factory would do it. I opted for another route- making some standalone tabs to weld into the ends of the tubing. I felt it would be easier to get an even and level result this way.
The junk pile coughed up some flat stock that was the same width as the diameter of the tubing. Have faith in thy junk pile, and thy junk pile will provide for thee. I needed to make a clean 45º bend so the feet would sit flat when inserted into the tubing.
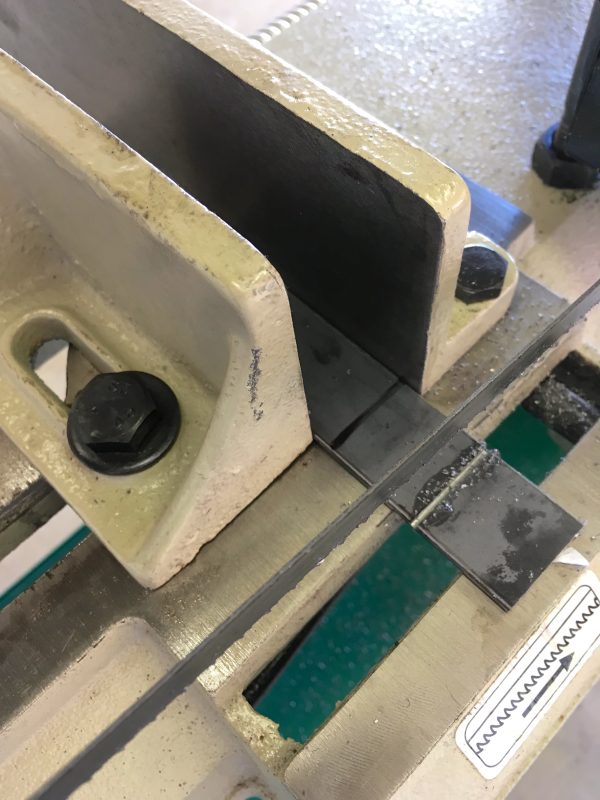
We now have a straight and square kerf (thanks to the properly set up bandsaw). It’s easy to then use a bench vise or pliers to bend the piece to a clean, sharp 45º bend. Next, I ground down the edges of one side of the bent piece, so that the piece fits inside the tubing.
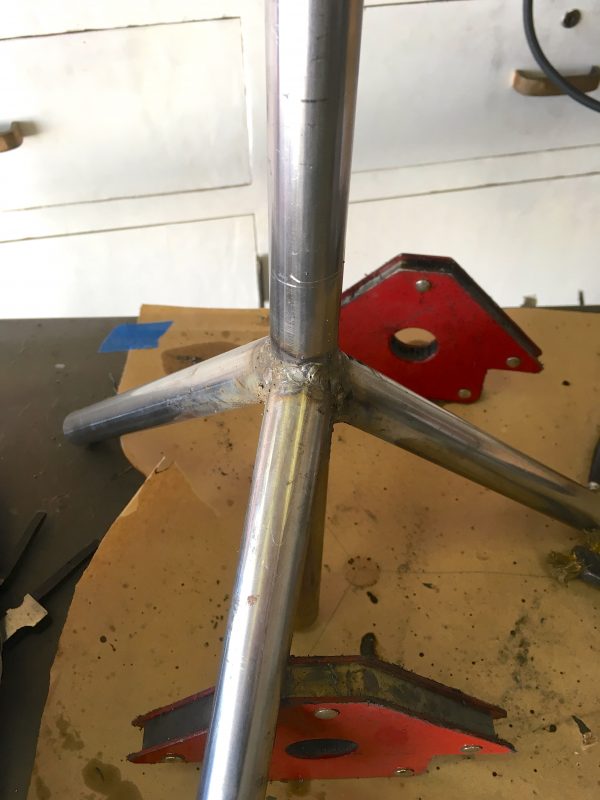
With all three feet made, it’s time for another test fit.
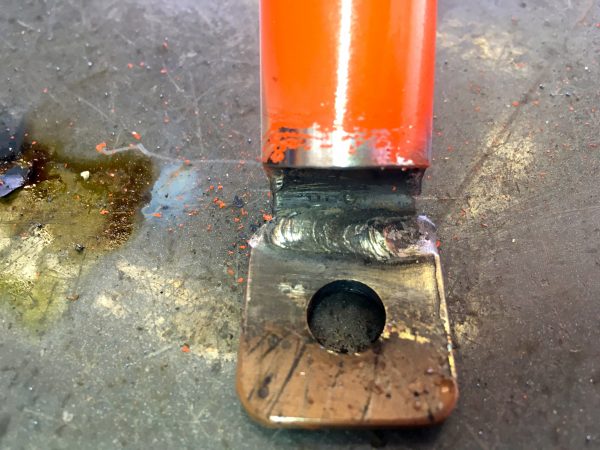
Once the feet were in exactly the right place, I tacked everything together. Then I welded the feet fully into the tubing. I also tacked the bends on the feet, so I wasn’t relying solely on that kerf bend to hold your weight.
It’s final test-fit time!
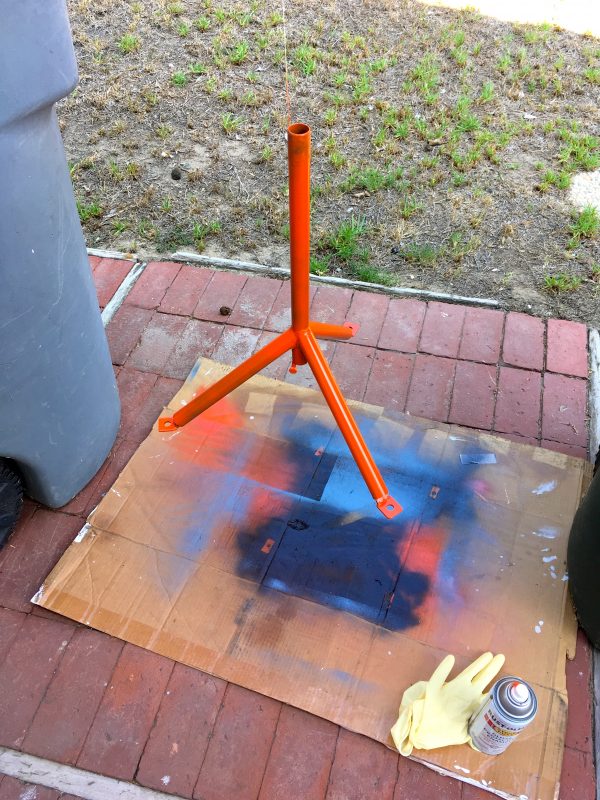
If you’ve ever doubted the need for a respirator while spray painting, try an experiment for me. Stand 20 feet back from someone else spray-painting on a bright sunny day. Look at the area from different angles, and you will see that the person doing the painting is standing in a 10′ spherical cloud of paint dust and propellant chemicals. You don’t perceive it much when you are the painter, but you are breathing in a ton of nasty stuff. I never bothered with a respirator when painting until I stumbled into the above experiment, one sunny day at a friend’s house.
So, final assembly, all good, everything is beautiful, time to crack a beer and celebrate. Right? Right? Well, this is Blonidhacks, and something has to go wrong, or it isn’t interesting. I assembled the stool and was doing some high-speed test runs around the smooth floors in my kitchen. At one point, I coasted backwards at high speed and snagged the edge of a floor mat.
The stool keeled over, and when I had picked up the pieces of my dignity, I realized all was not well.
The great thing about steel is that nothing is irreversible and everything is fixable.
A new coat of paint on the feet, and now we’re really done.
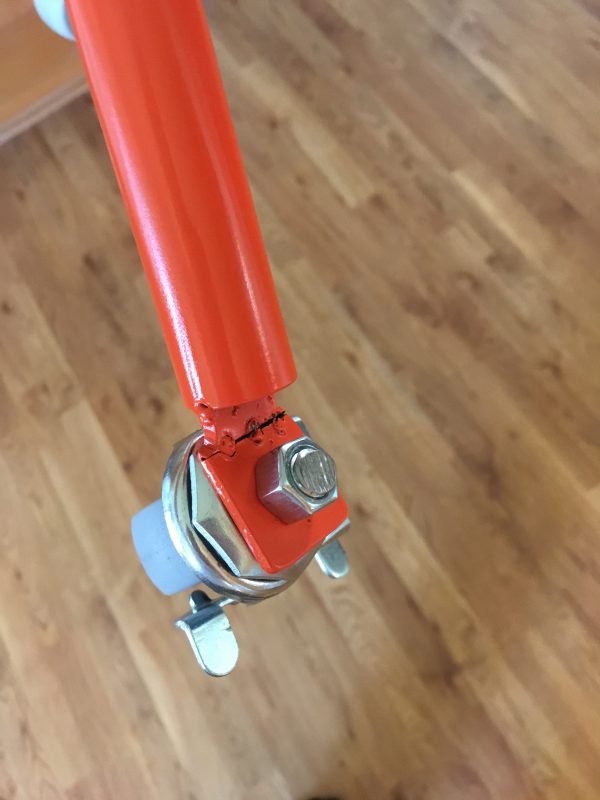
Side bar: The casters didn’t come with nuts, so I bought some from the hardware aisle at Home Depot. They are 9/16″ nuts, but I have mostly metric tools, so I grabbed a 14mm wrench (which is basically equivalent). What amazed me is that this hardware is so poorly made that some of them fit a 14mm wrench, and some didn’t. Some were a full millimeter oversized, requiring a 15mm wrench. That’s an amazingly poor level of quality control, and makes me wonder about the metallurgy as well. I would probably hesitate to trust my life to one of these nuts on, for example, suspension parts on a car. I hardly expected Home Depot hardware to be posh, but this was lowest level of quality I’ve seen in hardware to date.
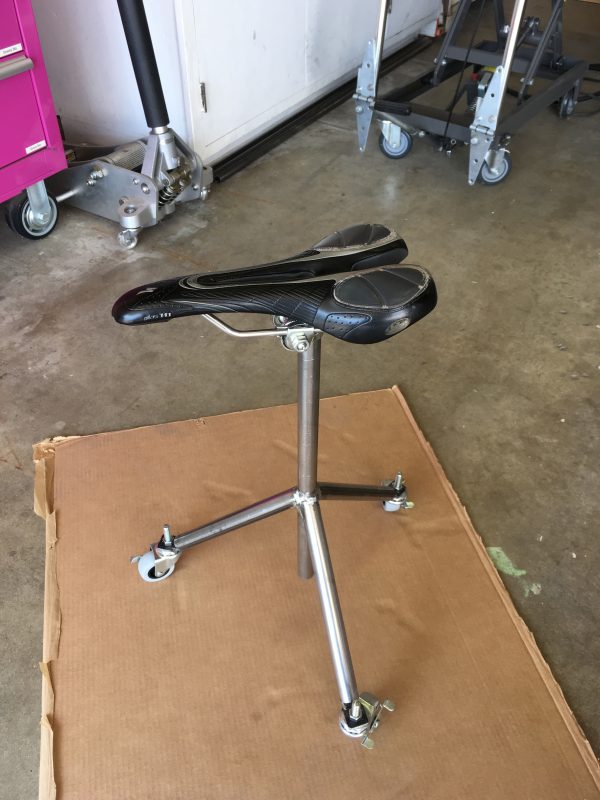
Okay, enough crotchetiness. Back to the final product- how well does it work?
Most importantly, does my new assistant Sprocket H.G. Shopcat (you can call her Sprocket for short) approve of the project?
I’ll take that as a yes.
Hey! Are you following me on Twitter? I sometimes post sneak-peaks of up coming projects and works-in-progress. If you really want to be a swell person, hit up my Patreon!
When buying stock, I always buy 50-100% more than I need… sometimes it’s after noon somewhere and you’re drunk
I had a good laugh here. This probably shouldn’t be the case with power tools and welding, but yeah, sometimes it happens. Been there, done that. 😀
I would never officially condone such behavior. Here at Blondihacks, our motto is Safety Eventually.
Safety Third!
http://www.ishn.com/articles/93505–dirty-jobs–guy-says-safety-third-is–a-conversation-worth-having-
KITTY!!! SQUEE!!!
sorry couldn’t resist. my cats tend to ruin all my projects. loosing parts, getting fur in the 3d printer. sleeping on all my hand written desiign notes, sometimes shredding them in the process. i have to put all my projects in their own closet to keep the cats out, and any time you open the door they will all scramble to go inside and sleep on your projects, and same with the shed. even on software related projects they tend to get in the way, always wanting wubs, “your shoddy lua scripts can wait hooman, pet me!”. still they are nice to have around and make up for my inability to have human friends.
I was totally expecting to read that you got the inspiration for this from UniRacers!
https://en.wikipedia.org/wiki/Uniracers
Love the design and detail.
Interesting build Quinn, but I feel compelled to point out that a slightly more efficient technique is to find a nice broken office chair in the local dumpster and reuse the existing casters, base and frame. Usually it’s just the crappy plywood seat or plastic arm braces that cause premature chair death, and there is great recycling potential for old office chairs… but I’ll admit, your approach is clearly more fun…
Bonus points for the Flight of the Valkyries… 🙂
I considered that, actually, but I didn’t want the end result to look like a crappy old office chair with a bike seat on it. I felt like that’s what would happen. I wanted something looked more designed.
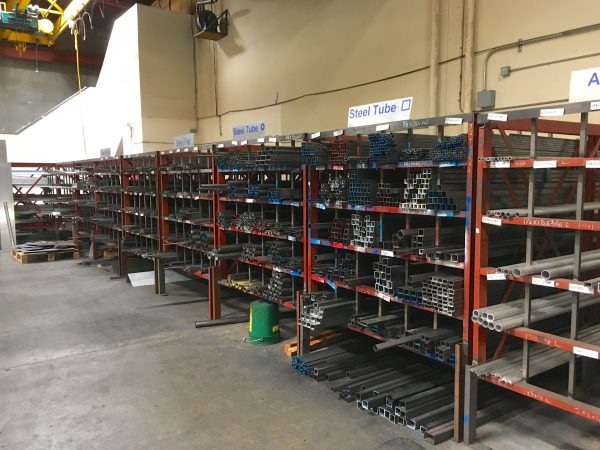
“Any good metal supplier will have an off-cuts area like this.”
I was surprised that the picture was an off-cuts area – having never shopped a metal-supplier, that’s the nicest metal stock supply I’ve ever seen. The prices, quality, and selection at the local home center give me pause every time I contemplate a metalworking project. Would love to learn more about this – how do you find a metal supplier that’s open to the non-professional public? I’ve always been concerned that these folks are used to dealing with POs and phone orders from area businesses with standing accounts, and wouldn’t welcome my amateur self wandering in off the street.
That’s an excellent question. I had doubts about this also. In my experience, most metal suppliers will do retail sales to individuals. Some of them end up writing a PO for you, since they aren’t set up to do retail invoicing. Other places are. You can usually tell from the website and/or reviews online whether they sell retail. You can always call and ask if they sell to individuals, and whether they have an off-cuts area.
There are two types of places to check- recyclers and suppliers. The former is a cheap way to get some small scraps. The latter is better for getting clean pieces in specific dimensions. A supplier will also have more selection of materials- aluminum, brass, tool steel, titanium, etc. the local recycler may only have some random slabs of steel plate and a few pieces of pipe. It’s a crapshoot. Both places can usually cut things for you. They may or may not charge for it, depending how much you’re buying and how good a mood they’re in that day.
One thing is clear- don’t buy steel at the home centers. Their markup is INSANE. You will pay 5x at those places compared to a metal supplier, and the quality and selection are crap. In a pinch, they can be convenient, but that’s about it.
I’m impressed by your supplier’s organization of their cutoff area. I go to two different suppliers and both of them put their cutoffs in a big bin. If you’re willing to go digging you can pay scrape prices for what you need, but you need to bring a good pair of gloves along.
Alternate first caption:
“First, we need materials! Any corner of the Quinncave will have an off-cuts area like this…”
That’s certainly the road I’m on. Soon Dunki Freehold will itself have a substantial off-cuts and remnants section.
Aside from being a running gag, is the “Dunki Freehold” an allusion to something? Heinlein?
I wouldn’t say it’s an allusion per se, but I did get the word from him. I like the connotations of private property that I can do what I want with. I try to avoid going into politics here though, so I’ll end by saying me and Heinlen probably agree on some things but don’t agree on much as well.
Yeah… I read the Wikipedia entry on Farnham’s Freehold after posting my last comment… awkward stuff. Feel free to delete this whole tangent!
Hmm. I always pictured the Dunki Freehold a lot more like this: https://youtu.be/Ds5Z61JCXnc?t=1m22s With Quinn running her unseen maker-minions ragged…
I only have one minion so far- she has four legs and doesn’t take direction well. If I acquire too many of these furry minions, someone will call the Health Department, though, so I need to be careful.