Everything needs a little love now and then.
We’ve been pushing the lathe pretty hard lately, including turning some things that are definitely pushing the capacity limits of this small machine. Possibly because of this, or possibly just due to time passing, the machine has started to make a few new noises. It’s been about a year of regular use, so the machine is due for an oil change in any case. Machine tools are a lot like cars, in that they have lubrication systems that need periodic service. These vary tremendously by machine. In this case, as with most budget Asian-made machines, the all-important spindle bearings themselves are sealed and not serviceable. However the quick change gear box and carriage both have oil reservoirs that need periodic draining and refilling. In my case, the lubrication is a simple “splash and gravity” system, but there are larger more sophisticated machines that have oil pumps and distribution systems for lubrication.
Before taking anything apart, I wanted to get a sense of where the new noise was coming from. Here’s some video of what I’m hearing.
Localizing sounds in complex machines, as any car person can tell you, is a fraught and unintuitive business. It’s hard to be sure, but in this case, the noise seems to be originating in the quick change gear box. We’ll dig into that as part of changing the oil. In fact, that’s exactly where we’ll start.
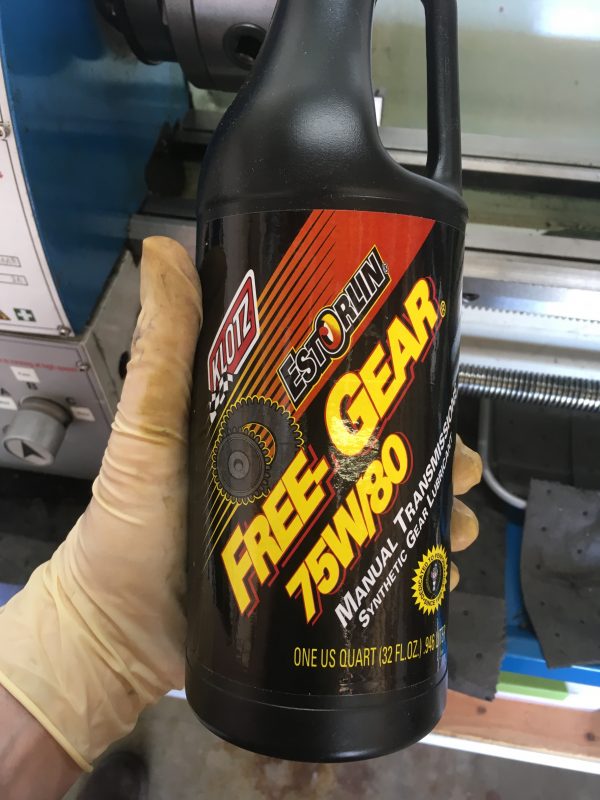
As soon as you broach the subject of oil and any complex machinery, you are venturing into a holy war. Whether it’s cars, machine tools, motorcycles, boats, or anything else, you’ll find an internet flame war about which oil is best. For my money, I go with what the manual says. If you have an old machine, it’s a tougher call, because the manual may not be available. Furthermore, the oils they would have recommended may no longer be available. Oil technology has changed a lot from the olden times of distilling sweet crude twice and calling it a day. If you have a late 19th-century machine, you might even find calls for whale oil or paraffin in the manual.
The rules of thumb for machine tools are to get the weight about right, and avoid automotive engine oils. That last one is important, because cars have pressurized oil systems with an oil filter. This means the oils have detergents designed to keep impurities in suspension so they will get pumped through the oil filter and trapped. Machine tools generally want the opposite- you want the contaminants to settle to the bottom of the gearbox, away from the moving parts.
If you need to convert from an old machine’s recommendation to modern equivalents, there are online tables that can help. The first thing is usually to convert the weight from an old SAE number (like “20 weight”) to a modern ISO number. A chart like this can help:
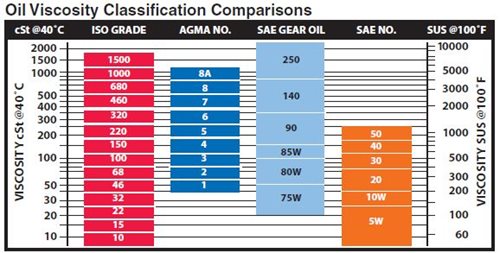
After that, if you can get yourself into the right category of products from your supplier (way oil vs. gear oil), you’ll most likely be fine. Way oil is generally sticky to help hold itself to the working surfaces of machines.
The next step is to gain access to the fill and drain plugs. This will vary by machine. You want to remove the fill plug to vent as the oil drains, and of course the drain plug is needed to get the oil out. Sometimes that’s not even really enough, as we’ll see.
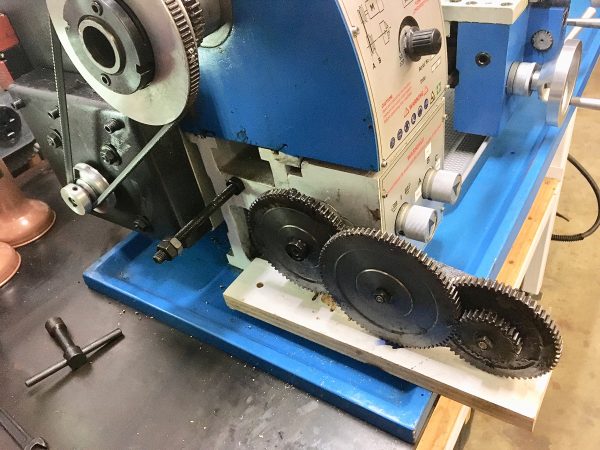
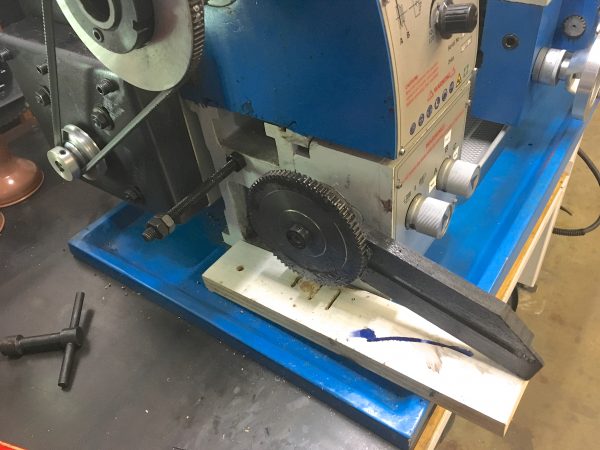
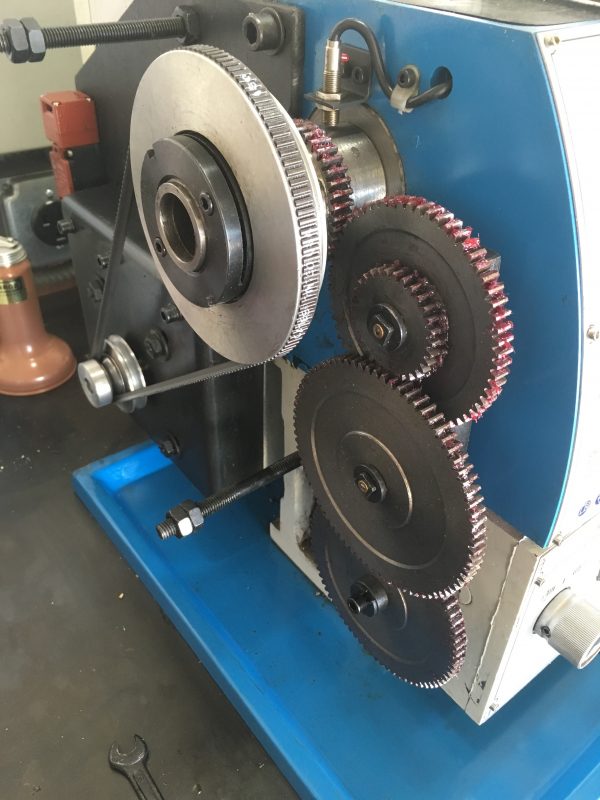
On my machine, the drain plug for the quick-change gear box is annoyingly behind the change gears, so those have to removed first.
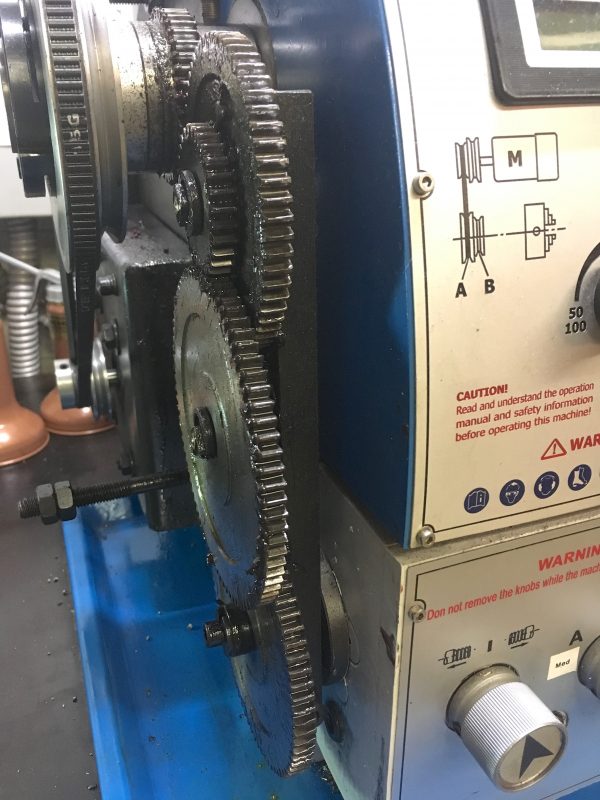
Of course, the bottom change gear is held captive by all the other change gears, so the whole lot has to be removed. I think a British car engineer may have designed this machine.
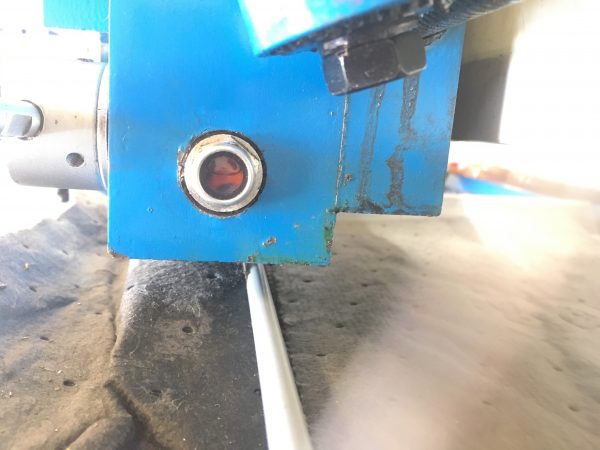
The next step is to get the oil out of that gearbox. The drain plug is well positioned to… well… dump oil all over the bench. I’d prefer that didn’t happen, so I need a way to direct it elsewhere. A quick trip to the junk pile coughed up something that might just work.
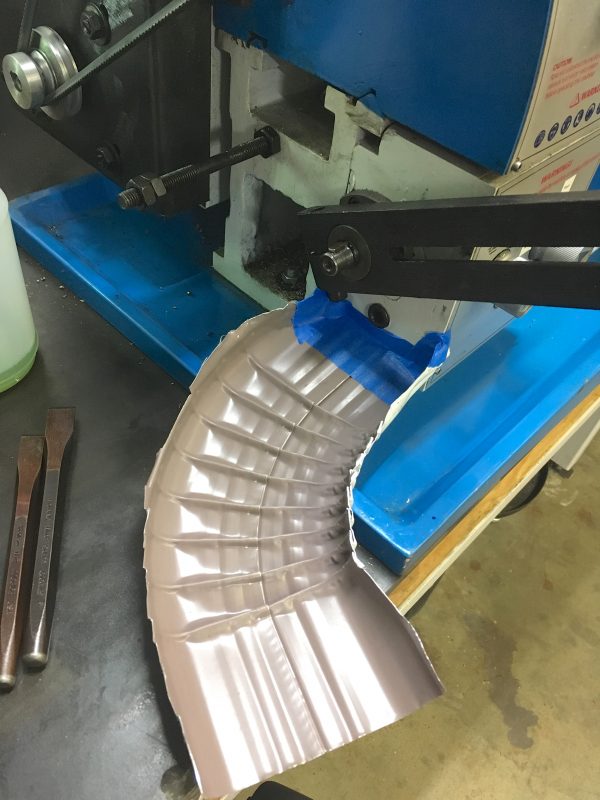
I sealed the edge of the spout to the face of the machine with some blue tape, to ensure every drop was caught.
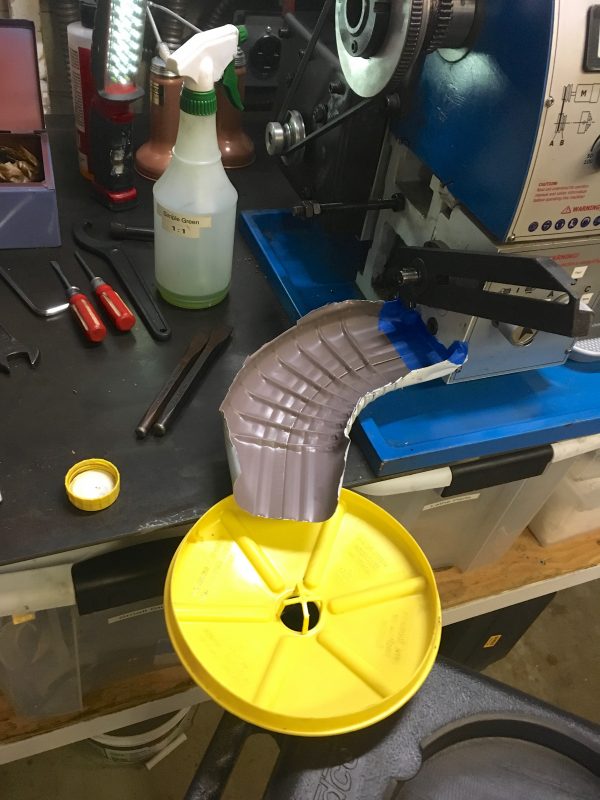
All this effort is well worth it. The gear box may not look very big (and it isn’t), but that amount of oil can still make a colossal mess, if not sufficiently wrangled. From a lifetime of working on cars and heavy machinery, I’ve learned that every ounce of effort to catch wayward oil is worthwhile.
This strategy worked great to drain the gearbox to a point, but the truth is, I wasn’t happy with the result. The fact is that the drain plug is not at the bottom of the casing, so it was clear there was still a non-trivial amount of oil in there. I wanted to investigate the strange noises in this gearbox anyway, so I decided to pull it apart.
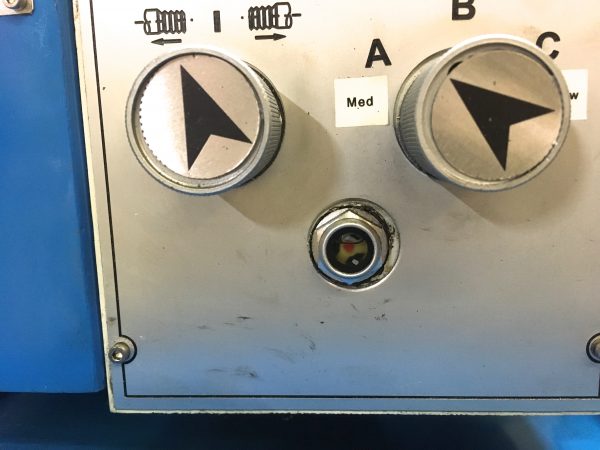
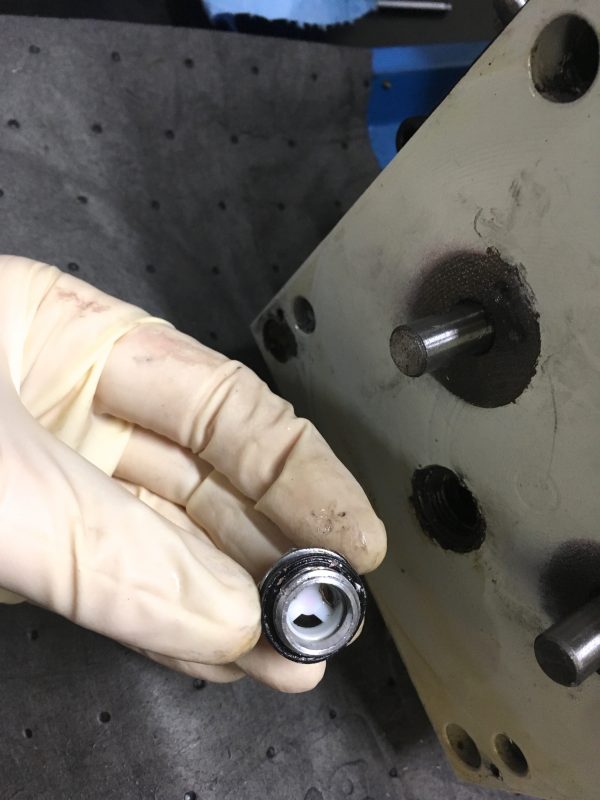
Removing knobs is usually the first step in taking anything apart, and these are held on with roll pins, which are easily tapped out with a straight punch.
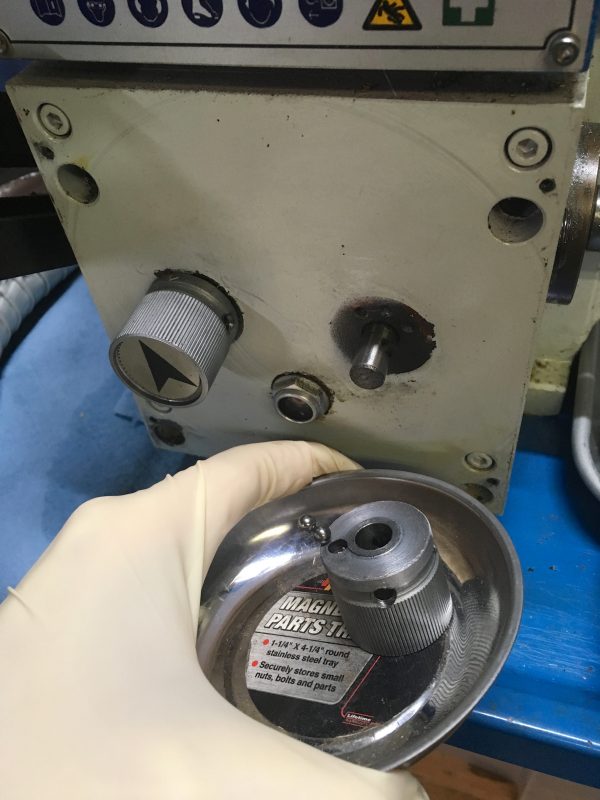
Removing the knobs off something reveals a lot about how it was made. In this case, you can see the gearbox was painted after assembly. This is probably part of Precision Matthews’ rebranding of what is (I believe) a machine from the Chinese company Weiss.
There’s a rubber gasket around the gearbox cover, so a few lateral whacks with a rubber mallet are needed to break that seal. Since I don’t know how deep the well of unreleased oil is, I put some Pig Mat underneath. Pig Mat is great stuff. It absorbs a supernatural amount of oil, and there are varieties that can do stunts like absorbing oil from water, water from oil, or pulling oil out of concrete. This is the basic “absorb everything” gray variety. It’s not that expensive, and worthwhile to keep around the shop.
In this case, the “drain” plug was really more of a “reduce the oil level partway” plug, so I had quite a surprise when I cracked the cover open.
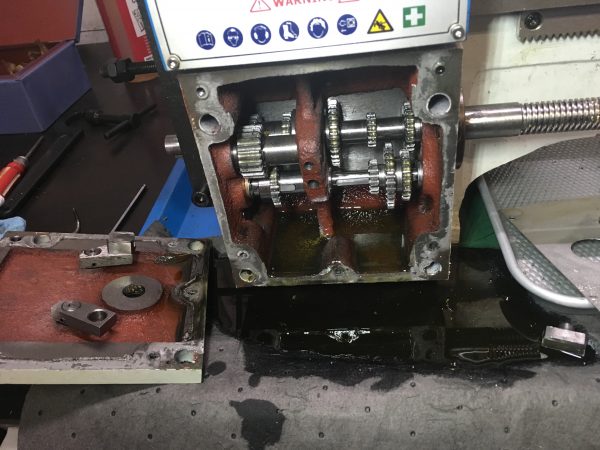
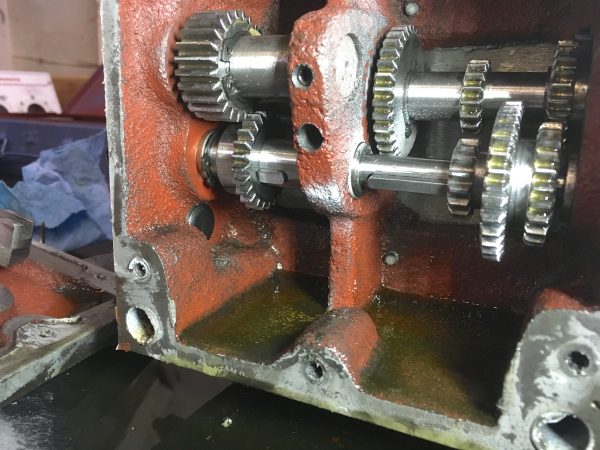
The gear box works as you would expect. The speed selector has an input and output shaft, with an intermediate shaft in between. The latter has a sliding gear moved by a shift fork on the knob. Simple and effective. All the gears in here are metal, and in great condition. This is a very nice gearbox, considering the price point of this lathe. The feed reverse section is on the left, and works the same way, with an idler gear that can be introduced to change the direction of the output shaft (which feeds into the range selection).
The big question now is, what’s the source of the noise that I felt I could hear in this box? Nothing seemed out of the ordinary, and everything moved freely, so there was nothing much to do but clean out the interior and re-assemble. Sometimes cleaning and freshening up is all that is needed to quiet down machinery.
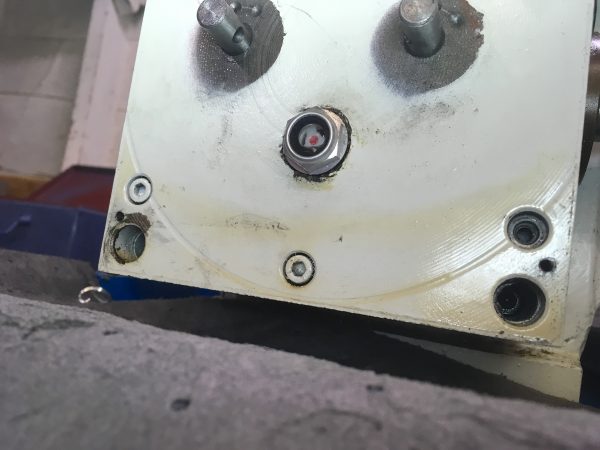
Inspection and cleaning complete, I reassembled the gear box. It didn’t have a gasket, but rather some Mystery Goo™ sealing the cover plate. I scraped and polished the gasket surface clean, then made a new gasket with some Hondabond that I found in the junk pile. I then refilled it with new oil up to the red dot in the sight glass.
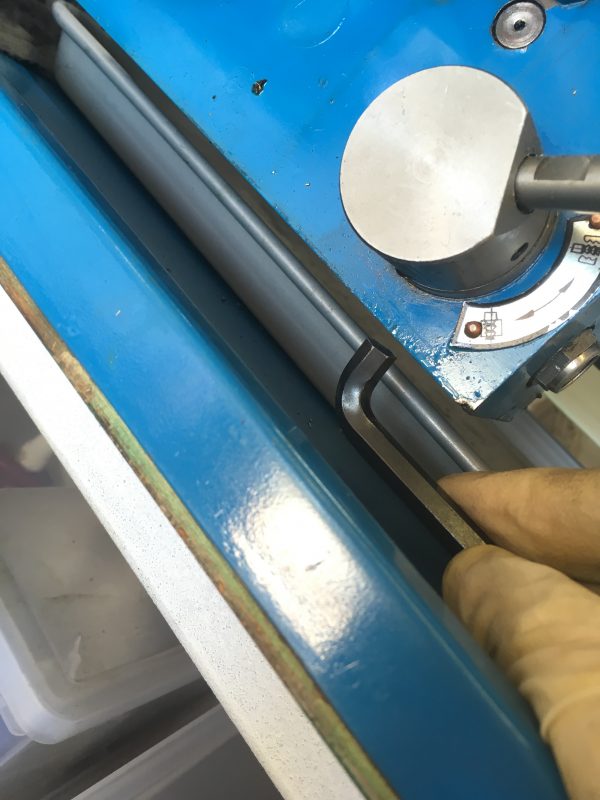
The next challenge is the carriage. It has its own little gearbox, and a couple of unique challenges for maintenance. Once again, the drain plug is in a strange place. Instead of putting it on the front, the end, or somewhere handy, they put it on the bottom. Clearance between the carriage and the bench is about ½” so I can’t imagine how they expect you to get an allen wrench in there, and still have clearance to back out the drain plug and remove it.
The next challenge was drainage. My gutter trick from before would not work here, because space was too tight. I ended up making a “funnel” with a scrap of plastic-coated cardboard packaging from the recycling bin.
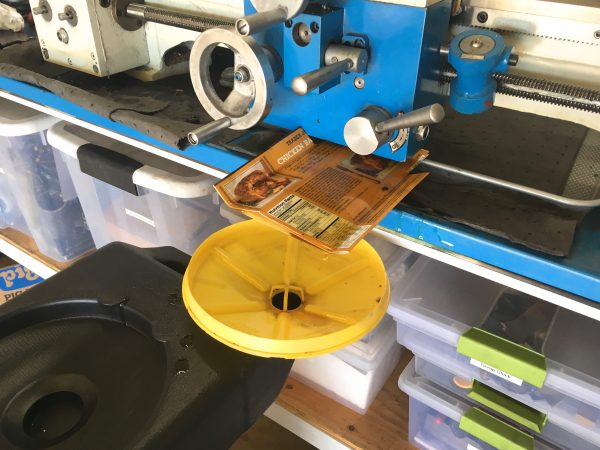
In hindsight, the capacity of the carriage was small enough that just dumping the contents into some Pig Mat would have worked fine. I wasn’t sure though, and I really really hate cleaning up rogue oil. Better safe than spending the afternoon spreading kitty litter.
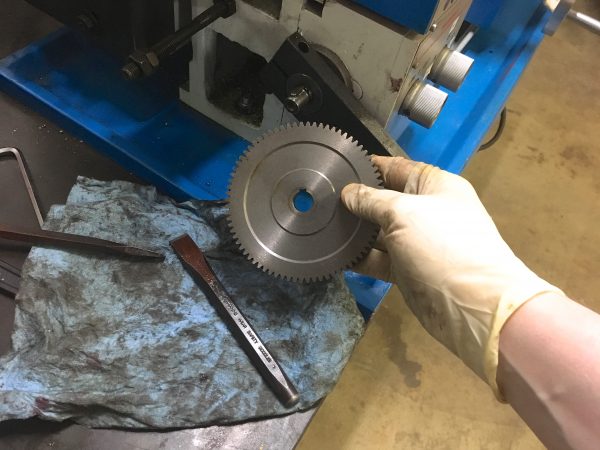
After all that was done, I could reassemble the change gears. They all got a nice coating of red grease for good measure. Whether to oil or grease change gears is a heated religious debate among machinists. Grease stays where you put it and lasts almost forever, but it attracts chips and dirt. Oil stays clean, but needs constant re-application. Since these gears are inside a cover behind the spindle, they are pretty safe from debris, so grease feels like the right choice to me. It also happens to be what the manual suggests, so that’s enough for me.
Getting the spacing right on spur gears like these is always an interesting question. The trick that everyone always suggests is to run a strip of fresh printer paper between them, because that’s about 4 thousandths thick. I’ve tried that more times than I can count and honestly never had it work very well. I adjust them by feel and sound. They should run fairly quietly (as quietly as straight-cut spur gears can- they are the noisiest type) and there should be minimal backlash. I have much better luck doing this by feel than with the printer paper trick, but your mileage may vary.
After everything was all reassembled, I’m happy to say the machine sounds great and runs like a champ. I never did figure out what the noise was, but it’s gone now. It might have never been inside the quick-change box as I suspected, or maybe changing the fluid and cleaning things was all it needed. Perhaps the noise was coming from the change gears, and removing and re-lashing those was all that was needed. It just goes to show that when give your machinery a little love, it’ll give you many times that love back.
I had never heard of pig mat before. That is absolutely glorious. Thank you.
I first heard about it from boaters, who use it to pull oil out of bilges without having to remove all the water as well. I wish I’d known about it years sooner! All those years I spent messing with cardboard and kitty litter under racecars…
I don’t know if this would be an overall time savings, but if that gearbox has any part of the casting with enough depth, I’d be tempted to install a hydraulic bleeder screw, so drainage would be a matter of sticking a rubber hose onto the screw and opening it.
Yah, I’m seriously considering something along those lines. Next time the oil needs changing, I may just drill and tap a plug on the front. There’s an easy and obvious place that would be level with the bottom of the reservoir and could be reached without dismantling the change gears. The factory location is utterly nonsensical.