Delicious, delicious crow.
Yep, that’s right. Despite all my preaching in this blog about how 3D printers are overrated and not ready for primetime and nothing but CNC cake decorators and blah blah blah…. I went and bought one. Allow me to explain. A recent birthday-oriented milestone occurred (let’s call it 39 2.0), and I decided I wanted to buy something neat, but ridiculous and probably useless. A 3D printer fit that description better than anything I could think of. There was some practical considerations as well. I’ve been gradually noticing things around the house (and in my hacks) where a little plastic “thing” of some sort would solve a problem or make something better. Perhaps the last straw was when I printed Teddy Top with Shapeways, and got the bill. For that kind of money, frankly, a 3D printer would pay for itself in a few projects.
The good news is, I’ve been very pleasantly surprised with this thing. The technology in consumer-grade machines is better-sorted than I realized, and the precision and ease of use are also higher than I thought. I’ve probably been resisting it in part because there is so much hype about 3D printing everywhere you go these days. All the major hacking blogs and sites are filthy with talk of drizzling goo in well-organized piles. I guess I’m one of those people who is, by default, inclined to dislike something because everyone else likes it, just to feel smart. Yes, you know you do it too.
The machine I pulled the trigger on is the PrintrBot Metal Plus. In my research, it seemed to be very well-rated generally, and is consistently the highest rated in the under-$1000 category. It’s also the sub-$1000 machine with the largest build volume (a whopping 10 x 10 x 10 inches!). Even better, it comes in optional kit form if you want to save some money. The thought of building it myself really appealed to me, and the money saved could go towards filament, and/or upgrades (like a heated bed- more on that later). I built this kit in a couple of sessions, but I’d say the total build time was about 7-8 hours. I went slowly and savored the process a bit, so your mileage may vary.
PrintrBot’s storefront seems to always list their kit as “1-2 week lead time,” but mine was shipped immediately and was in my hands within a couple of days of clicking the order button. A pleasant surprise, to say the least!
This post is not a review of the machine per se, but more like an addendum to the assembly instructions. The included instructions are quite good (better than I expected), but they are somewhat dated. You could consider this more of a “review of the kit”, than a review of the machine itself. Okay, less gum flappin’, more buildin’ sumthin’!
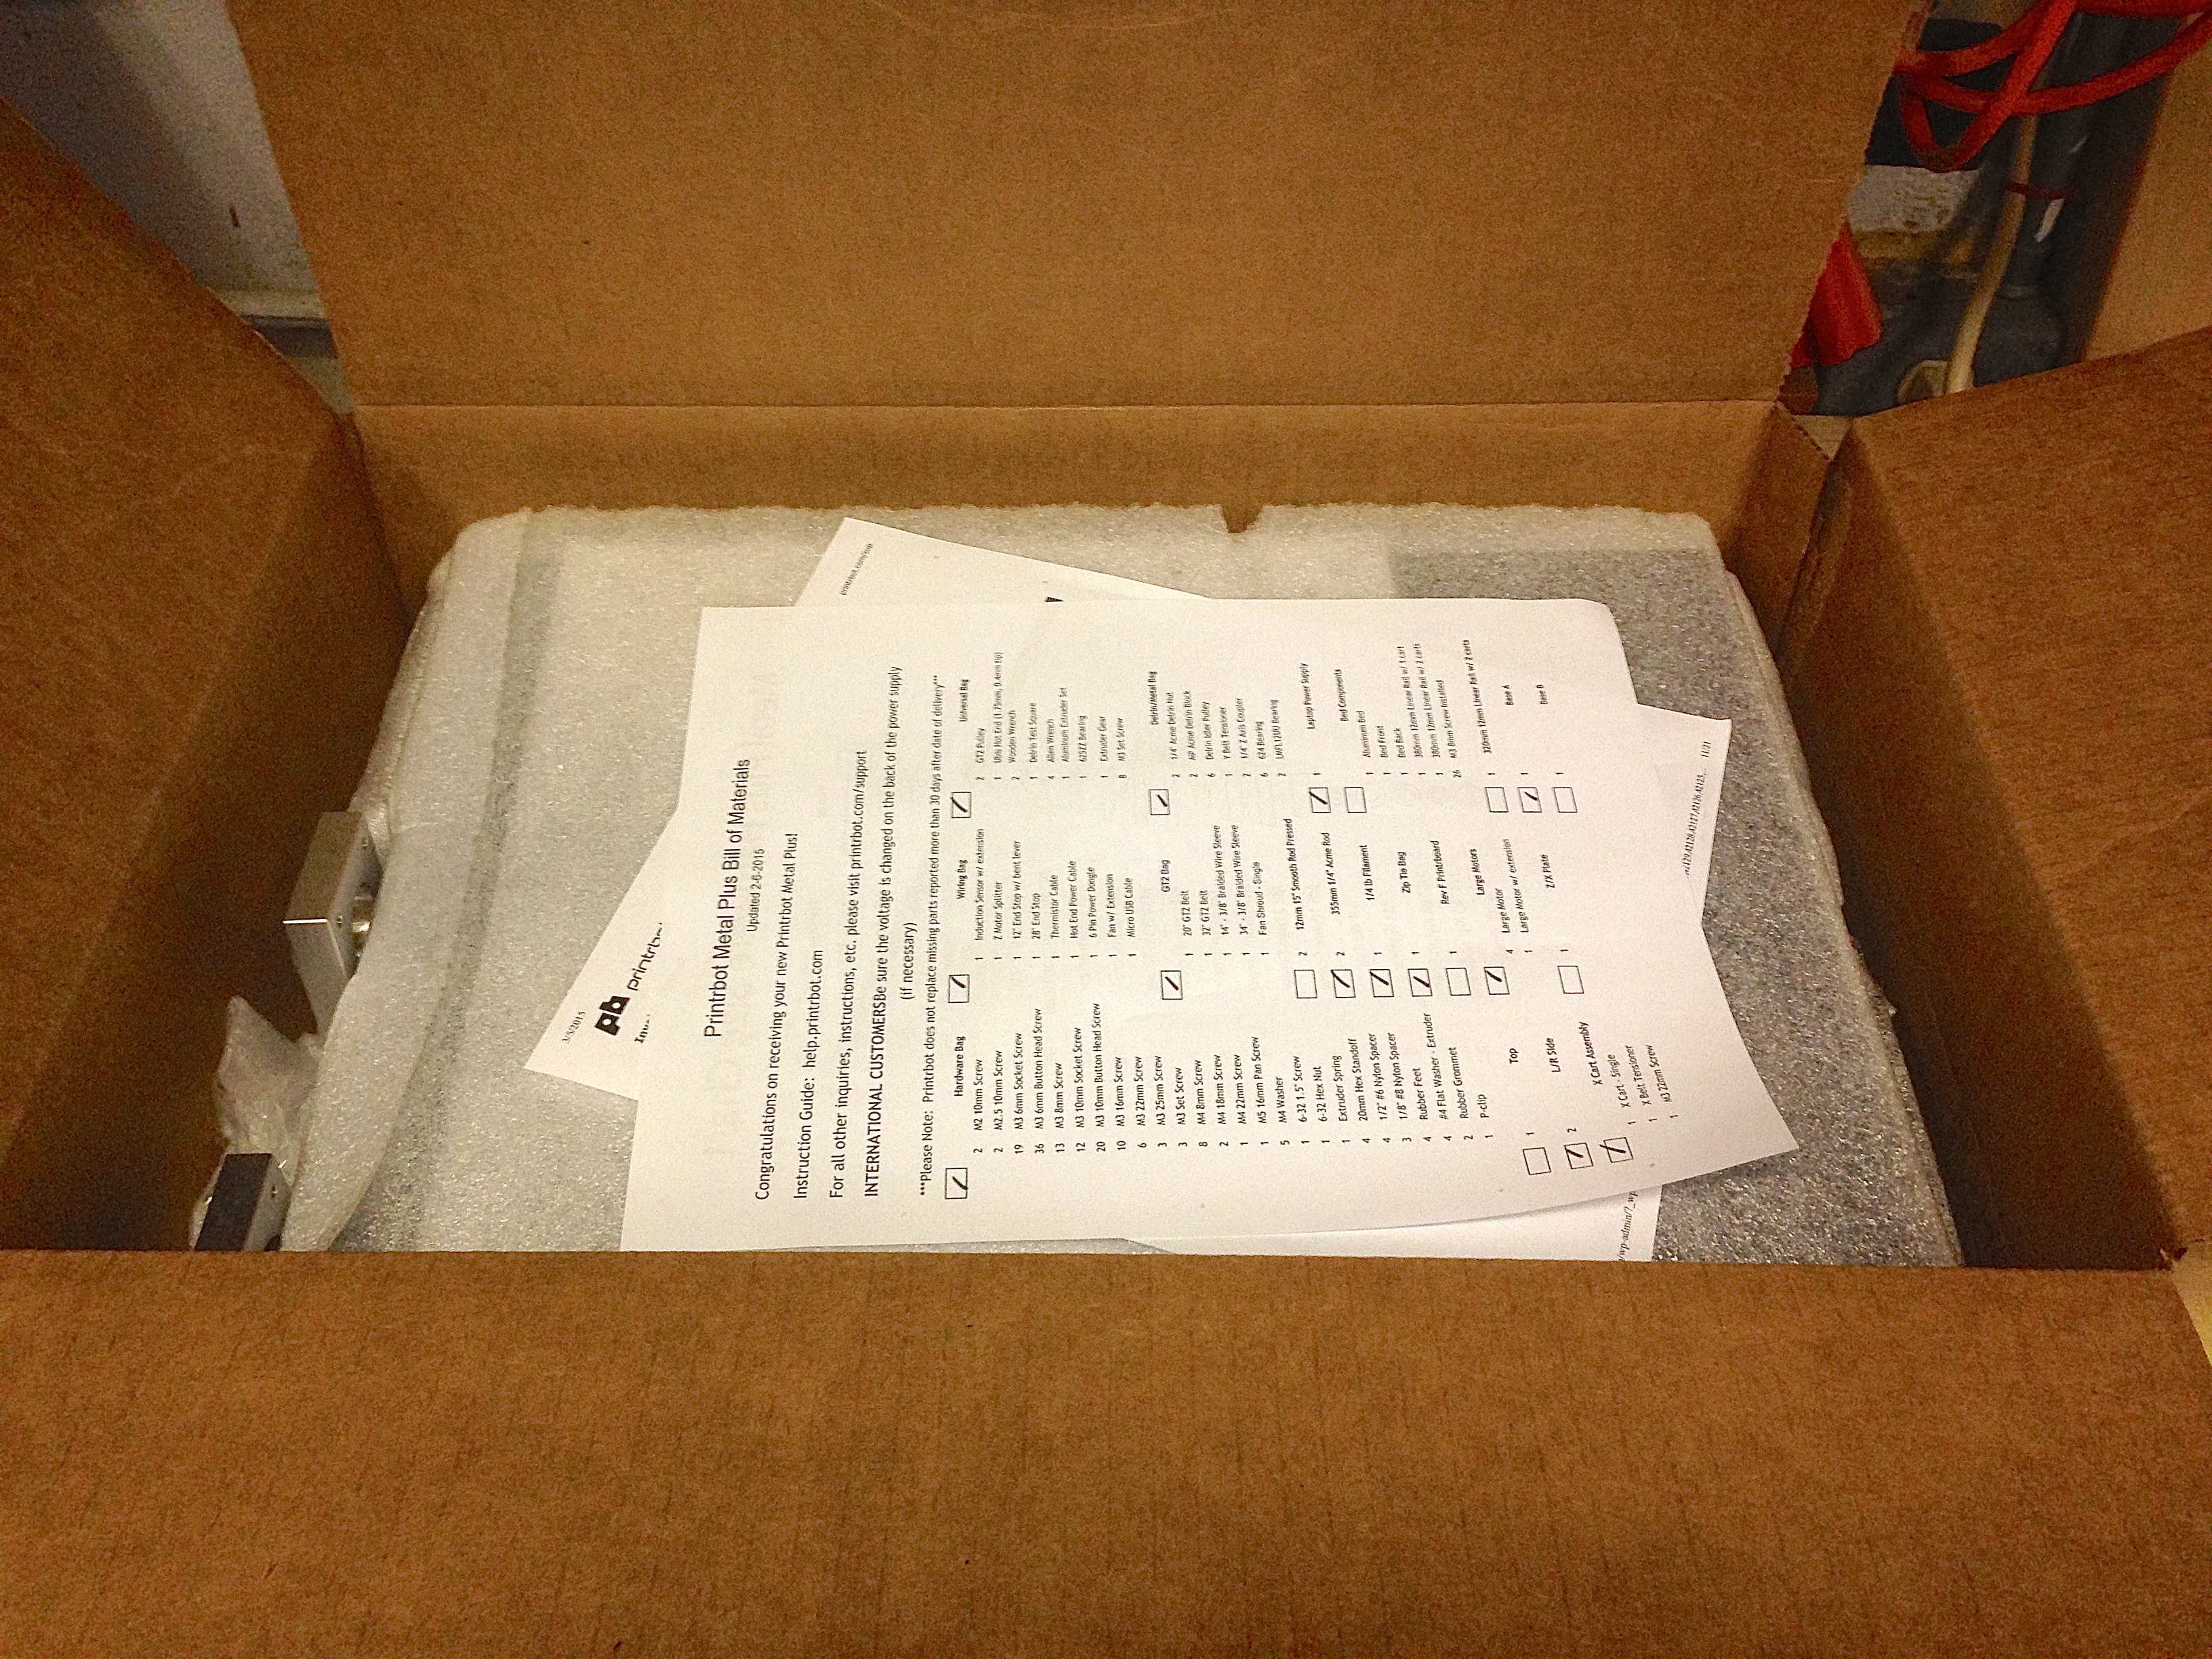

The main instructions for this kit are on PrintrBot’s website. I won’t reproduce them here, since they’re probably changing as I write this. I’ve found PrintrBot’s website to be pretty good. If I had one complaint, it’s that there’s a mix of older and more current versions of documents, and it’s not always clear which is which. However, there’s lots of information there, and it’s nicely laid out. Speaking of laying things out, I started by doing that with all the parts. You’ll want ample workspace to build this beast.

I would describe this as a “Garage Kit”, to borrow a term from model making. It’s the kind of kit that only a small company with a patient and motivated audience could produce (and I’m glad they are doing it). As far as difficulty goes, I’d say this ranks easier than a HeathKit (remember those?), but harder than an Ikea dresser. Anyone with a basic mechanical competency and hand tools should have little trouble. For scale, if you have the interest and patience to build a complex LEGO set, than this will be no problem for you.
It’s clear PrintrBot is actively improving this kit based on feedback. You can see it in the small variations in my kit from the instructions (and the comment threads therein).


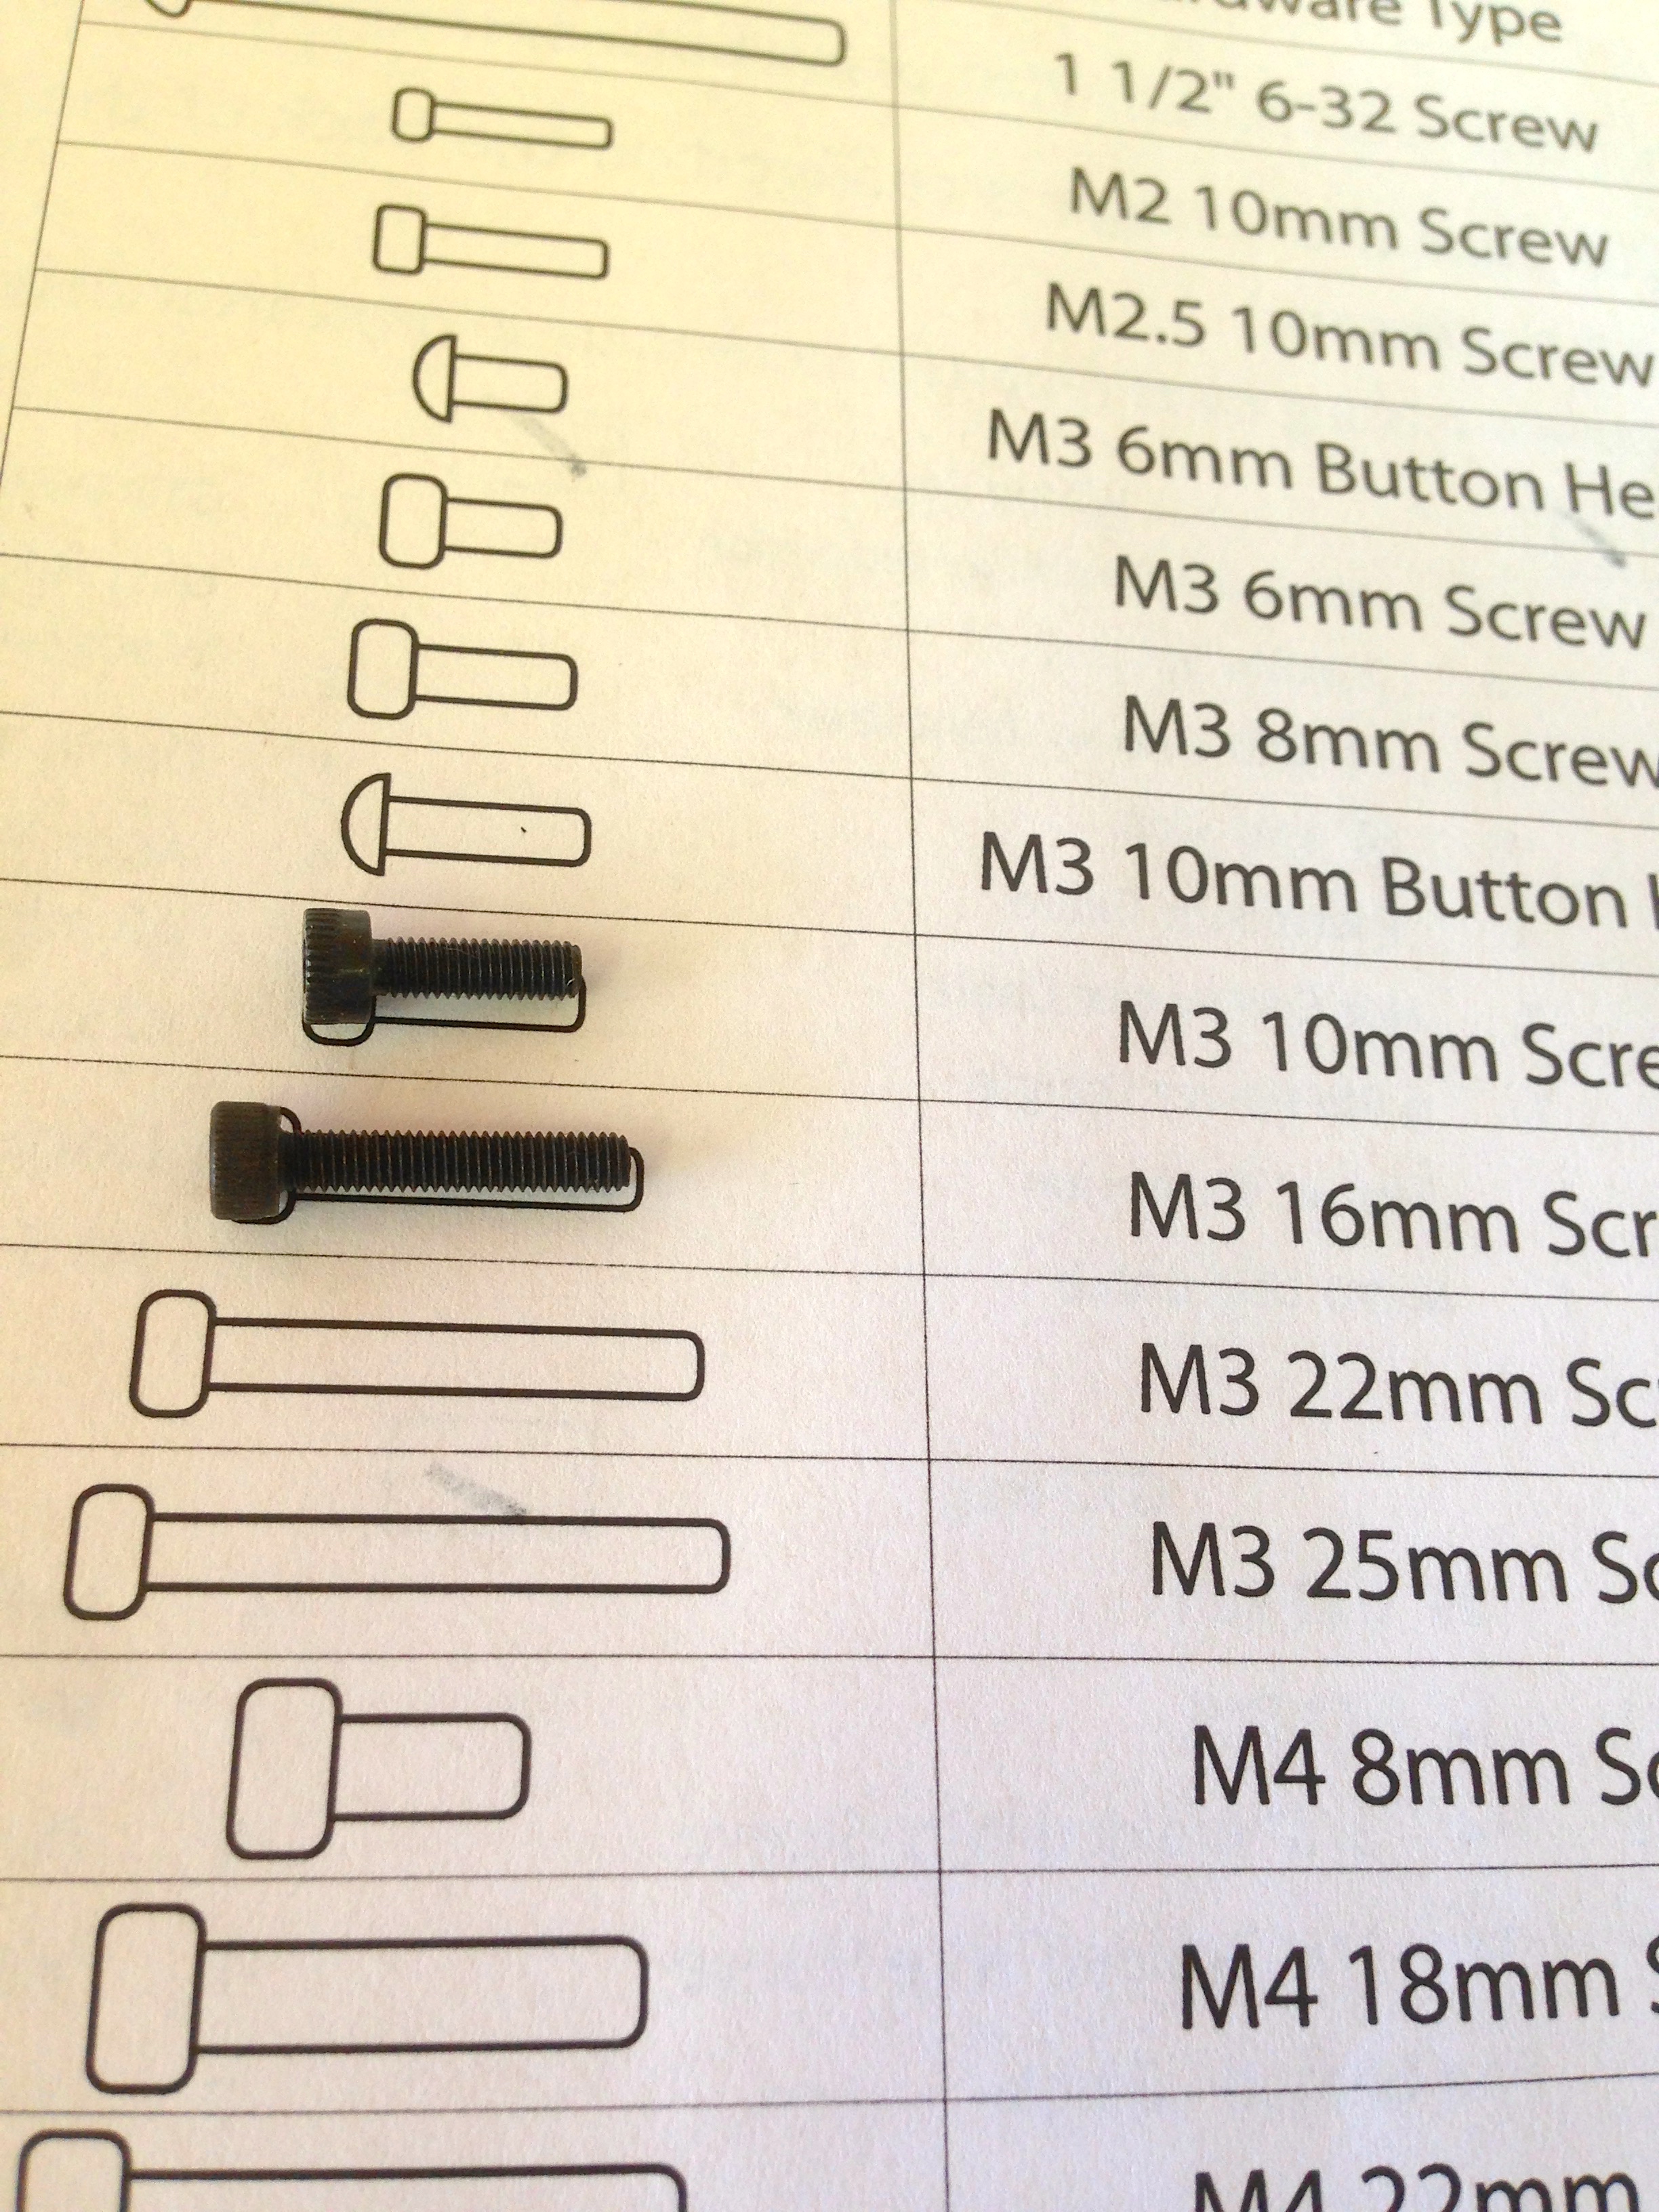
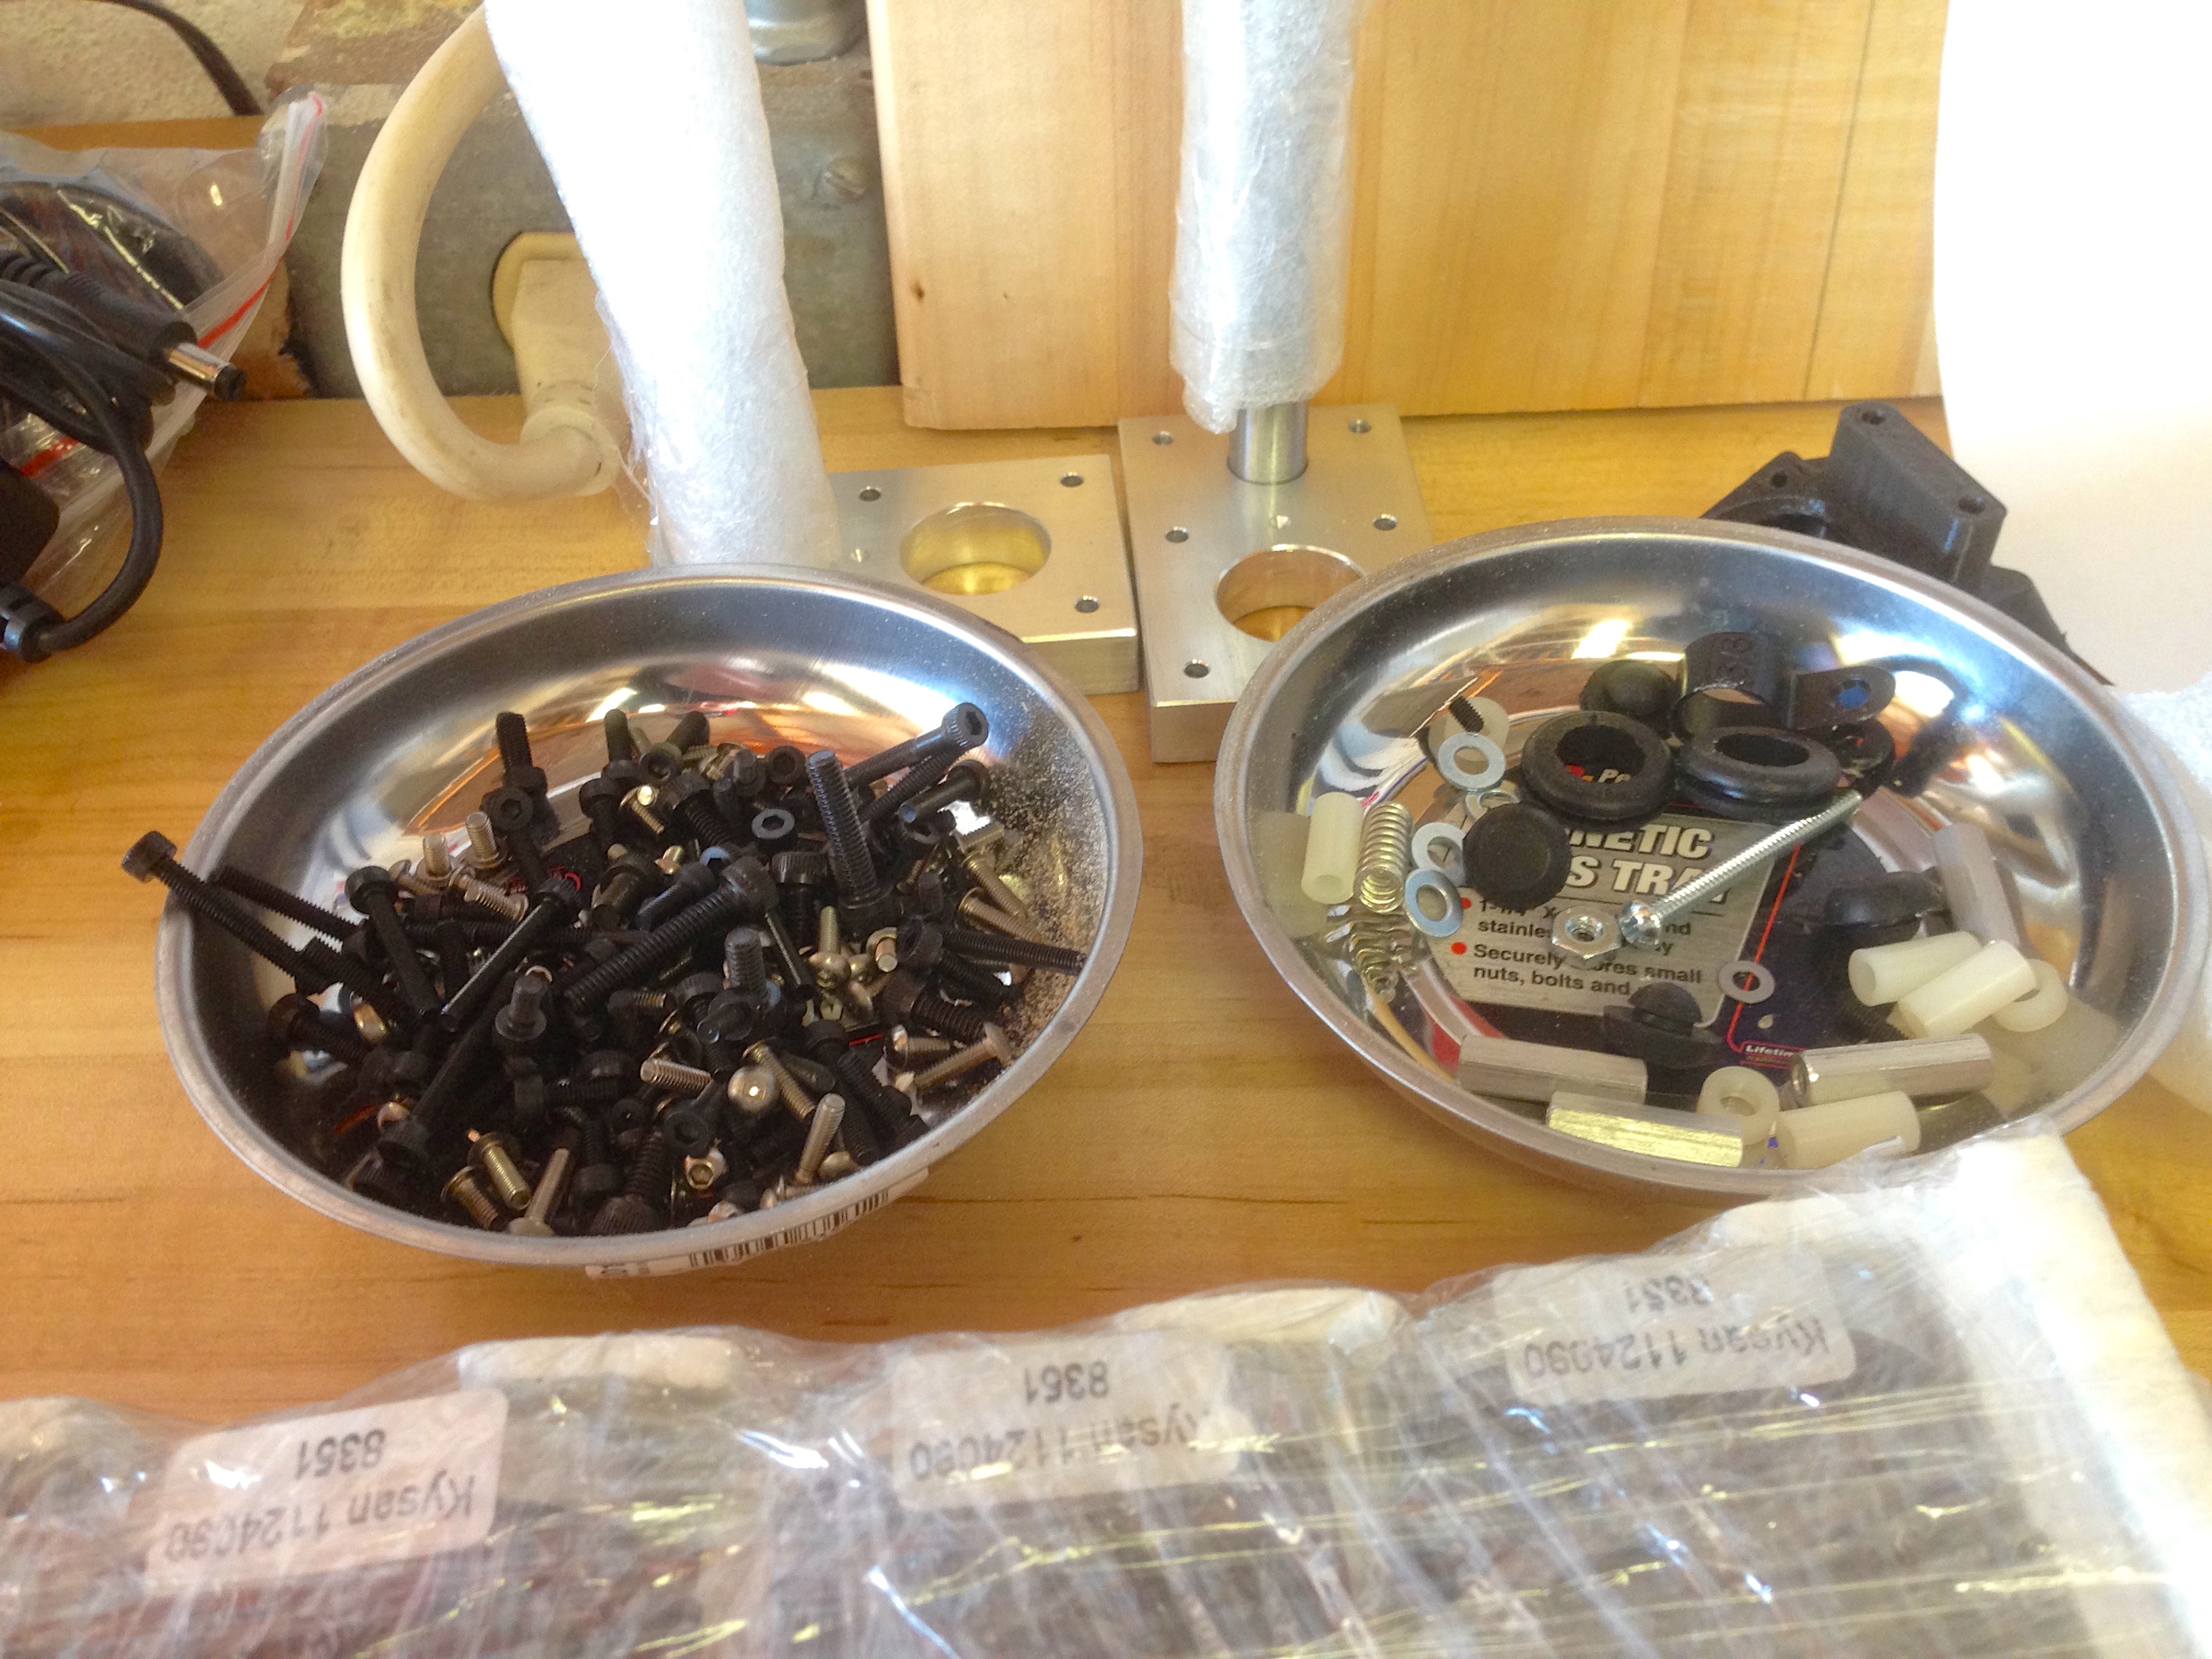
A quick note about hardware- I found a couple of places where the hardware specified in the instructions didn’t seem to match what I had available. However, I was always able to substitute something similar (like a button-head screw in place of a cap-screw of the same dimensions, for example). It’s not clear if they’ve updated the hardware without updating the instructions, or if the instructions are wrong, or if the hardware supplied wasn’t correct. In any case, 99% of the time, the instructions and kit matched, but be prepared to go off-script on occasion. They provided a fair amount of extra hardware, so it wasn’t a big deal for me. It’s also worth noting that I found the pictures in the instructions often disagreed a little bit with the text. The text seemed to be more correct in these situations, as you would expect (since text is a lot easier to maintain as a product evolves).
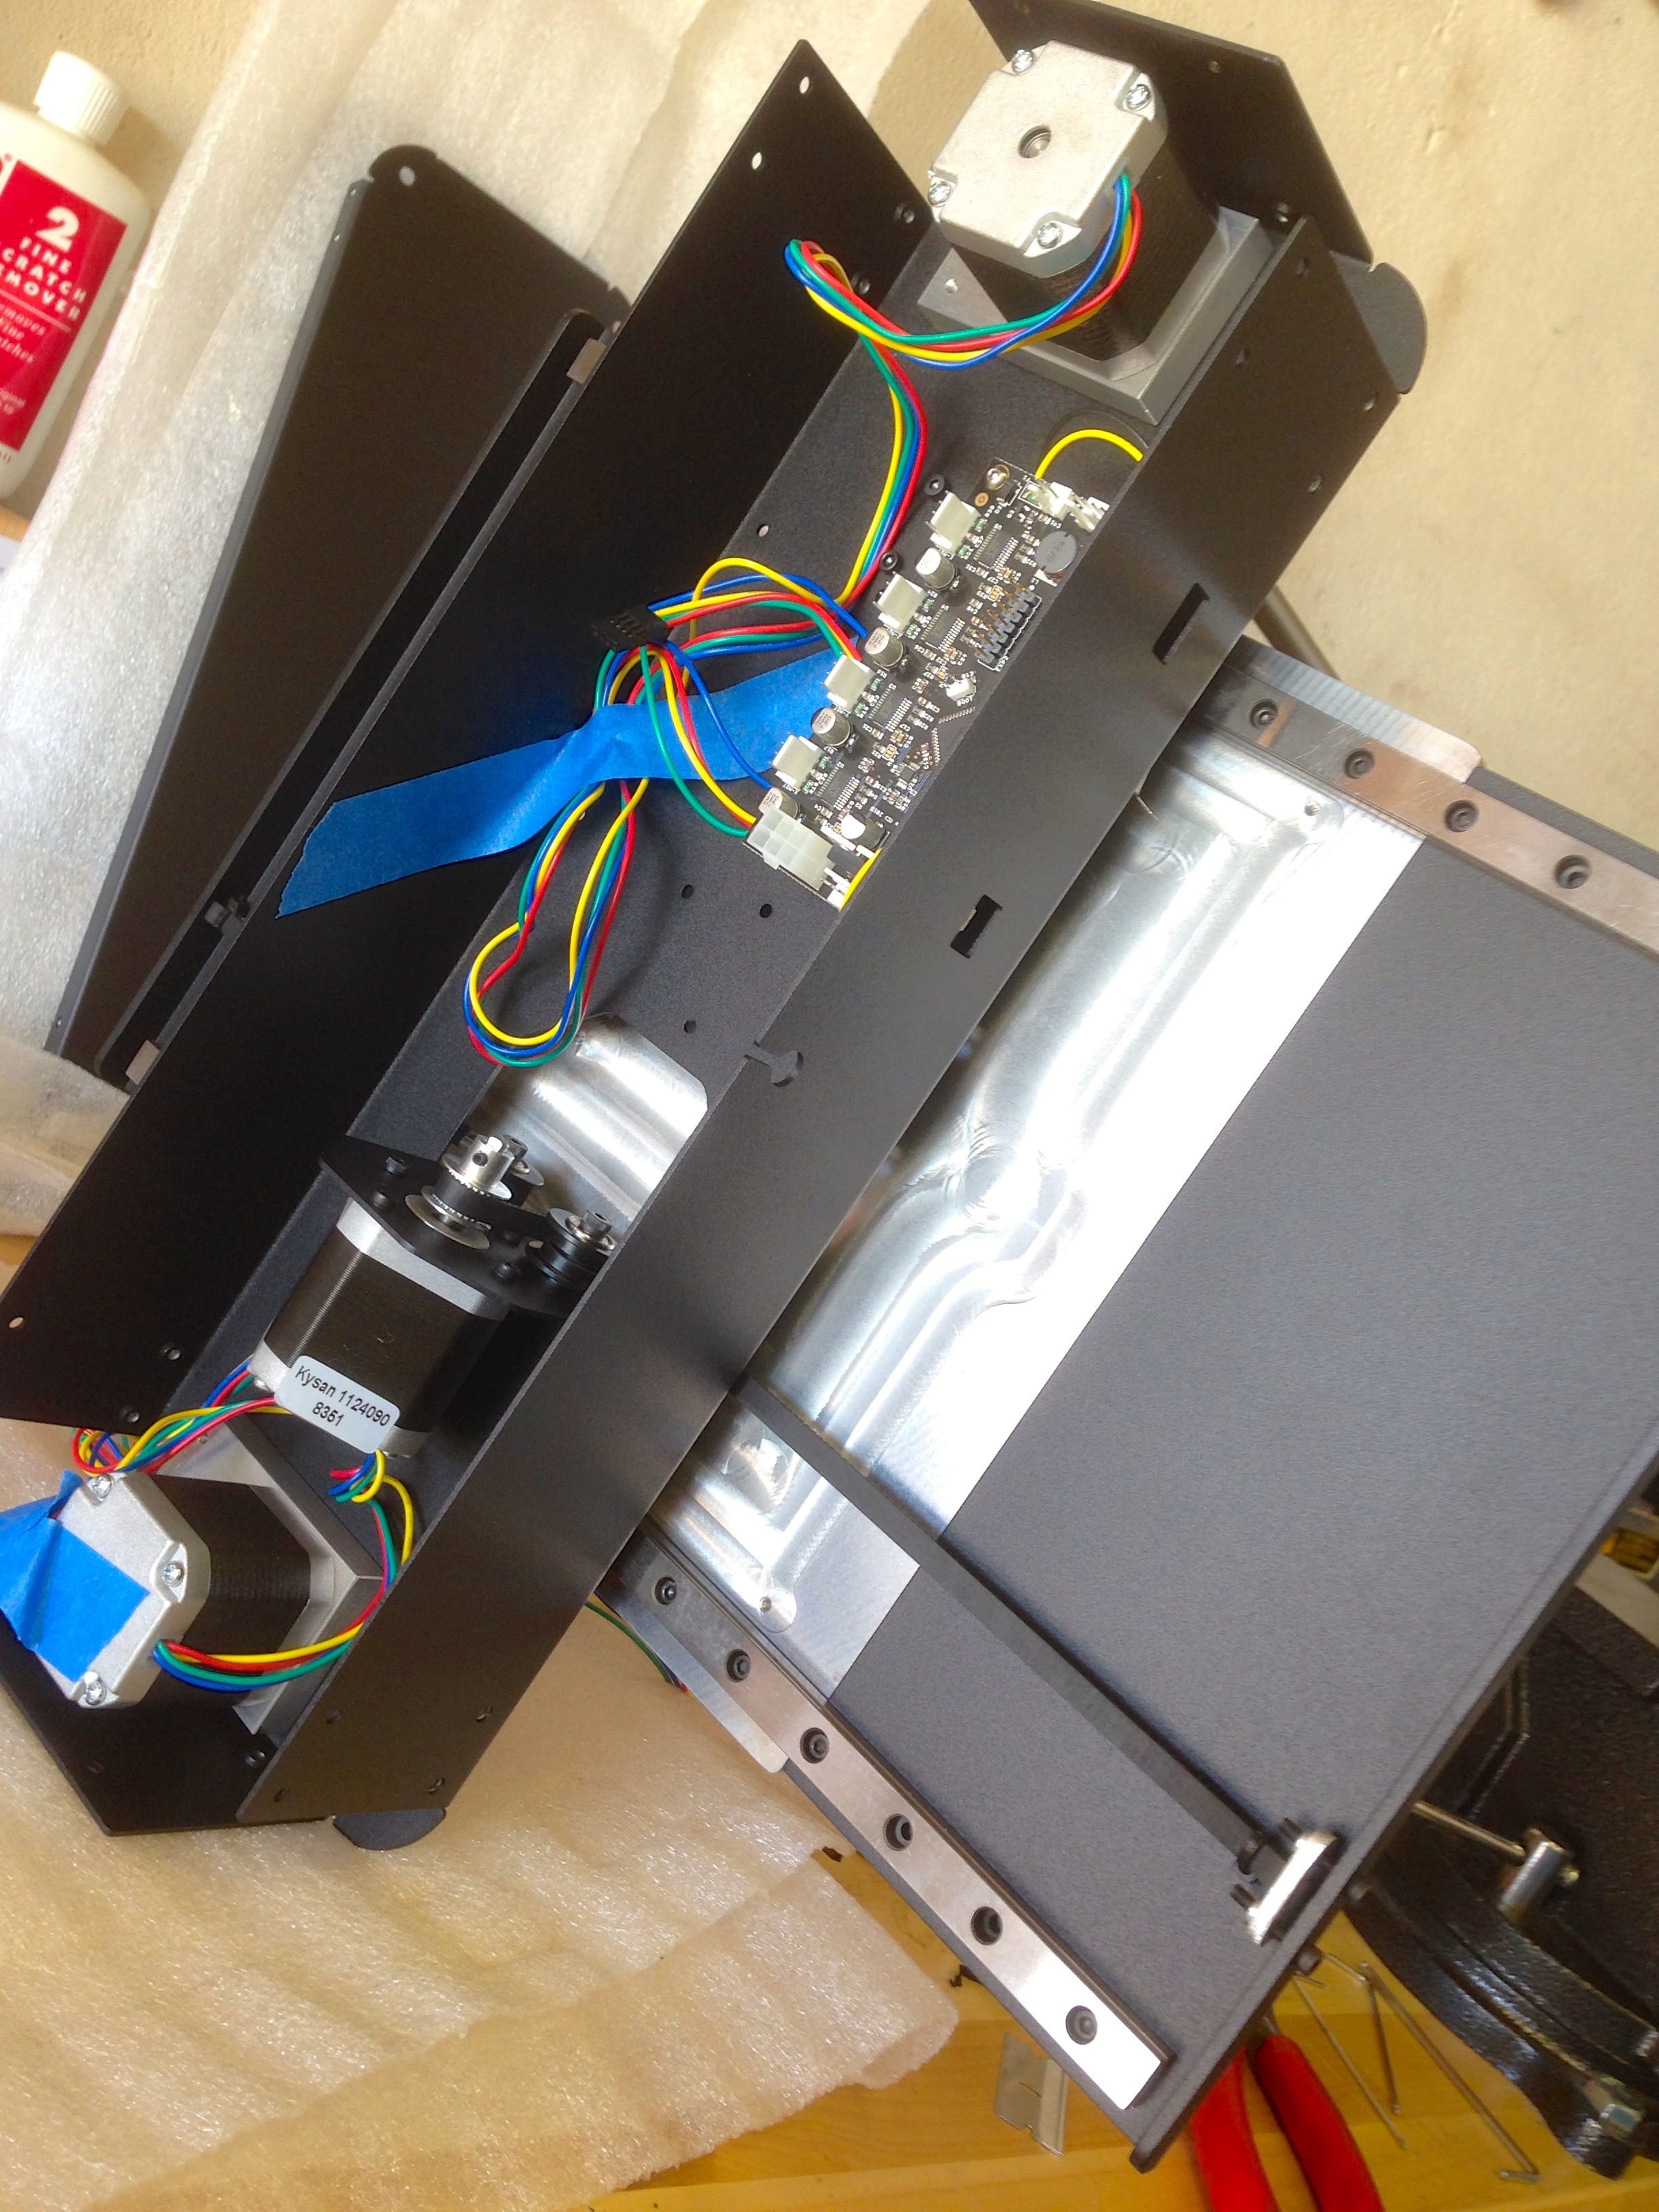
The first part to build is the base, with the Z motors, Y motor, and main control board in it.
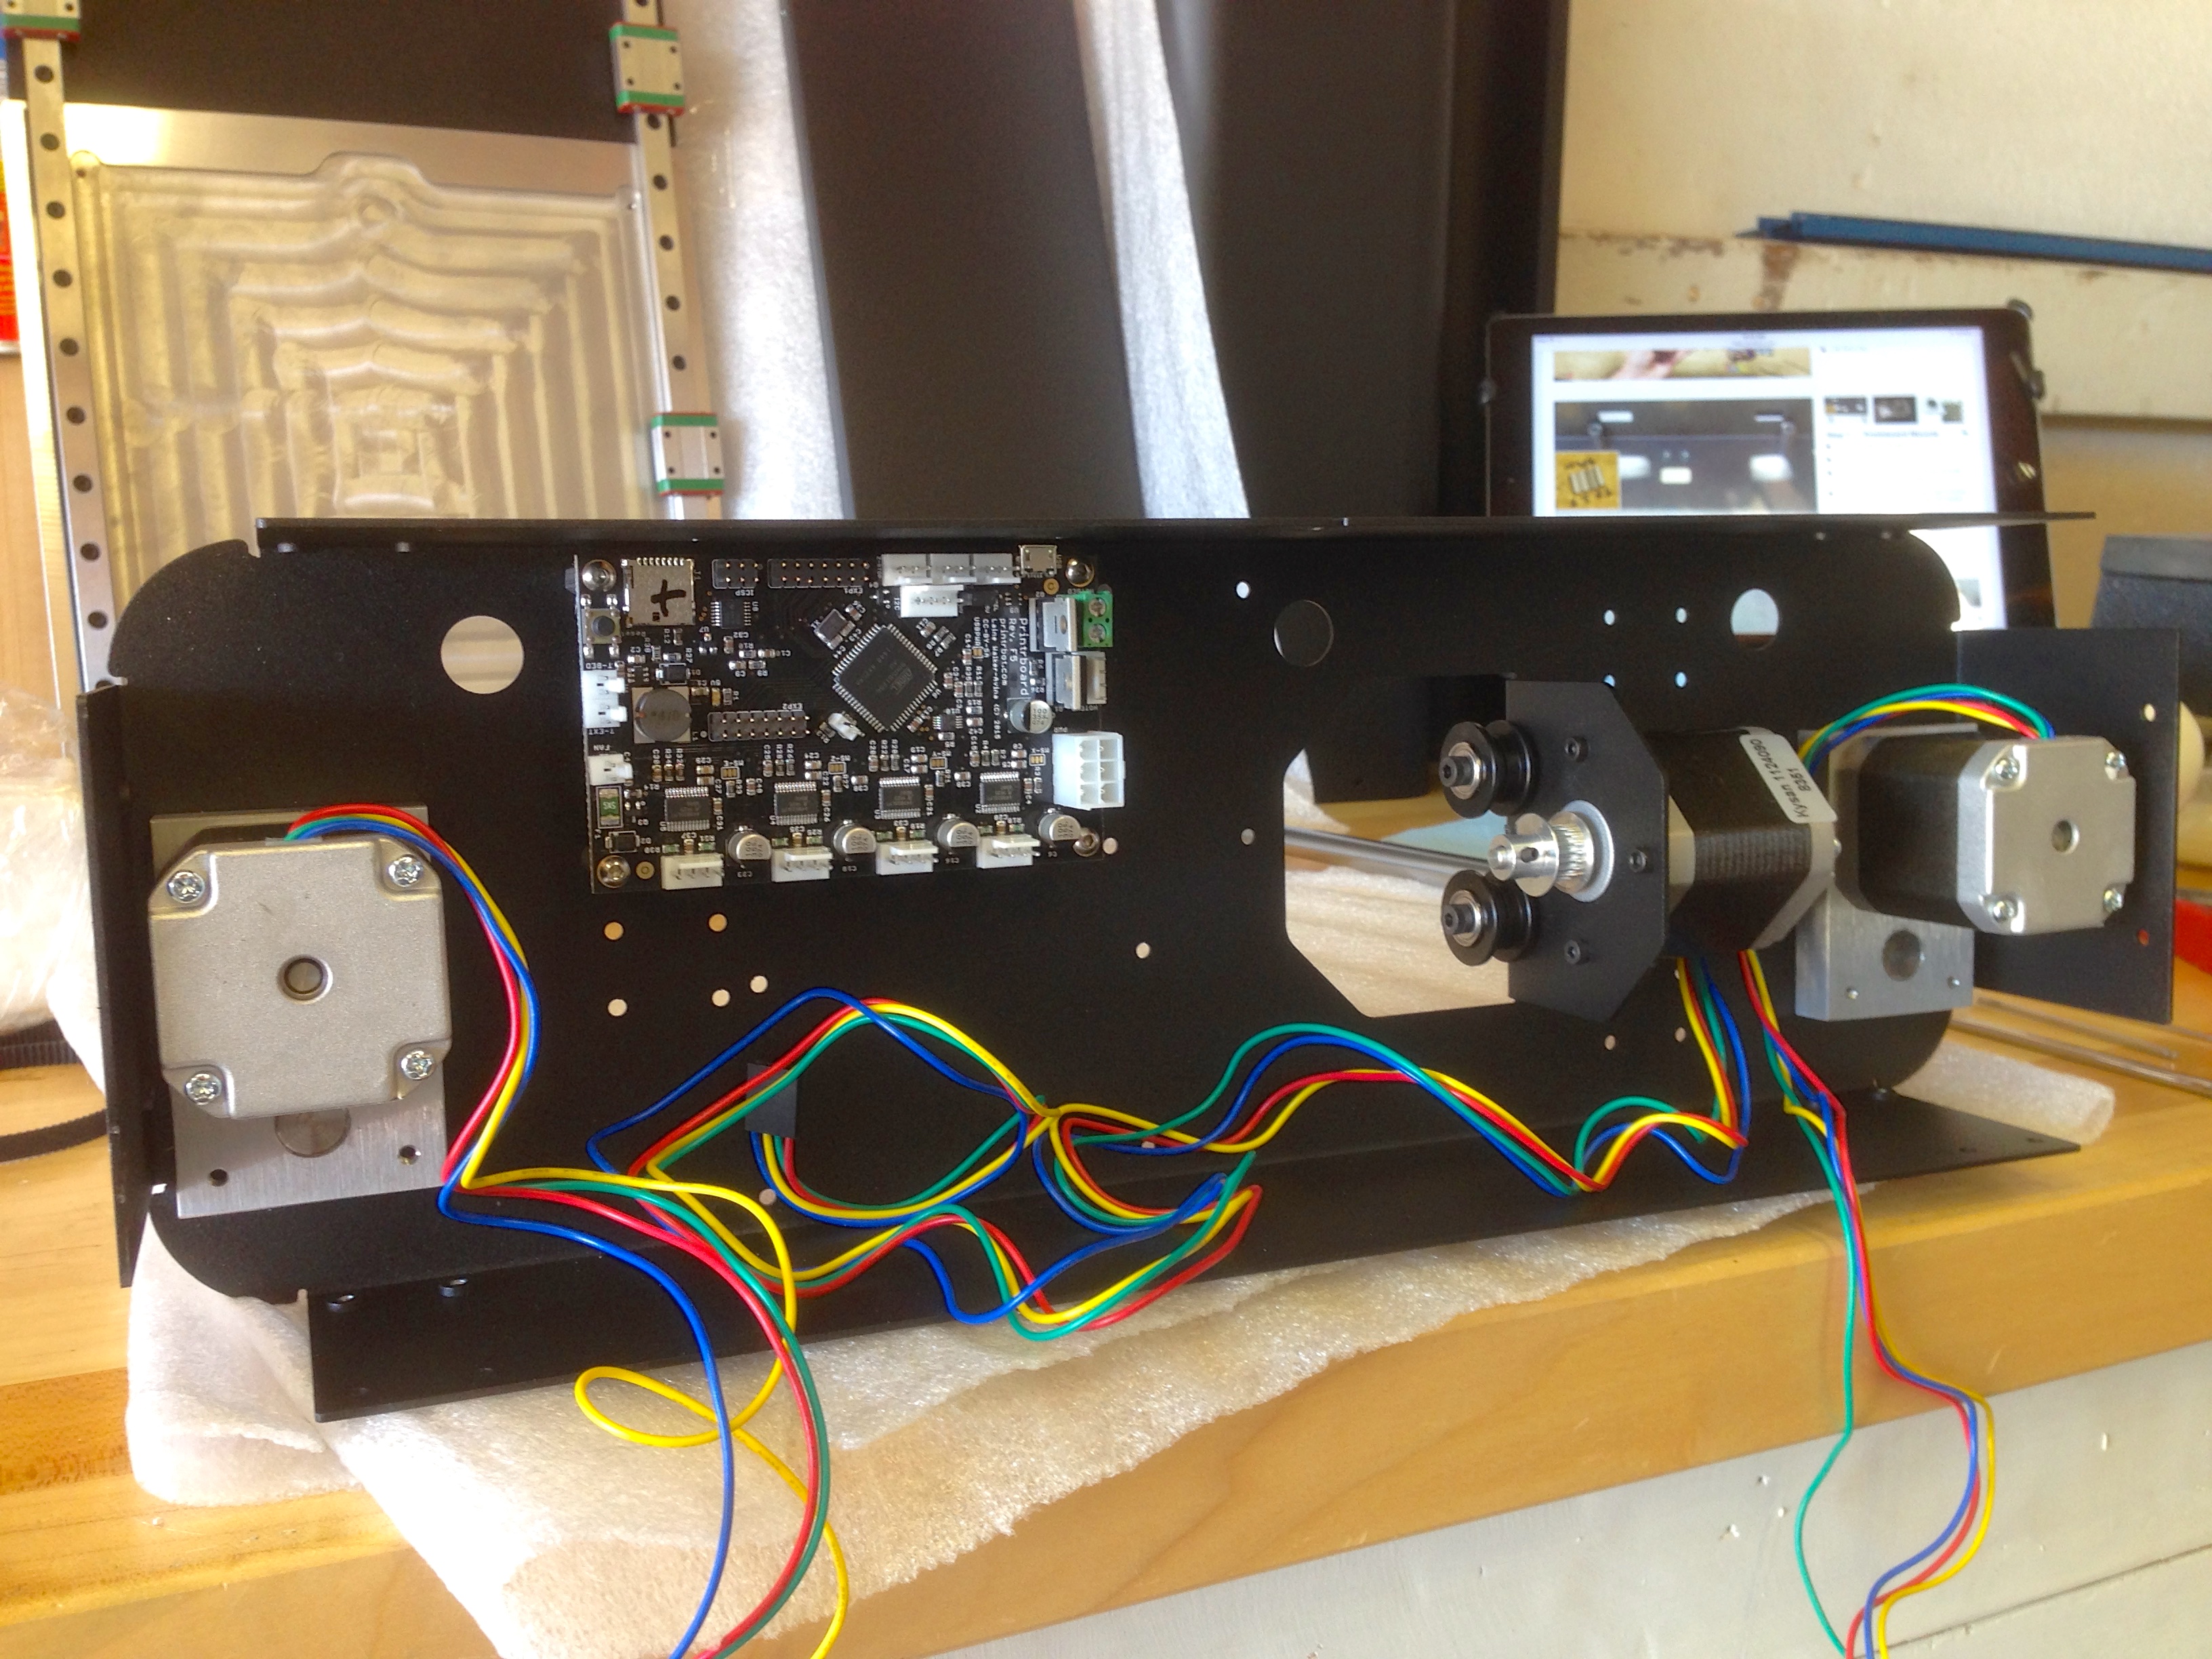
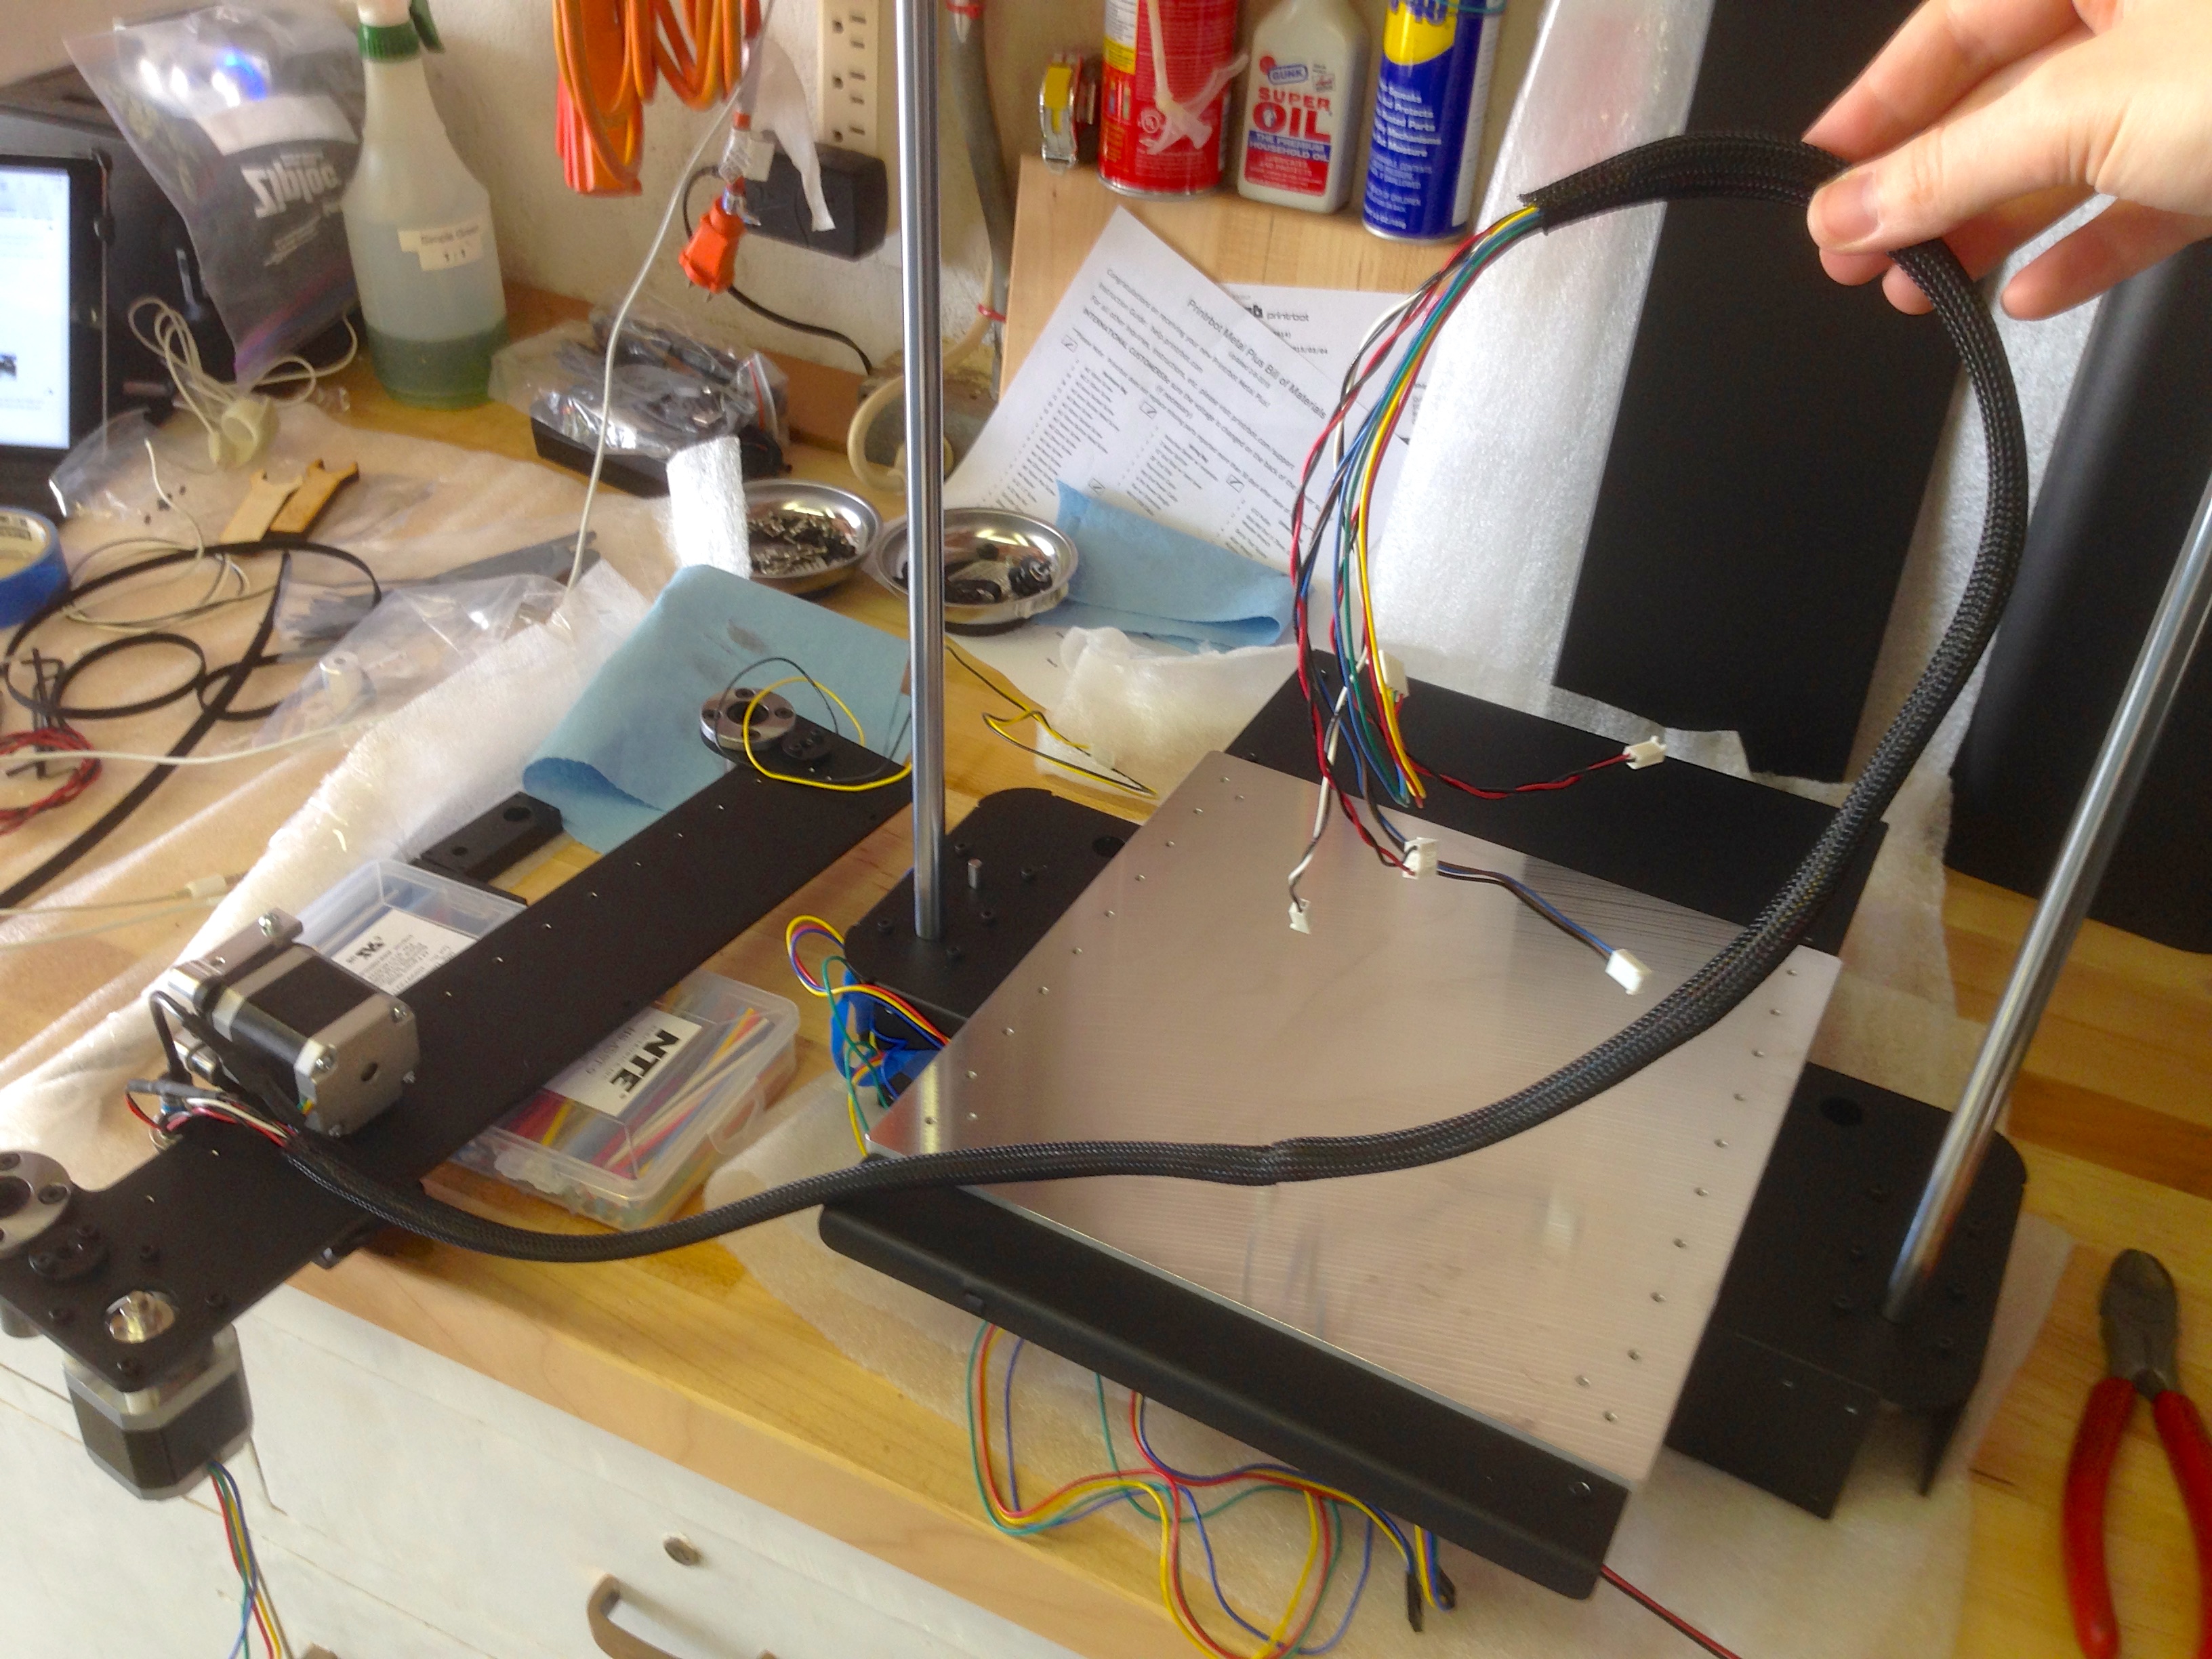
There’s a fair bit of wiring to wrangle during construction. I found it helpful to bundle things up with blue tape (Quinn’s favorite tool) along the way. You do a lot of flipping the machine over and around during construction, and it’s easy to accidentally set a heavy, sharp, metal edge down on a wiring harness.
At this point, I made my first “error” of sorts. The Metal Plus Kit can not be ordered in one bundle with the heated bed option (unlike the assembled unit, which can be ordered as such). I contacted PrintrBot customer support about this, and they said all I needed to do was order the bed heater separately. “Swell,” I thought! I ordered the bed heater, and since it says you need the thermistor, I ordered that as well. I wanted the heated bed option, because everything I had read said it made the printing process much easier and more repeatable, and it allows printing with ABS and other more exotic materials. The heated bed was paid for by the money I “saved” buying the kit, so it was free, right? Right?
After fussing around a bit, I went back on the PrintrBot site, and realized my mistake. There’s a specific Metal Plus Heated Bed Upgrade Kit that I needed to order. It would have been nice if customer support had been clearer about this, but they were very friendly and helpful, so I forgive them this minor confusion. They worked with me to get my parts returned and exchanged for the proper kit. In the meantime, I pressed on with no heated bed. PrintrBot’s customer support was solid- I interacted with them a couple of times, and always walked away feeling pretty good.
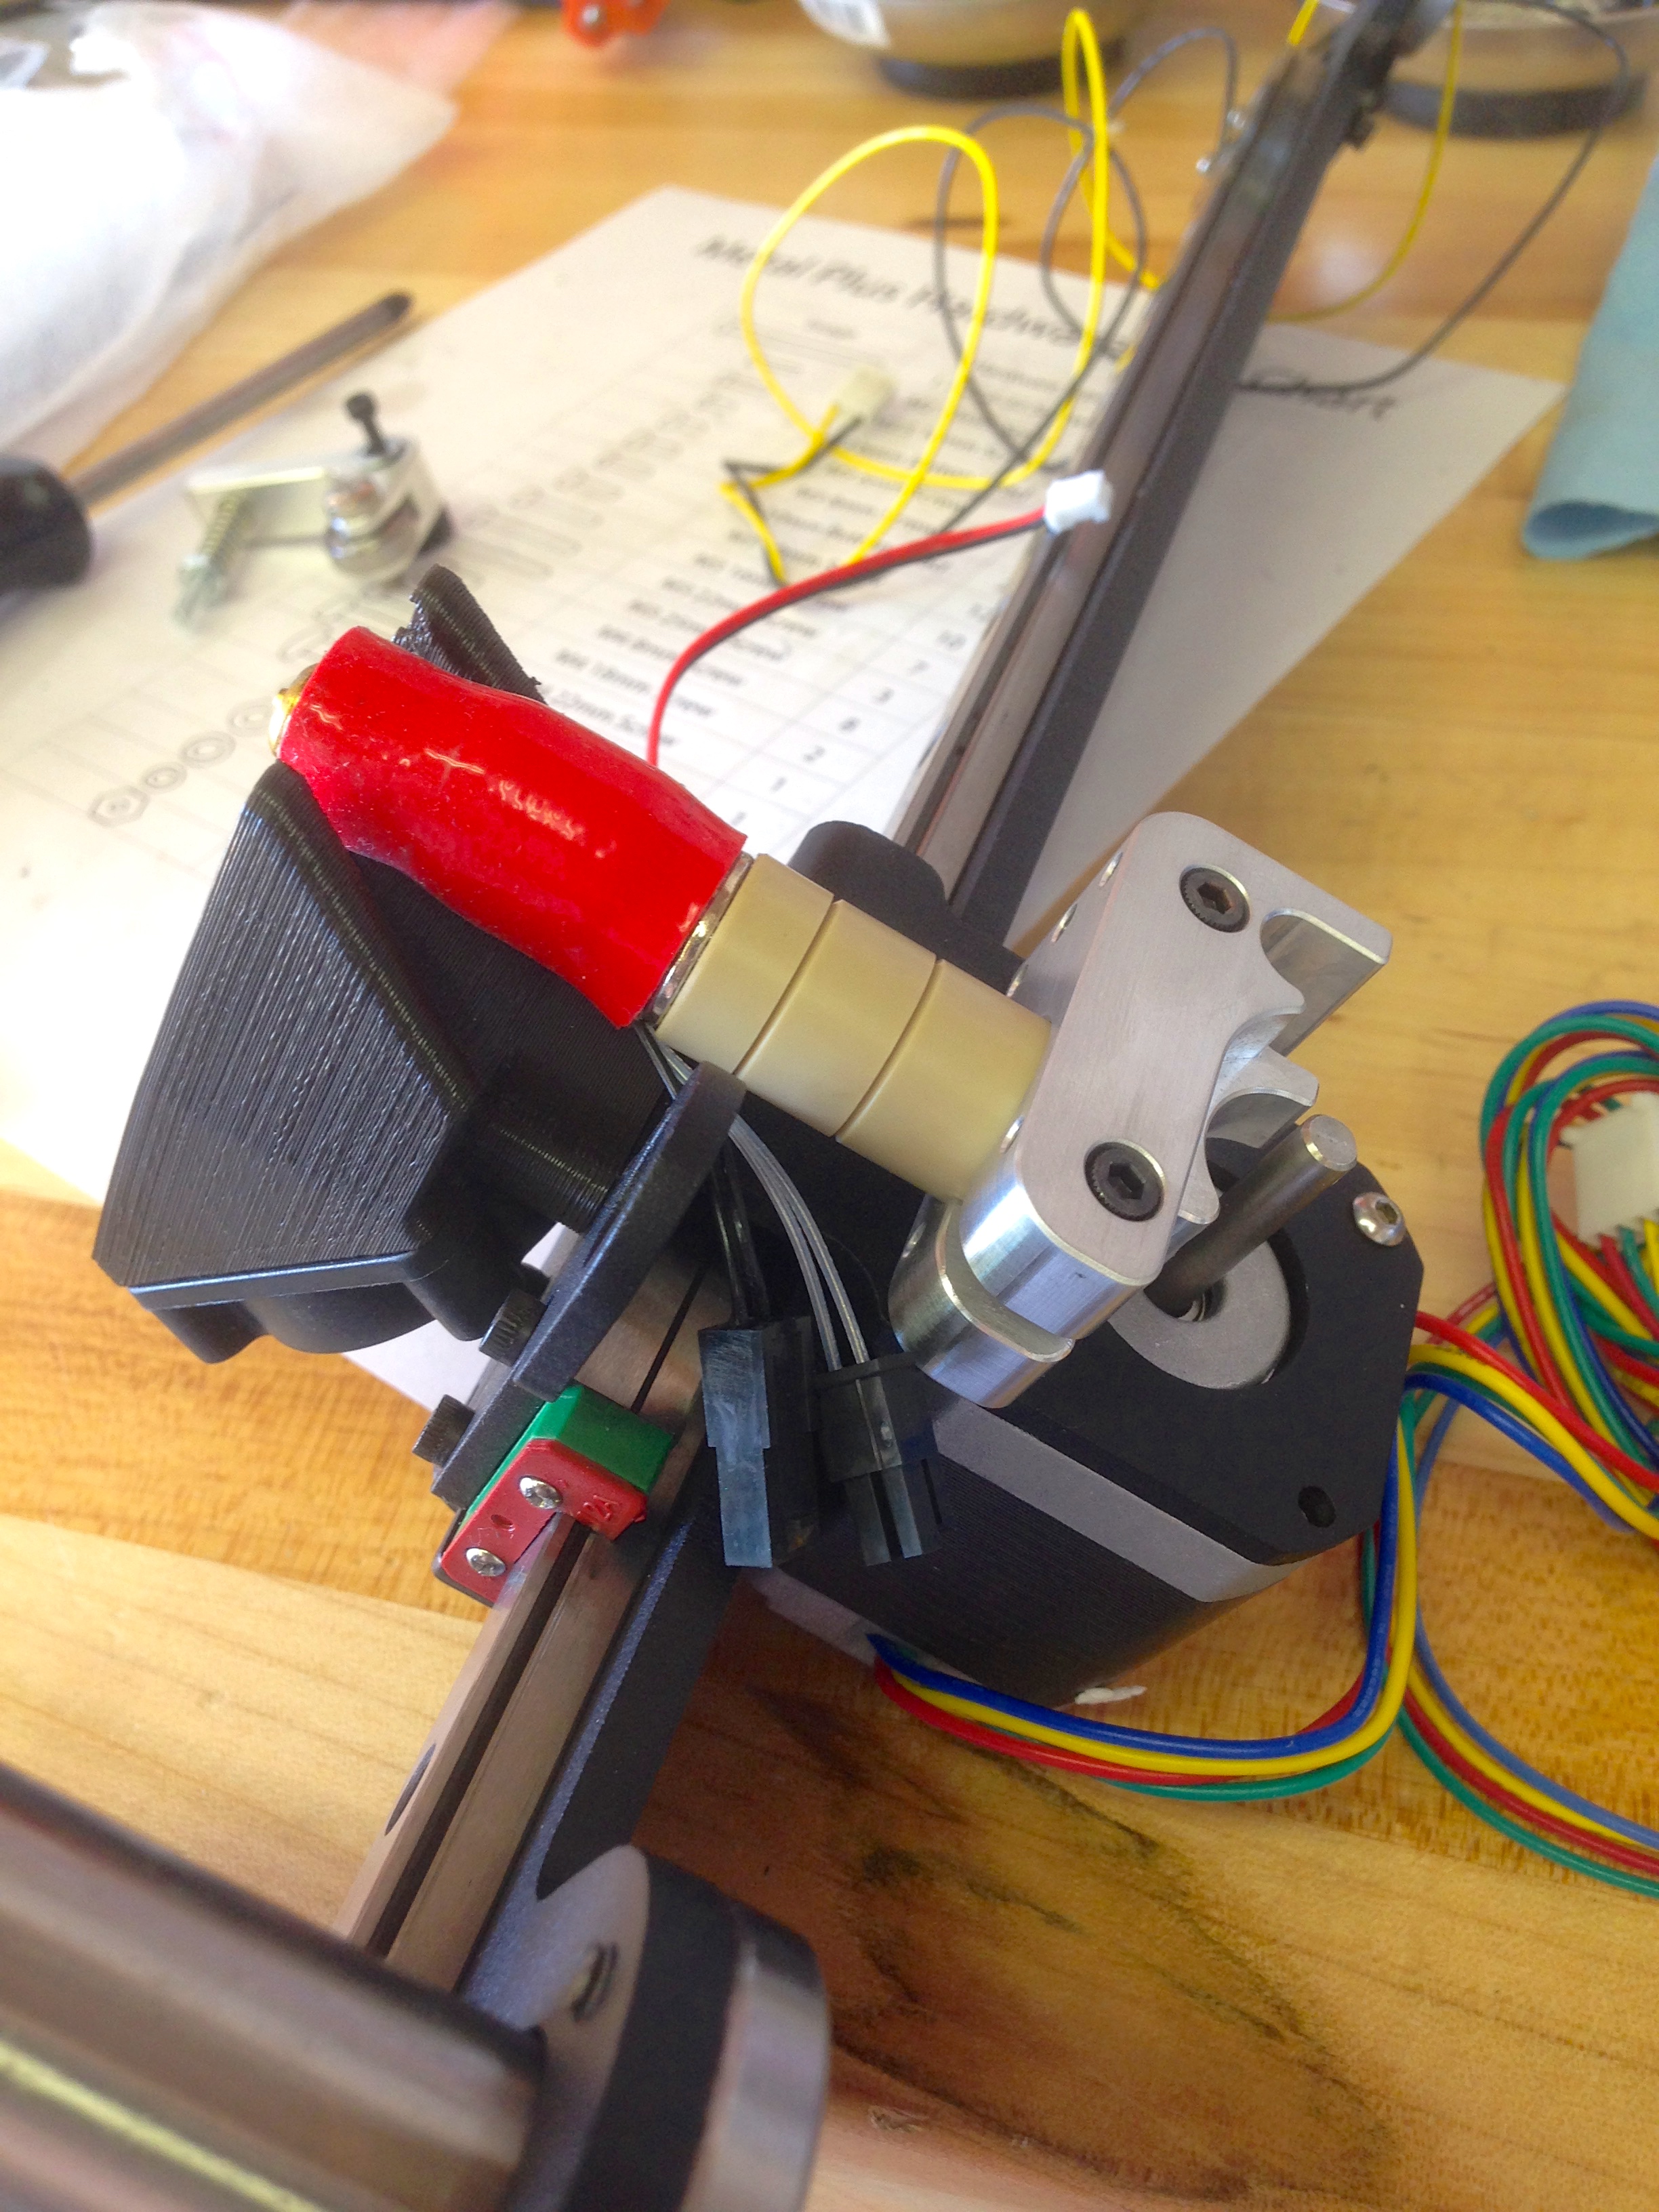
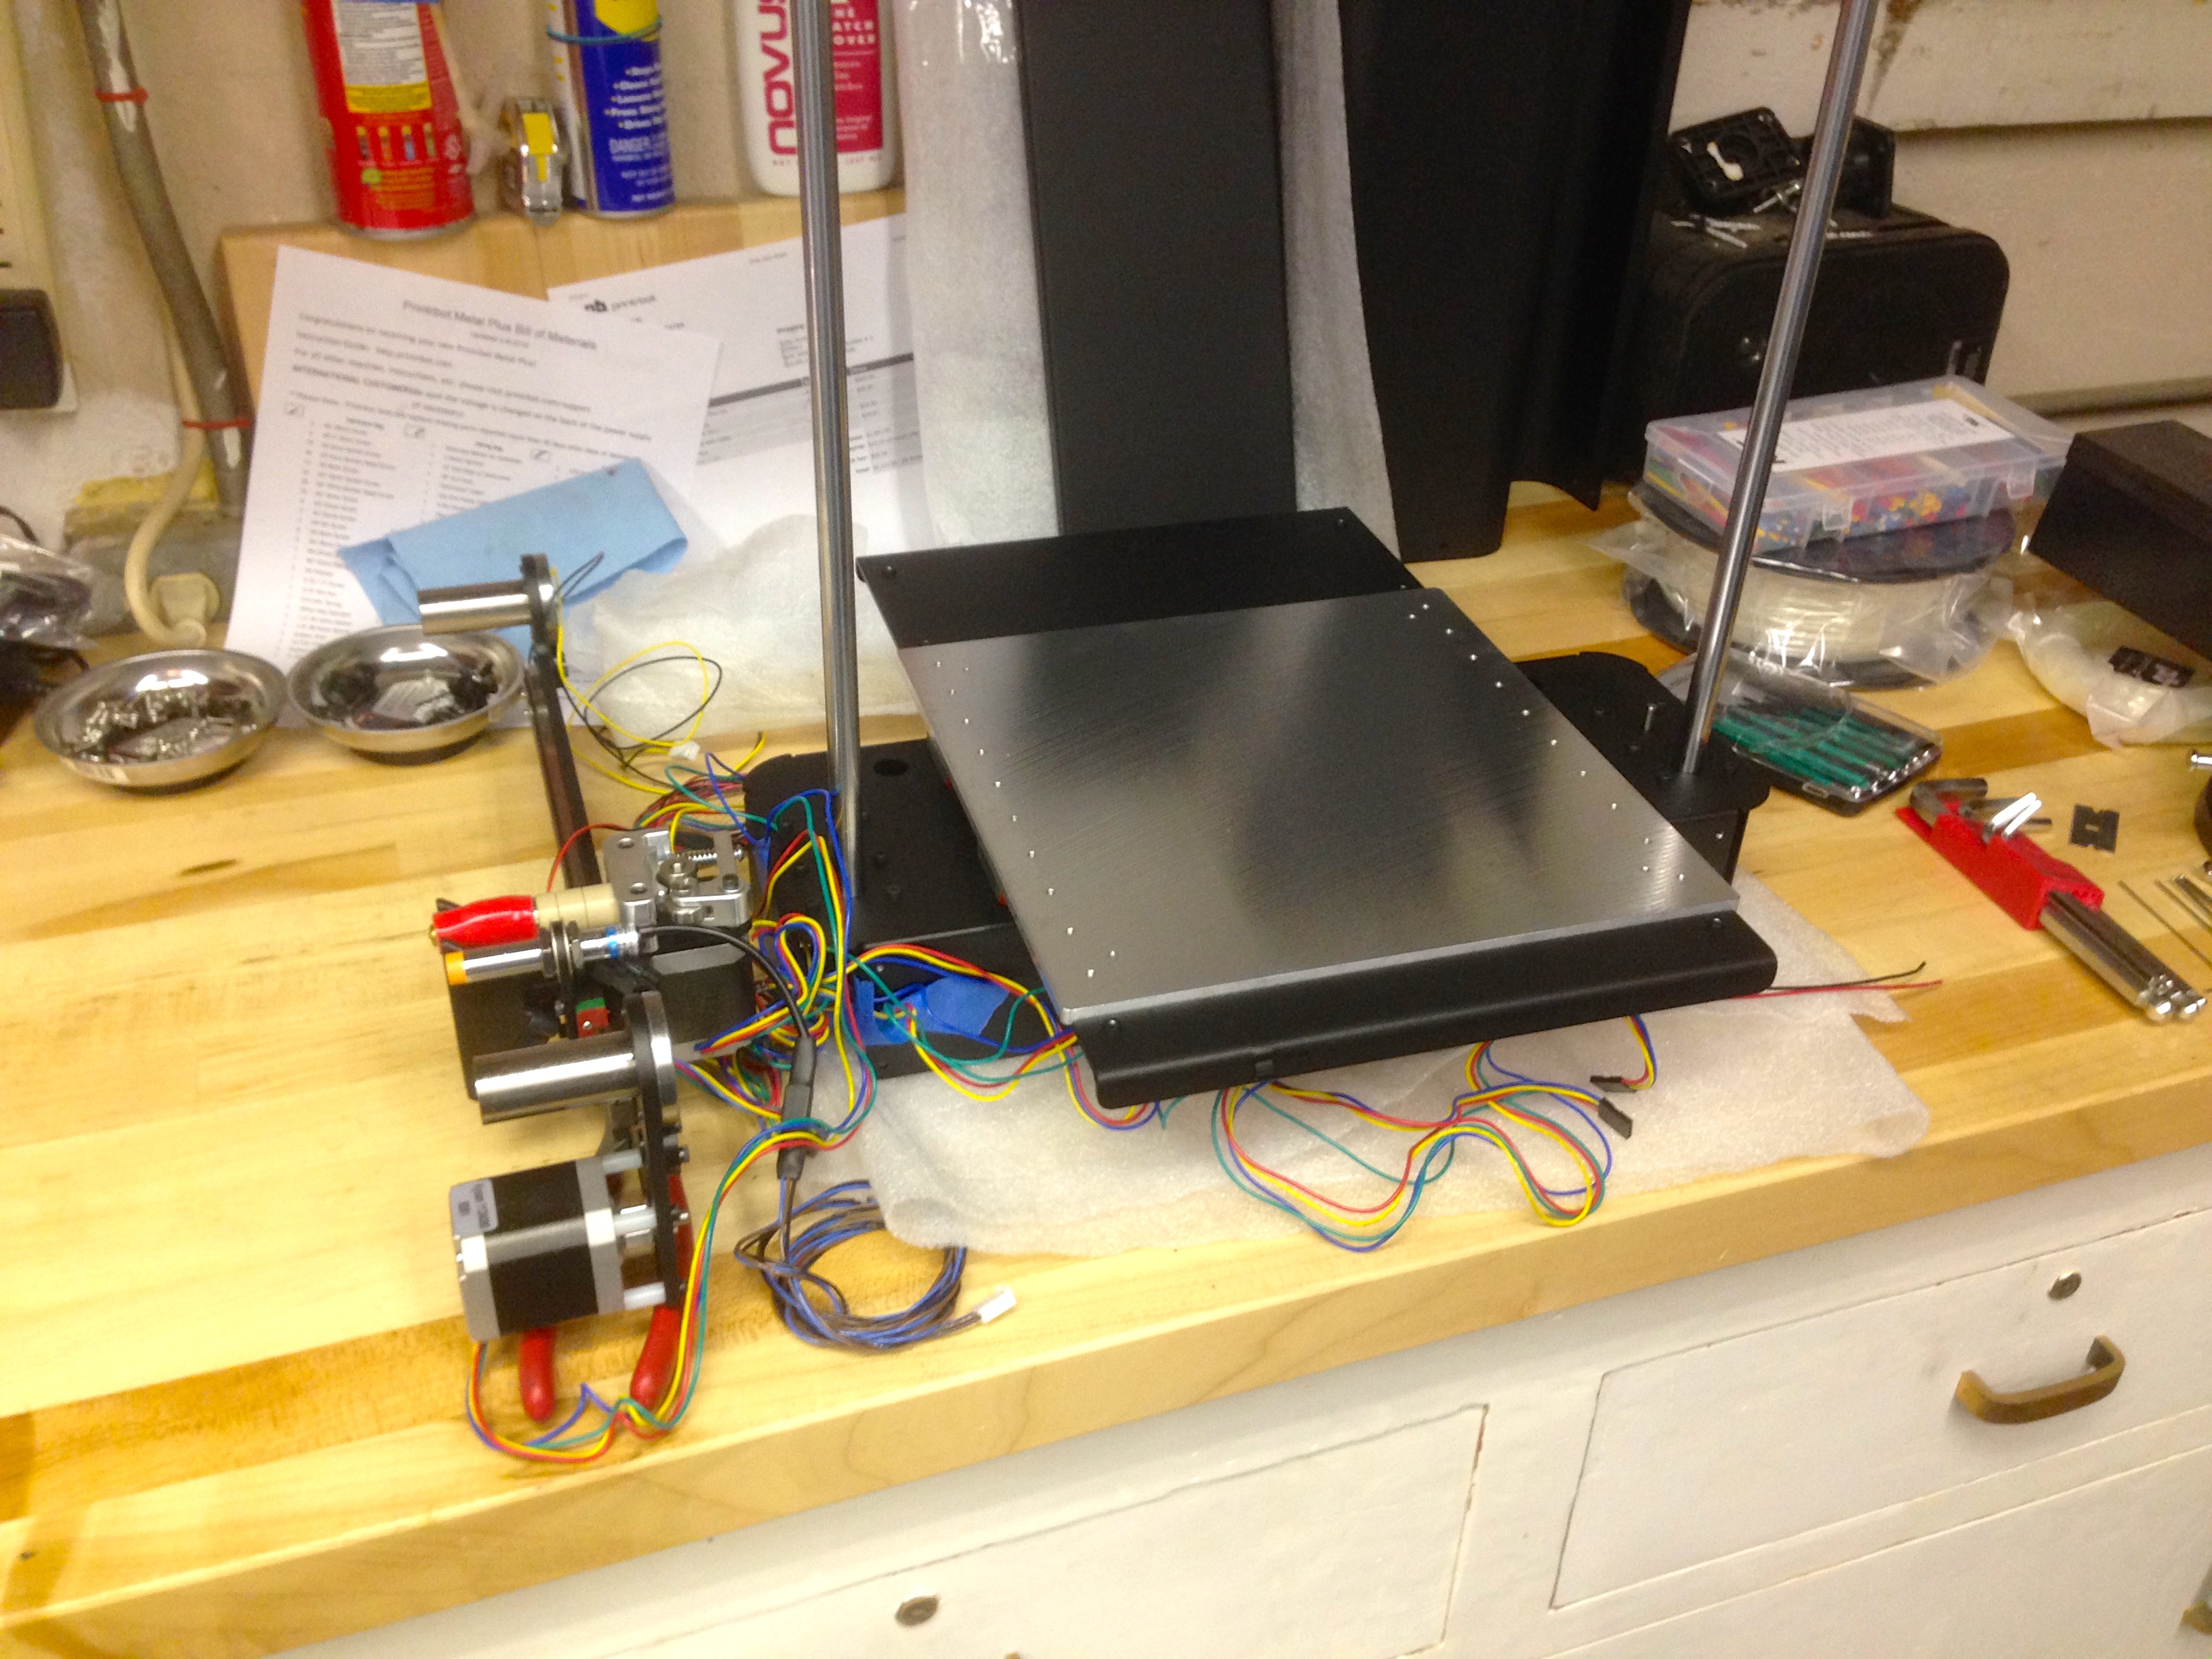
Once the base is done, the next major assembly is the X-axis carriage. This is the business end of the machine, and where things get the most interesting.
Most of the wiring is tackled at this point, and this is where the kit gave me the most trouble. The wiring colors described in the instructions didn’t exactly match what I had, but I was able to generally figure things out. The main differences were actually due to kit improvements. Connectors that used to have differing colors now had matching ones, and some connectors are now keyed that didn’t used to be. Again, with some basic mechanical understanding of the pieces involved, you can figure out what the intent of the instructions is.
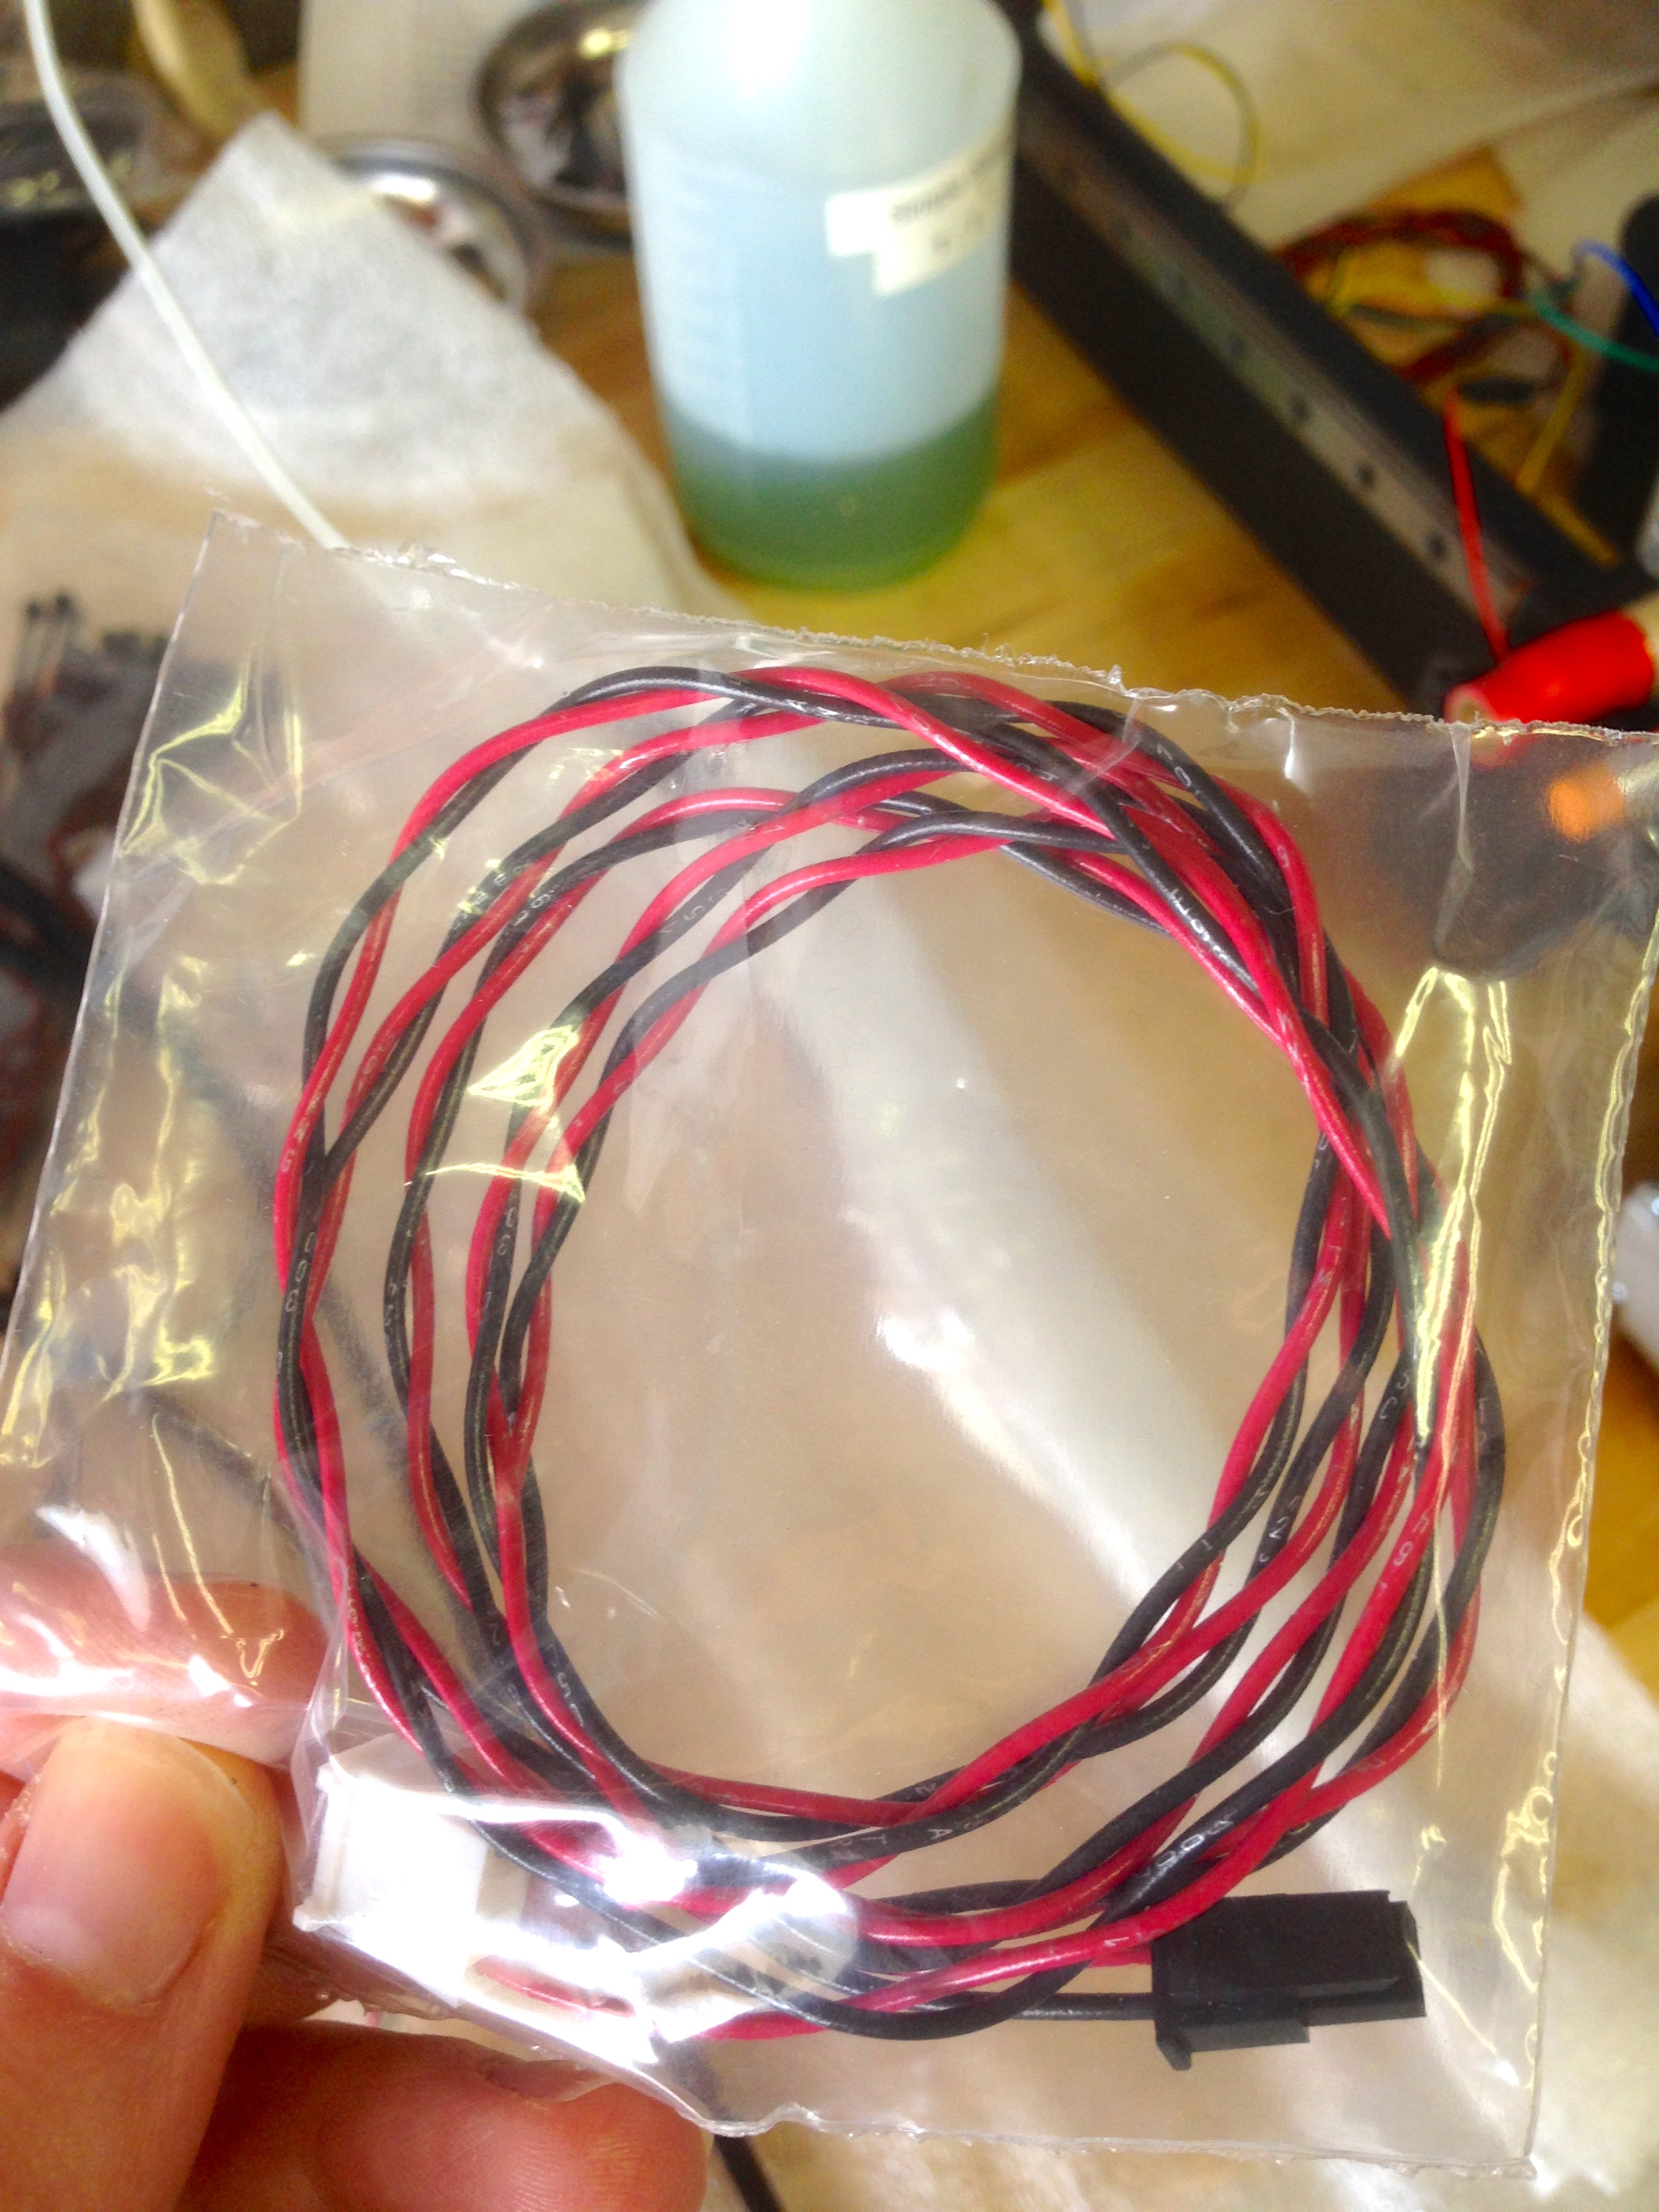
Unfortunately, this is where I got stuck. My kit included the wrong wiring harness for the powering the hot end.
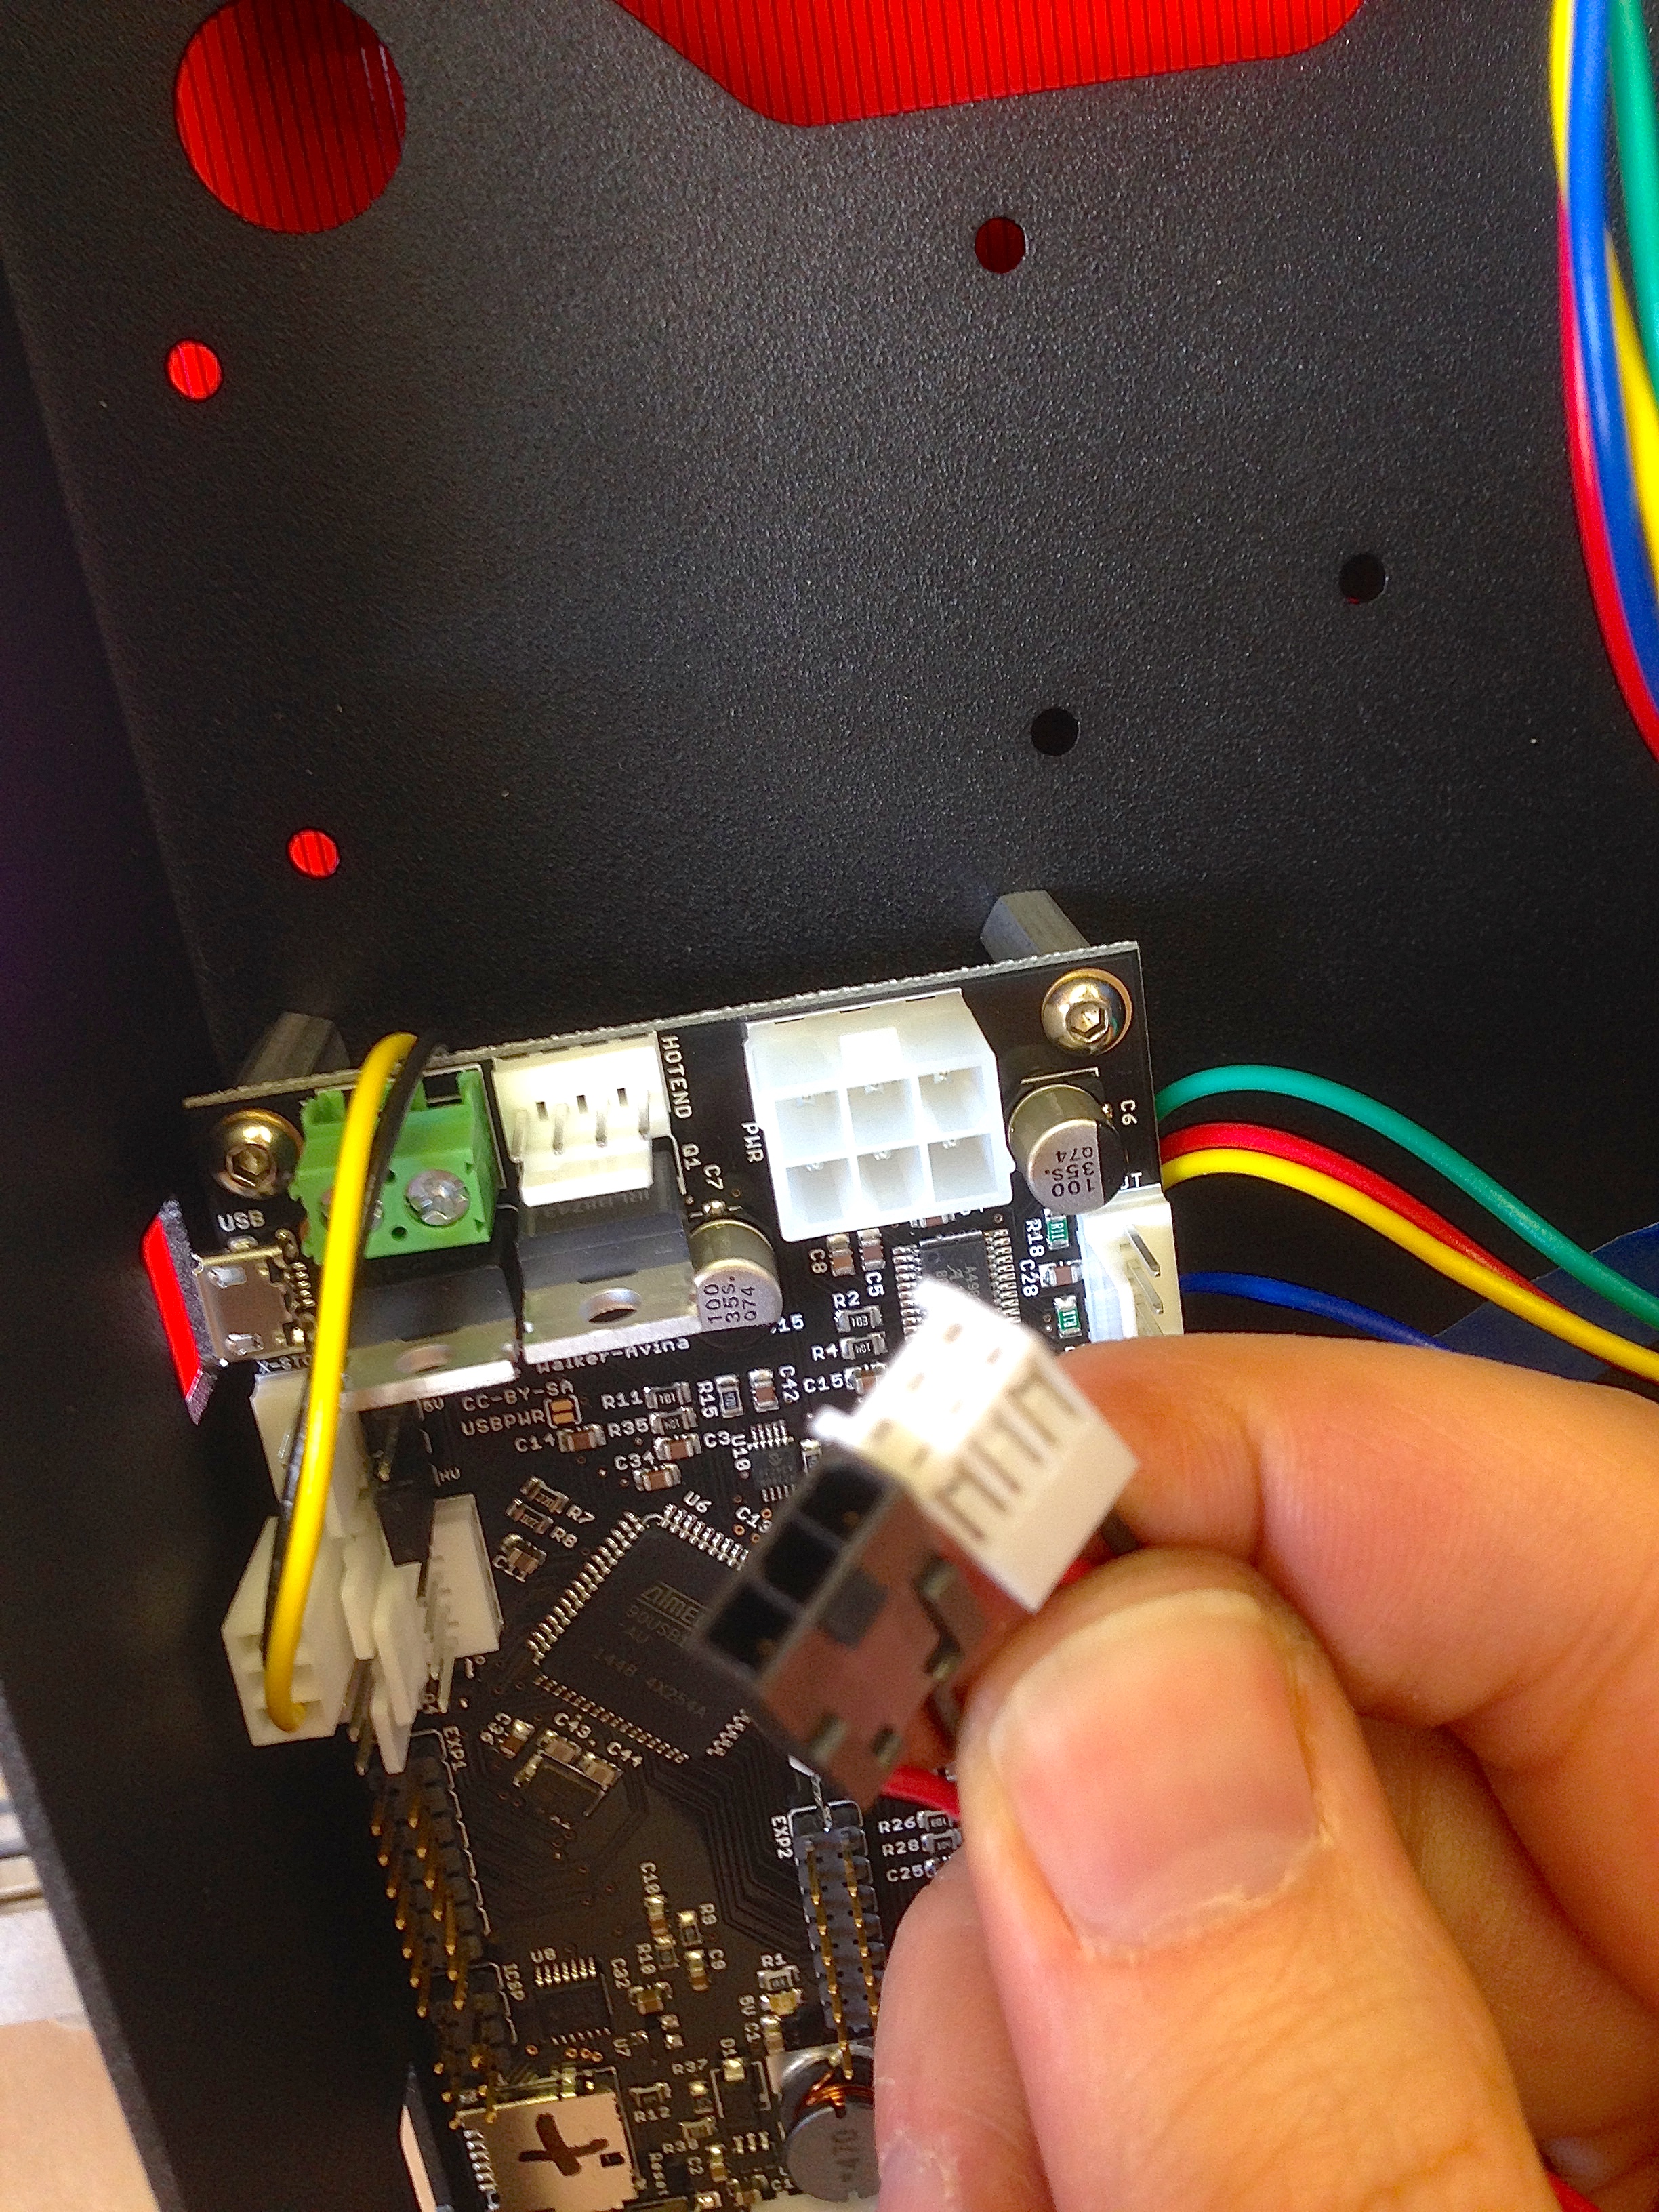
This error in the kit was a road-block, because everything after this depends on routing the wiring harnesses. This is a critical step that can’t be skipped or revisited. I contemplated hacking together my own wiring, but it was a good stopping point for the afternoon anyway, so I opted to request the missing part from PrintrBot and Do It Right™. It arrived by USPS within a few days and I could get back to work.
One of the nice aspects of the kit is they provide a ton of extra zip ties. Feel free to use these liberally for cable management.
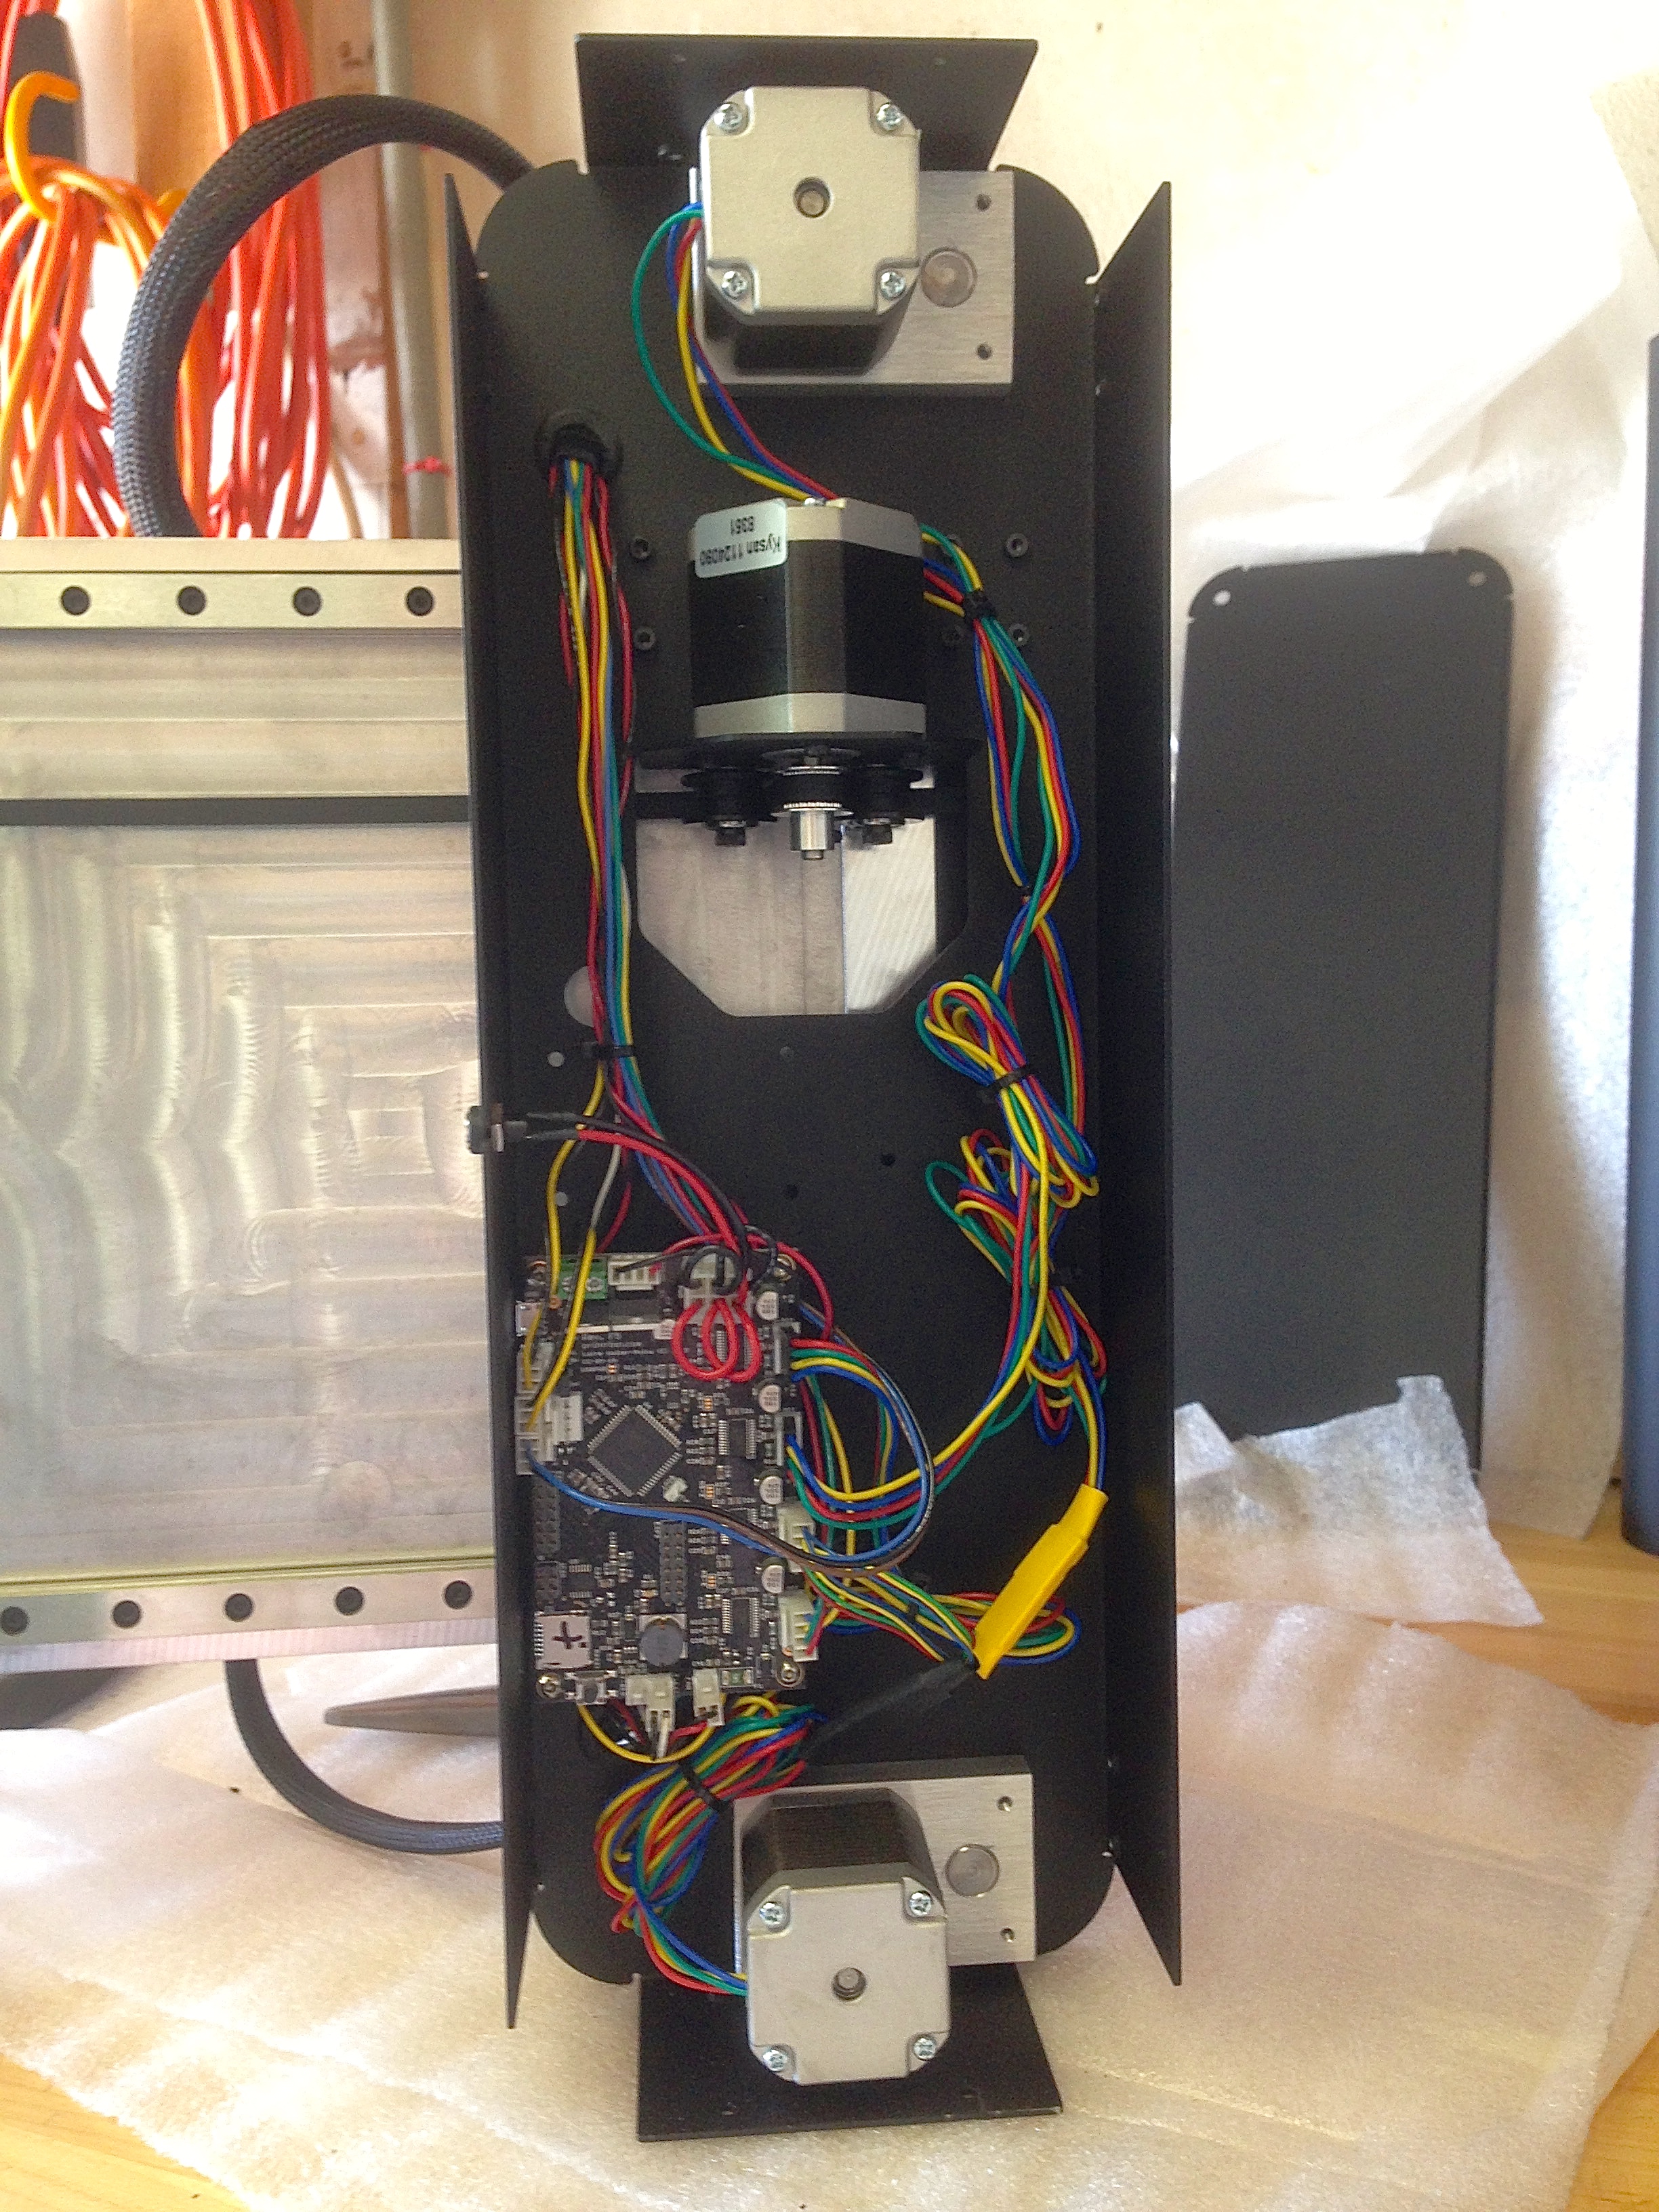
A few notes about the wiring in the base. There’s nothing under there to help with cable management, so I mainly used the PrintrBoard PCB itself. I routed the wiring underneath the board, which works well for keeping things tidy. I also opted to heat shrink the Y-splitter on the Z-motors. Another oddity is that the PCB connectors for the X and Y motors are keyed, but the cables are not. They fit, but you need to match up the wiring colors carefully with the diagram in the instructions (yes, the X is supposed to be different from the others). Also, the fan’s power connector has an extension cable connector that feels like the wrong one, but it does fit if you press firmly.
I also made a moderately time consuming mistake here- I neglected to install the rubber grommets in the holes before running the wiring through. The instructions don’t actually ever mention these grommets, but they seem like a good idea, so I took the time to unwire and rewire everything.
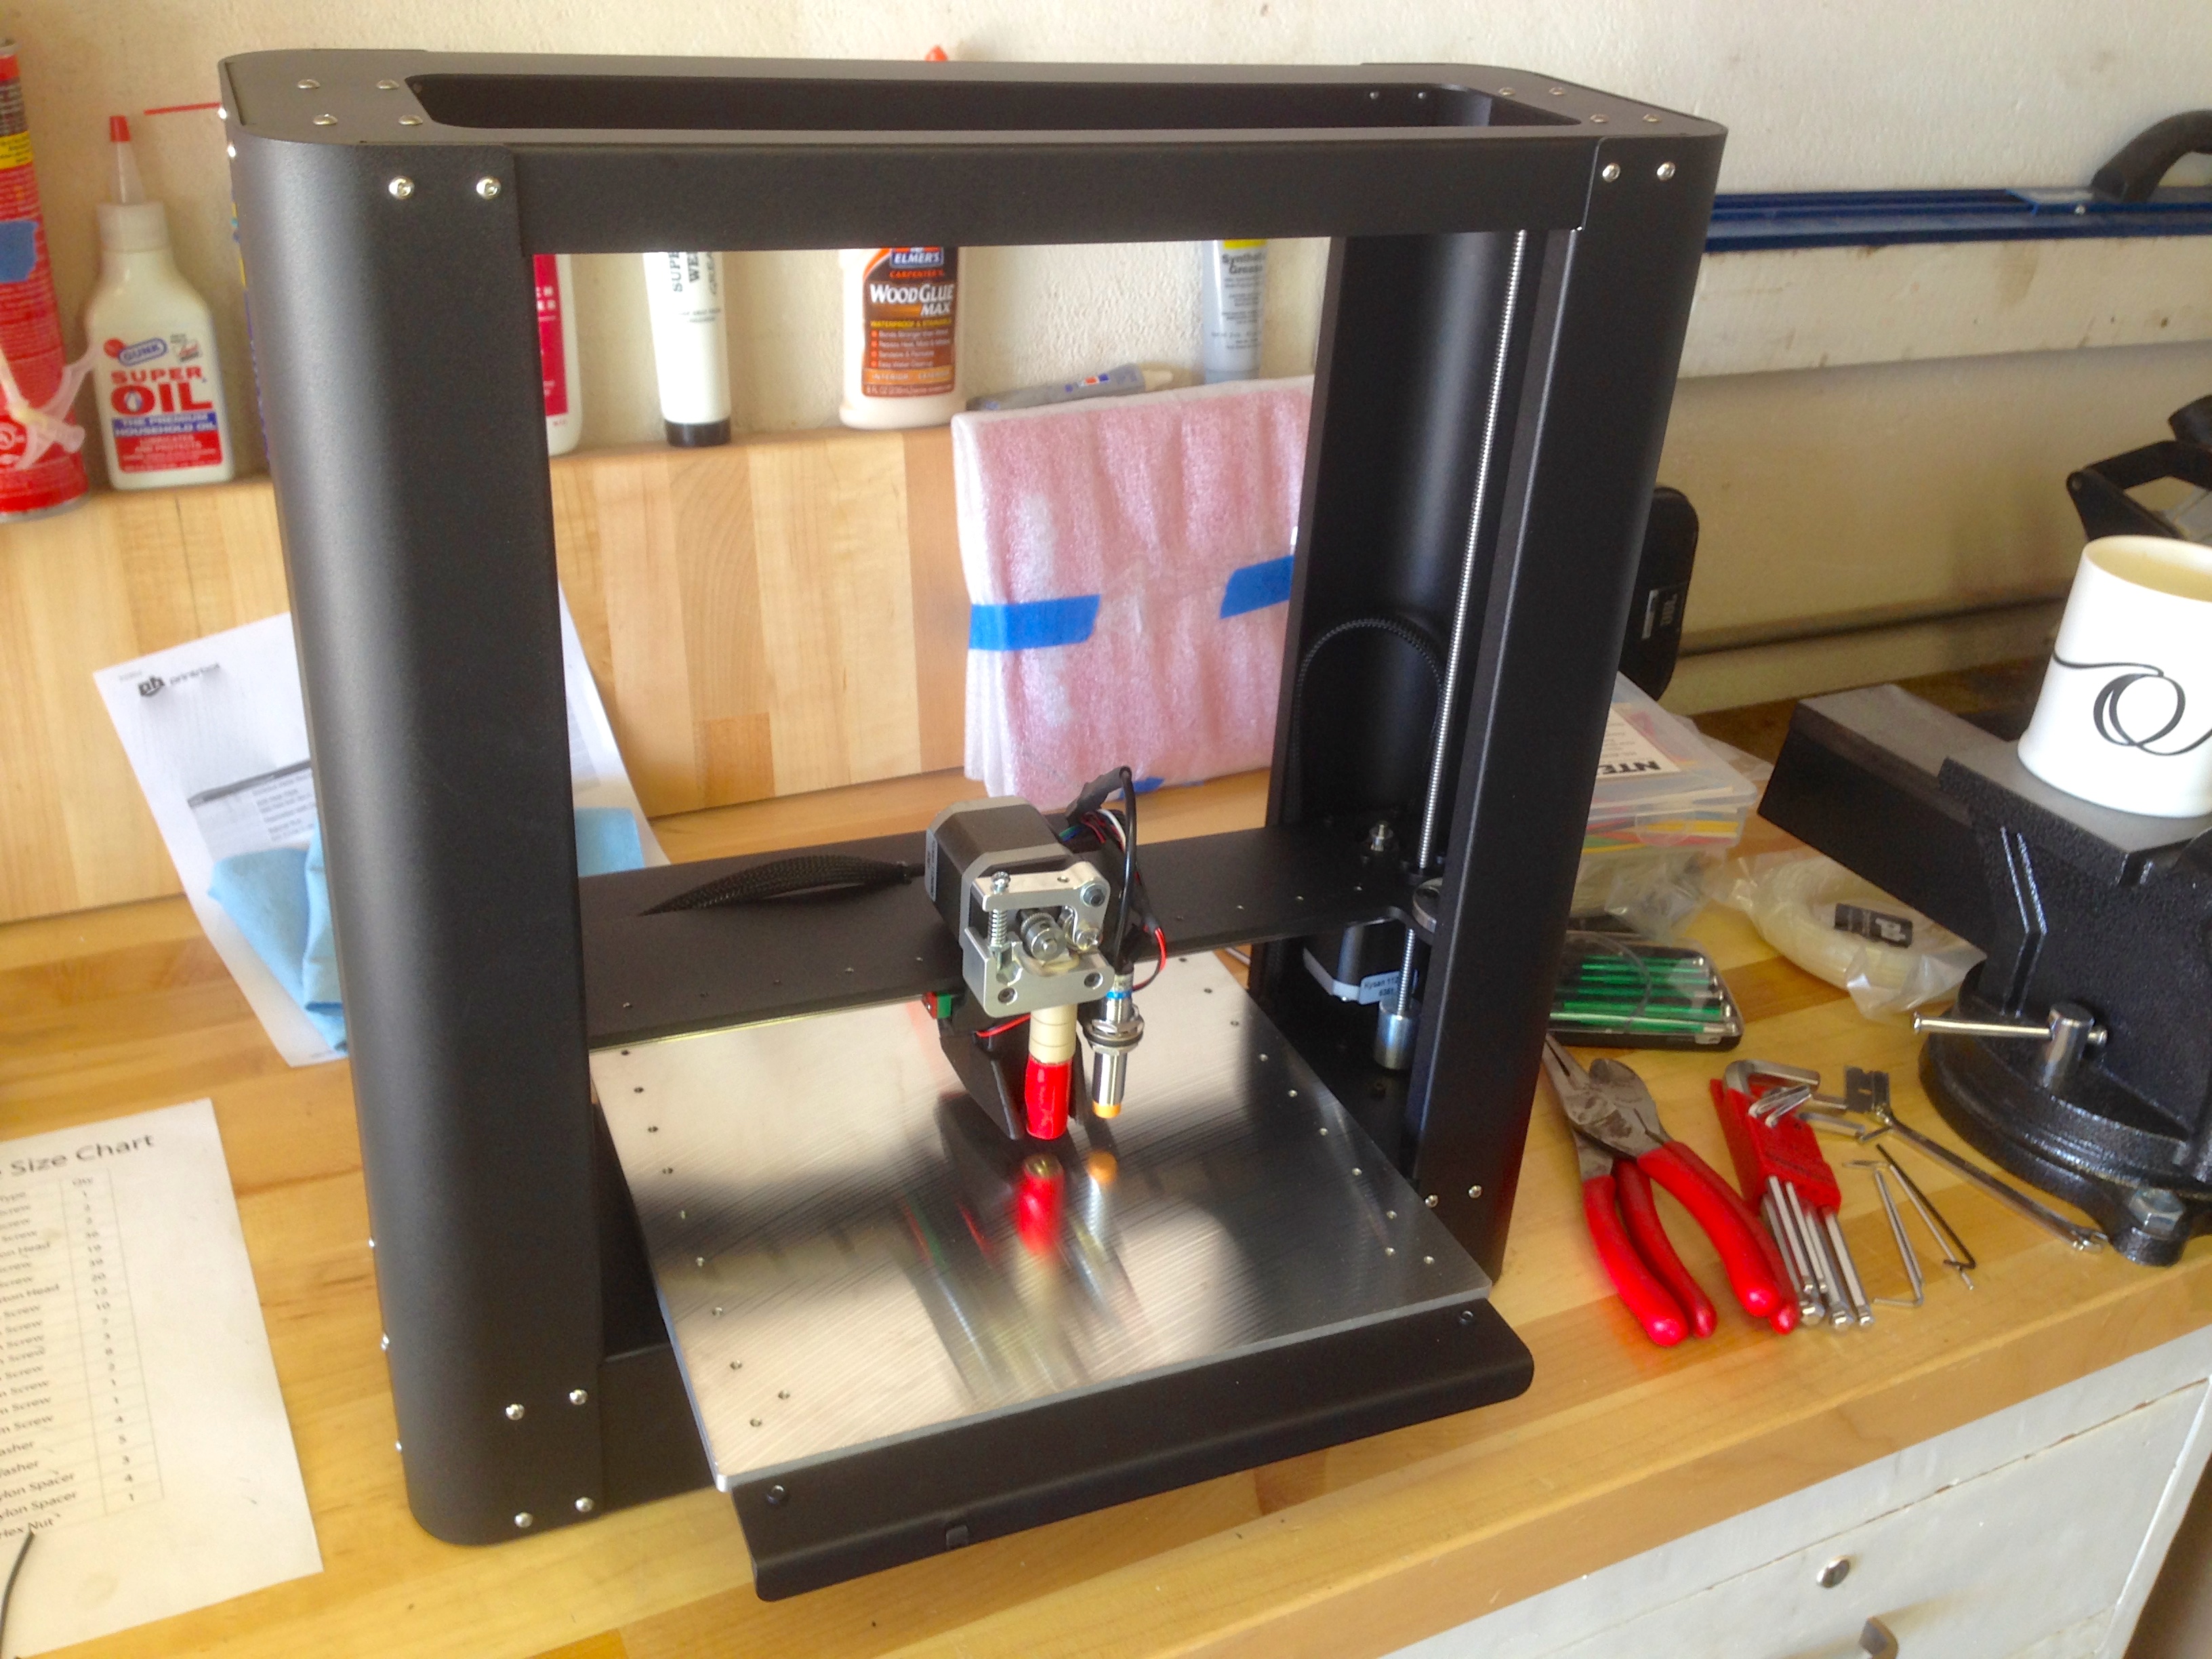

I now prepared myself for what I assumed would be a lot set up and calibration. Everything I had read suggested that these things are definitely not plug-and-play appliances. This turned out to be much easier than I thought, so perhaps keeping my expectations low was a good plan.
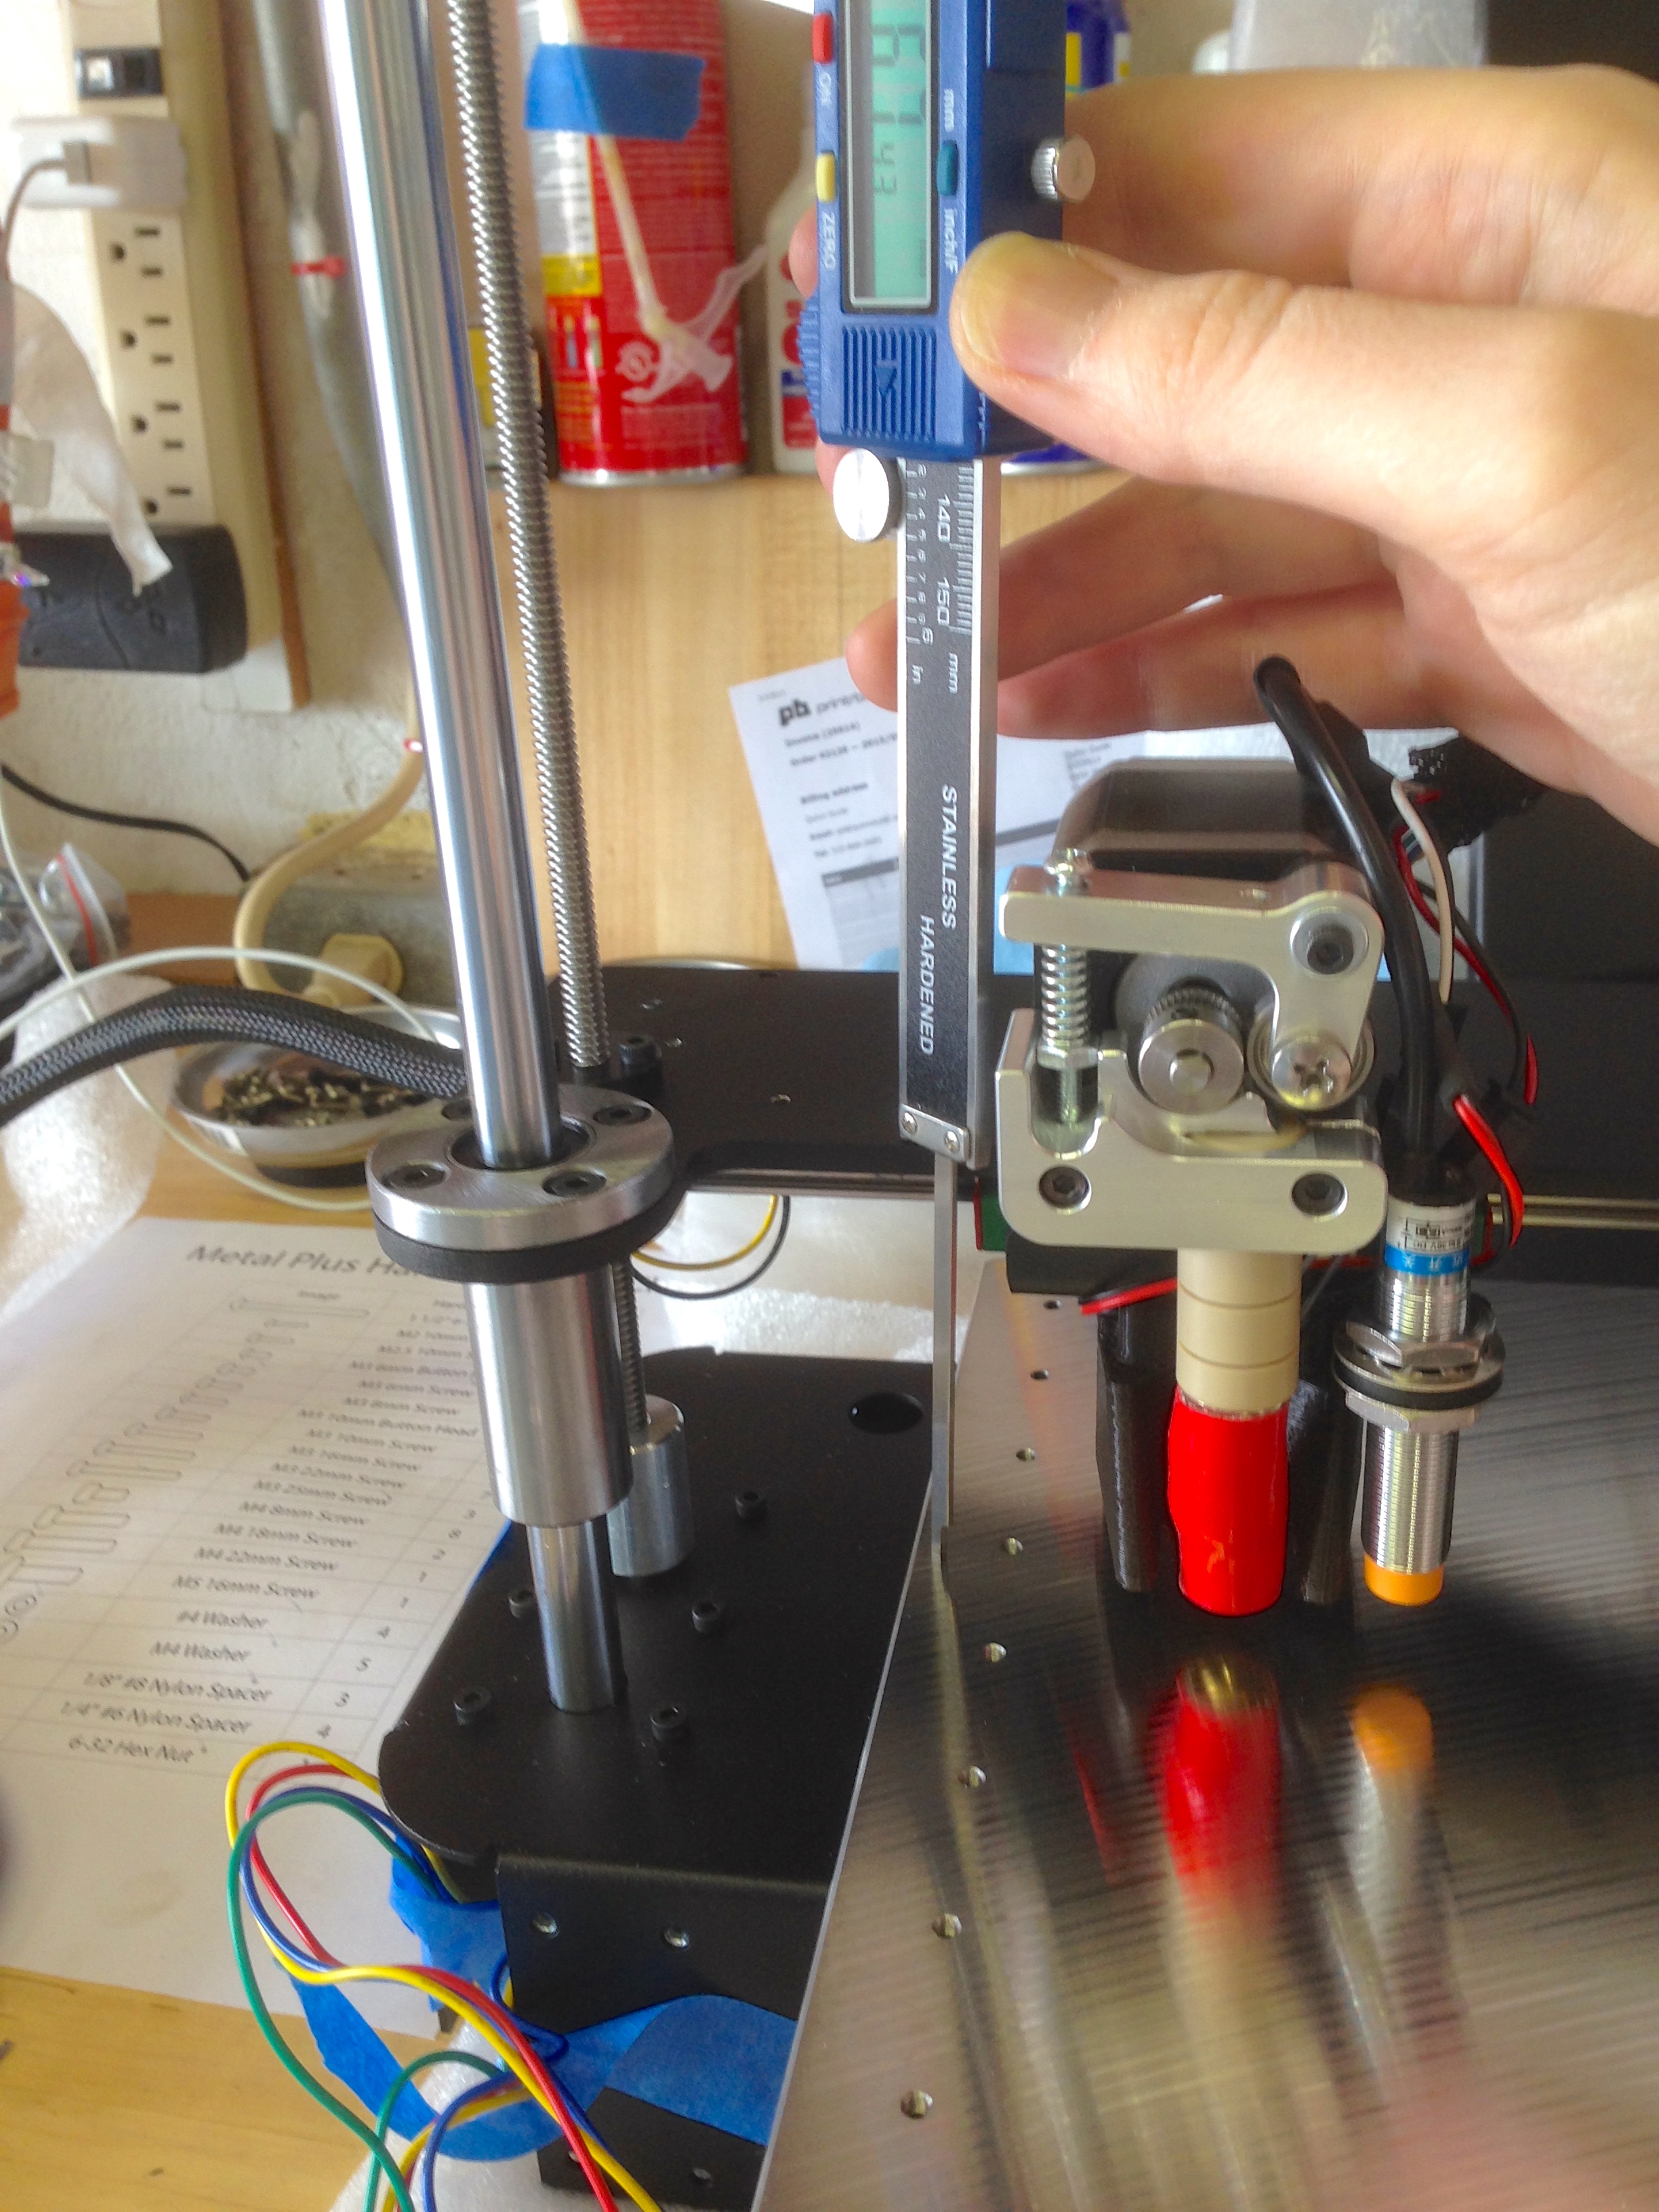
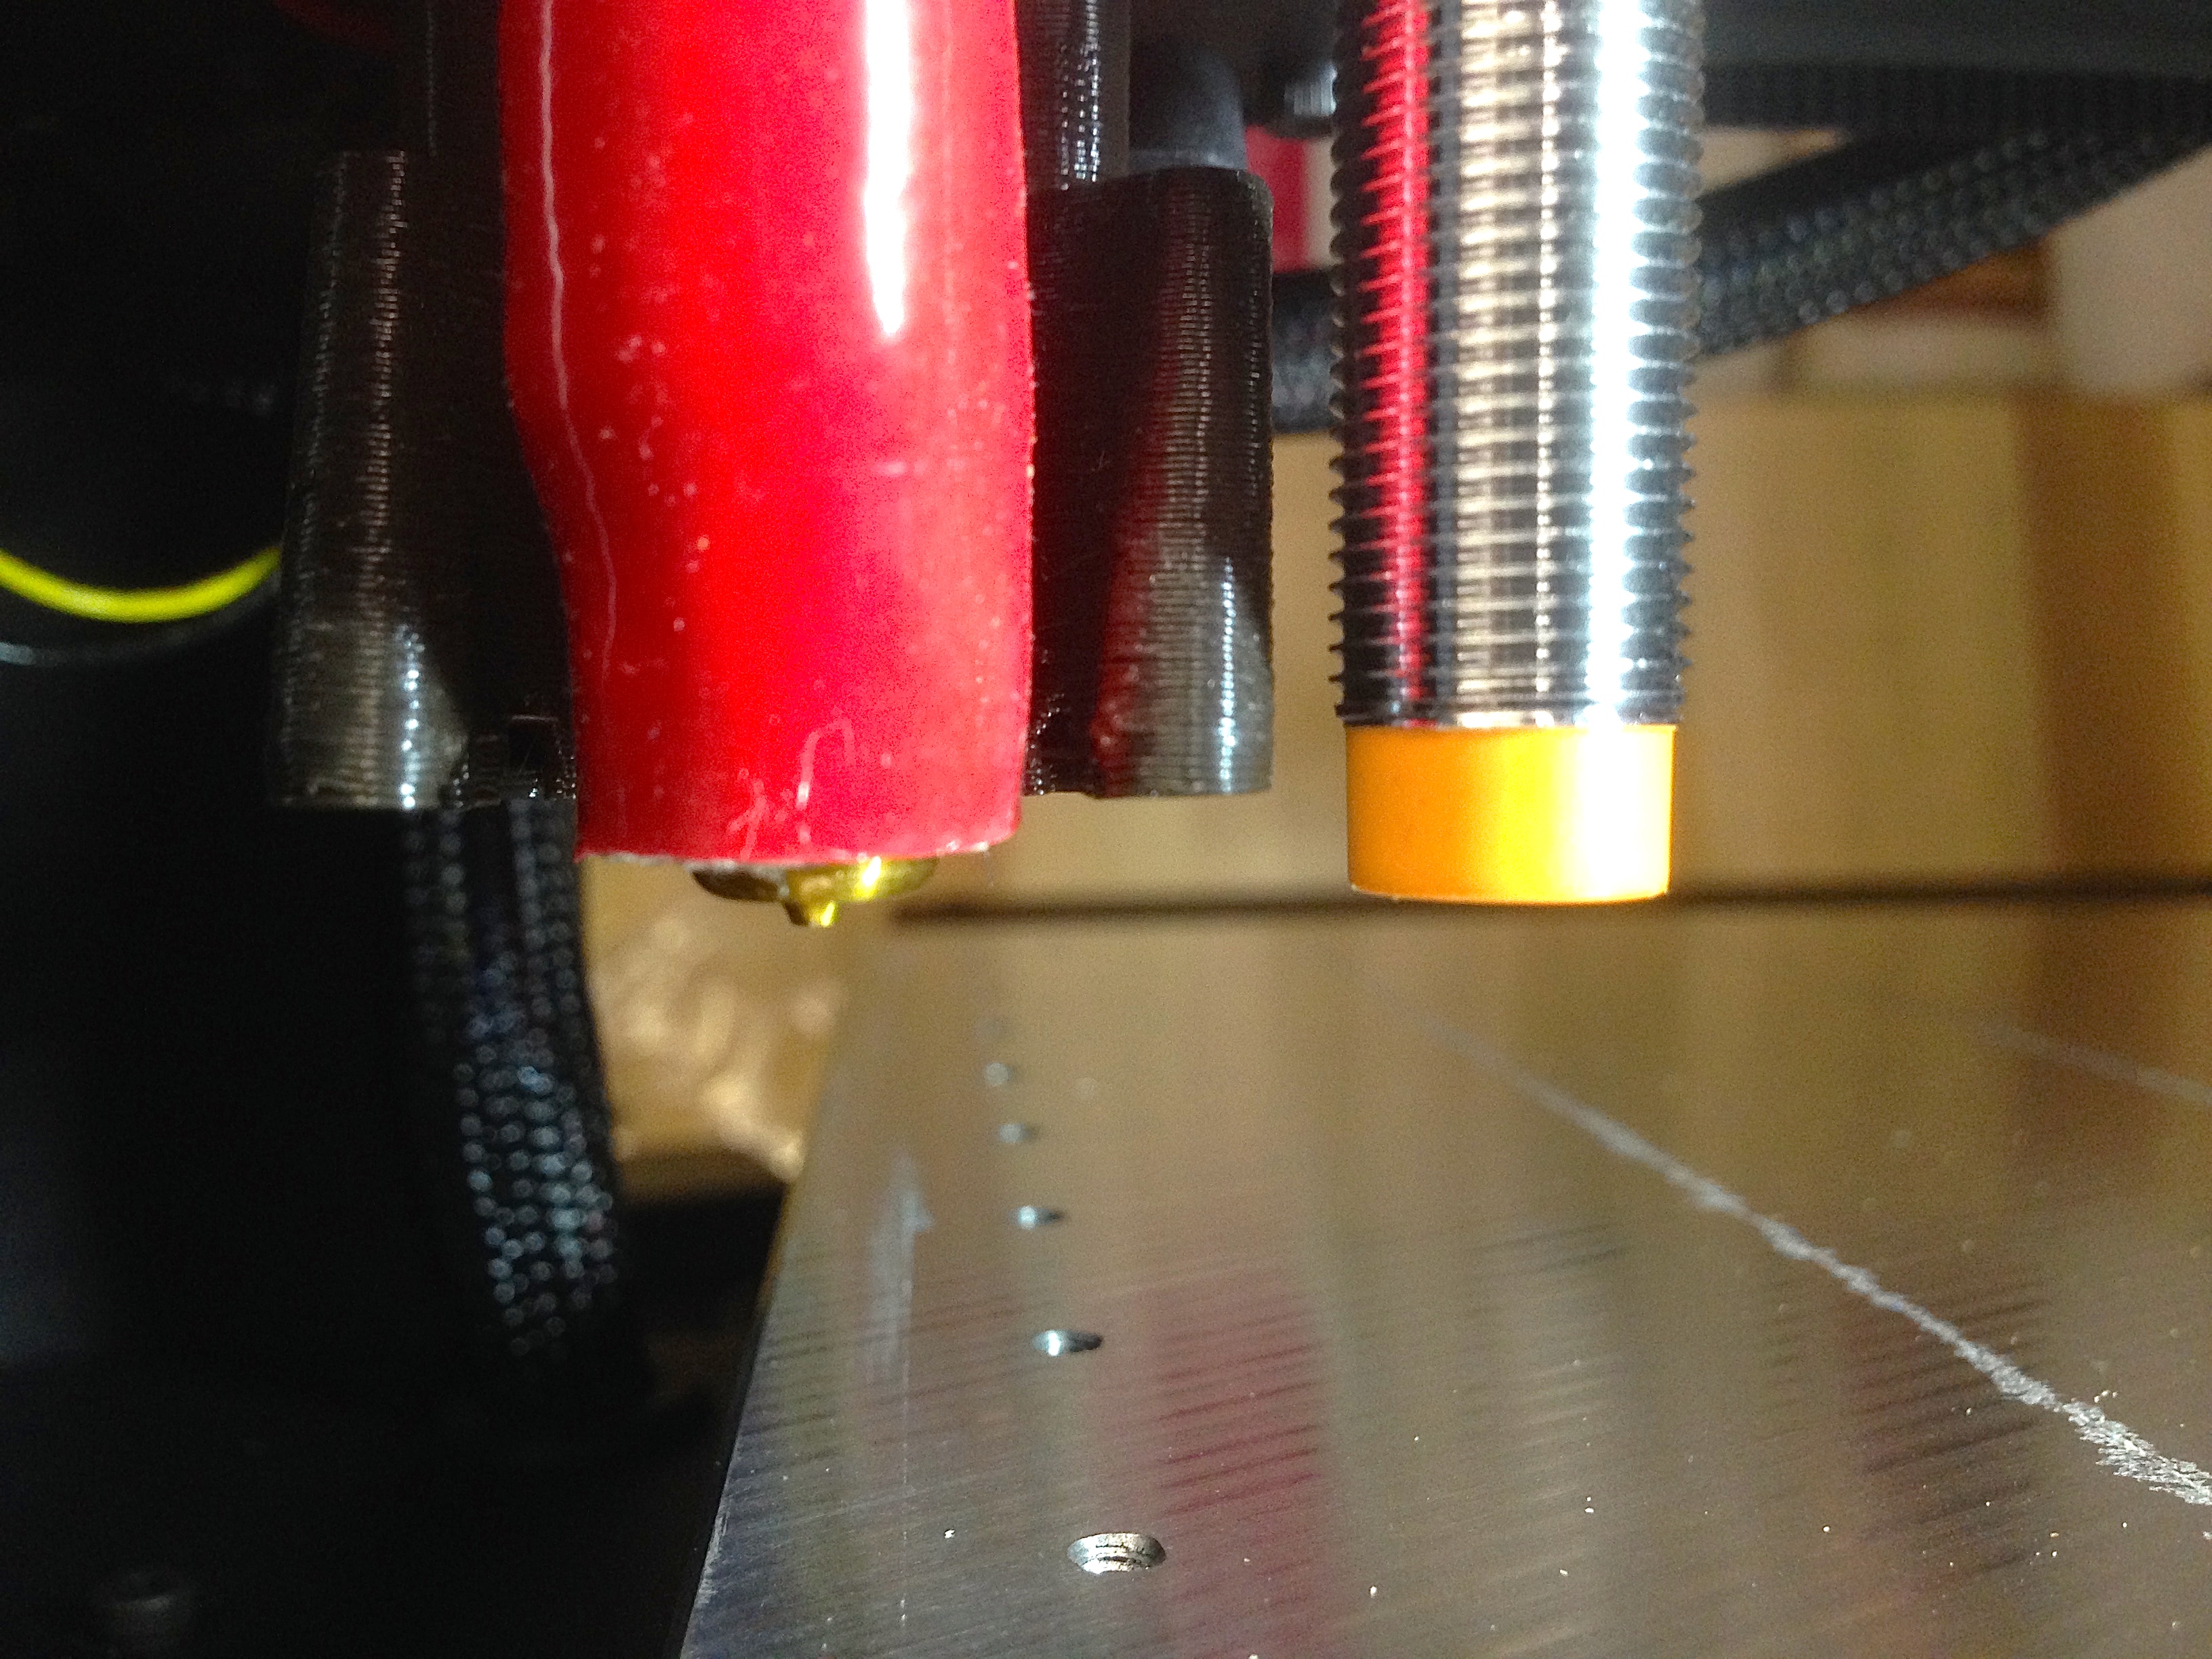
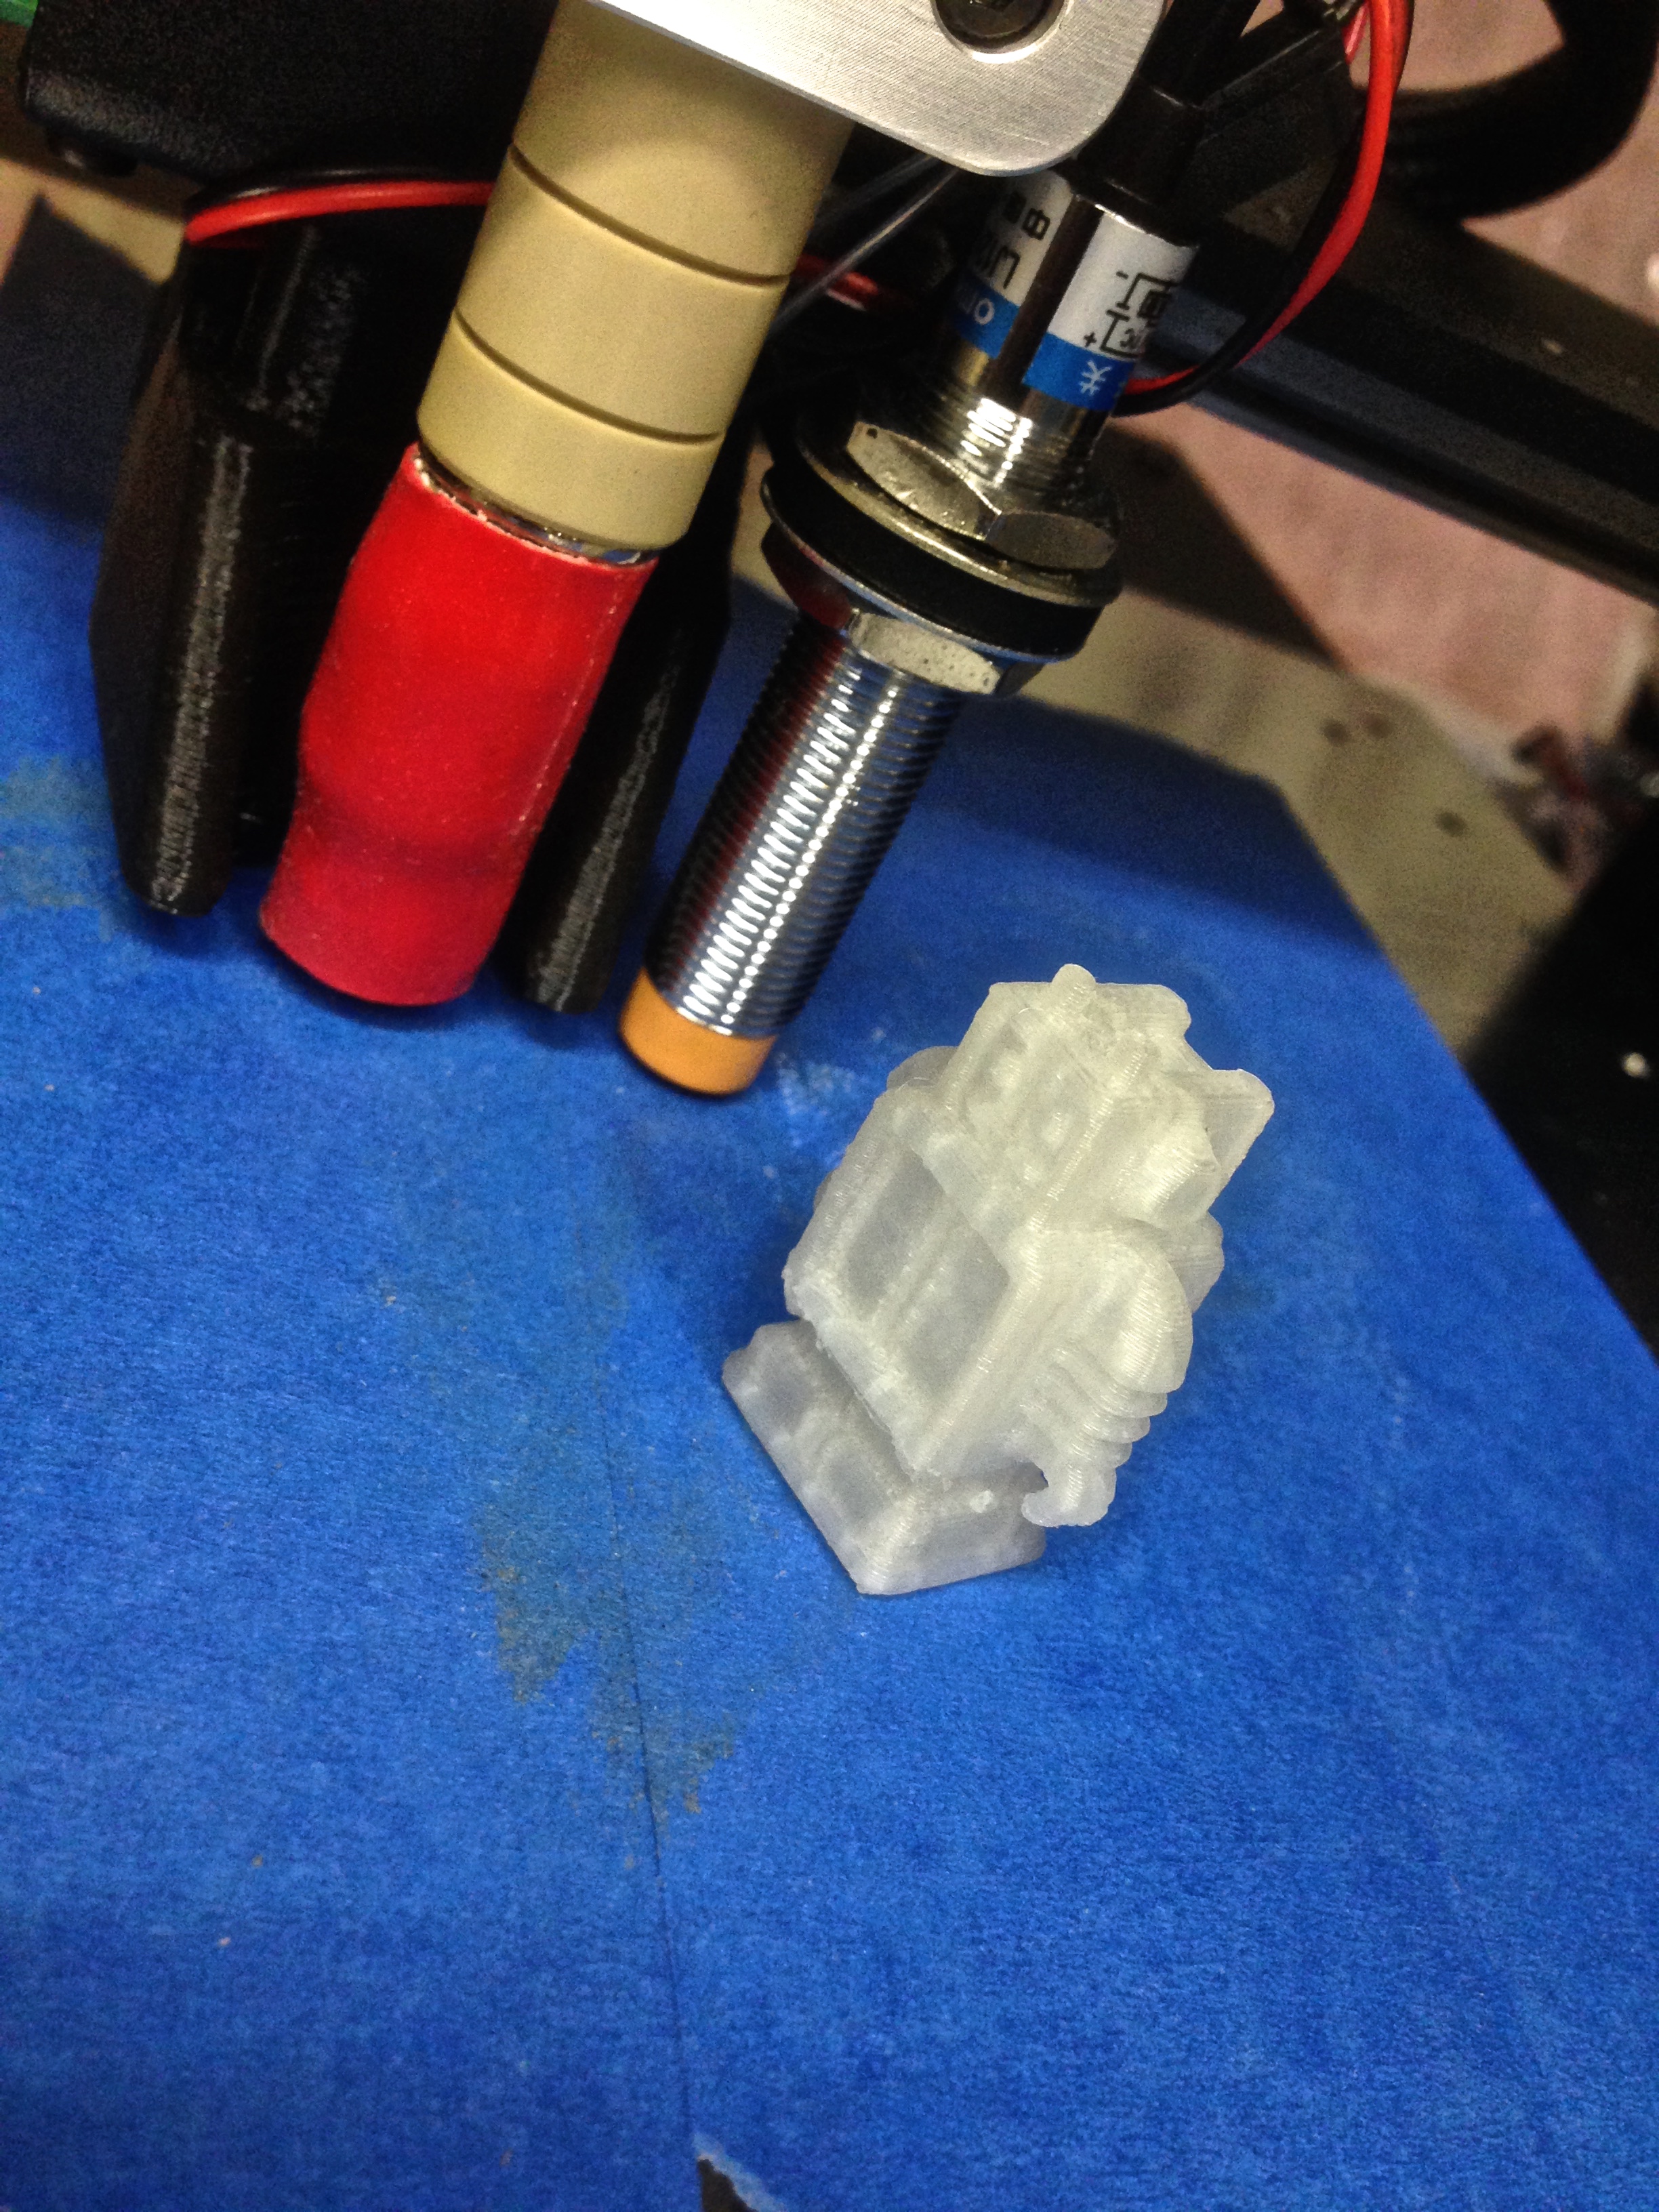
The most important step is setting the height of the Z-probe (the yellow-tipped thing next to the hot end). The instructions, unfortunately, offer very little guidance here. I started off erring on the side of having the probe too low (below the level of the hot end) because I was paranoid about sending the extruder crashing into the bed. More on this in a bit.
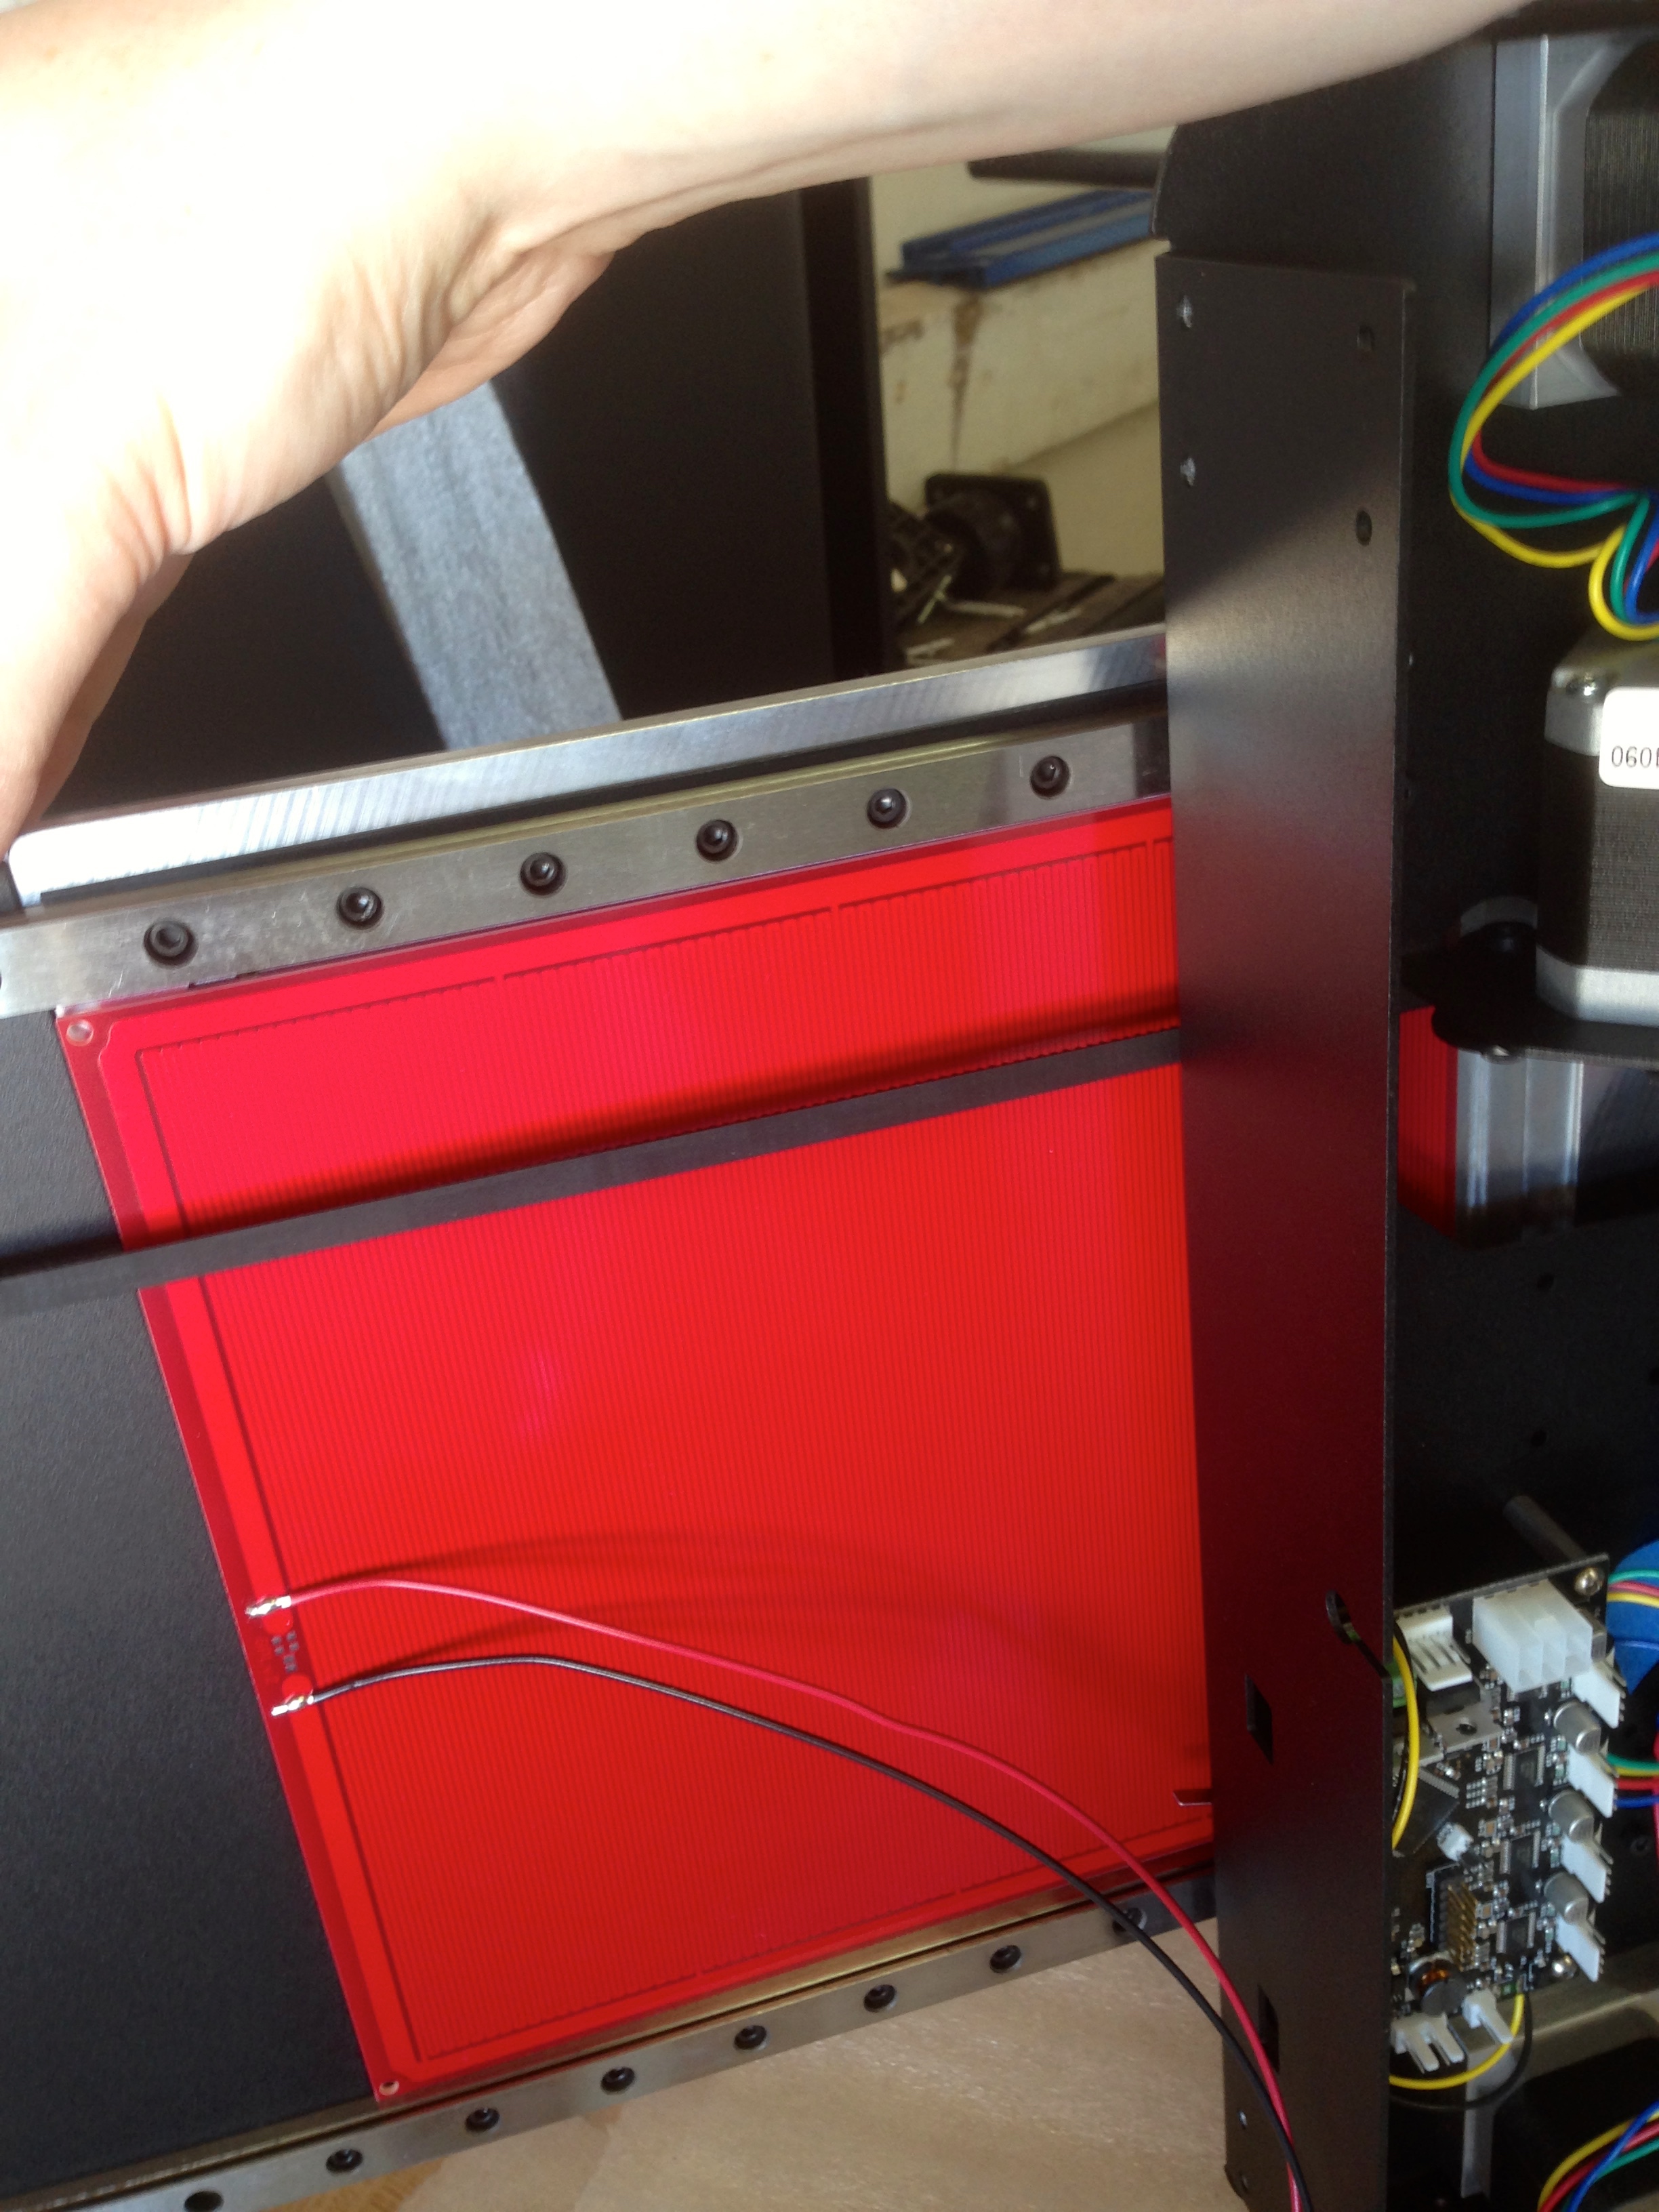
Before we get to that, it’s time to do a final bed-leveling. This is done by holding one Z-screw and turning the other one until the bed is level. You have to hold the other one, because the motors are electrically coupled and want to turn together. This process can be done at any time, though I would unplug the machine before doing it.

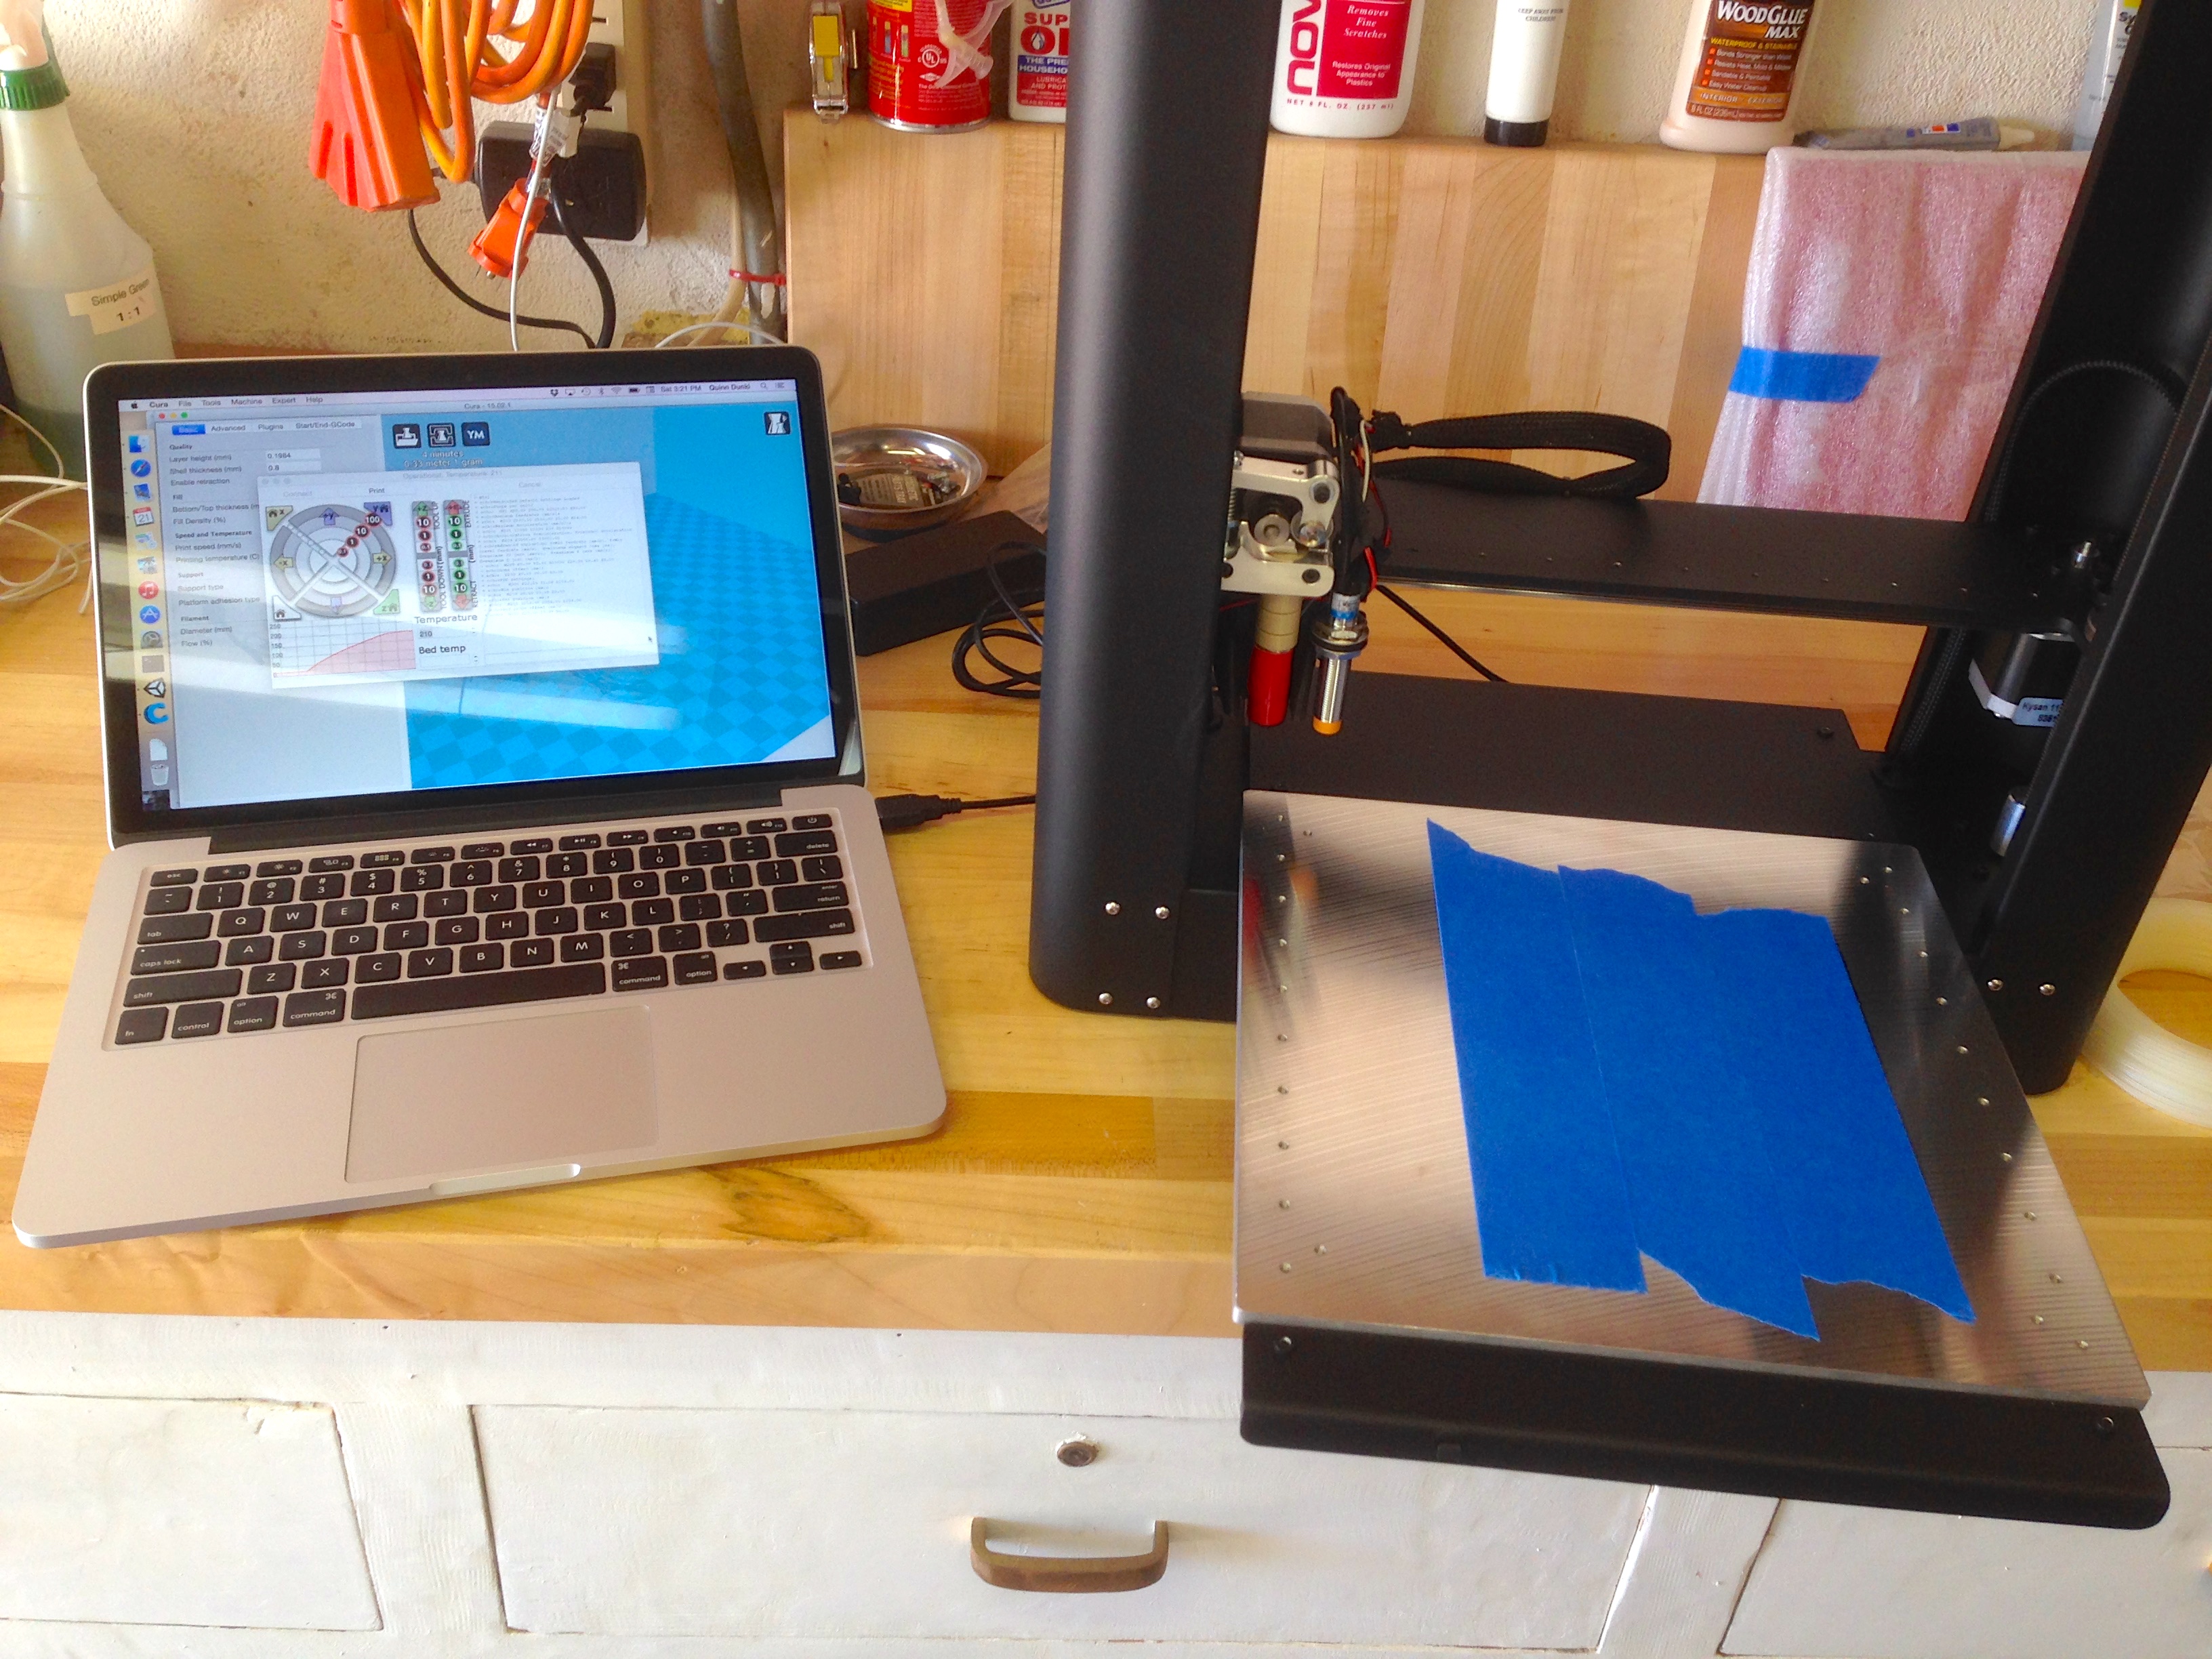
Next up is software. PrintrBot says to start with Cura, and I couldn’t agree more. They provide a config file for the Metal Plus, and I can honestly say it very nearly “just worked”. PrintrBot provides good software setup instructions as well.
The instructions warn you that your first print will probably be rubbish, and they were not wrong. That’s okay, though. The instructions provide a 3mm box to print for calibration.
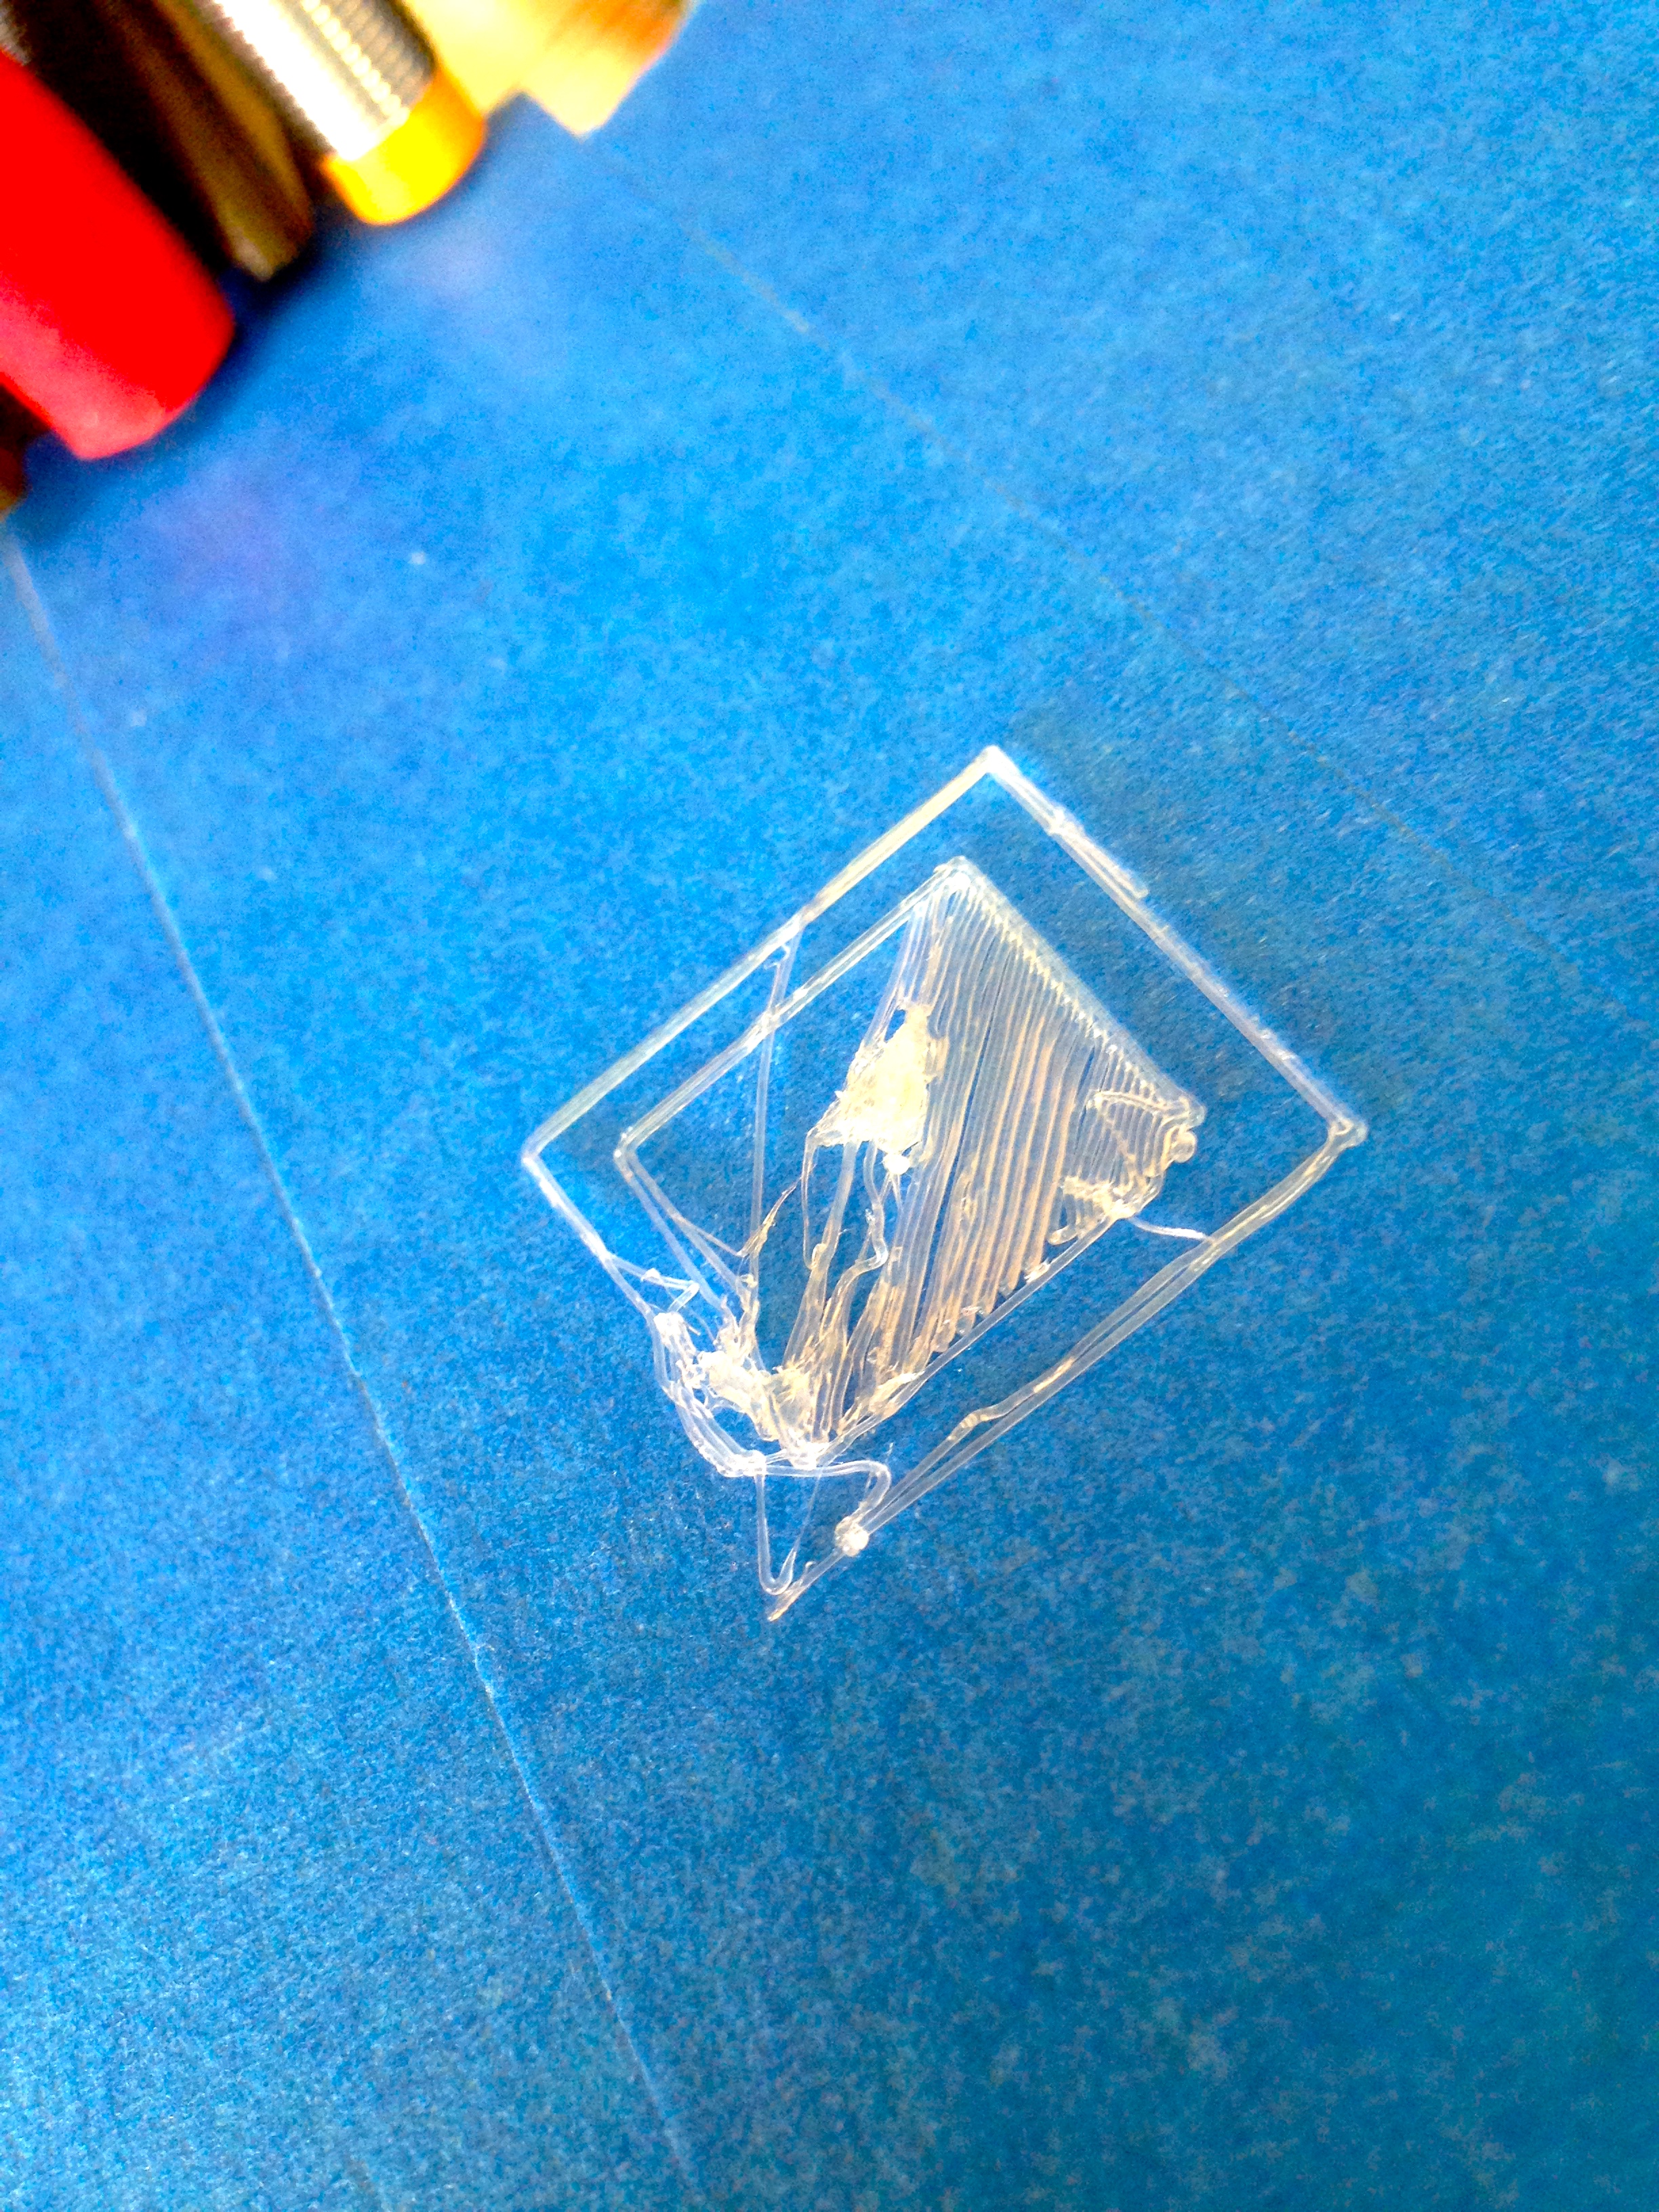
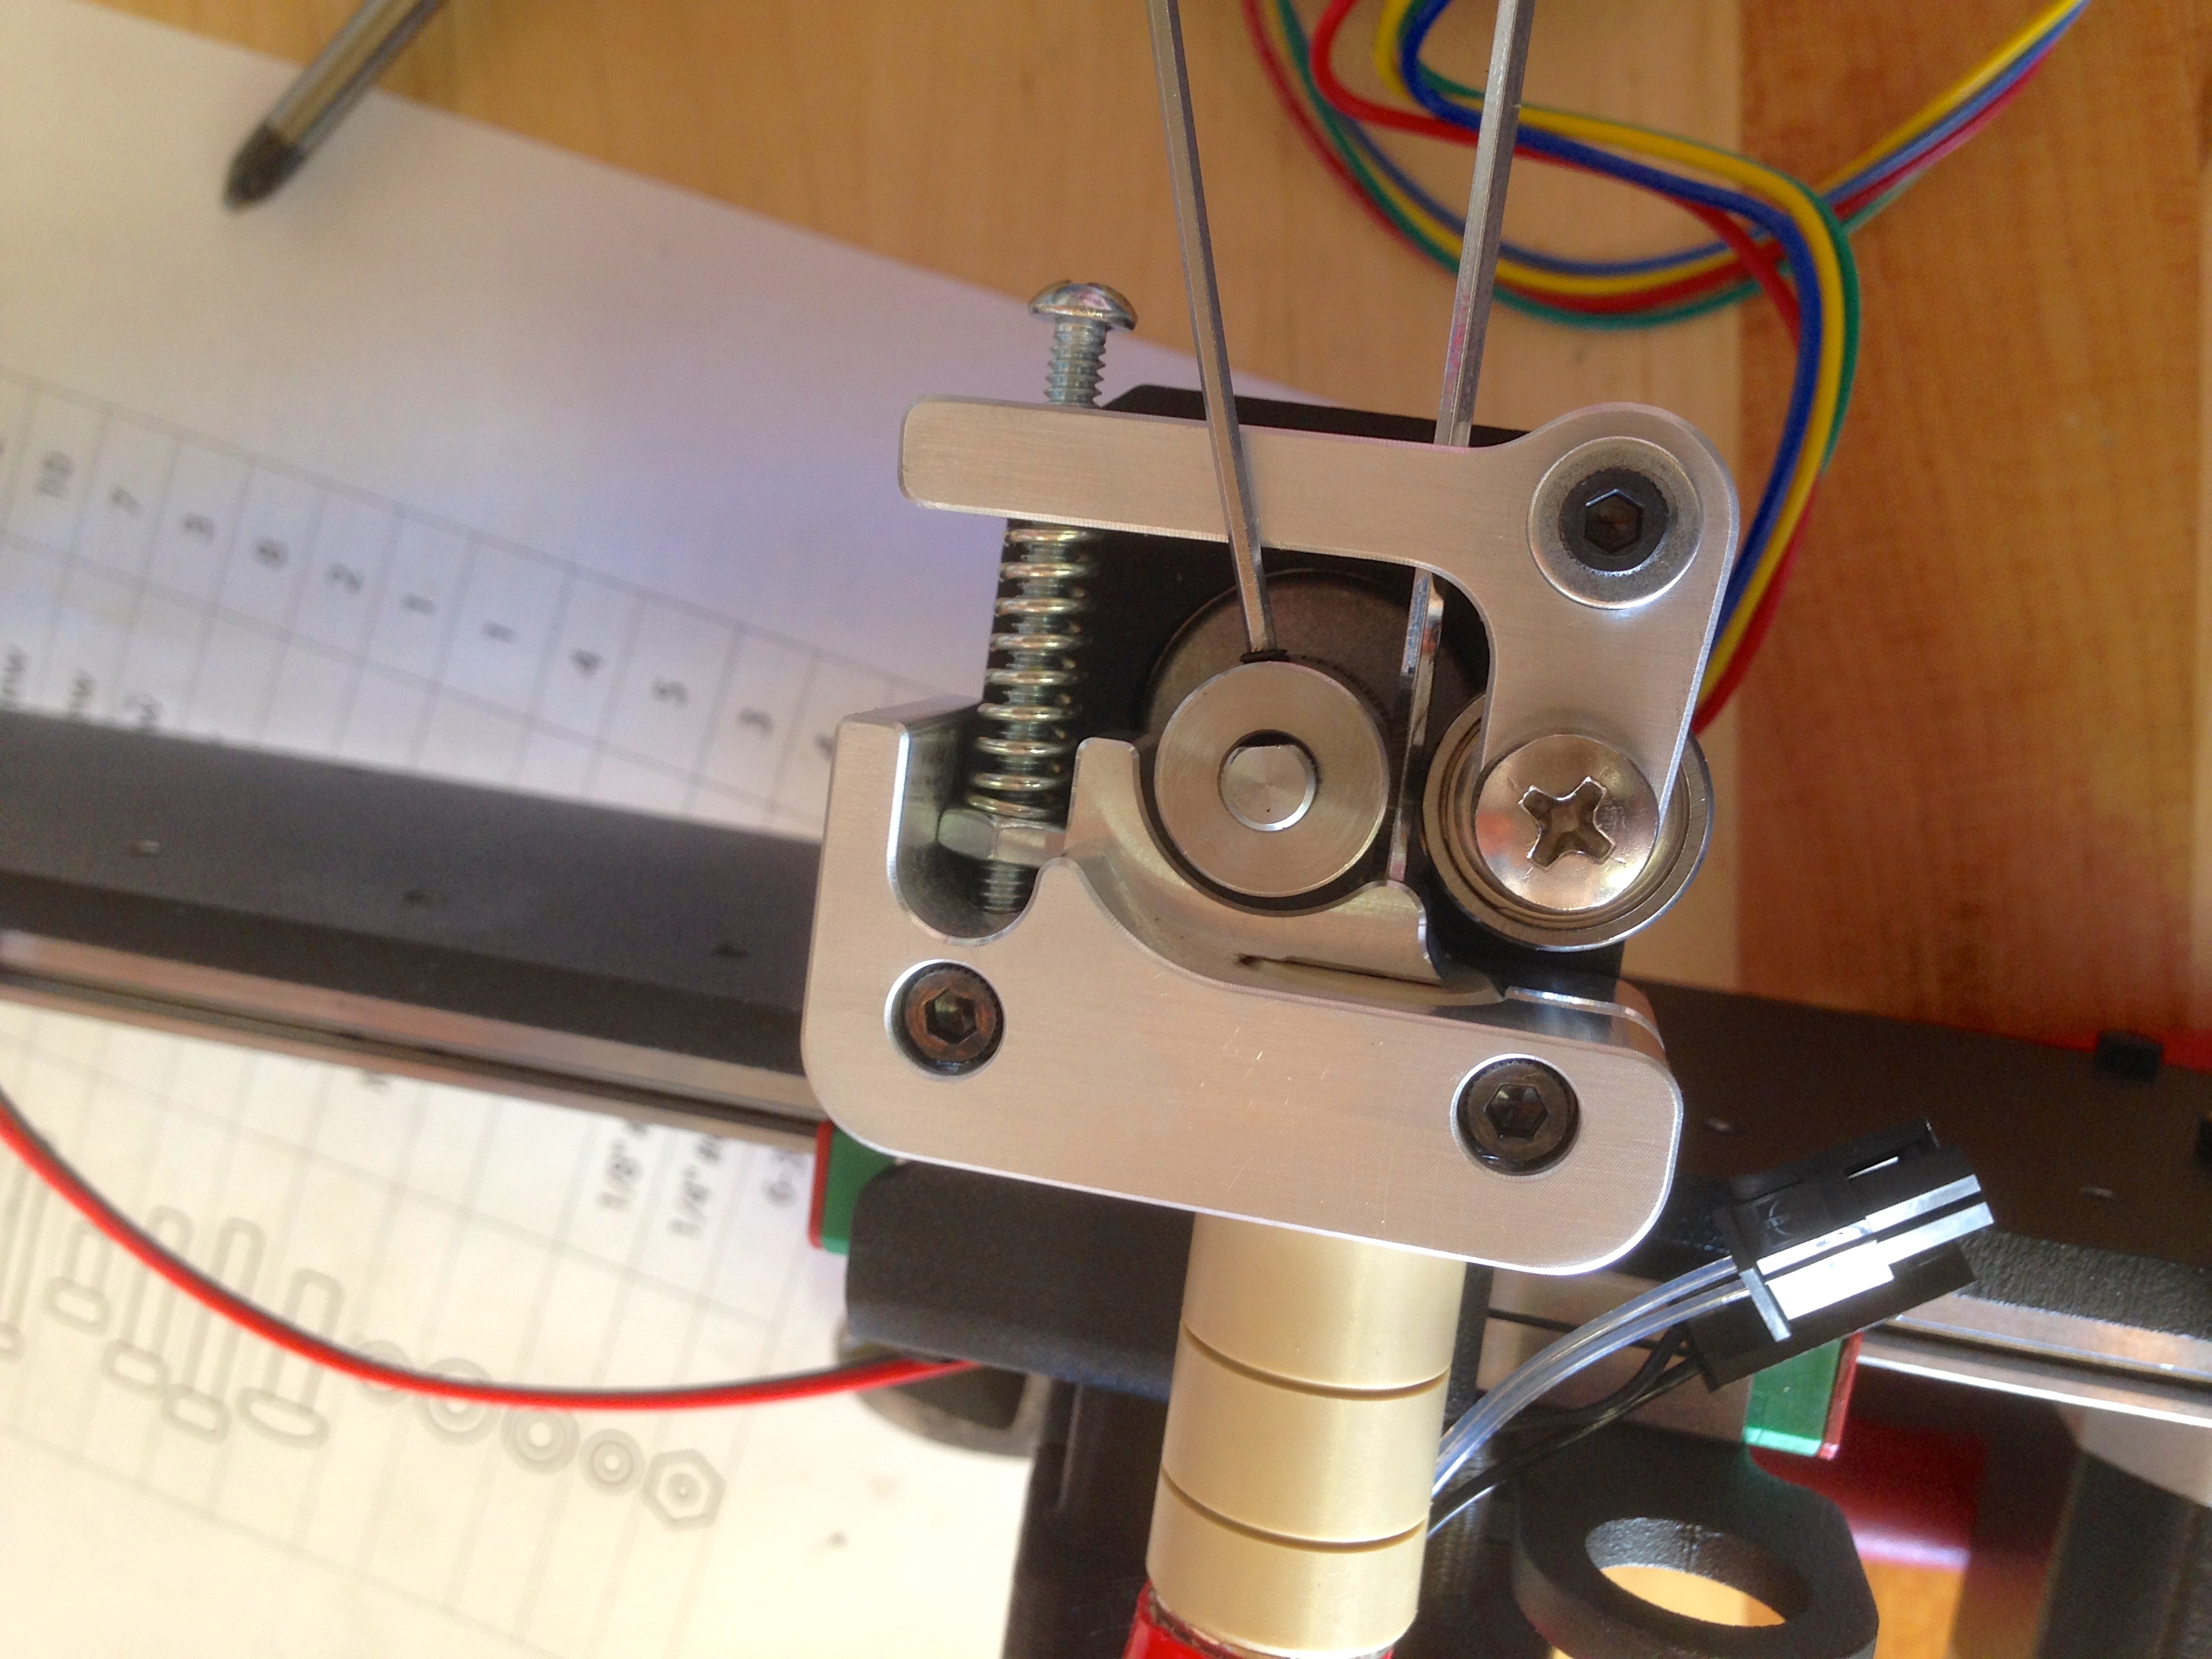
From this first test, the instructions tell you what you need to adjust. In my case, my Z-probe is much too low (making my extruder much too high). Unfortunately, they don’t really provide any rough guidance here for setting the mechanical position of the probe. They provide instructions for adjusting the Z offset in software, but the Z probe does need to be physically in the ballpark first. Importantly, if it’s too far off, the extruder will crash into the bed. They suggest doing your Z-home tests with one hand on the power plug, and they’re not kidding. As shown above, my extruder was clearly way too high, so I raised the Z-probe a fair bit. You guessed it- the head crashed into the bed. No problem, pulling the plug quickly prevented any harm. I then needed to manually wind the Z-screws up to get the extruder out of trouble.
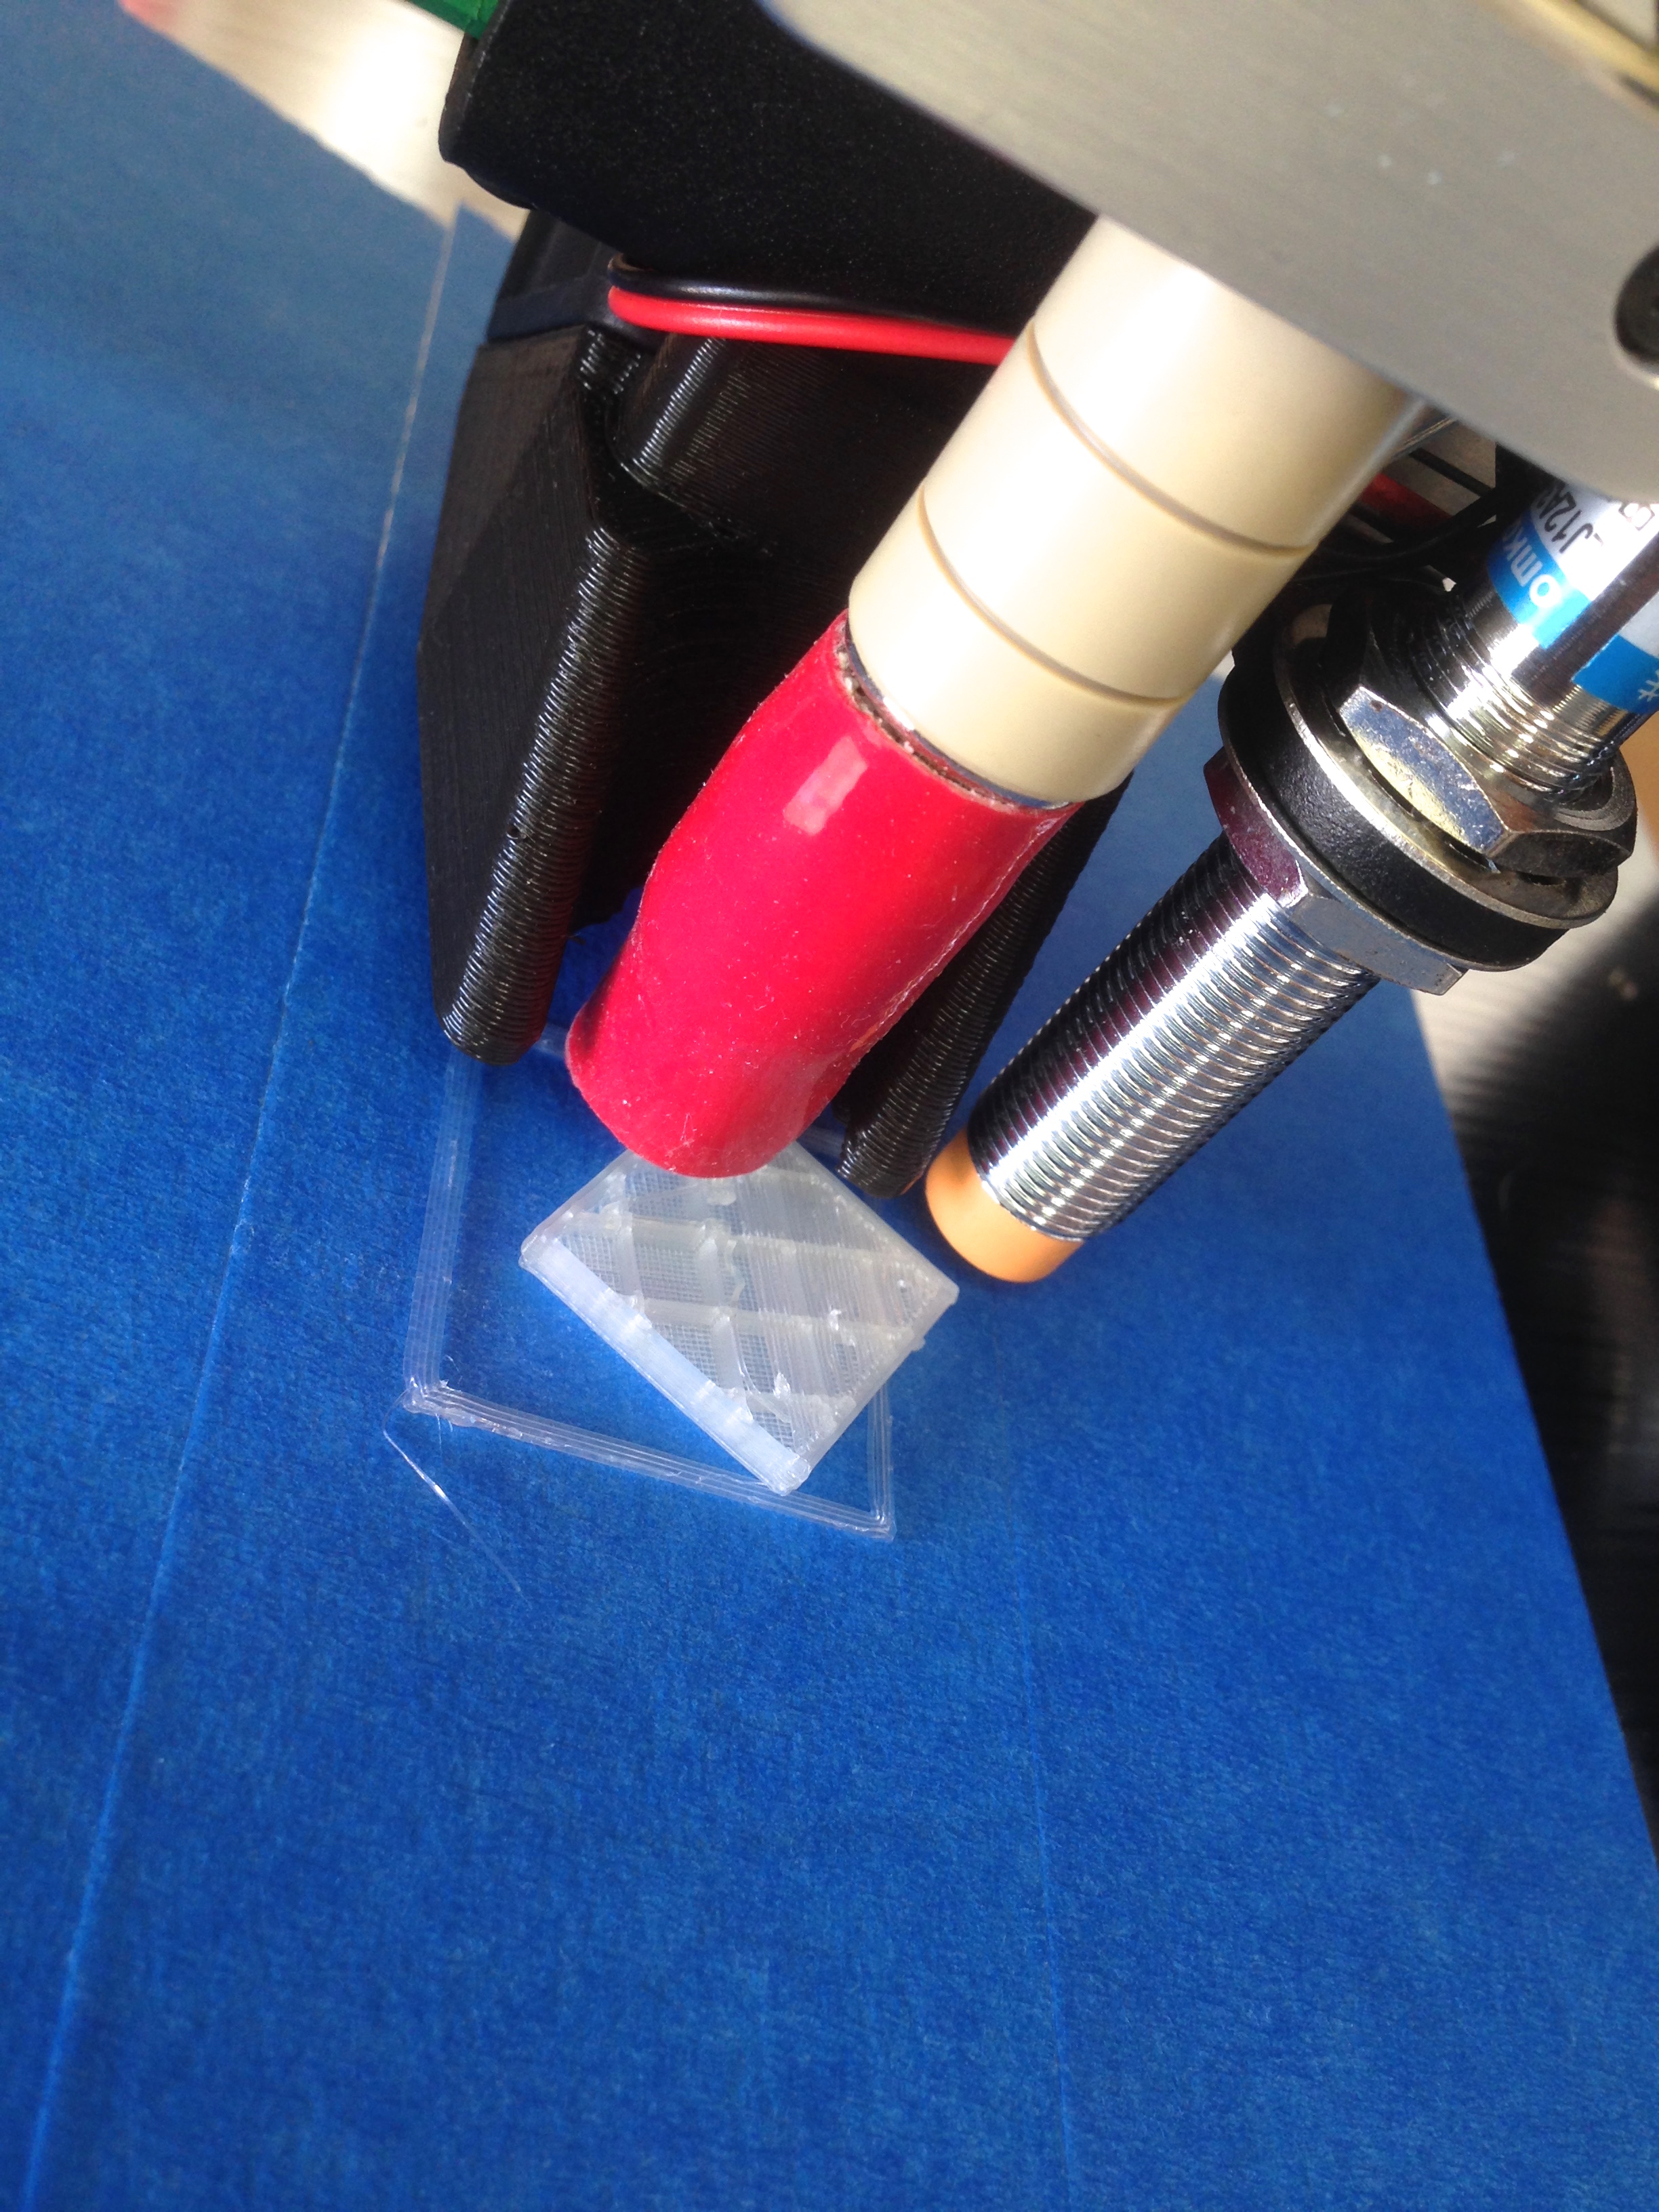
By luck, the third position I tried (shown above) worked perfectly. It seems to print very well with zero software offset to the Z position. I’d recommend the above photo as a great starting point (but still- hold on to that power plug and hold on to your shorts during that first Z-home test).
The machine is pretty mesmerizing to watch.
The robot actually took two tries to print. The first failed due to the dreaded adhesion problems I had heard so much about (and why I wanted the heated bed). People say throwing down some blue tape is all you need, but that wasn’t enough for me. People then suggest hairspray on top of the tape, but that seemed messy. People also suggest rubbing the tape with a glue stick (remember those?). I didn’t have one, so I dabbed some wood glue on the tape and spread it around with a paper towel. This actually worked quite well, but the whole tape-and-wipe-on-glue process needs repeating for each print. A bit of a hassle, and all the more reason for a heated bed. Still, in a pinch it does work.
If you follow the hobby, you’ve read that it seems that the first thing everyone does with their new 3D printer is to print a bunch of stuff for their 3D printer. Turns out that I’m no different. The one thing nobody really says much onboard the Hype Train is that 3D printing is very slow. Mr Robot there took about 30 minutes, for example, and he’s tiny. More useful objects are typically measured in hours. That means you need the printer to be self-sufficient so you don’t have to babysit the damned thing all day. The first step in that direction became obvious when I tried to print things using the roll of sample filament that comes with the PrintrBot.
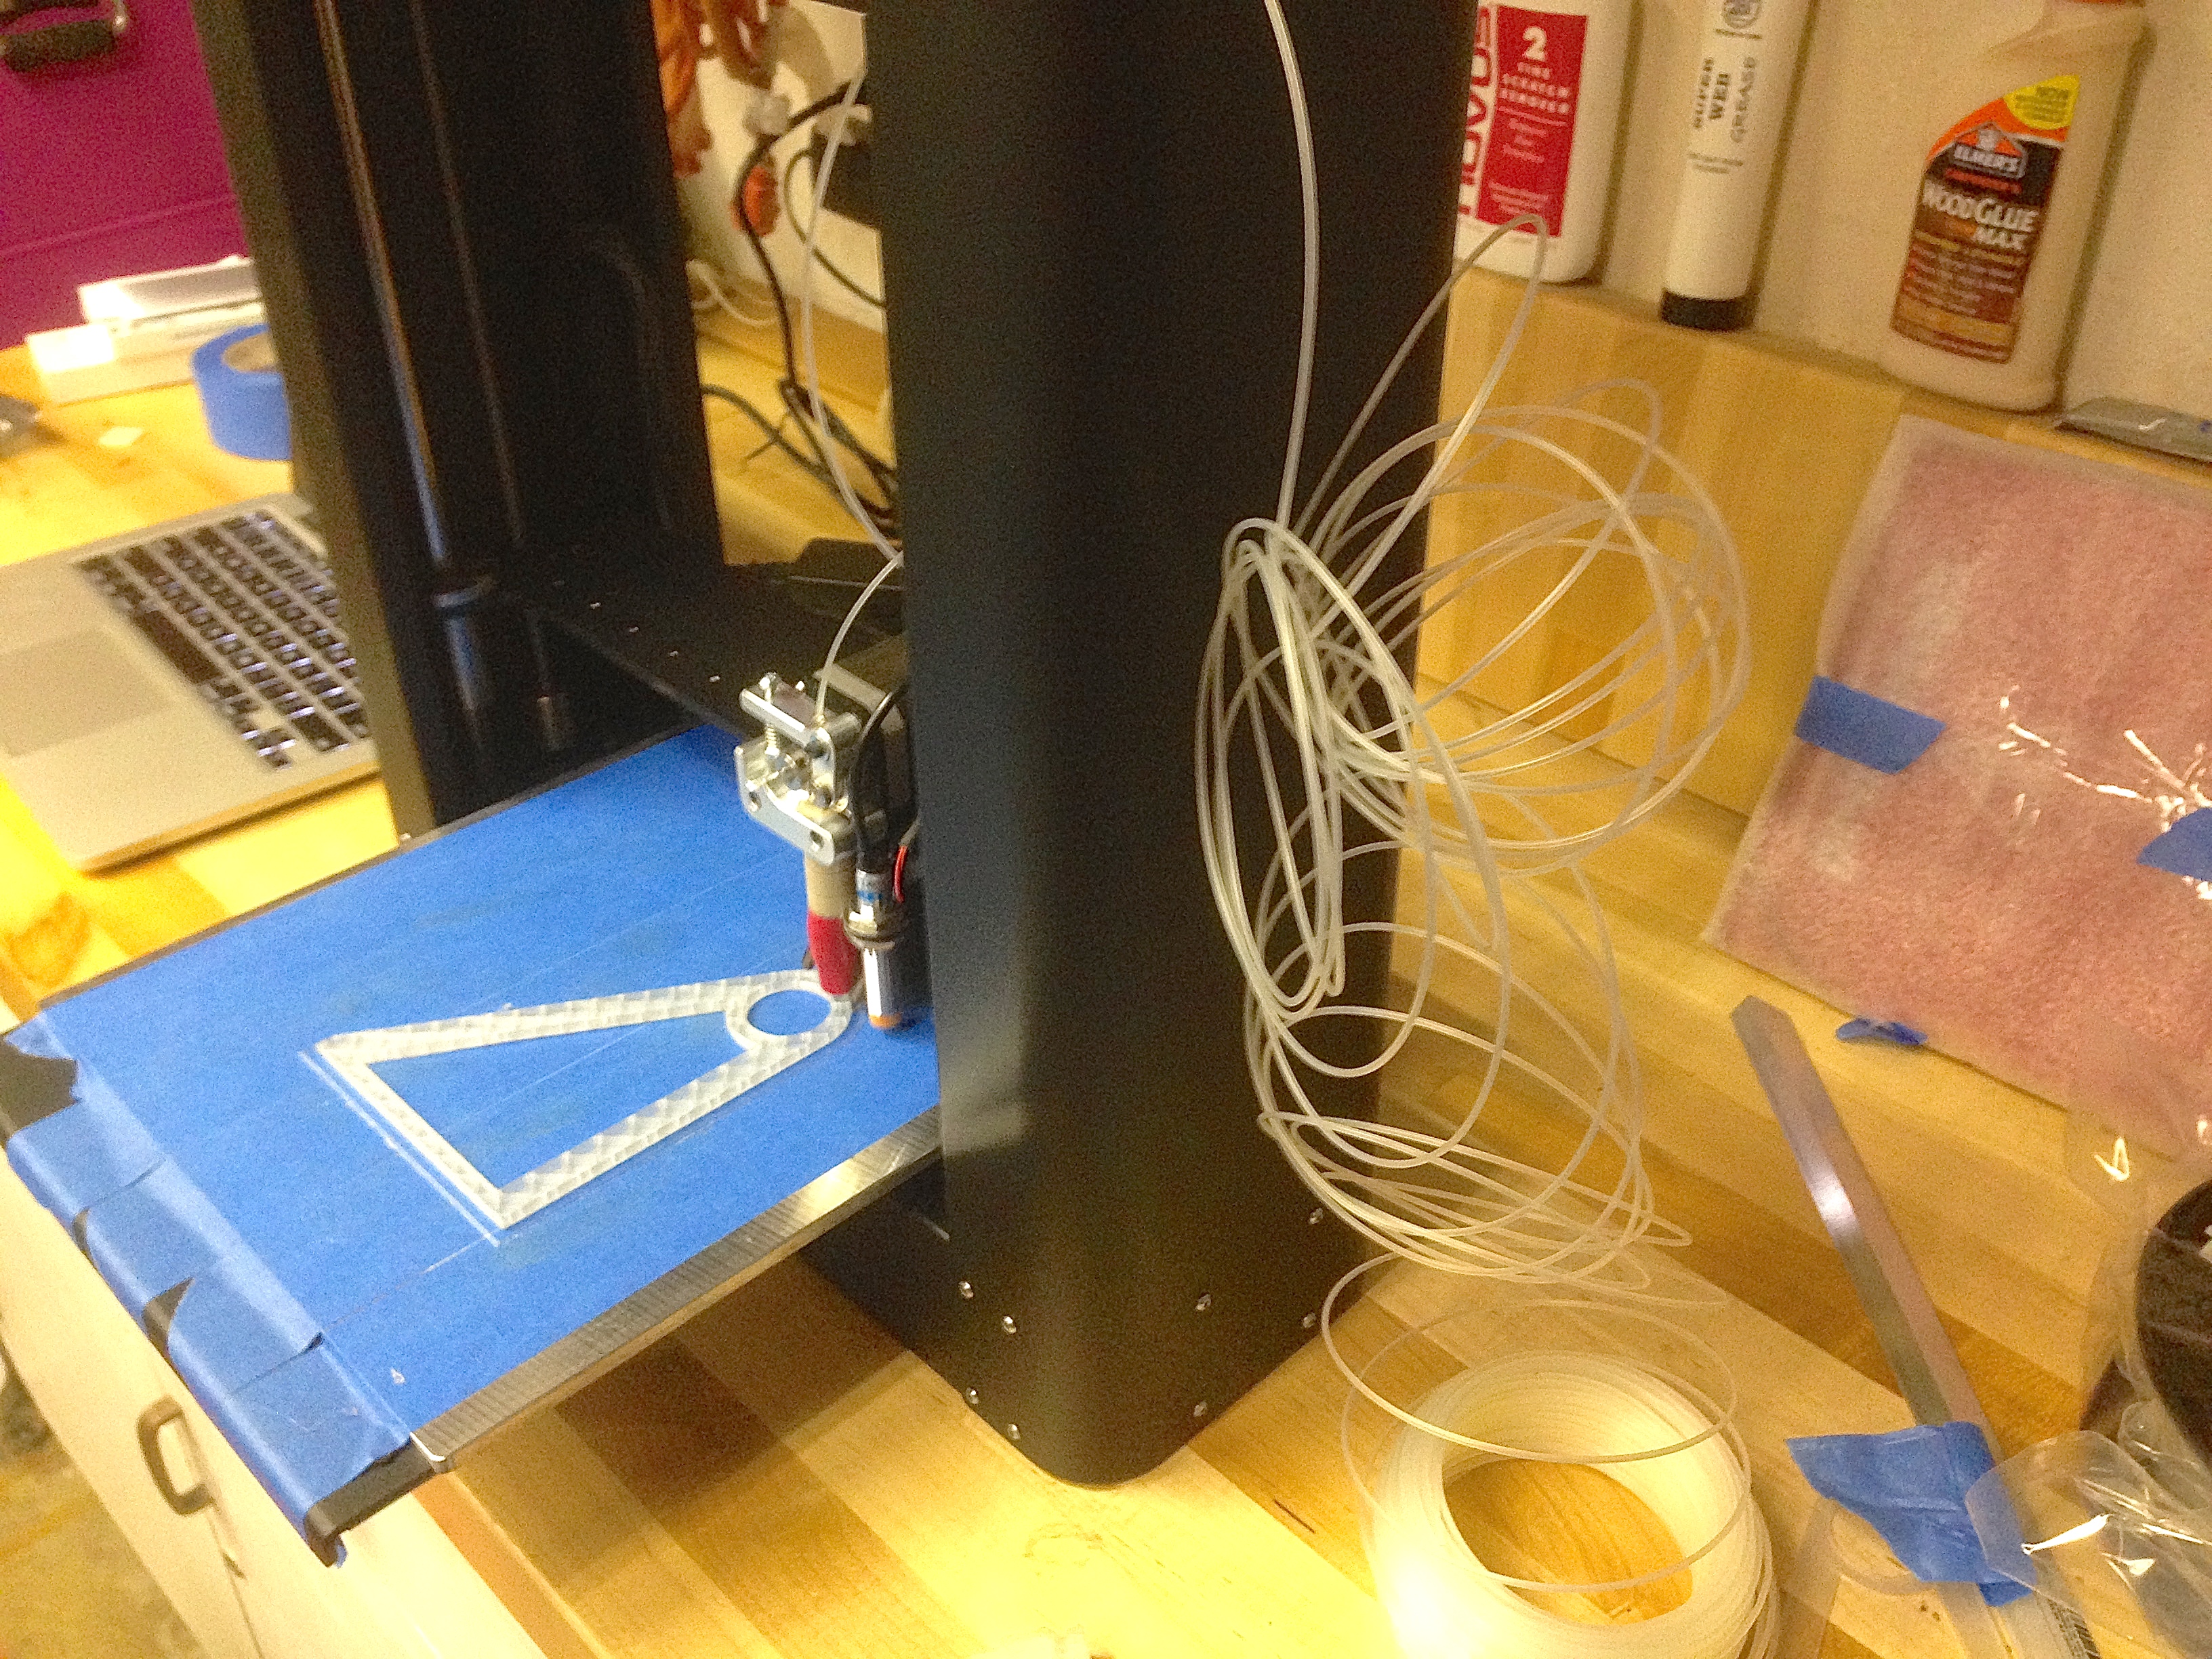
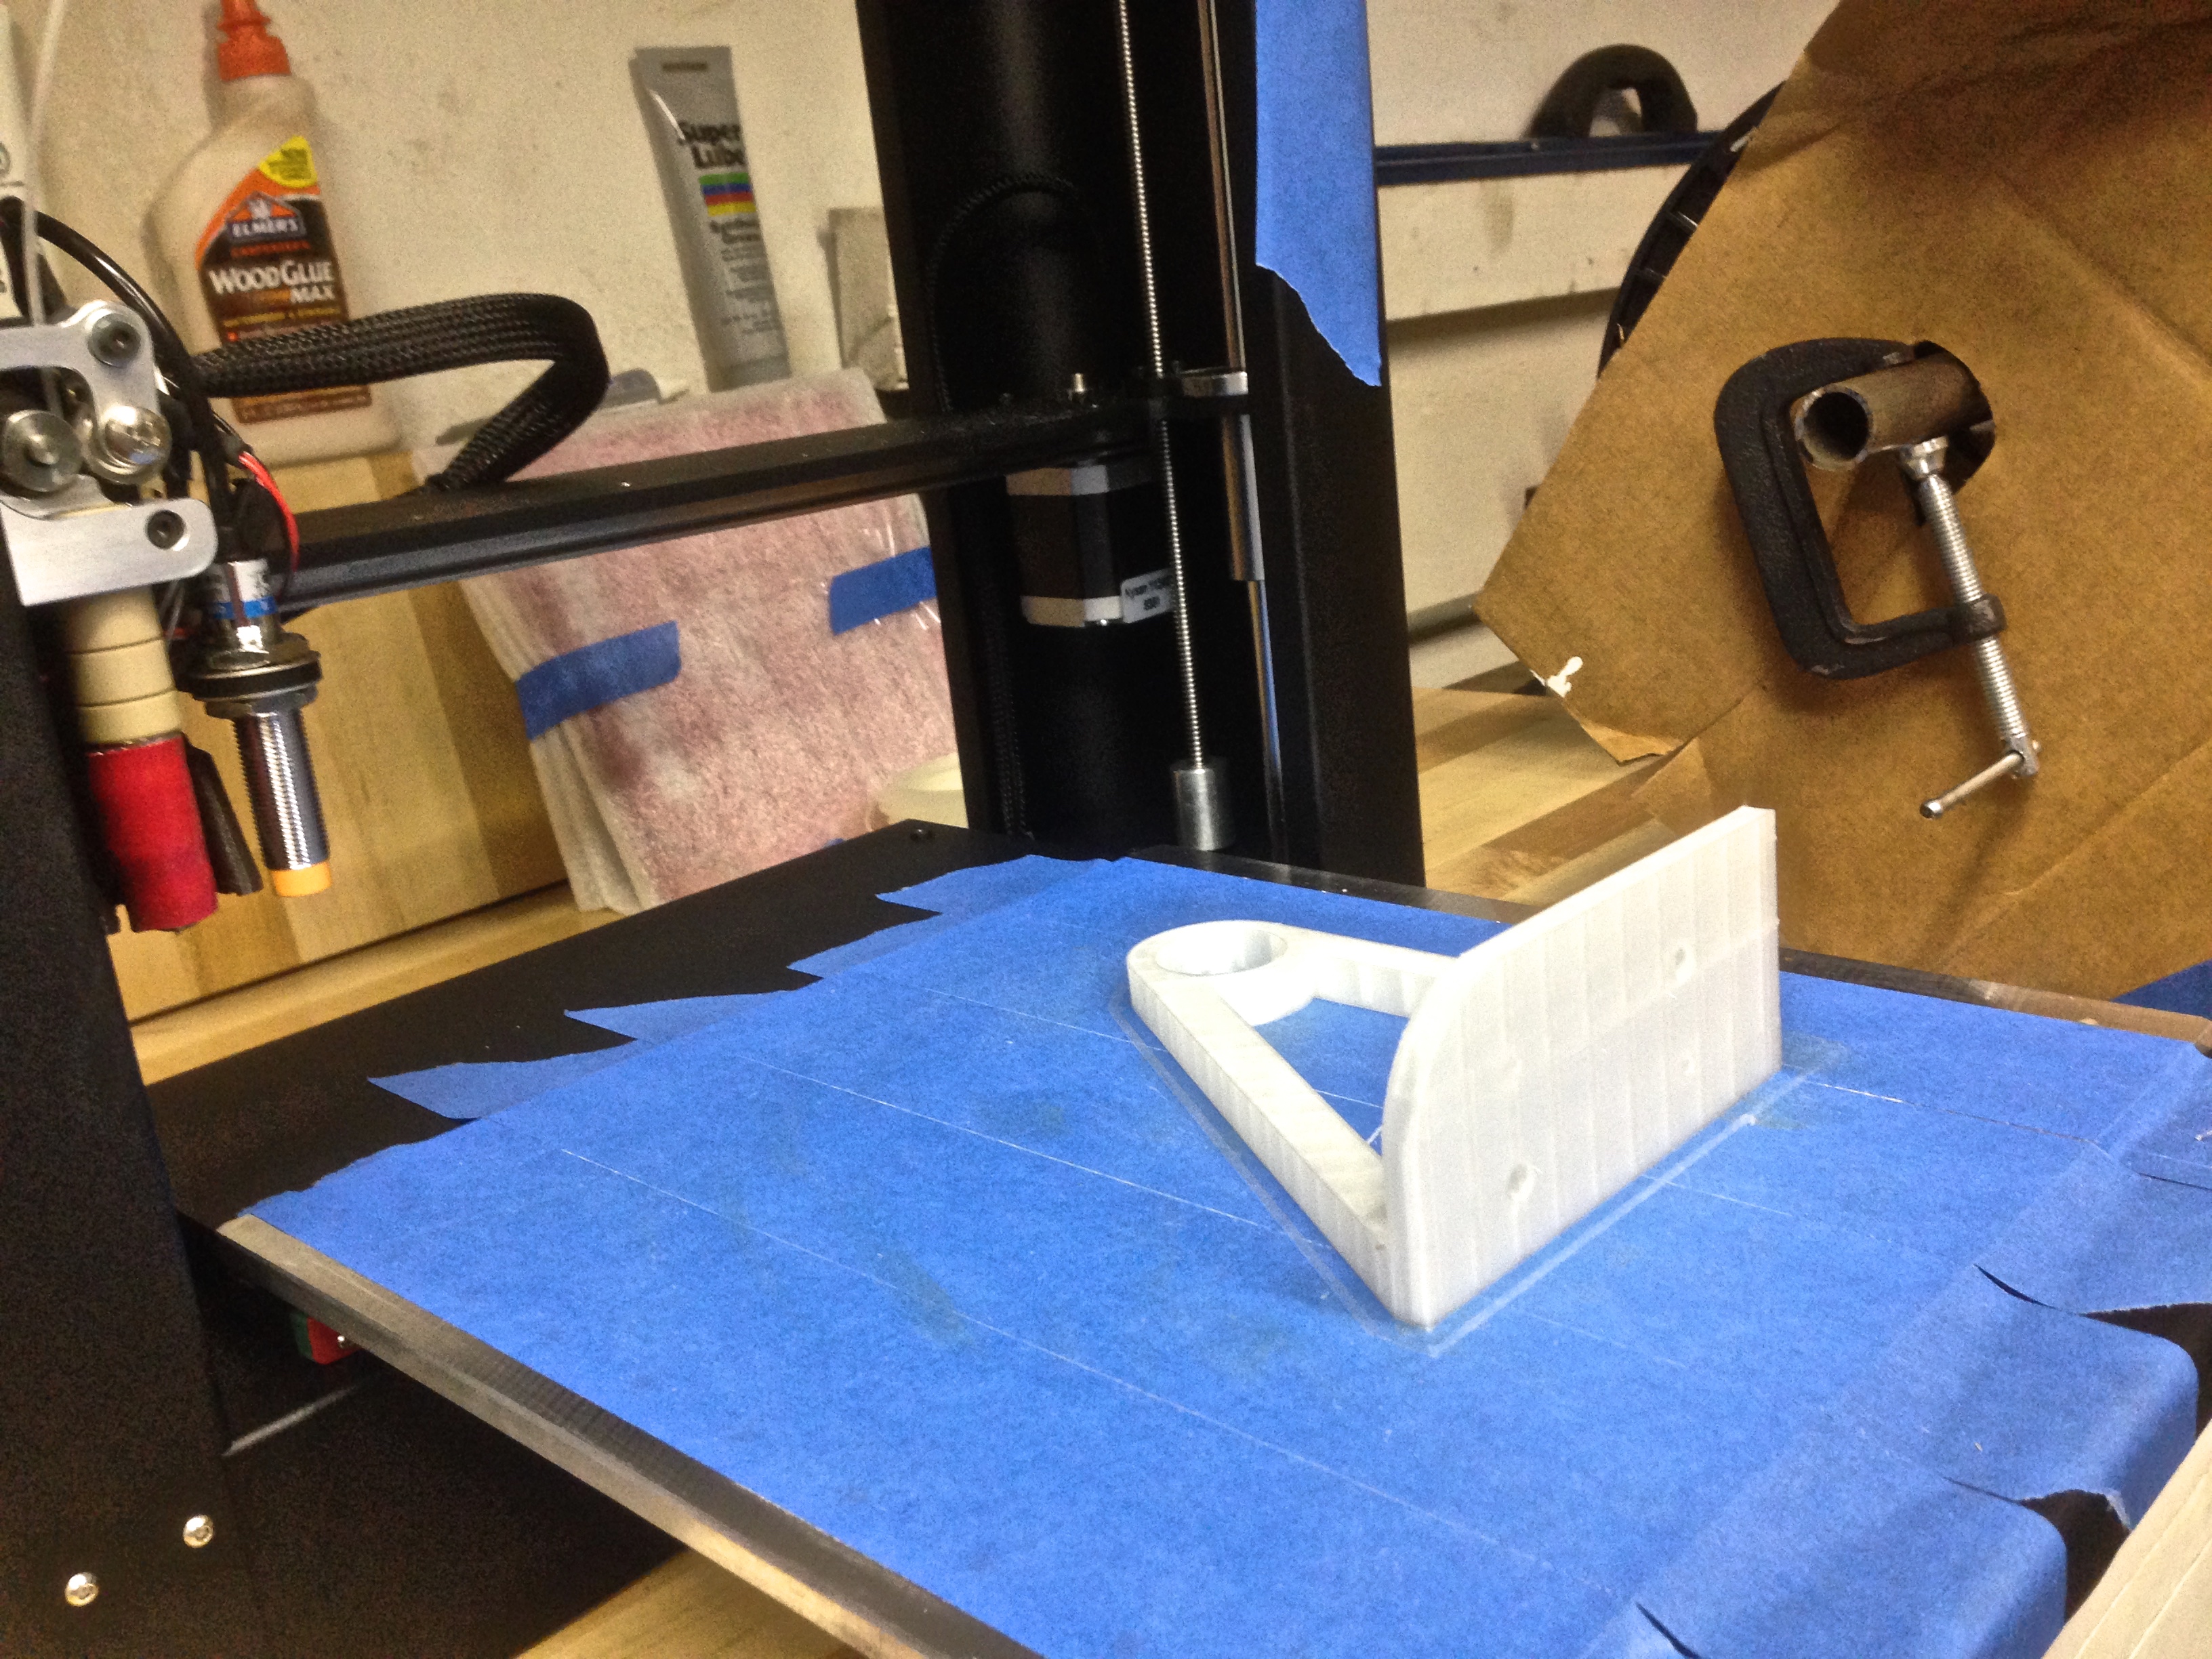
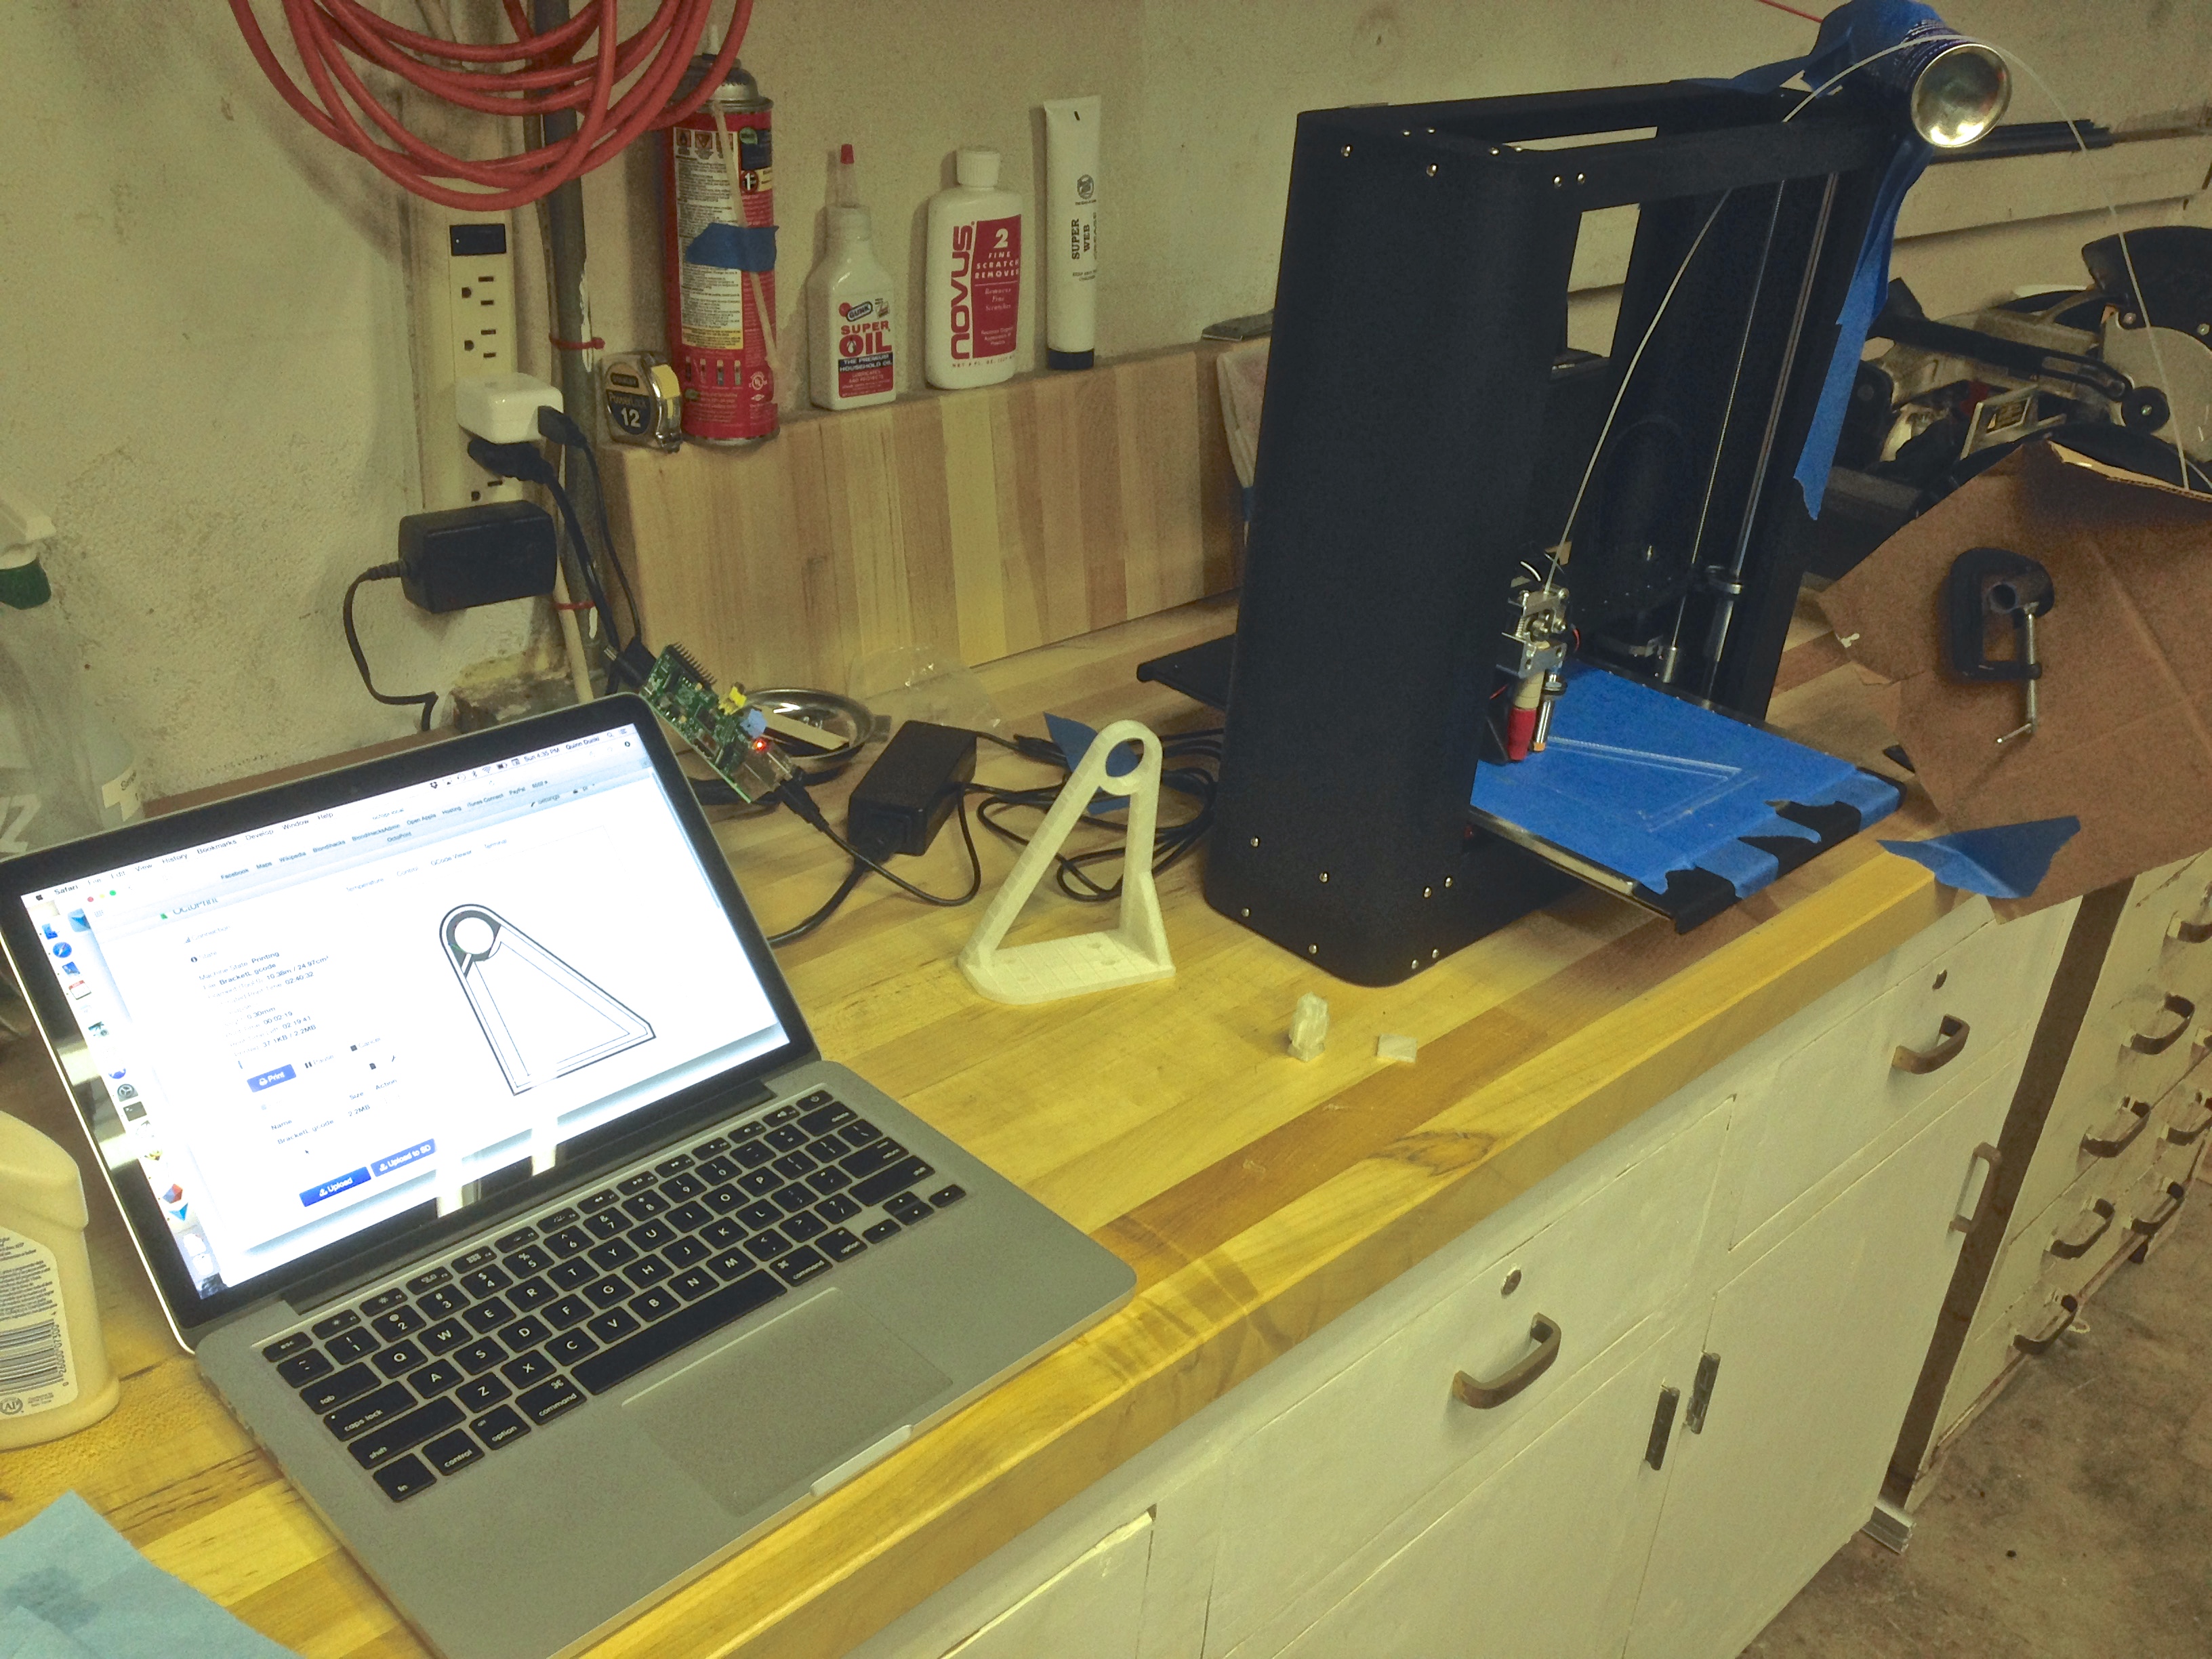
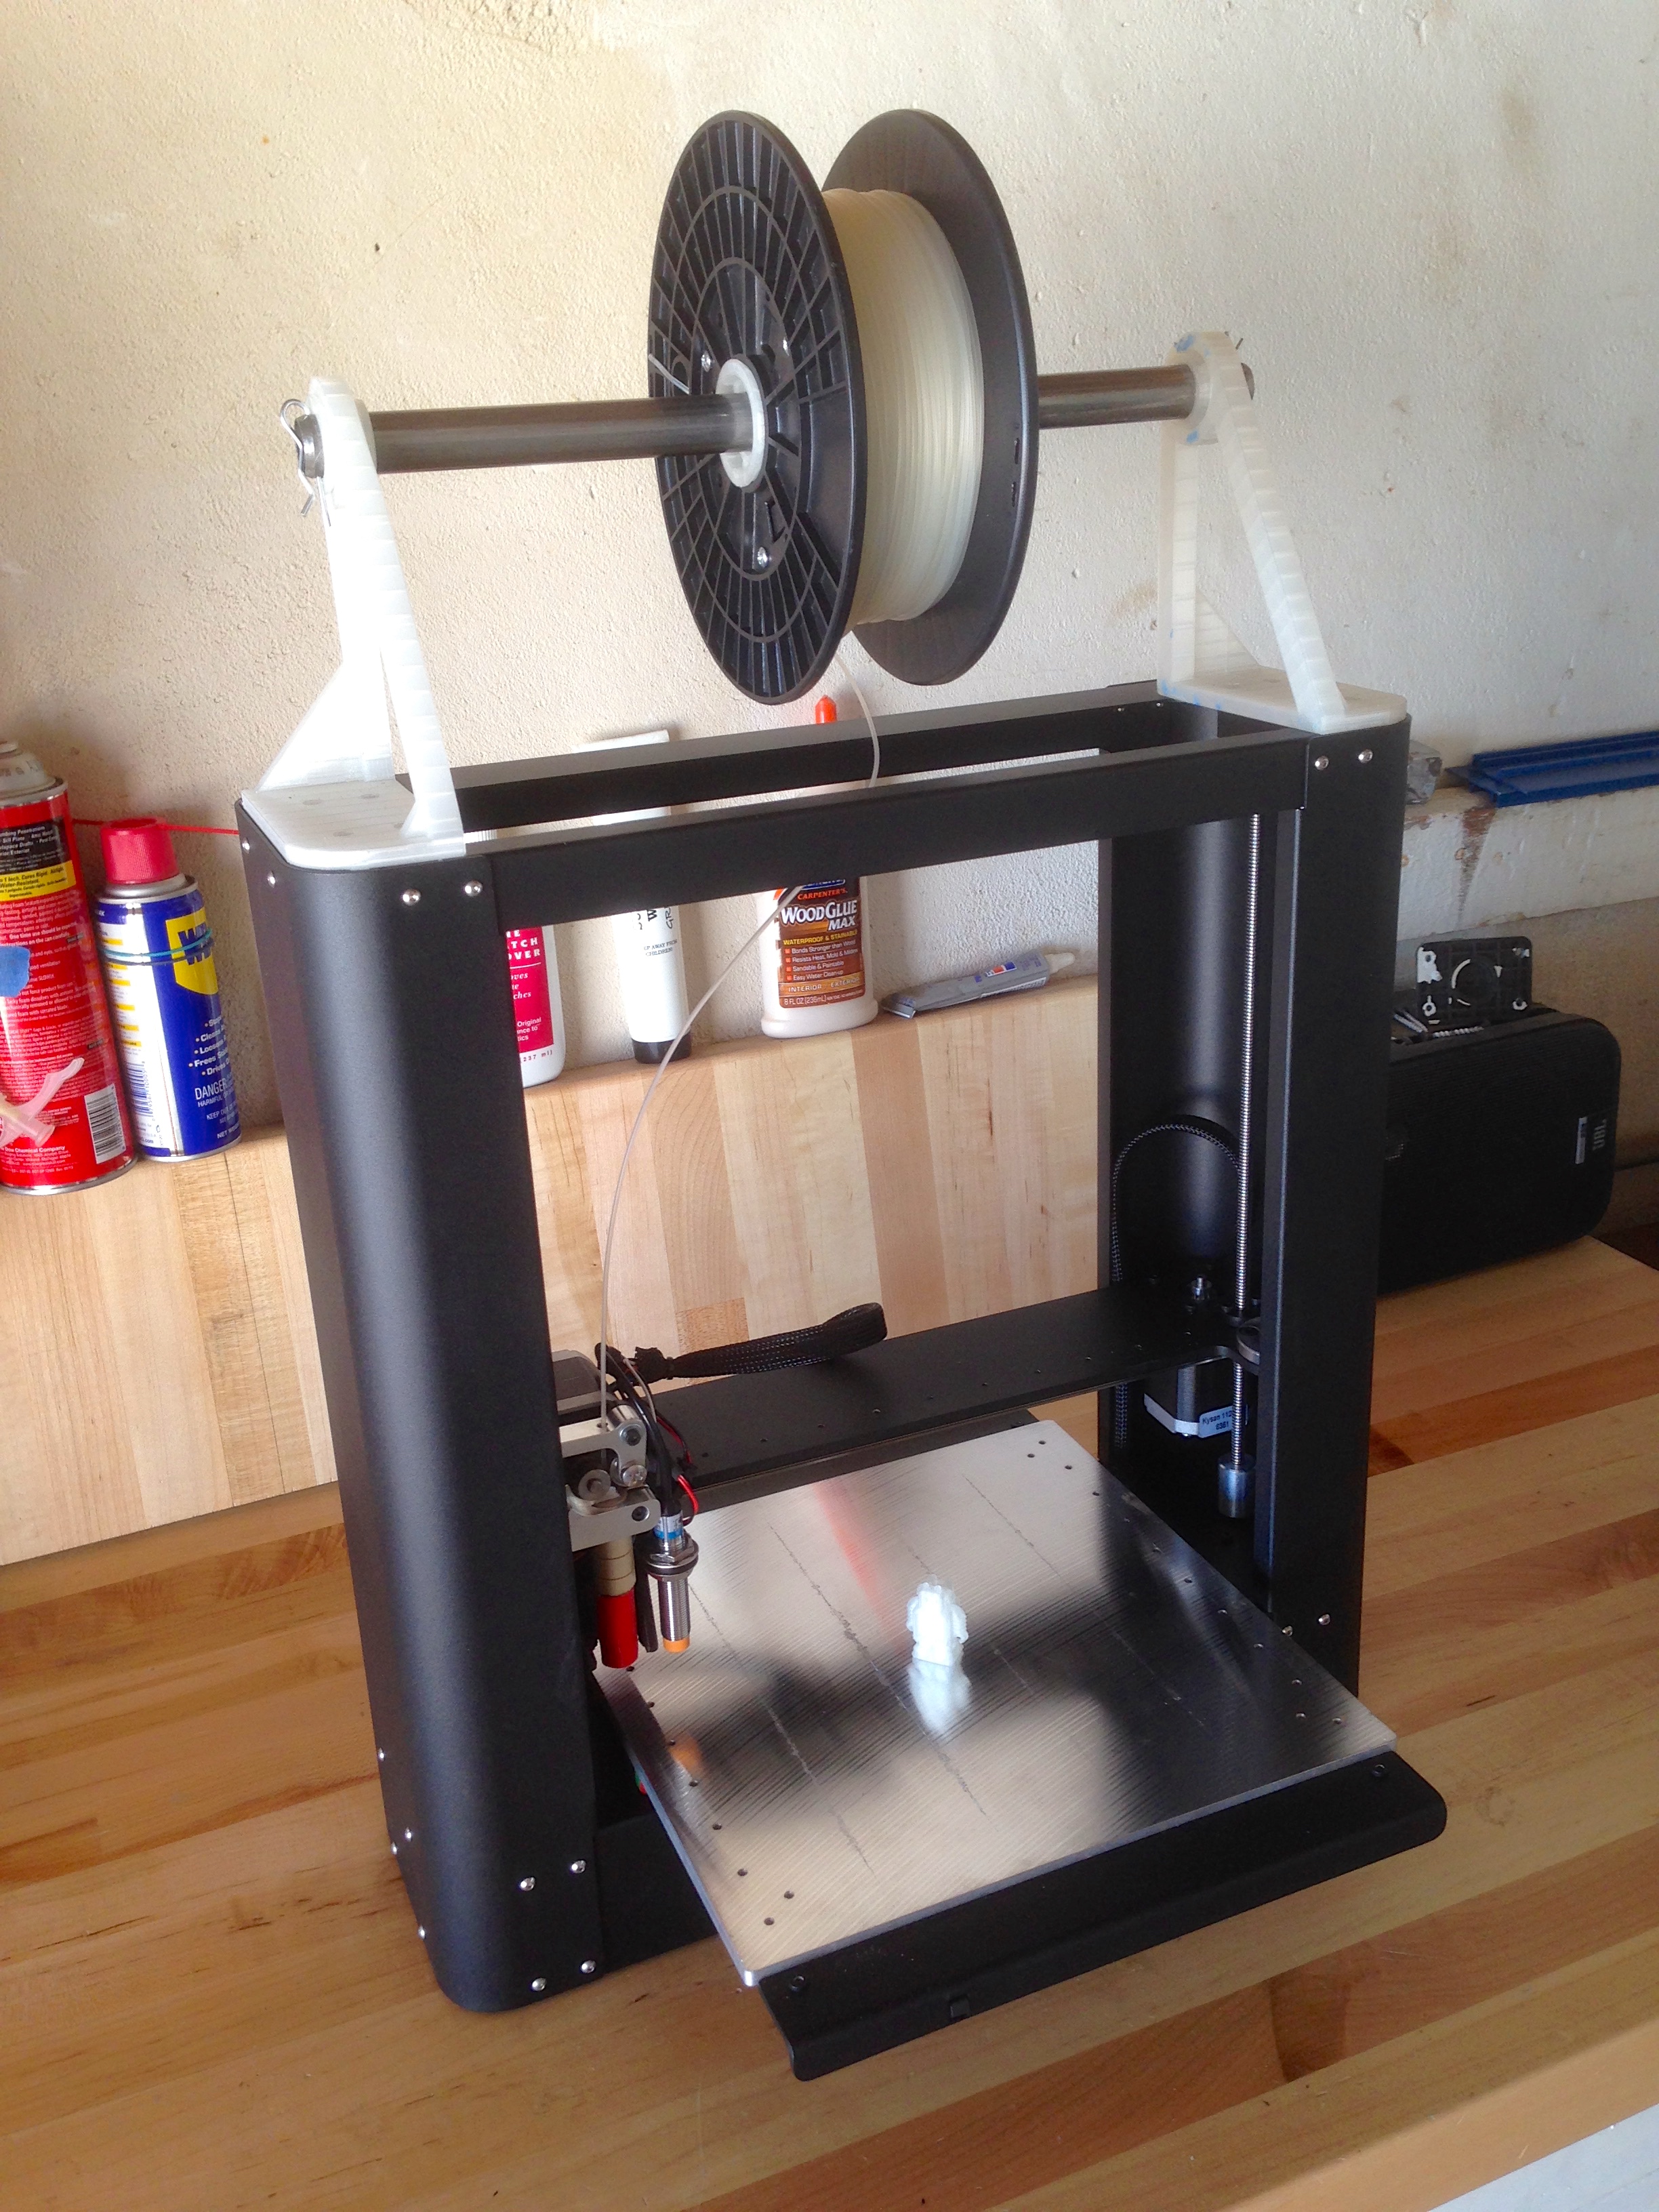
I ragequit the sample filament and set out to feed a proper spool. I found this excellent spool feeder design on Thingiverse, and endeavored to print it as my first “real” thing. However, the sample filament wouldn’t even stay detangled long enough to get through printing these brackets, so I rigged up a temporary solution with my spool. The junk pile coughed up some cardboard and a chunk of pipe, and my vice is right here…
That almost worked, but the filament dragged too much over the edge at the top of the machine.
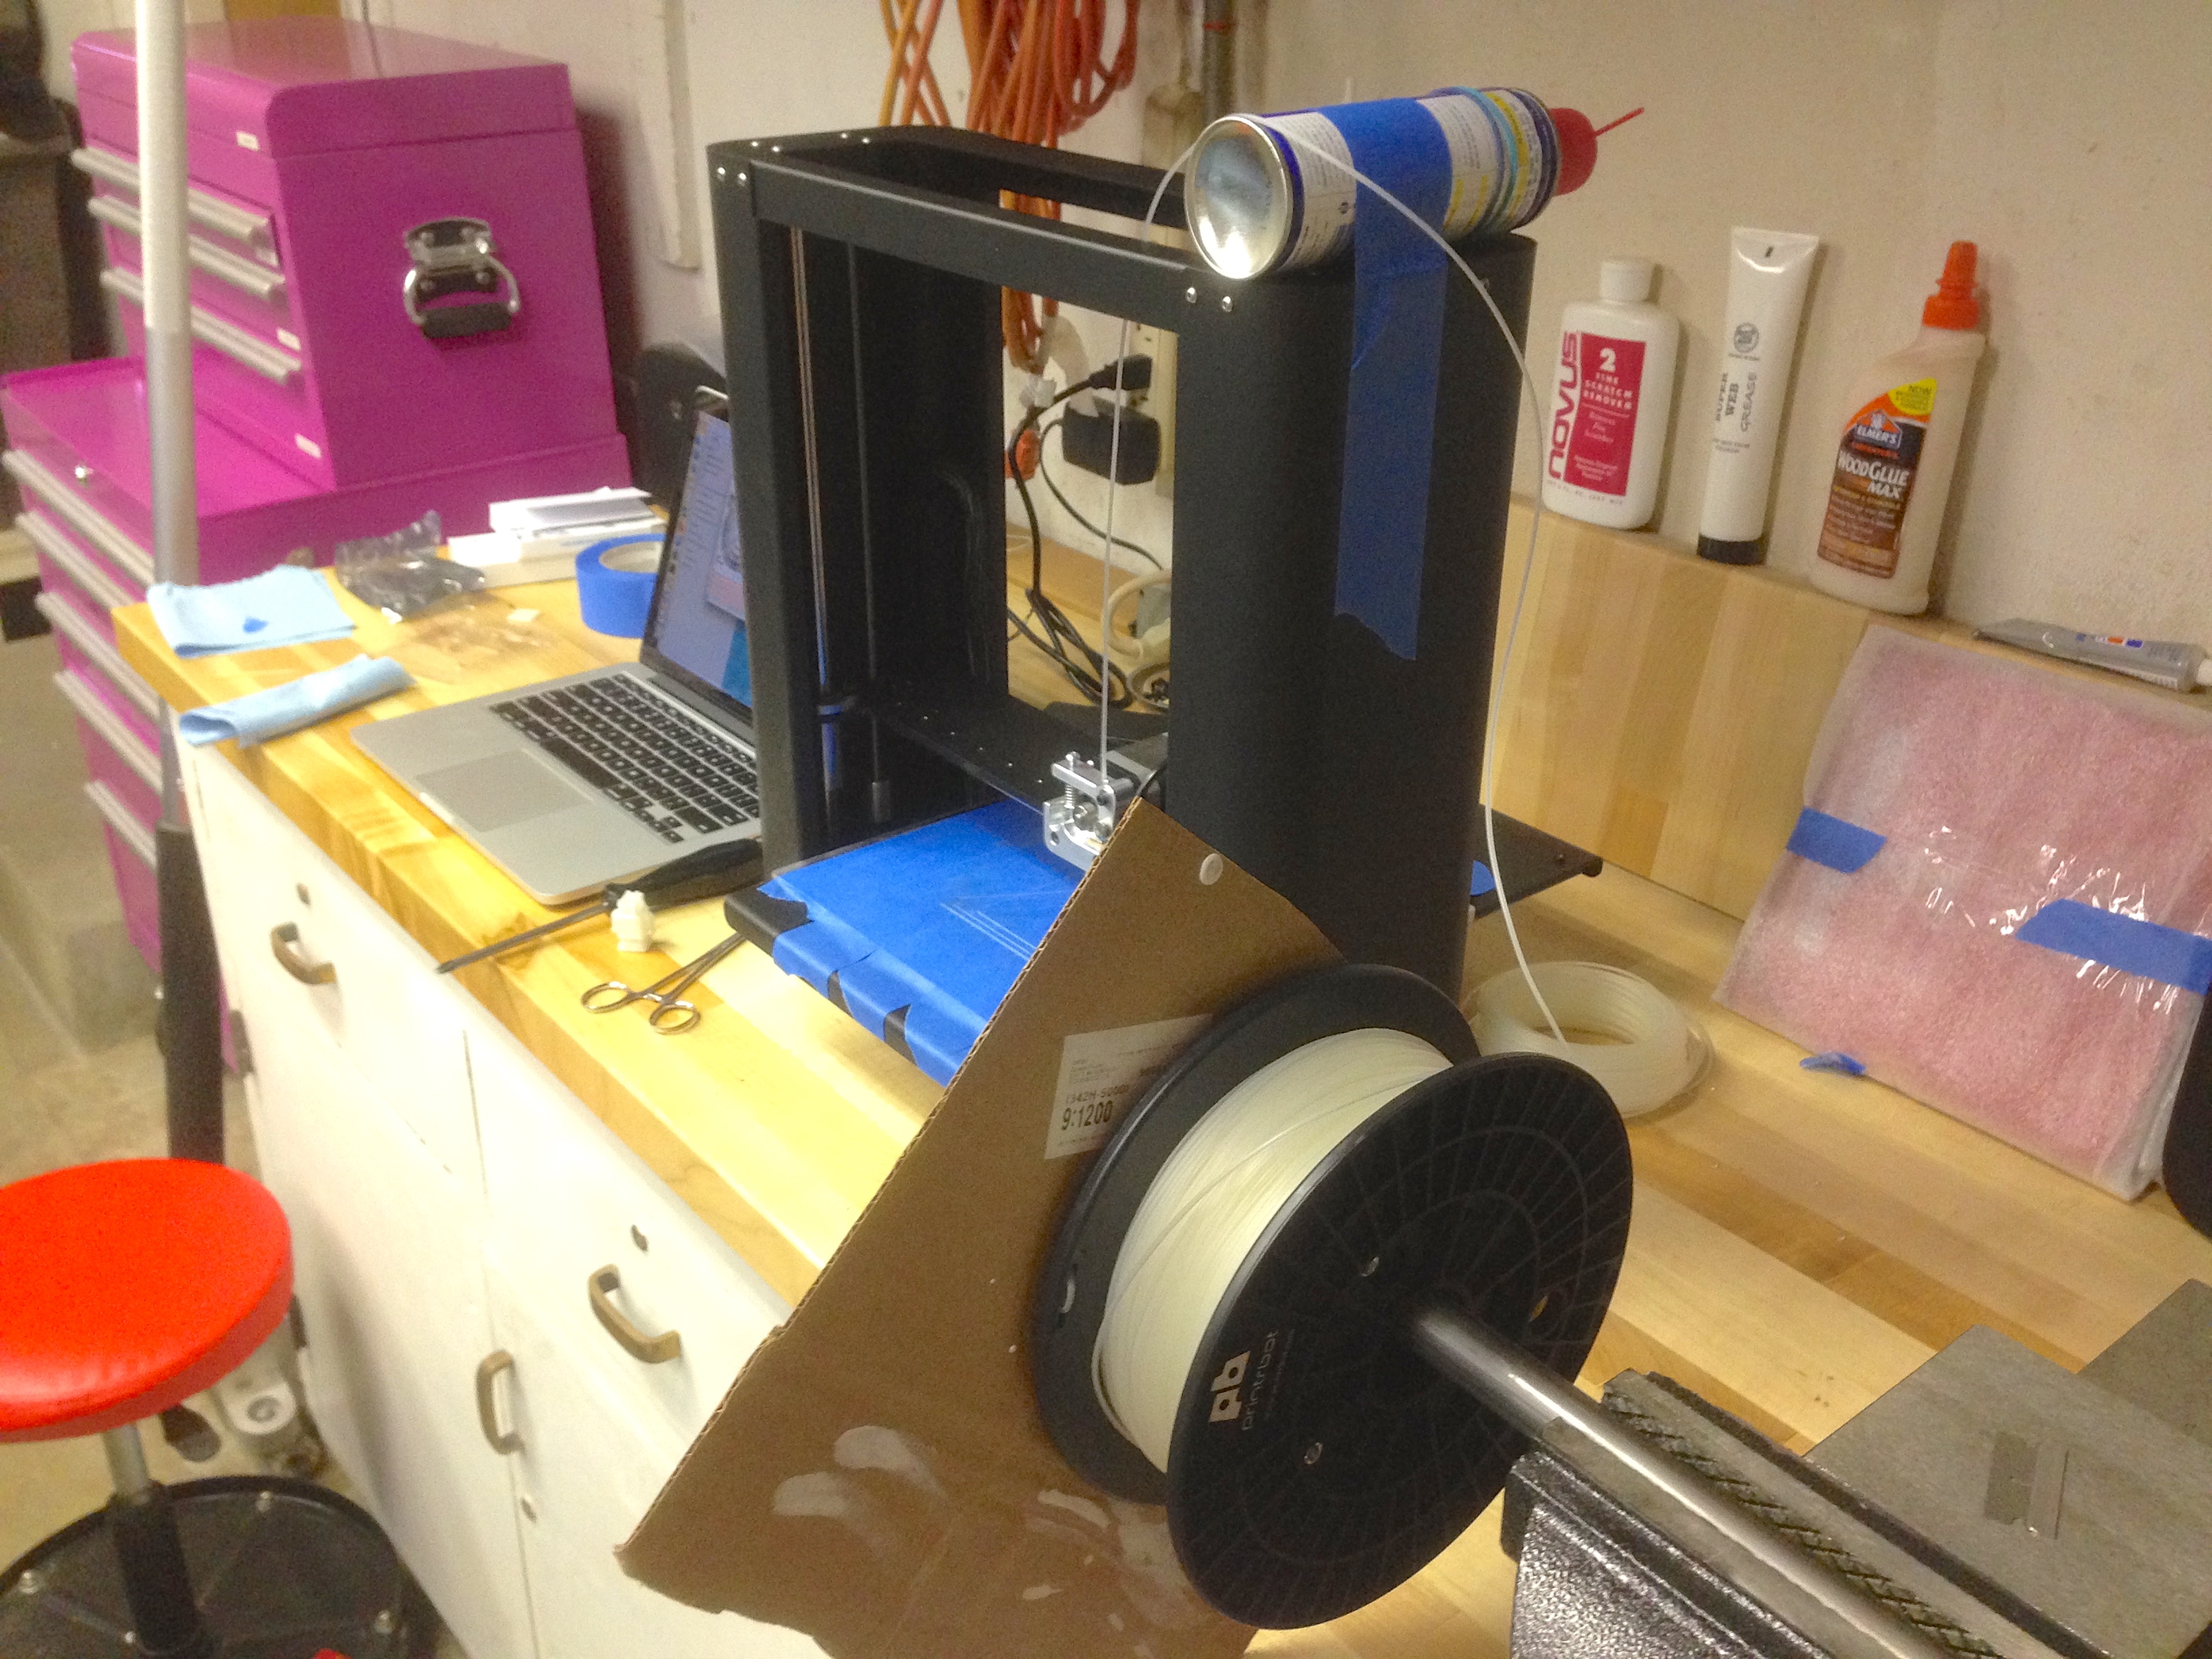
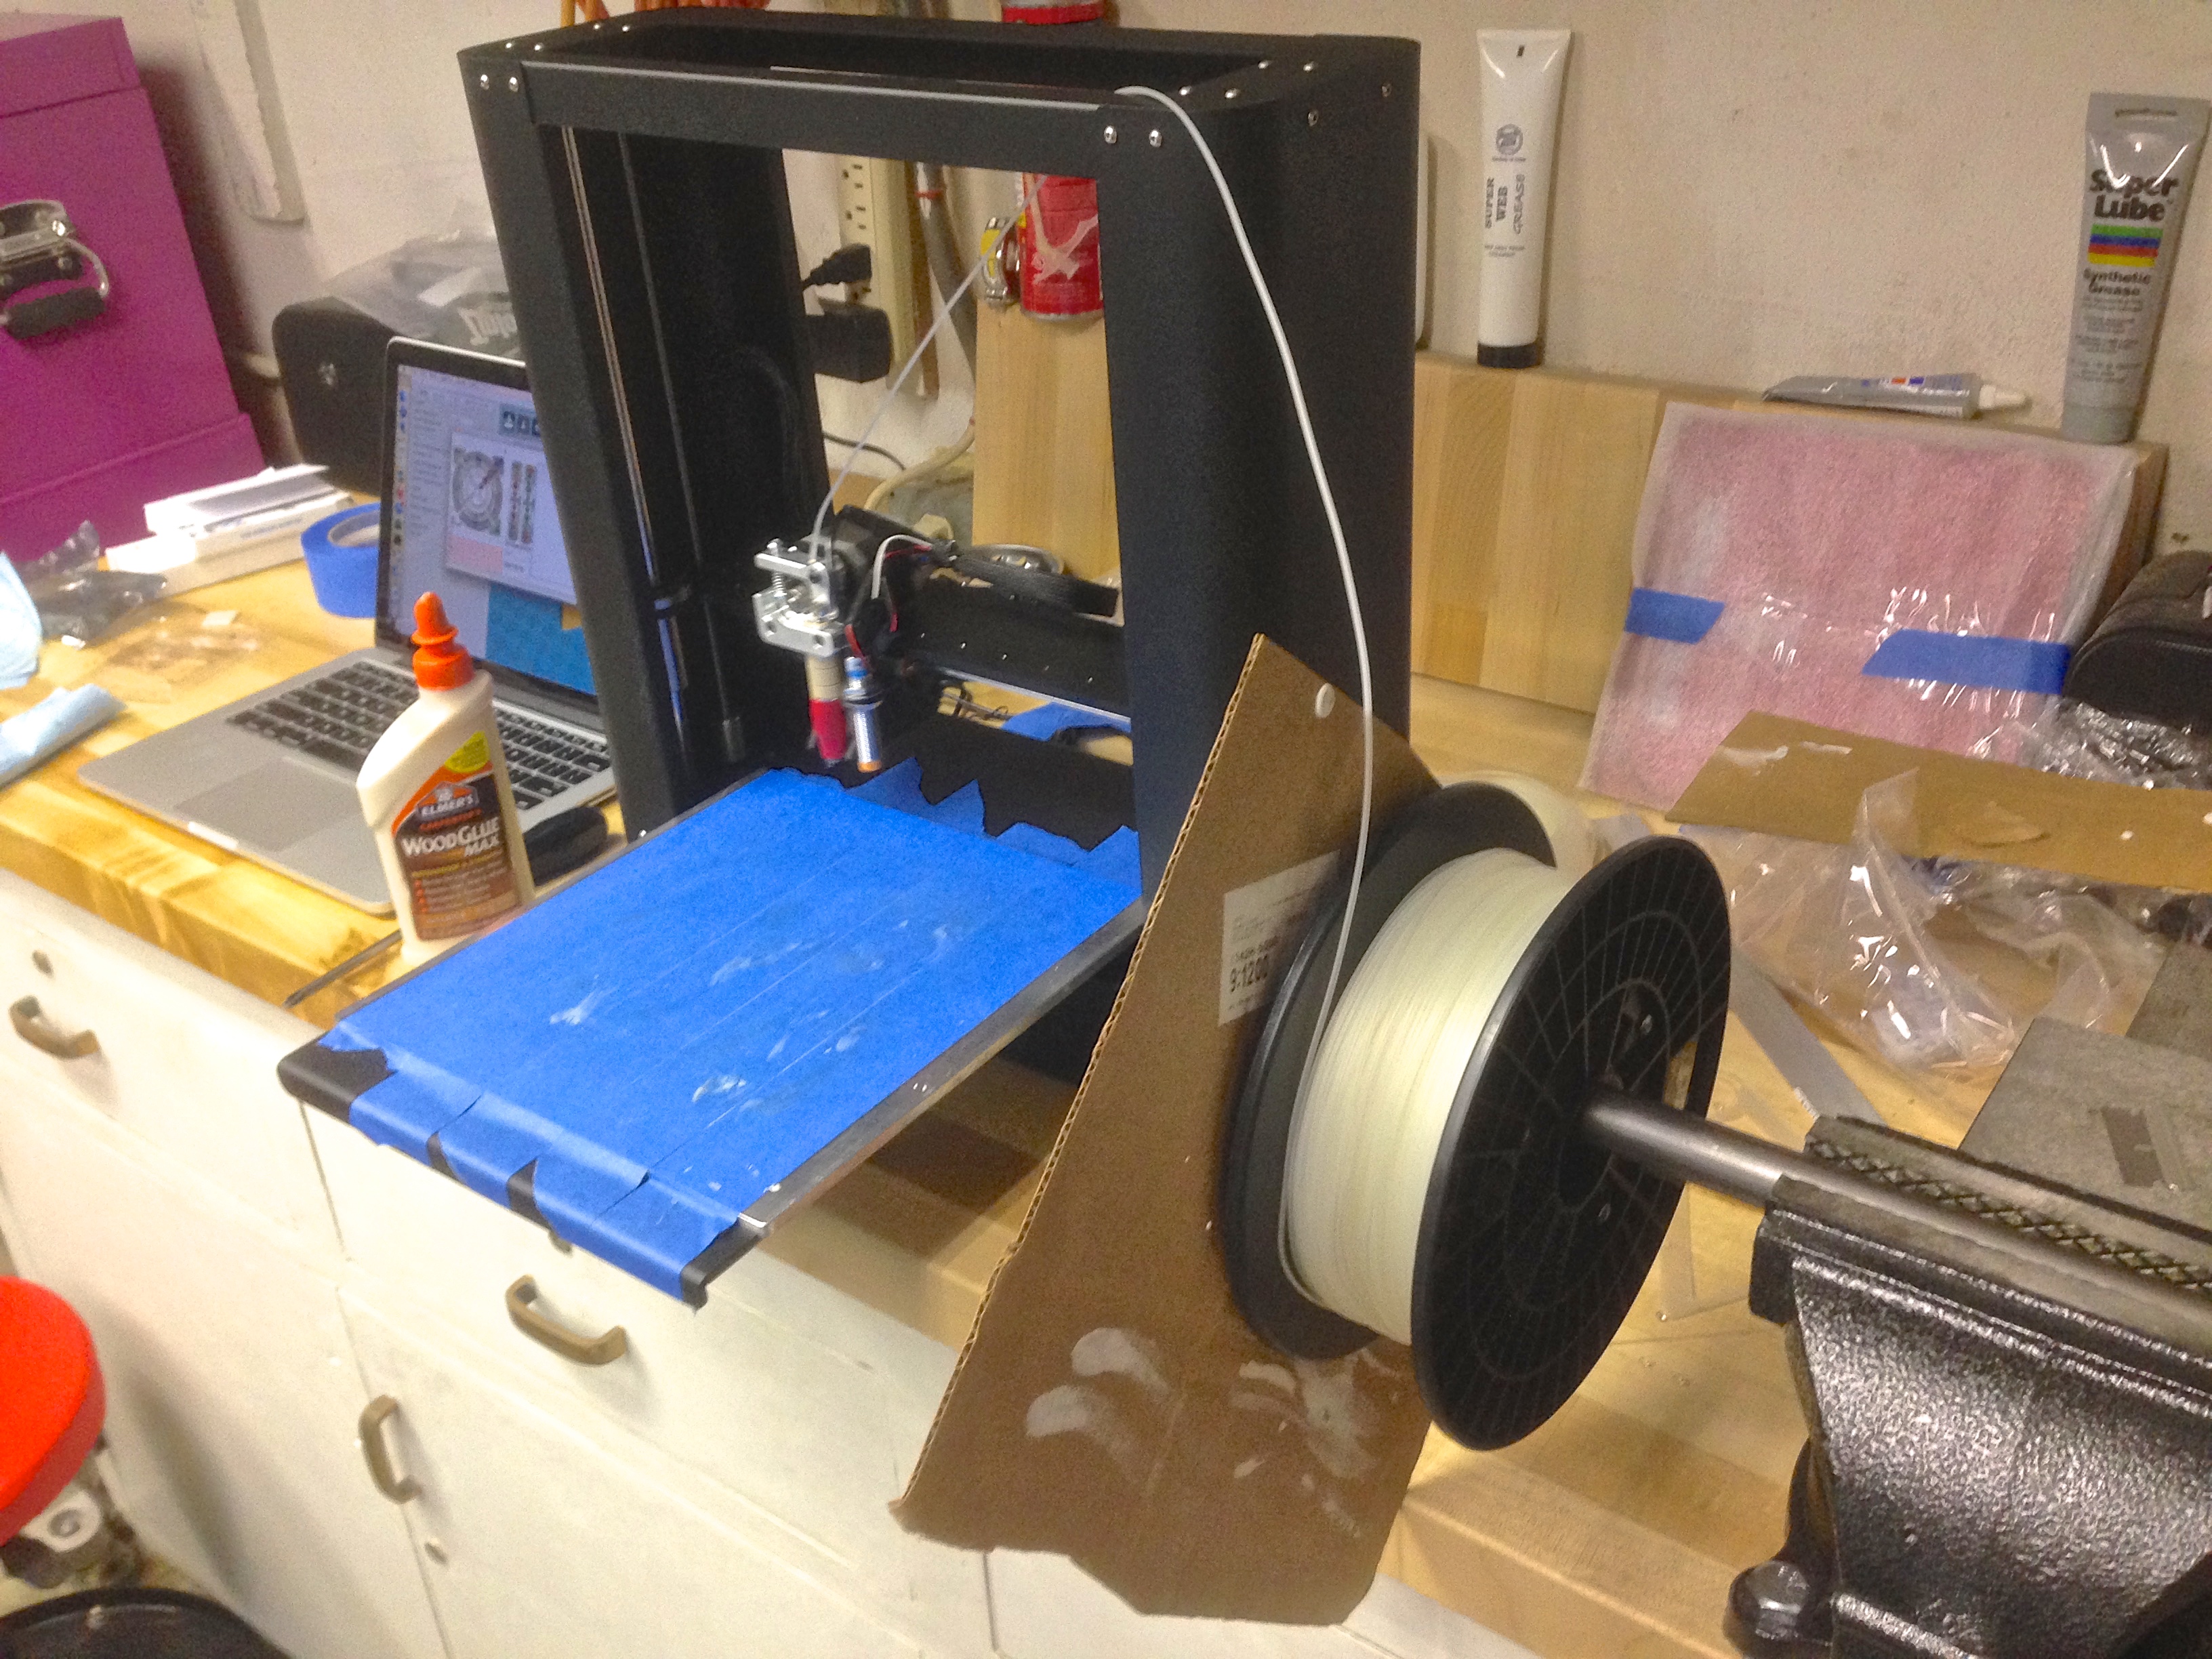
This arrangement made the machine reliable enough to print the aforementioned spool feeder.
A quick recommendation for some software is in order. For general 3D modeling, I like 123D Design a lot. It’s a great package for free (as in beer). It has some limits (not being able to position things with absolute numbers drives me nuts), but for the price it’s pretty remarkable. Do yourself a favor and watch the tutorial videos. They will drastically reduce your learning curve. 123D has a sister tool called Meshmixer which I also really like. The UI is clunky and requires patience, but it’s really powerful. It allows you to take STL files and arrange them on your bed, mirror things, scale things, modify vertices, chop things in half, etc. All without needing the original source file. When using Thingiverse, you usually only get STL files, which you can’t edit in something like 123D (as far as I can tell, anyway). Meshmixer breaks down that barrier.
One of the coolest things about 3D printing is, in my opinion, parametric objects. I needed some bushings to adapt this bracket to my particular spool-and-pipe situation, and that’s when I discovered the awesome OpenSCAD. If you’re a programmer like me, this is exactly how you want to design 3D objects for printing (unlike modeling by hand, which requires entirely too much talent).
With OpenSCAD, you can use things like these parametric bushings to make any size or style you need in seconds. Also great for gears, pulleys, etc. The possibilities are endless for procedurally generating physical objects like this.
The next step in achieving printer self-sufficiency is to get a print server running (so that you don’t need your laptop tethered to the machine until the end of time). By far the best way to do this, in my opinion, is Octoprint running on a Raspberry Pi. I happened to have a Raspberry Pi with a Wi-Fi adapter that I won as a prize at KansasFest, so it was pressed into duty here. I can’t say enough good things about Octoprint. It works so remarkably well that they should just ship 3D printers with it. All you do is install the OctoPi image on your Pi and follow the excellent setup video. After that, you can literally drag and drop objects to your printer from anywhere and the printer will grind away in peace, with the Pi handling all the heavy lifting. Octoprint even has a real-time visualizer of the tool path and live video feed of the machine (with automatic time-lapse photography), all through the browser. It’s astonishingly good. I also recommend installing Cura on the Pi (using these instructions). That allows you to drop STL files straight into Octoprint, and the Pi will do the slicing and everything for you (otherwise you need to create G-Code files manually with Cura on your laptop and drop those on Octoprint).
We’re off to an excellent start here with my shiny new PrintrBot. Many more fun things to come, so stay tuned. Browsing through Thingiverse, there are a zillion things I want to try! It also seems like I’ll spend a lot less time 3D modeling than I thought I would. Pretty much every idea I have had for an object, somebody on Thingiverse has already done it. That’s pretty cool. With my Octoprint-and-spool-fed machine now completely self-sufficient, we can commence printing with reckless abandon.
Most people just go for a convertible…
Welcome to the 3d printers club !
You can usually get away without a heated bed using blue tape alone (no coating) provided you print in PLA (or another low warping material) and the part you print isn’t that huge (regarding horizontal dimensions).
The trick is to print the first layer slightly “too low”, so that this first layer is somewhat squashed into the relief of the tape. It then grips to it like there’s no tomorrow… Just get sure it’s not too low and actually ripping the tape off. It will take a few test prints to get the good adhesion ratio, if you’re too low and you’re going to have to change the tape after each prints.
As you guessed, until you’re pretty confident with your settings it’s always a good idea to watch the first (few) layer(s) being printed before leaving the machine unmonitored.
Also pleading guilty on “I’m one of those people who is, by default, inclined to dislike something because everyone else likes it, just to feel smart. Yes, you know you do it too.”
Have fun with your new toy 😉
Ah, good tip on squishing the first layer. Funny, all my googling on the problem, that suggestion never came up. There’s still a lot of secret wisdom out there on 3D printing.
I think it’s hilarious that you’re using WD-40 to make something move more smoothly, but in such a … non conventional fashion. 🙂
Really happy to see that you seem happy with your choice of printer, since that’s the one I’ve been saving up for too.
I used it to lubricate the filament feed- it’s the on-label purpose, if perhaps an off-label implementation. 😛
I do recommend the Metal Plus overall. It’s a well-built and impressive machine, and I’m getting very good results out of it with minimal effort. I expect the Simple Metal is also good, being similar in design. I would not personally trust any of the laser-cut plywood machines out there. Plywood is stable and precise as woods go, but it’s still wood. A CNC machine that isn’t metal seems doomed to fail to me.
This was a great introduction to it. Definitely strikes me as something like the very early days of microcomputers. Plug-and-Play it is not! It seems like one would have to have some kind of machinist experience (even on a hobby level) to be able to diagnose and troubleshoot problems that are beyond the act of printing an object. For instance, I don’t think I would have really understood the problems of the spool tangling up for quite awhile, let alone what needed to be done to solve it.
If it were me, I’d probably buy one to donate to a hacker space I was friendly with so I can get help setting it up and performing maintenance.
Luckily, there are good resources out there for diagnosing problems. The reprap community in particular, since they’ve seen everything that can go wrong with these things by virtue of building their own designs.
Grats on the printer! It’s certainly a magical moment to go from something you’ve drawn up in CAD to a physical object in a matter of hours, never gets old for me.
So, when are we going to see 3d printed parts for Johnny?
Heh, I do indeed have a few ideas there!
Nice writeup! This might be the push I needed to finally get a 3D printer. My kids have been bugging me about getting one for a while now 😀
By the way for calibration times I recommend the rounded box procedure from your fellow blogger “The Smell of Molten Projects in the Morning” : http://softsolder.com/2015/03/30/calibration-boxes-for-3d-printing/
The hollow version is a fast printed way of verifying dimensional accuracies.
His overall eclectic blog is a nice read too IMO.
Good tips, thanks! I’m going through some calibration myself right now, in fact, and I will be posting about that soon.
The metal plus is a pretty awesome machine. We have one in the office and through experimentation I’ve discovered you can push it pretty fast. I’m running 80mm/s normally, but can easily push that over 120mm/s on simpler prints. You can easily print off brackets like those much faster than 3 hours,
That’s interesting- what other settings do you have to adjust to achieve that? Higher flow rate as well, I assume?
Not too much. I’m using Slic3r and I just set all the speed variables across the board to 80mm/s, except for moves which I have at 150mm/s, and the first layer which I still run at 30mm/s for adhesion. Flow rate should be caclulated based on move speed, so there’s no adjustment there.